Minicube,Docker,Kubectl등이 설치되어있다는 가정하에 진행하도록 하겠다.
쿠버네티스를 이제 막 공부하기 시작해서 잘 알지는 못하지만 실습해 본 내용을 정리겸 공유를 해보려고 한다.
결과 미리보기
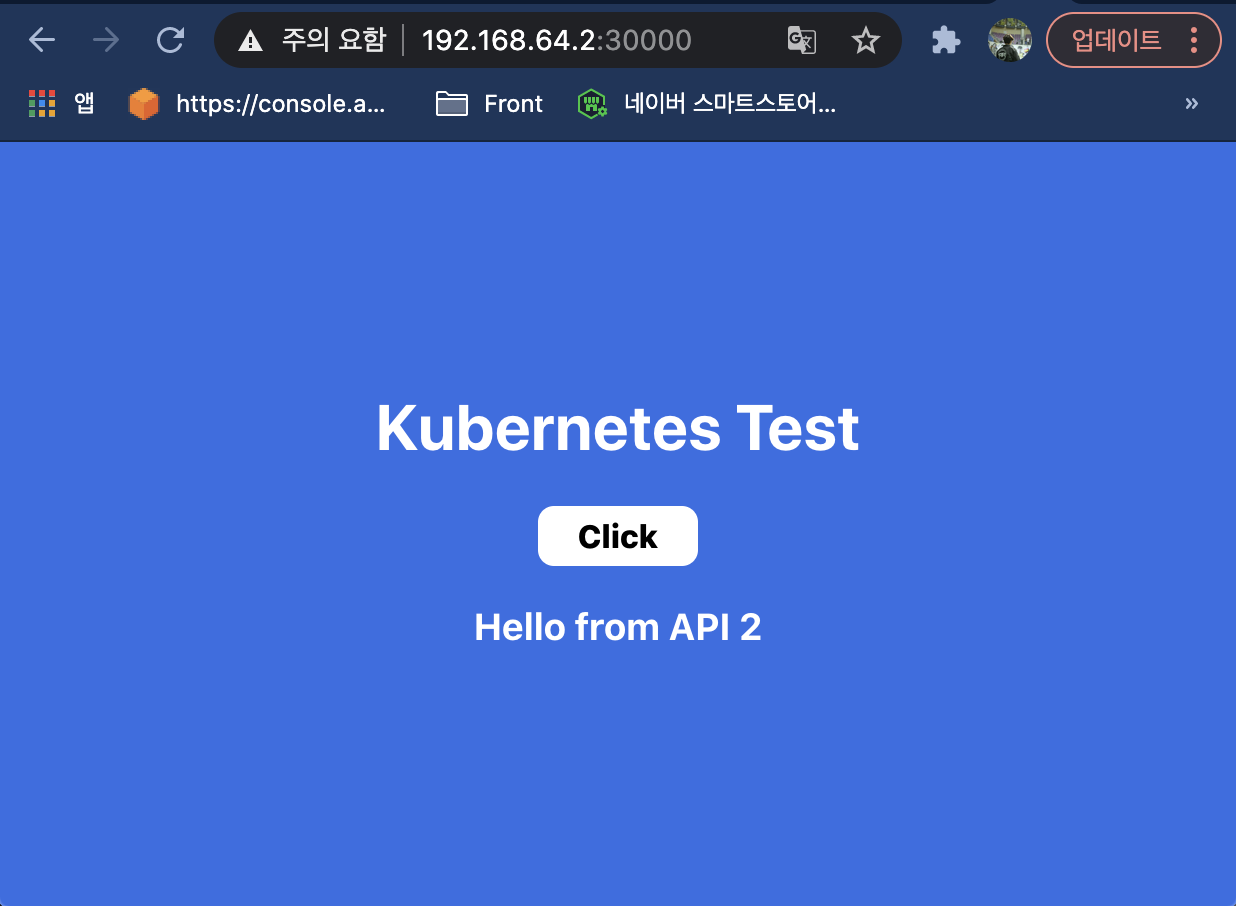
먼저 쿠버네티스로 배포 완료 후의 모습을 보면 다음과 같다.
내 minikube ip는 192.168.64.2이고 NodePort를 30000으로 잡아줬다. 브라우저에 192.168.64.2:30000를 넣고 엔터를 치면 내가 배포 한 애플리케이션이 나오게 된다.

API 서버
Node.js 코드
API 서버는 간단하게 express를 이용하여 작성해보았다.
내용은 아주 간단하다.
/api 요청이 들어오면 count를 하나씩 증가해서 값을 반환해준다. (지금은 DB를 사용하지 않았지만 나중에 DB까지 해봐야겠다.)
/api/current는 현재 count 값을 반환해 준다.
포트는 지정하지 않으면 기본적으로 8080을 사용하도록 했다.
// api.js
const express = require('express');

const app = express();
const port = process.env.PORT || 8080;

let count = 0;

app.get('/api', (req, res) => {
    count++;
    res.json({result: count});
});

app.get('/api/current', (req, res) => {
    res.json({result: count});
});

app.listen(port, () => {
    console.log(`localhost:${port}`);
});
실행시켜 보면 다음과 같이 호출할 때마다 result에 증가 된 count 값이 반환되는 것을 볼 수 있다.

Dockerizing
쿠버네티스에 배포하기 위해서는 Docker image가 필요하기 때문에 Dockerfile을 작성해야 한다.
node를 실행해야 하기 때문에 node 이미지를 베이스 이미지로 지정해 주고 필요한 파일들을 모두 COPY 해준뒤 npm install 명령어로 필요한 dependency를 받도록 했다.
FROM node:15
WORKDIR /home/server/
COPY package*.json ./
COPY api.js ./api.js
RUN npm install
EXPOSE 8080
CMD [ "npm", "run", "start" ]
도커 이미지 빌드 명령어
$ docker image build -t [이미지_이름]:[버전] .
도커 이미지가 제대로 만들어 졌는지 직접 이미지를 실행시켜서 컨테이너에 접속해보자.

제대로 잘 동작한다. 이제 이 도커 이미지를 쿠버네티스에서 사용할 것이다.
Nginx 서버 (Front)
React.js 코드
프론트는 React에서 제공하는 creat-react-app 템플릿을 이용해서 작성했다.
//App.js
import './App.css';
import { useEffect, useState } from 'react';

function App() {

  const [data, setData] = useState(0);

  useEffect(() => {
    fetch('/api/current/')
    .then(result => result.json())
    .then(response => {
      setData(response.result);
    });
  }, []);

  const handleClick = () => {
    fetch('/api/')
    .then(result => result.json())
    .then(response => {
      setData(response.result);
    });

  }
  return (
    <div className="App">
      <h1>Kubernetes Test</h1>
      <div className="Wrapper">
        <div className="Button" onClick={handleClick} >Click</div>
        <h3>Hello from API {data}</h3>
      </div>
    </div>
  );
}

export default App;
코드를 간단하게 설명하자면,
처음 App 컴포넌트가 로드되면 /api/current 호출의 반환 값을 data에 넣어주고 그 data가 화면에 나오게 된다.
Click 버튼을 누르면 /api 호출을 통해 카운트가 증가 된 값을 받게 되고 마찬가지로 data를 업데이트 한다.
Nginx
이제 React 앱을 Nginx에 배포해보자.
먼저 Nginx를 설치하면 MacOS 기준으로 /usr/local/etc/nginx/ 경로 아래에 nginx.conf 파일이 생긴다.
nginx.conf파일의 server {}부분을 아래처럼 수정해준다.
server {
        listen       80;
        server_name  localhost;

        #charset koi8-r;

        #access_log  logs/host.access.log  main;

        location / {
              root  /usr/local/var/www/front ;
              index  index.html index.htm;
        }

  	location /api {
              proxy_pass http://localhost:8080;
        }

        생략...
}
수정 후 Nginx를 재시작 해주고 -t 옵션으로 설정파일 체크를 해준다.
$ brew services restart nginx
Stopping `nginx`... (might take a while)
==> Successfully stopped `nginx` (label: homebrew.mxcl.nginx)
==> Successfully started `nginx` (label: homebrew.mxcl.nginx)

$ nginx -t
nginx: the configuration file /usr/local/etc/nginx/nginx.conf syntax is ok
nginx: configuration file /usr/local/etc/nginx/nginx.conf test is successfulnginx.conf파일을 성공적으로 수정했으면 이제 React 앱을 Nginx에 배포해보자.
React 배포
location / {} 부분을 보면 root가 /usr/local/var/www/front를 바라보도록 했다. 따라서 해당 경로 아래에 웹 컨텐츠를 배포해 주면 된다.
React 프로젝트에서 npm run build 명령어를 실행시켜주면 build 폴더가 생기는데 build 폴더의 내용을 모두 /usr/local/var/www/front 아래에 복붙해준다.
$ cp -r ~/Documents/k8s/k8s-project/front/build/* /usr/local/var/www/front/API 서버 Proxy 세팅
location /api {} 부분을 보면 proxy_path에 http://localhost:8080을 세팅해 주었다. 이 세팅이 없을 경우 fetch('/api')는 실제로 http://localhost:80/api를 호출하게 되는데 이것을 http://localhost:8080/api로 호출 가능하도록 해준다.
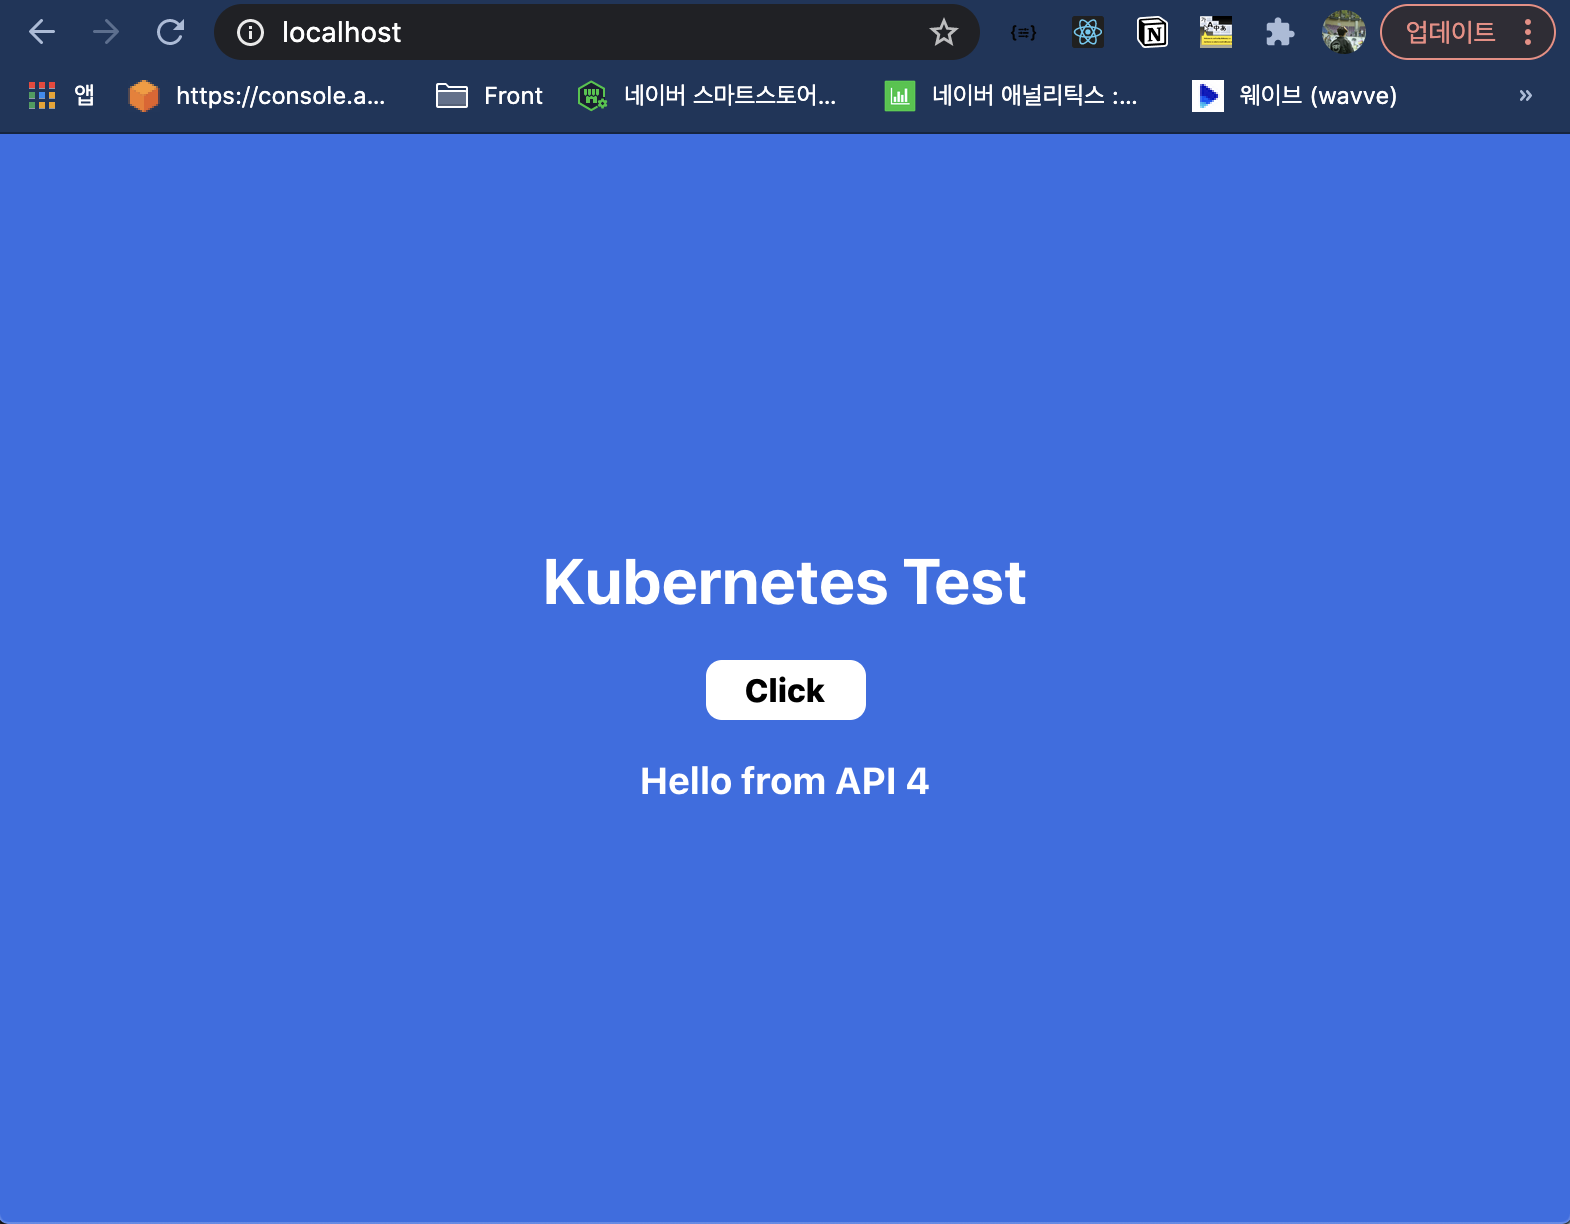
이제 API 서버를 로컬에서 먼저 실행시키고 http://localhost:80에 접속해보면 다음과 같이 애플리케이션이 잘 실행된다. Click 버튼을 눌렀을 때에도 API 서버에서 값을 잘 받아온다.

Dockerizing
이제 로컬 테스트는 끝났으니 도커 이미지를 만들어 보자.
Dockerfile은 다음과 같다.
베이스 이미지로 nginx:1.19-alpine을 사용하려고 한다. Alpine Linux는 Nginx 디렉토리 경로가 로컬과 다르다.
FROM nginx:1.19-alpine
RUN apk add curl
COPY ./build/ /usr/share/nginx/html/
RUN rm -rf /etc/nginx/conf.d/default.conf
COPY ./nginx.conf /etc/nginx/conf.d
EXPOSE 80
먼저 웹콘텐츠는 /usr/share/nginx/html/ 폴더 아래에 있다. 그래서 build 폴더 아래에 있는 내용을 모두 /usr/share/nginx/html/ 폴더에 COPY 해줬다.
RUN rm -rf /etc/nginx/conf.d/default.conf 이 부분은 기본 Nginx 설정을 지워주는 것이고, 그 다음 우리의 nginx.conf 파일을 대신 넣어준다.
이 때
nginx.conf의 전체 내용은 다음과 같다. (로컬과 다름)server { listen 80; server_name localhost; #charset koi8-r; #access_log logs/host.access.log main; location / { root /usr/share/nginx/html ; index index.html index.htm; } location /api { proxy_pass http://localhost:8080; } #error_page 404 /404.html; # redirect server error pages to the static page /50x.html # error_page 500 502 503 504 /50x.html; location = /50x.html { root html; } }
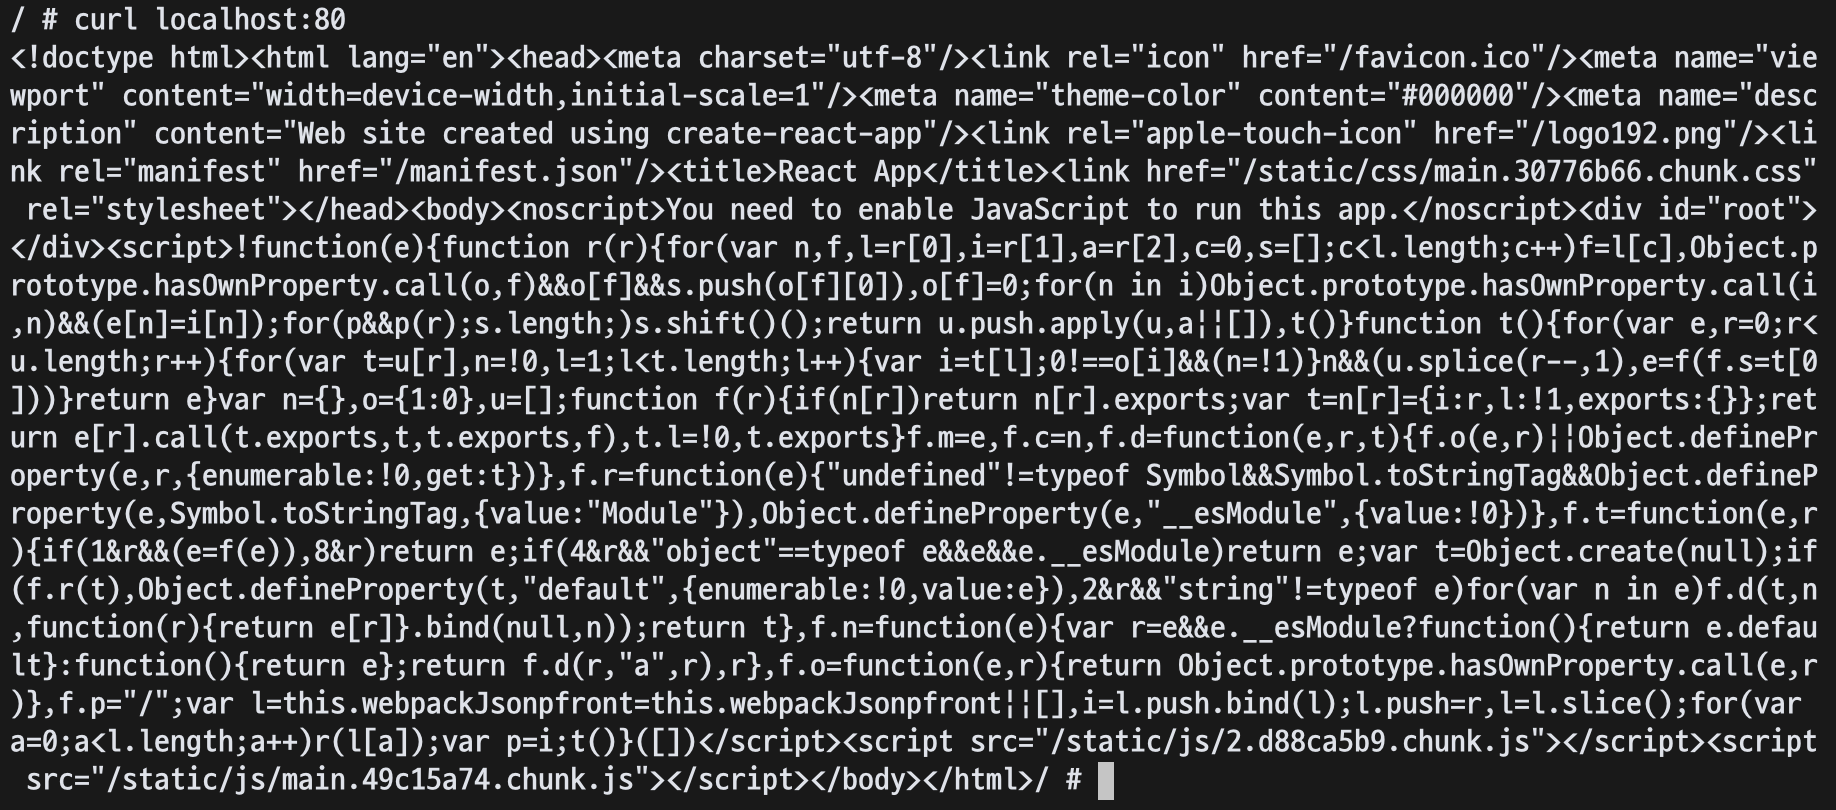
앞에서 했던 것과 같이 도커 이미지를 만들고 컨테이너를 실행시킨 후 컨테이너 안에 들어가서 localhost:80 요청을 해보면 정상적으로 출력되는 것을 볼 수 있다.

하지만 API 서버가 없기 때문에 localhost:80/api 요청은 제대로 되지 않을 것이다. 일단 nginx.conf에서 proxy_pass의 http://localhost:8080; 부분을 http://test-api:8080;로 수정하여 최종 도커 이미지를 만들어 놓는다.
(test-api라는 이름으로 API 서비스를 배포할 예정이라 http://test-api:8080으로 Proxy를 세팅)
최종
nginx.confserver { listen 80; server_name localhost; #charset koi8-r; #access_log logs/host.access.log main; location / { root /usr/share/nginx/html ; index index.html index.htm; } location /api { proxy_pass http://test-api:8080; } #error_page 404 /404.html; # redirect server error pages to the static page /50x.html # error_page 500 502 503 504 /50x.html; location = /50x.html { root html; } }
쿠버네티스 배포
api-k8s.yml
image: 에 앞에서 만든 도커 이미지를 넣어준다. 나의 경우에는 AWS ECR에 이미지를 Push 해놨기 때문에 원격 레파지토리에 있는 이미지의 정보를 넣어주었다.
apiVersion: apps/v1
kind: Deployment
metadata:
  name: test-api
spec:
  selector:
    matchLabels:
      app: test-api
      tier: back
  template:
    metadata:
      labels:
        app: test-api
        tier: back
    spec:
      containers:
        - name: test-api
          image: public.ecr.aws/p4g1u1f9/23724-k8s/api:10
          ports:
            - containerPort: 8080

---
apiVersion: v1
kind: Service
metadata:
  name: test-api
spec:
  selector:
    app: test-api
    tier: back
  ports:
    - port: 8080
배포를 진행한다.
$ kubectl apply -f api-k8s.yml
deployment.apps/test-api created
service/test-api createdpod와 service의 상태를 조회해 본다.
$ kctl get po,svc
NAME                            READY   STATUS    RESTARTS   AGE
pod/test-api-744db7f449-dhz8b   1/1     Running   0          37s

NAME                 TYPE        CLUSTER-IP     EXTERNAL-IP   PORT(S)    AGE
service/kubernetes   ClusterIP   10.96.0.1      <none>        443/TCP    26h
service/test-api     ClusterIP   10.97.22.157   <none>        8080/TCP   37s
다음 명령어로 실제 파드에 들어가서 쉘 명령어를 실행해 볼 수 있다.
$ kubectl exec -it pod/test-api-744db7f449-dhz8b -- sh
API가 정상적으로 배포 되었다.
front-k8s.yml
Front는 외부에서 접근할 수 있어야 하기 때문에 Service 타입을 NodePort타입으로 지정했다. 다음과 같이 작성하면 외부에서 30000번 포트로 접근이 가능하다.
apiVersion: apps/v1
kind: Deployment
metadata:
  name: test-front
spec:
  selector:
    matchLabels:
      app: test-front
      tier: front
  template:
    metadata:
      labels:
        app: test-front
        tier: front
    spec:
      containers:
        - name: test-front
          image: public.ecr.aws/p4g1u1f9/23724-k8s/front:16
          ports:
            - containerPort: 80

---
apiVersion: v1
kind: Service
metadata:
  name: test-front
spec:
  type: NodePort
  selector:
    app: test-front
    tier: front
  ports:
    - port: 80
      nodePort: 30000
마찬가지로 배포를 하고 상태를 조회해보면 pod와 service 모두 조회가 된다.
$ kctl get po,svc
NAME                              READY   STATUS    RESTARTS   AGE
pod/test-api-744db7f449-dhz8b     1/1     Running   0          77m
pod/test-front-6cd4fddb6c-rtcxj   1/1     Running   0          3s

NAME                 TYPE        CLUSTER-IP     EXTERNAL-IP   PORT(S)        AGE
service/kubernetes   ClusterIP   10.96.0.1      <none>        443/TCP        27h
service/test-api     ClusterIP   10.97.22.157   <none>        8080/TCP       77m
service/test-front NodePort 10.96.195.16 <none> 80:30000/TCP 3sNodePort가 30000번으로 열려있기 때문에 http://[minikube ip]:30000로 접속이 가능하다.

자신의
minikube ip는minkube가 켜져있다는 가정하에 터미널에서 아래 명령어를 실행하면 얻을 수 있다.$ minikube ip
앞에서 nginx.conf의 proxy_pass를 http://[api service name]:8080으로 세팅해주었기 때문에 Click버튼을 눌렀을 때 API 호출도 정상적으로 작동하여 숫자가 증가하는 것을 볼 수 있다.
🚀 아직은 쿠린이라 틀린 부분이 있을 수도 있다. 좀 더 공부해서 DB도 추가하고 이것 저것 더 업그레이드 해서 다음 포스팅을 해보도록 하겠다.
