Controller
package com.example.demo.controller;
import java.util.ArrayList;
import java.util.List;
import javax.servlet.http.HttpServletRequest;
import org.springframework.beans.factory.annotation.Autowired;
import org.springframework.stereotype.Controller;
import org.springframework.ui.Model;
import org.springframework.web.bind.annotation.ModelAttribute;
import org.springframework.web.bind.annotation.PathVariable;
import org.springframework.web.bind.annotation.RequestMapping;
import com.example.demo.bean.FileBoardVO;
import com.example.demo.service.FileBoardService;
@Controller
@RequestMapping("/fileBoard")
public class FileBoardController {
@Autowired
FileBoardService fboardService;
@RequestMapping("/list")
private String fileBoardList(Model model, HttpServletRequest request) {
List<FileBoardVO> testList = new ArrayList<>();
testList = fboardService.getFileBoardList();
model.addAttribute("testlist", testList);
return "/fileBoard/list";
}
@RequestMapping("/detail/{b_no}")
private String fileBoardDetail(@PathVariable("b_no") int b_no, Model model) {
model.addAttribute("detail", fboardService.fileBoardDetail(b_no));
return "fileBoard/detail";
}
@RequestMapping("/insert")
private String fileBoardInsertForm(@ModelAttribute FileBoardVO board) {
return "fileBoard/insert";
}
@RequestMapping("/insertProc")
private String fileBoardInsertProc(@ModelAttribute FileBoardVO board, HttpServletRequest request) {
fboardService.fileBoardInsert(board);
return "forward:/fileBoard/list";
}
@RequestMapping("/update/{b_no}")
private String fileBoardUpdateForm(@PathVariable("b_no") int b_no, Model model) {
model.addAttribute("detail", fboardService.fileBoardDetail(b_no));
return "fileBoard/update";
}
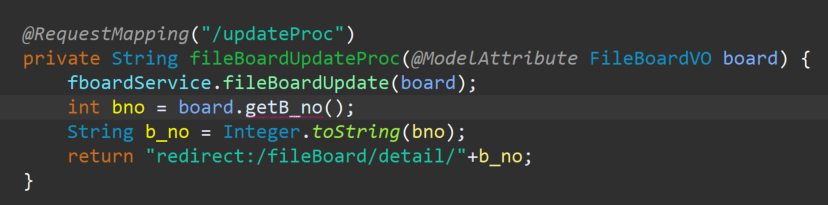
@RequestMapping("/updateProc")
private String fileBoardUpdateProc(@ModelAttribute FileBoardVO board) {
fboardService.fileBoardUpdate(board);
int bno = board.getB_no();
String b_no = Integer.toString(bno);
return "redirect:/fileBoard/detail/"+b_no;
}
@RequestMapping("/delete/{b_no}")
private String fileBoardDelete(@PathVariable("b_no") int b_no) {
fboardService.fileBoardDelete(b_no);
return "redirect:/fileBoard/list";
}
}
- @RequestMapping :controller로 들어온 요청을 특정 매서드와 매핑.
ex. @RequestMapping(value="요청받을url", method=RequestMethod.GET) - @Autowired : 의존성 주입. 의존 객체의 타입에 해당하는 bean을 찾아 주입.
- @PathVariable : 쿼리스트링으로 값을 보내줄 때 '?='이 아닌 '/'로 보내줬을때 파라미터 값을 받는 방식이다. '/'로 값을 전송하면 url에 어떤 값인지 표시되지 않는다.
- @ModelAttribute : 해당 어노테이션이 붙은 객체를 자동으로 생성해서 http로 넘어온 값들을 자동으로 바인딩한다.
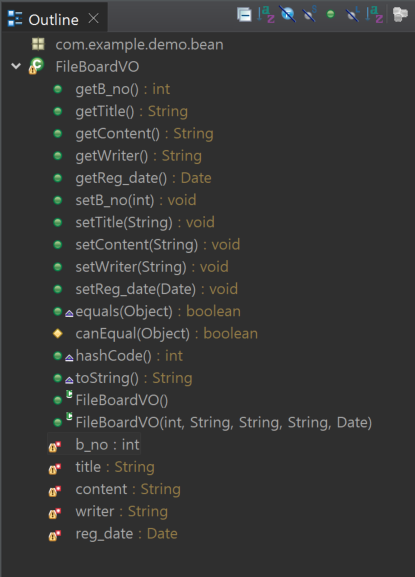
근데 여기 빨간줄이 생겼다.
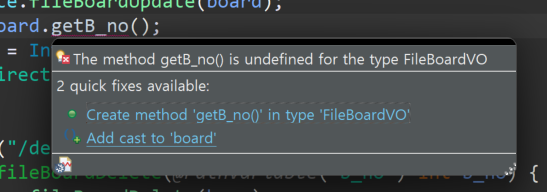
이게 오류인데
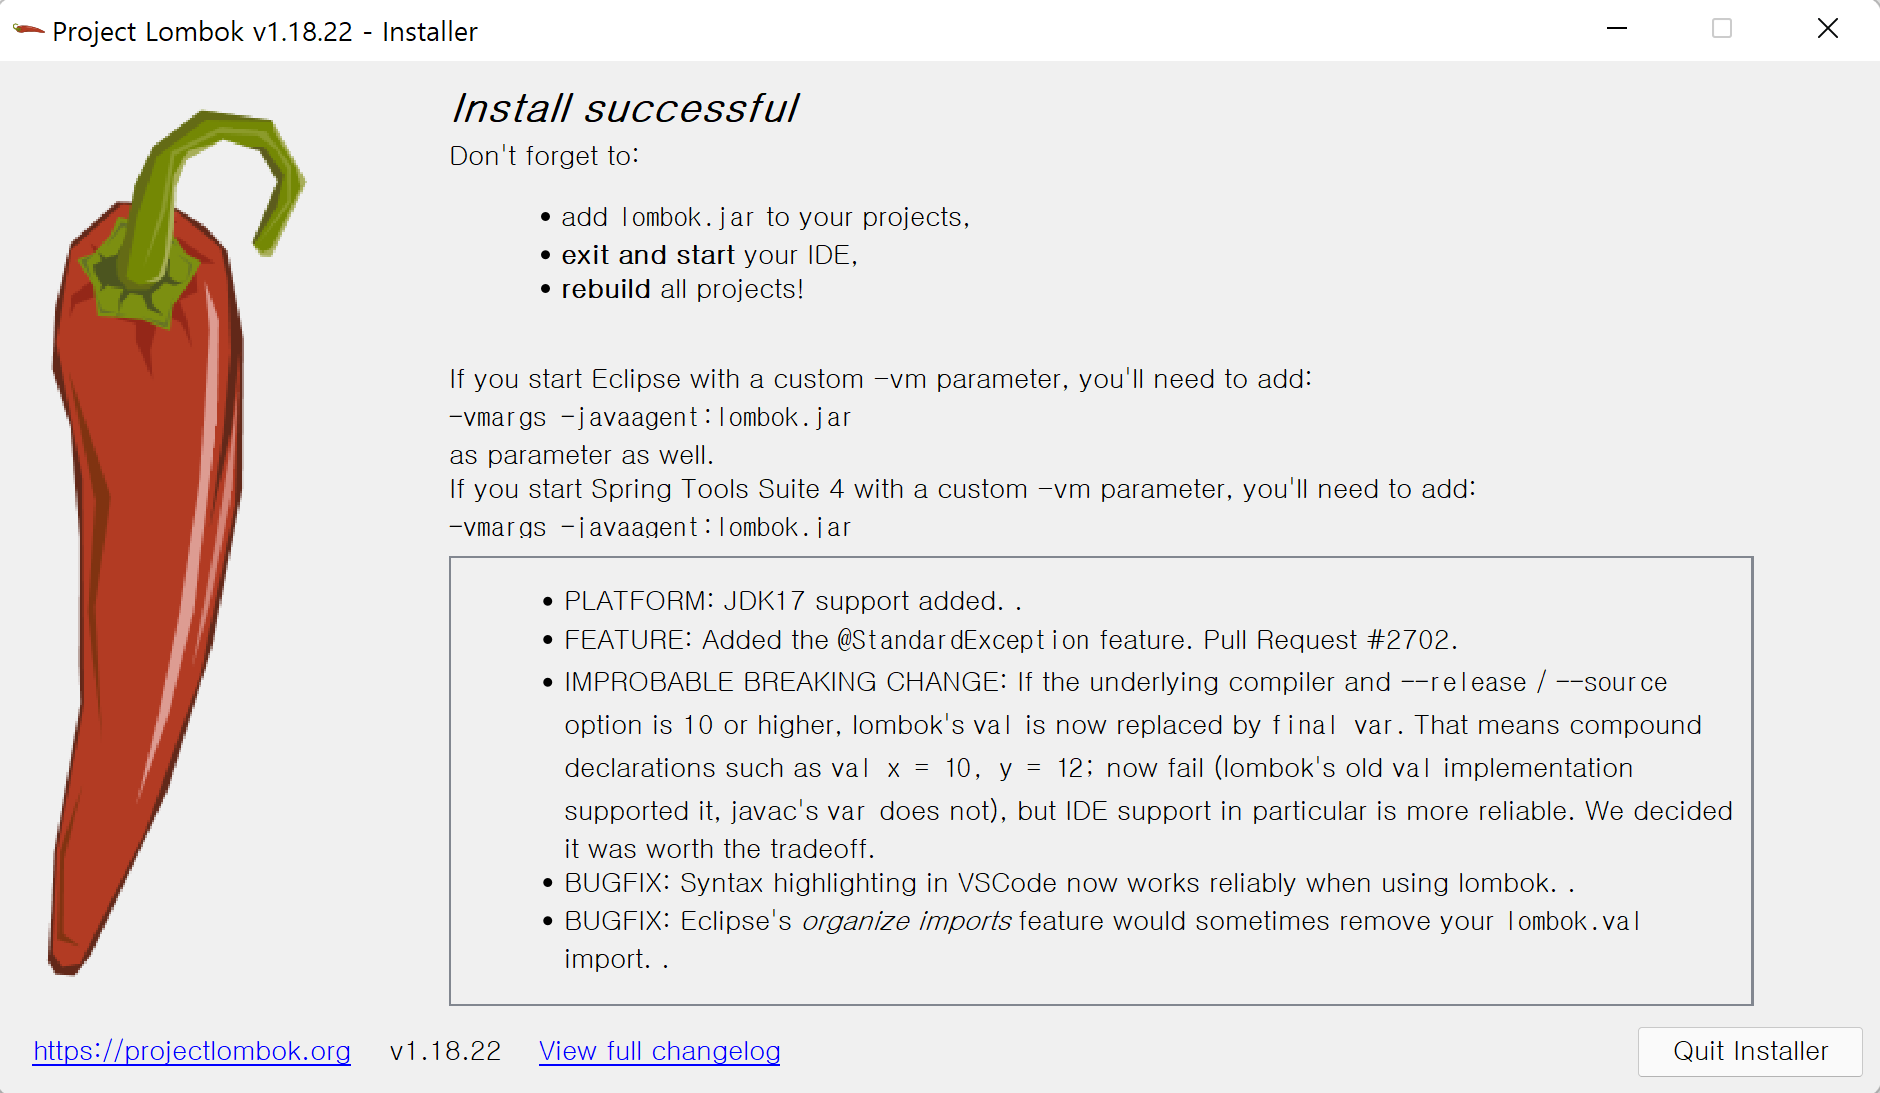
오류를 구글링해보니 @Data가 동작하지 않아서라고 한다.
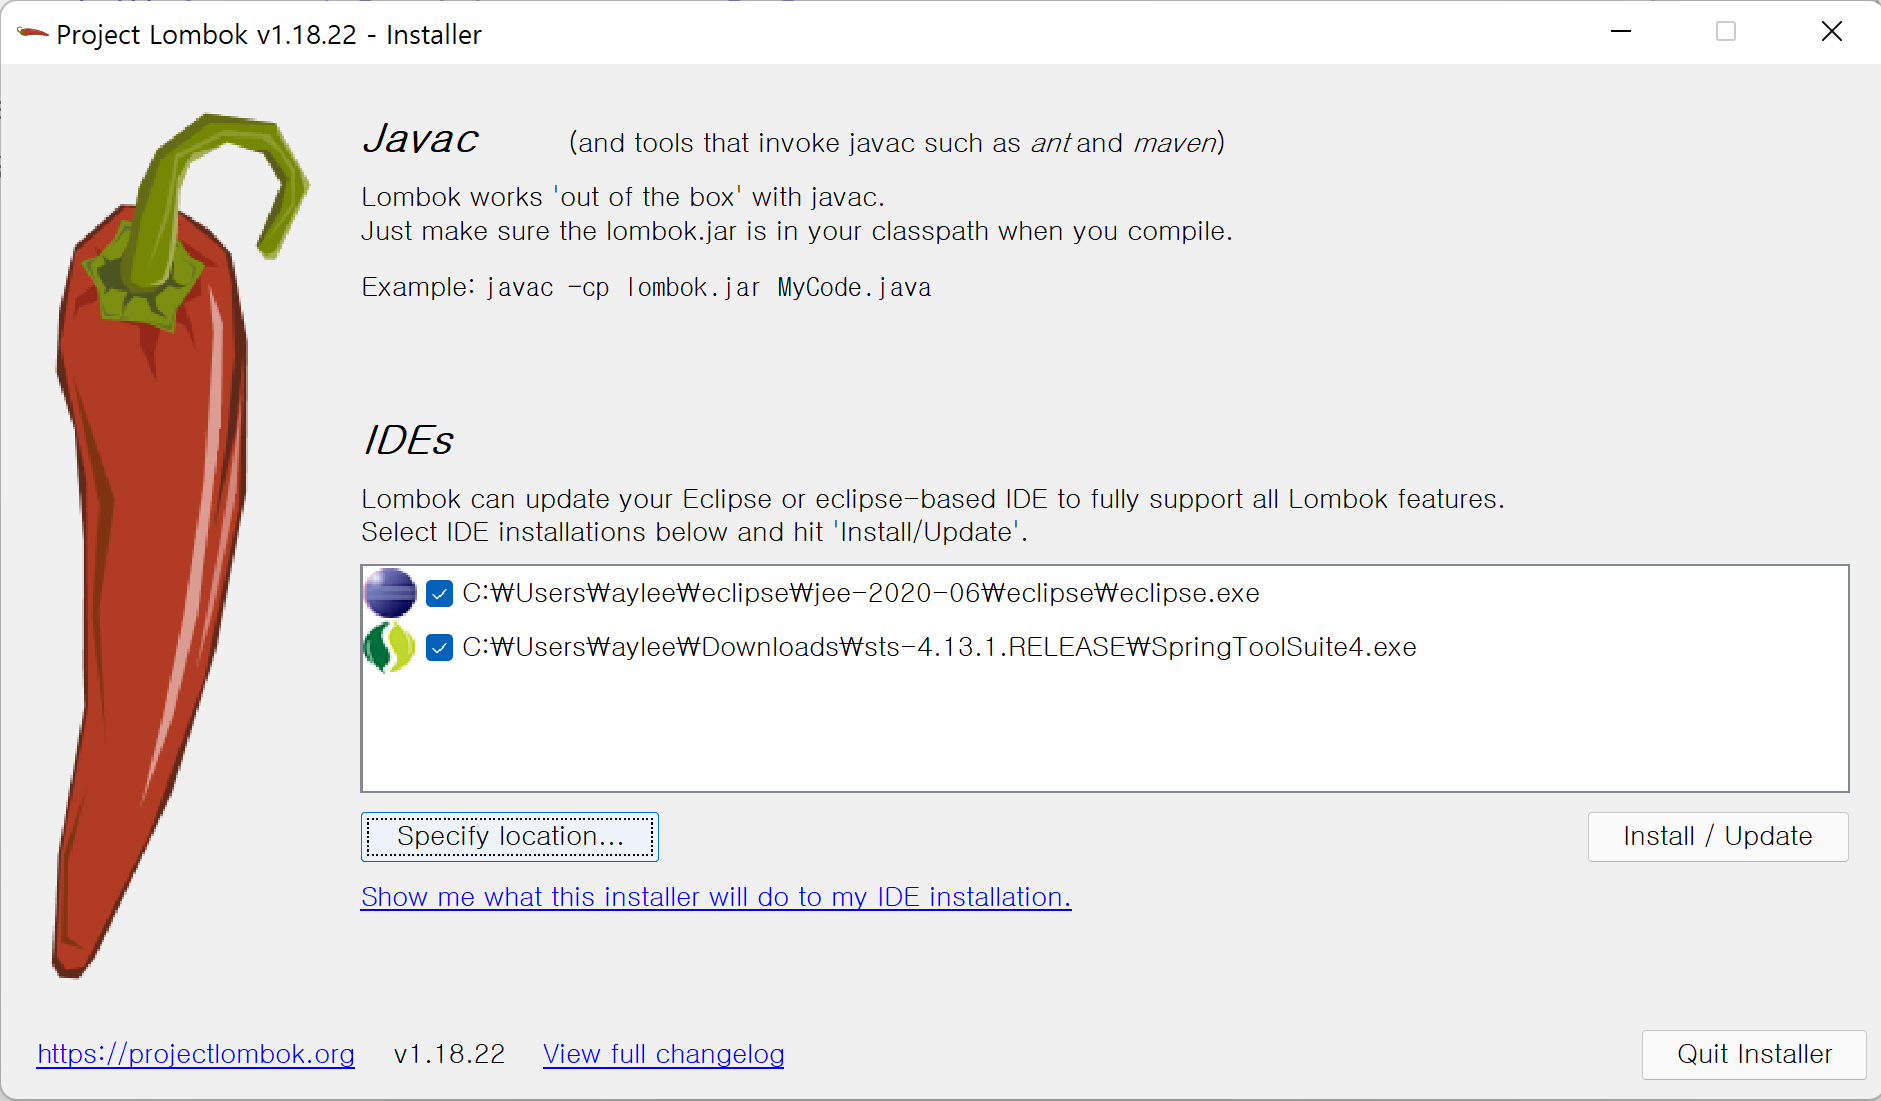
그리고 lombok jar는 직접 설치를 해야한단다.
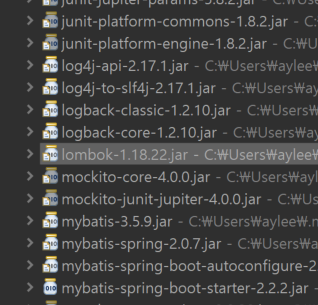
Dependencies에 들어있는데 또 따로 설치가 필요한가보군,, 하고 참고한 블로그의 스크롤을 쭉 내리다가 아,, ! 하고 깨달음을 얻었다.
수업때 롬복 설치했던 기억이 순간 떠올랐다.
이제 이건 안잊는다 내가
롬복 설치 ㄱㄱ
나란 놈은,,
답은 너다,,
그리고 스프링부트를 껐다 켜봤는데. . . . . .
아직도 빨간줄이 있당
그리고 VO에 getter setter 다 있는데,, ?

에라 모르겠다
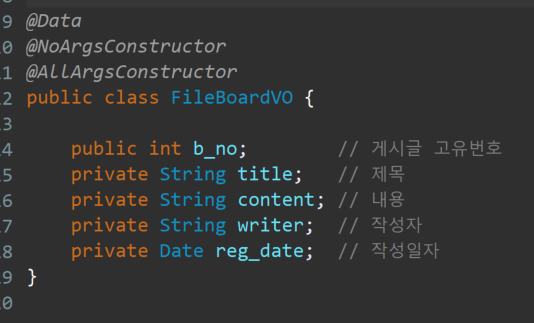
이거나 먹어라ㅗㅗㅗ
다음 진행 !!
thml
list.html
<!DOCTYPE html>
<html xmlns="http://www.w3.org/1999/xhtml" xmlns:th="http://www.thymeleaf.org">
<head>
<meta charset="UTF-8">
<title>파일게시판-리스트페이지</title>
<style type="text/css">
  li{
    list-style: none;
    float: left;
  }
</style>
</head>
<body>
   <div>
     <div style="padding: 10px; text-align: center;">
       <h1><a th:href="@{/fileBoard/list}" style="text-decoration: none;">파일자료실</a></h1>
     </div>
     <div>
       <table>
         <thead style="text-align: center;">
           <tr>
             <th style="text-align: center;">순서</th>
             <th style="text-align: center;">작성자</th>
             <th style="text-align: center;">제목</th>
             <th style="text-align: center;">작성일</th>
           </tr>
         </thead>
         <tbody>
           <tr th:each="data : ${testlist}" th:onclick="'window.location.href =\'' + @{fileBoard/detail/{bno}(bno=${data.b_no})} + '\''">
             <td th:text="${data.b_no}" style="cursor: pointer; text-align: center;"></td>
             <td th:text="${data.writer}" style="cursor: pointer; text-align: center;"></td>
             <td th:text="${data.title}" style="cursor: pointer; text-align: center;"></td>
             <td th:text="${data.reg_date}" style="cursor: pointer; text-align: center;"></td>
           </tr>
         </tbody>
       </table>
     </div>
     <div style="text-align: right;">
       <button onclick="location.href='/fileBoard/insert'">글작성</button>
     </div>
     <br><br><br>
   </div>
</body>
</html>
게시판 리스트를 불러오는 html코드.
그대로 따라치고 여기까지 하고 실행해보라고 해서 했는데
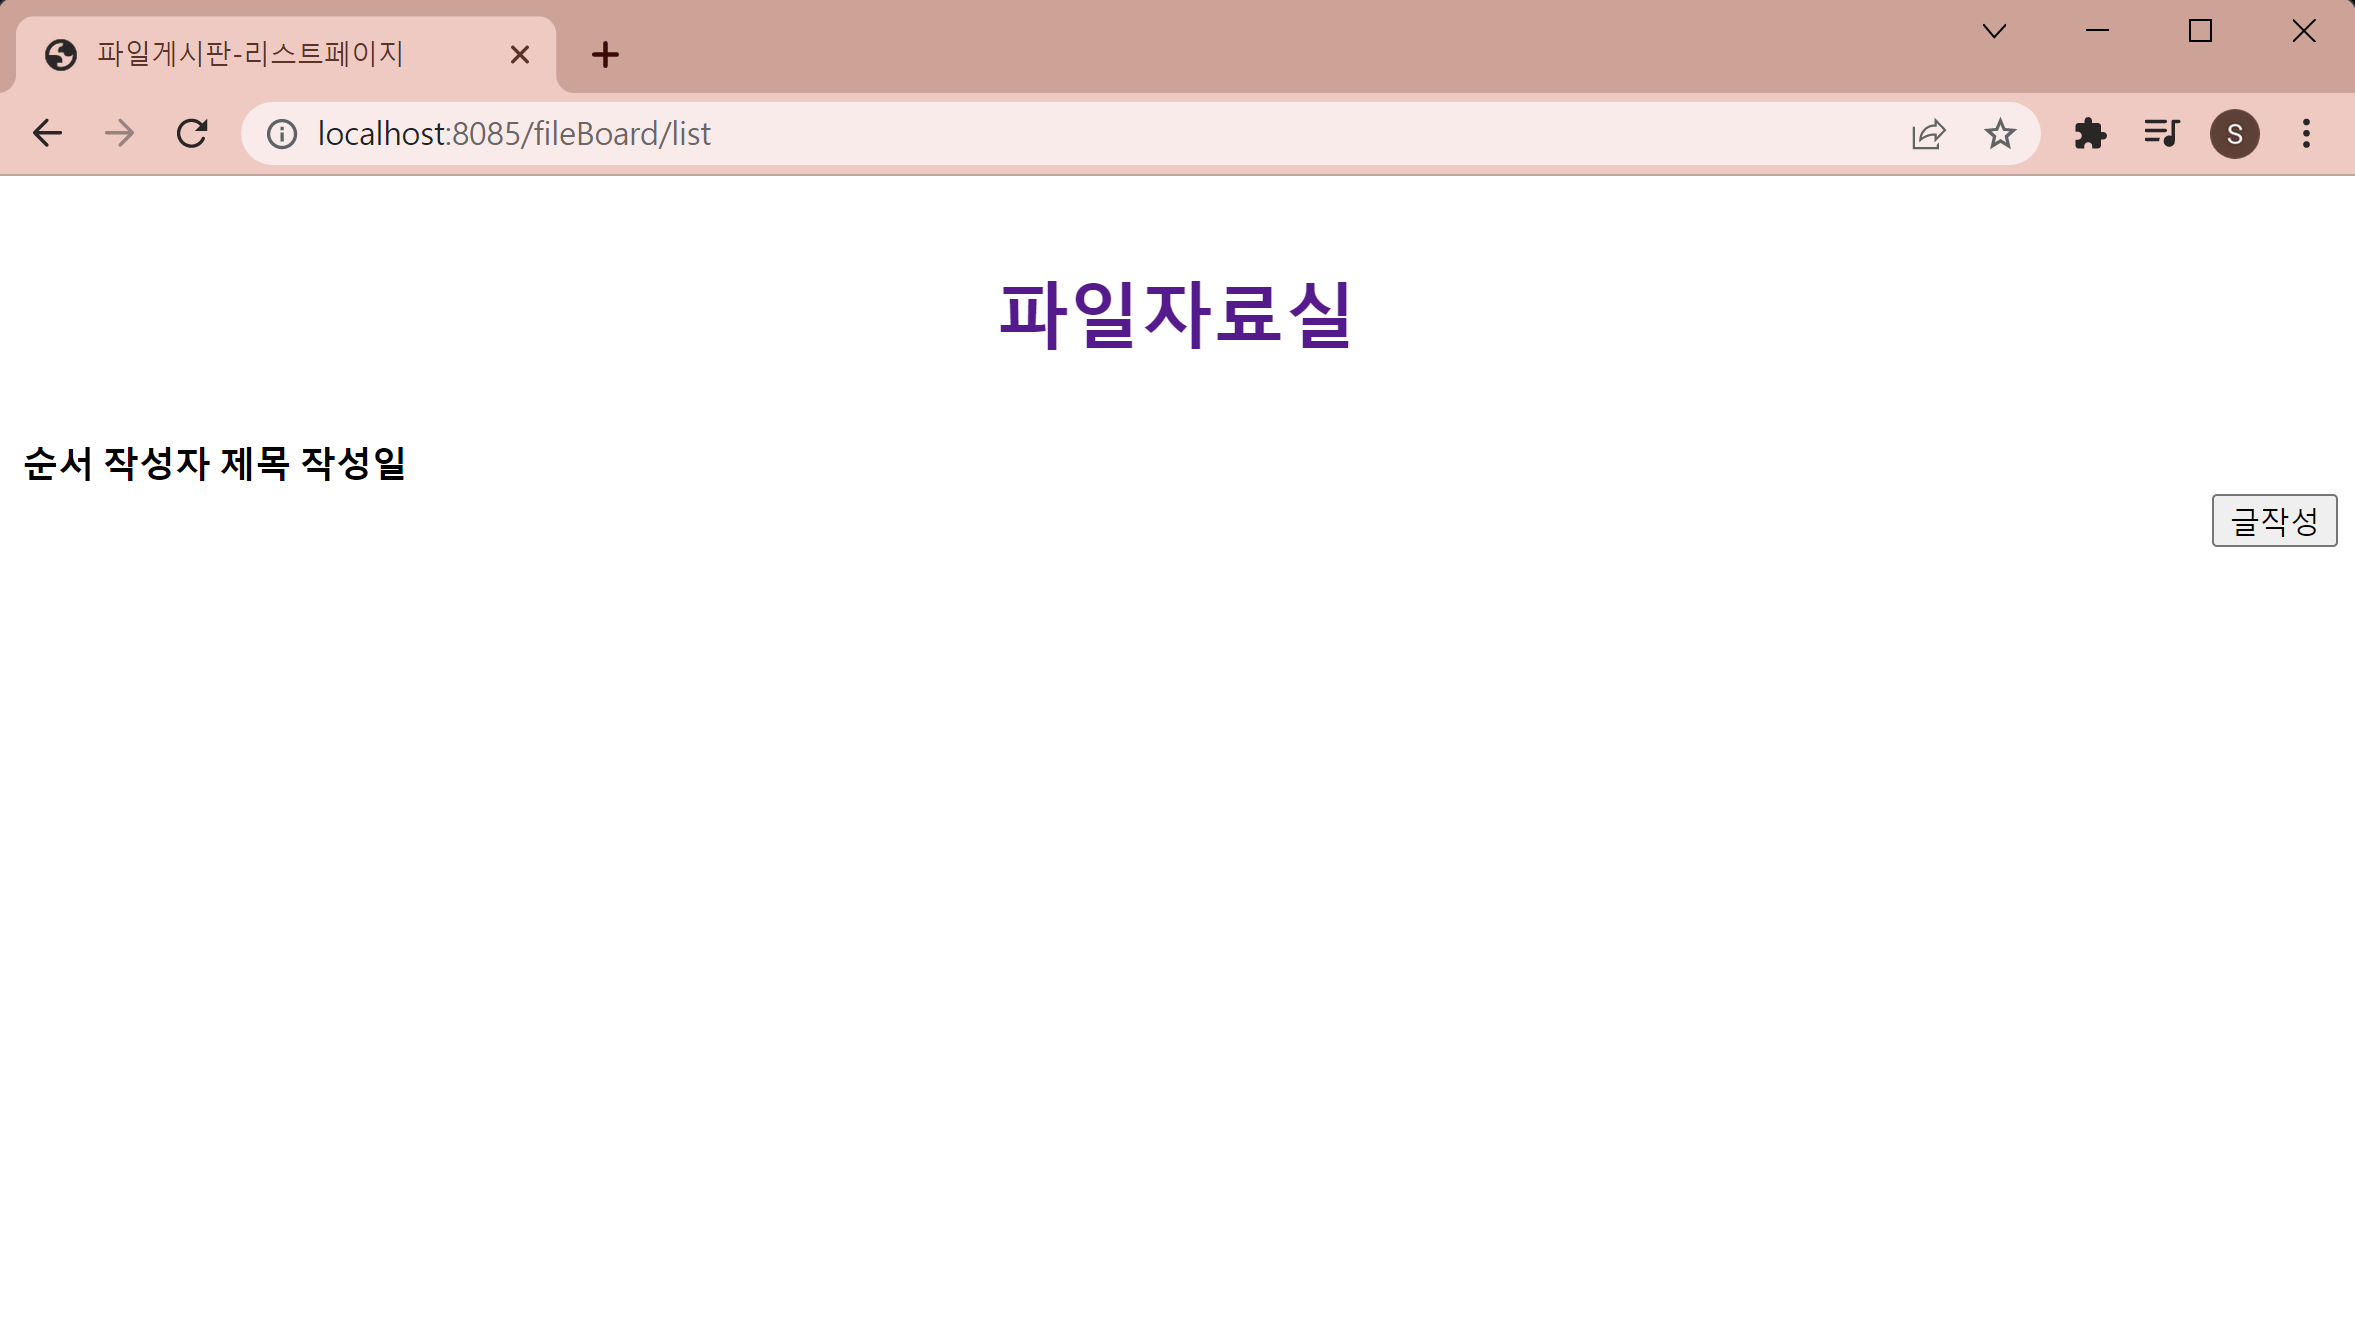
오우야
그럴 수 있죠 html이아니라 스프링부트 연습이니까
다음
테스트를 위해 데이터베이스에 데이터를 입력해주기
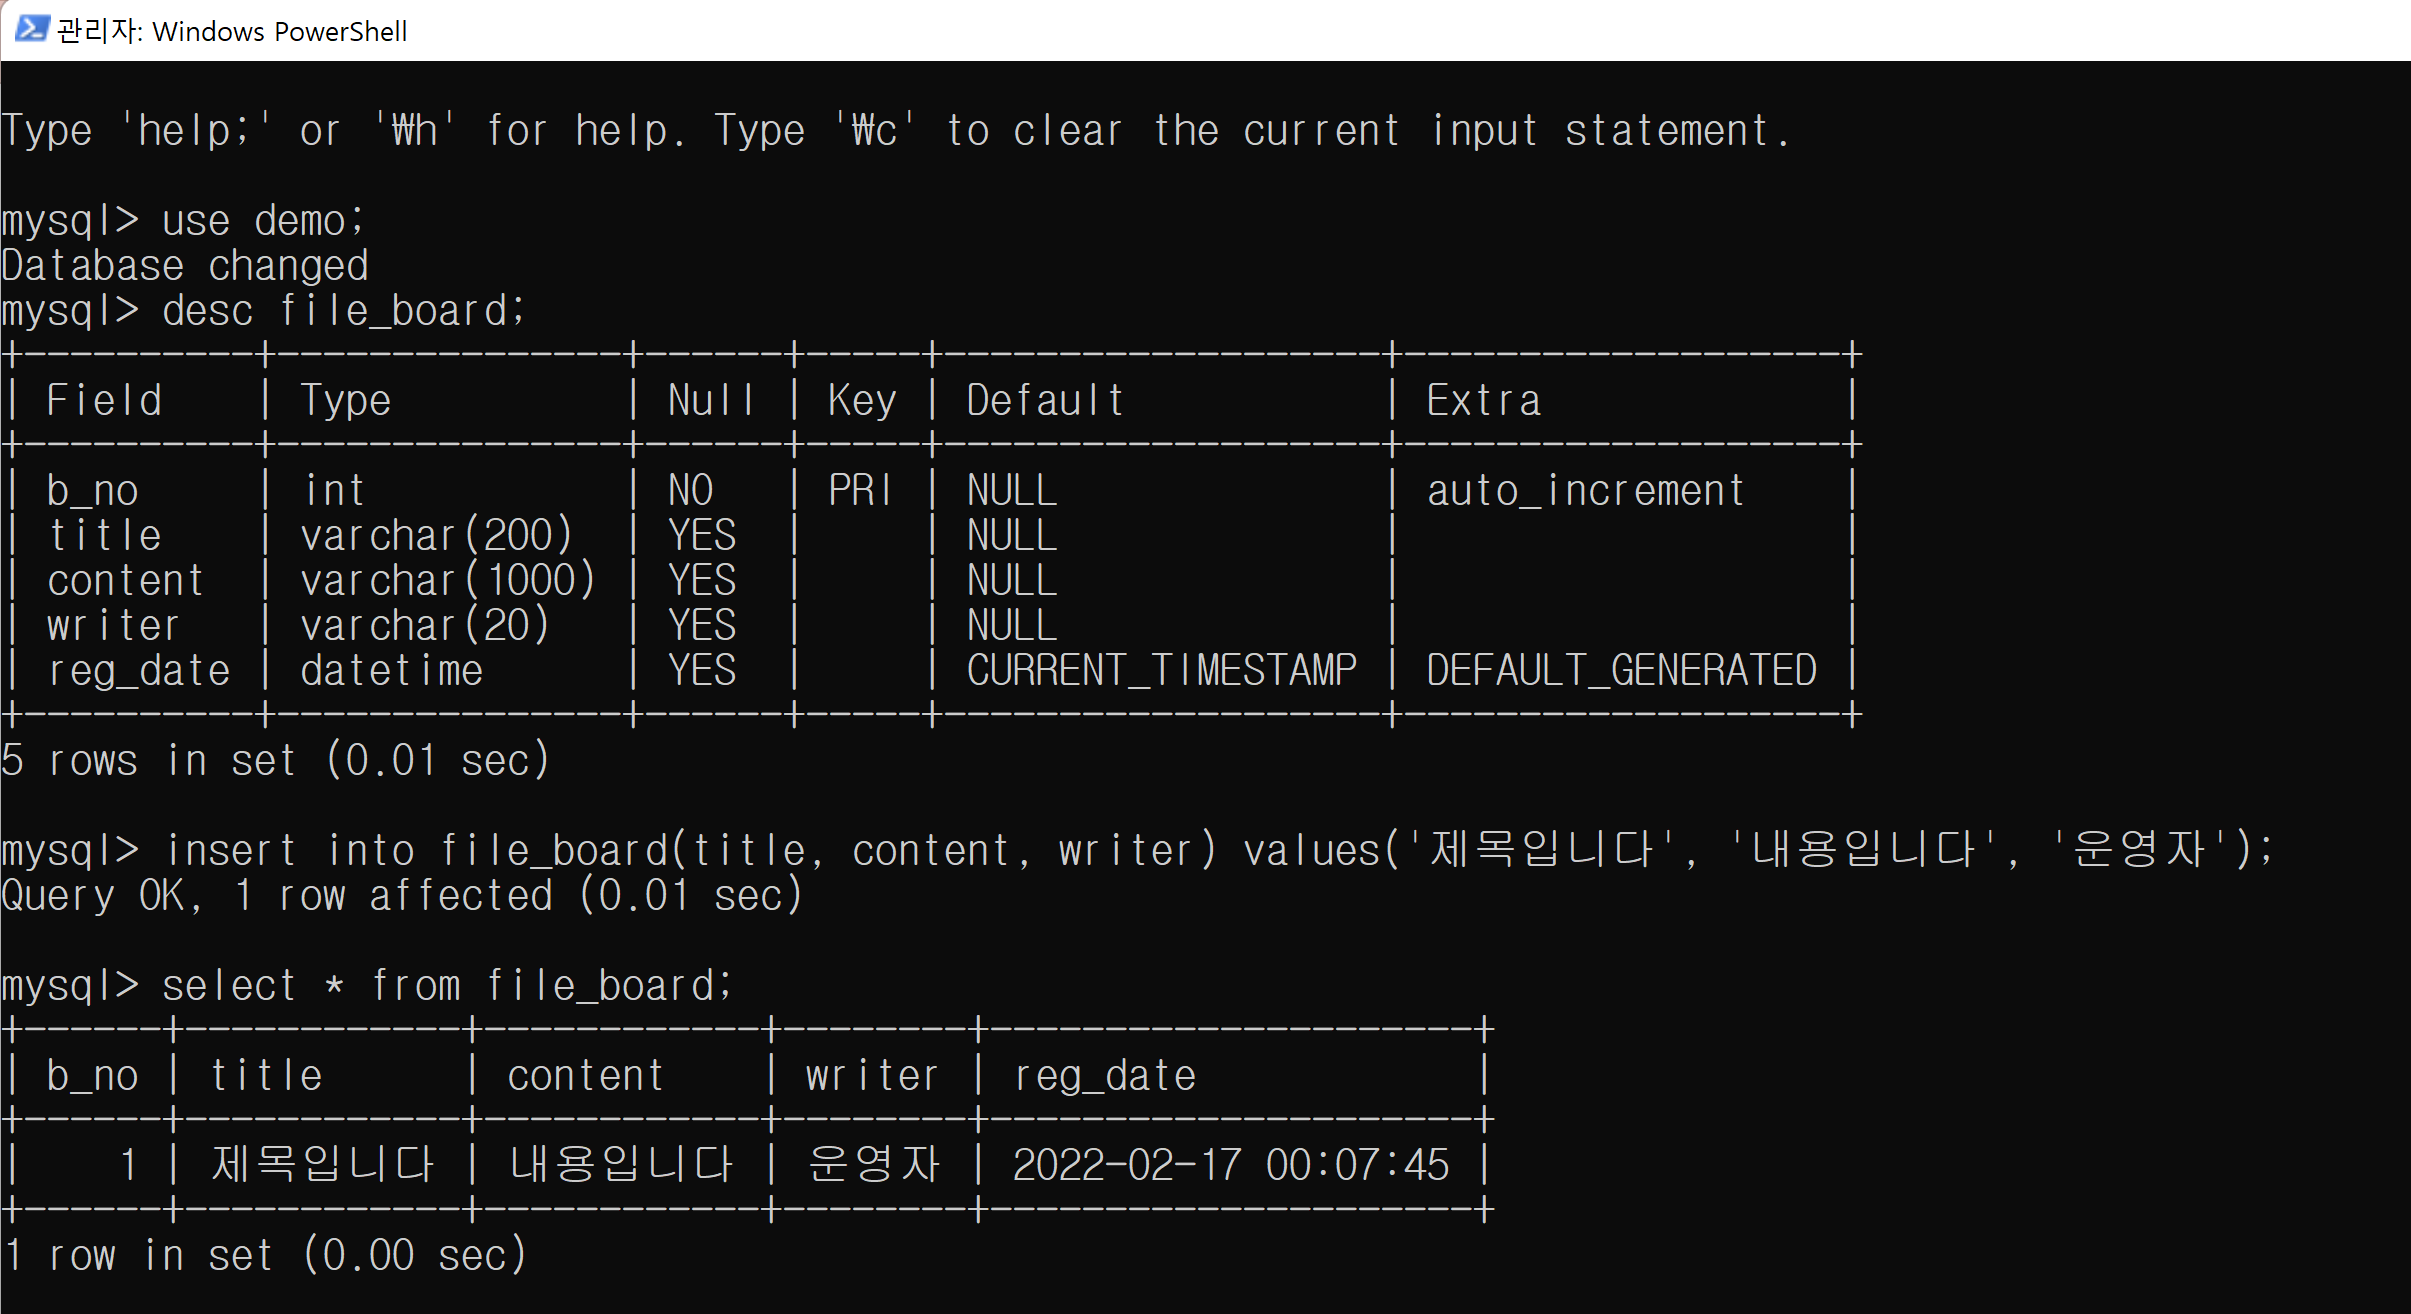 새로고침
새로고침
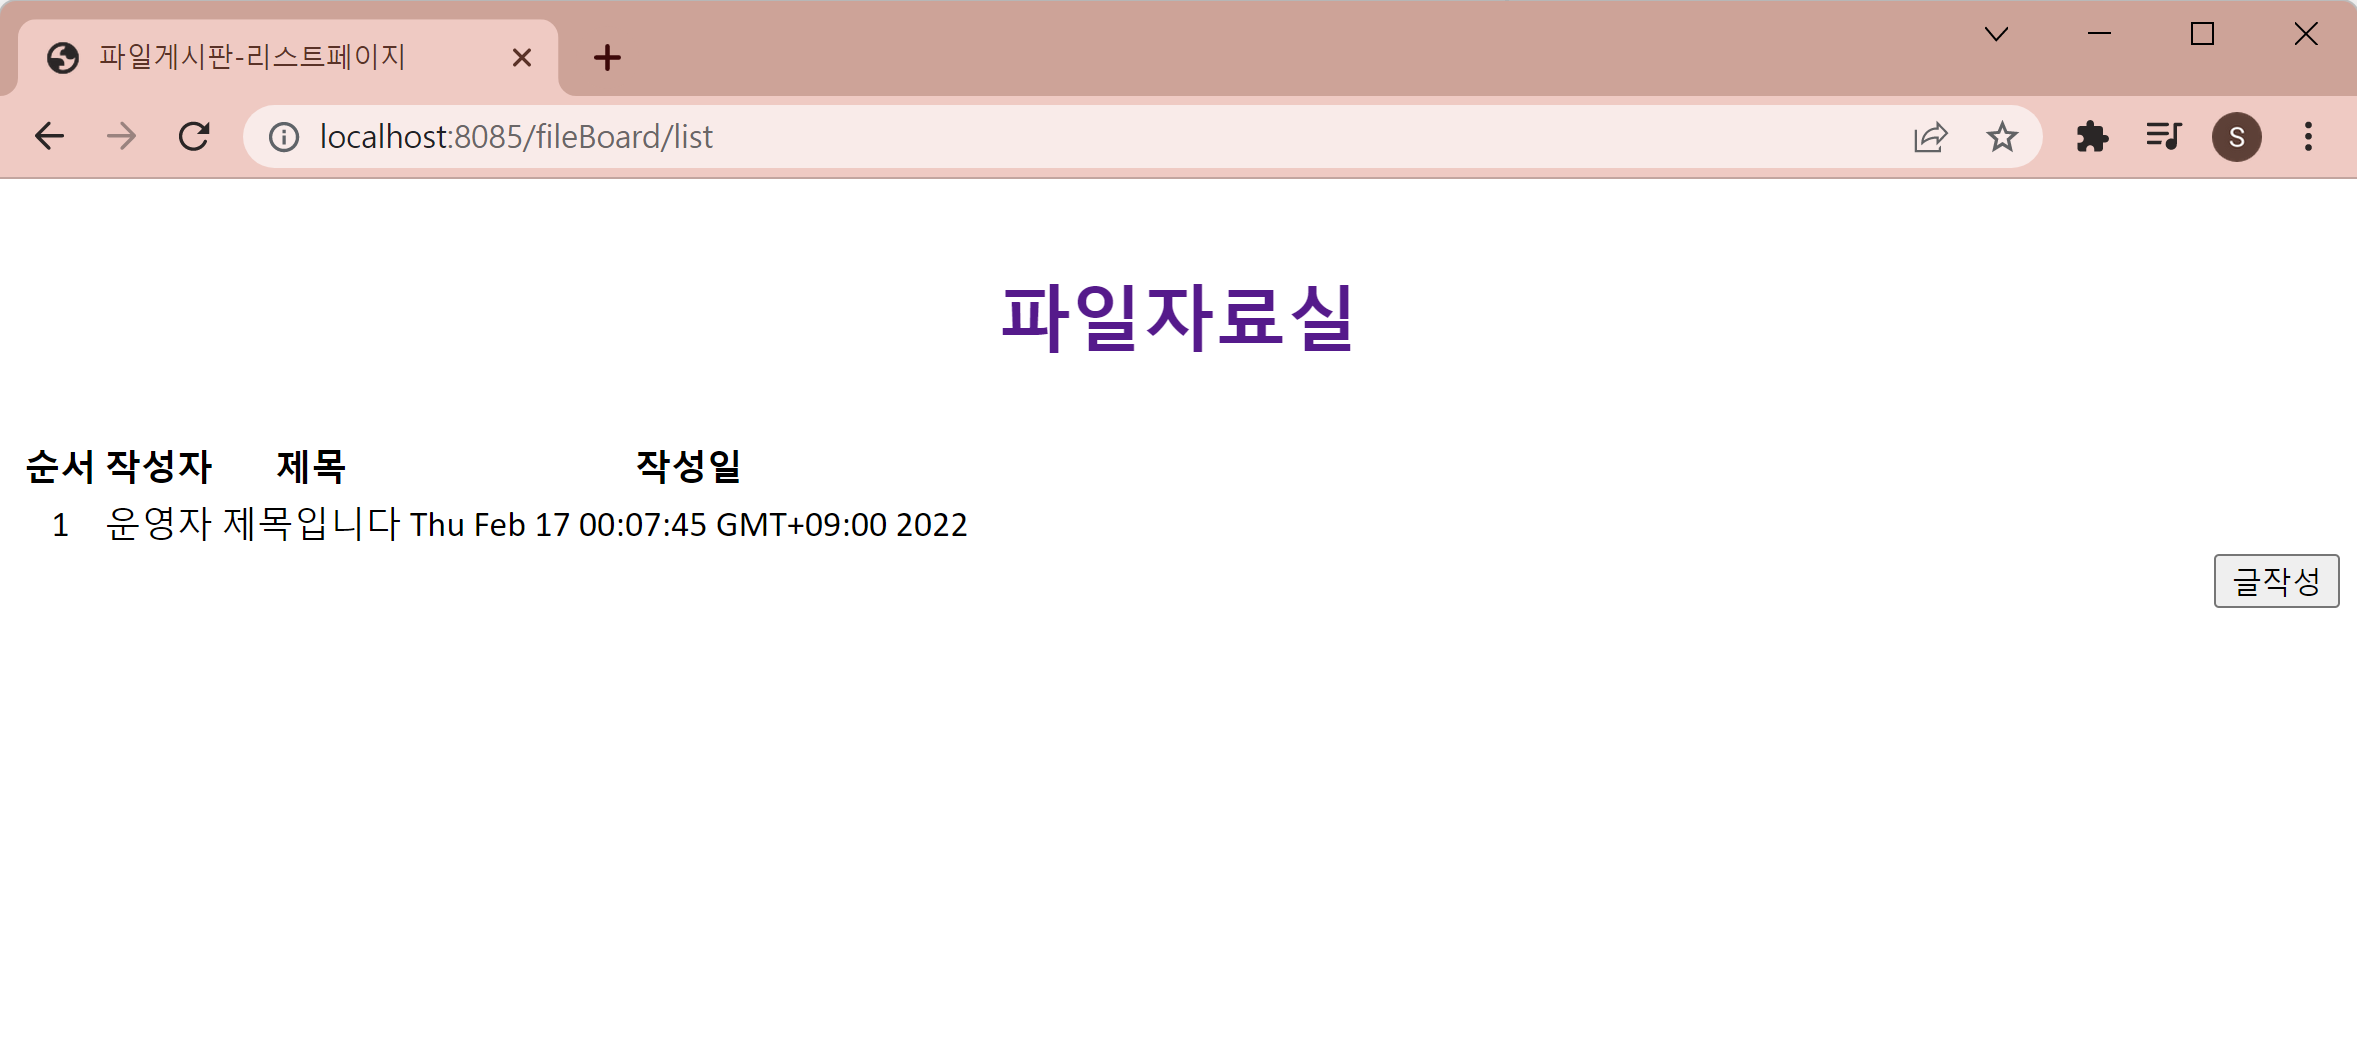
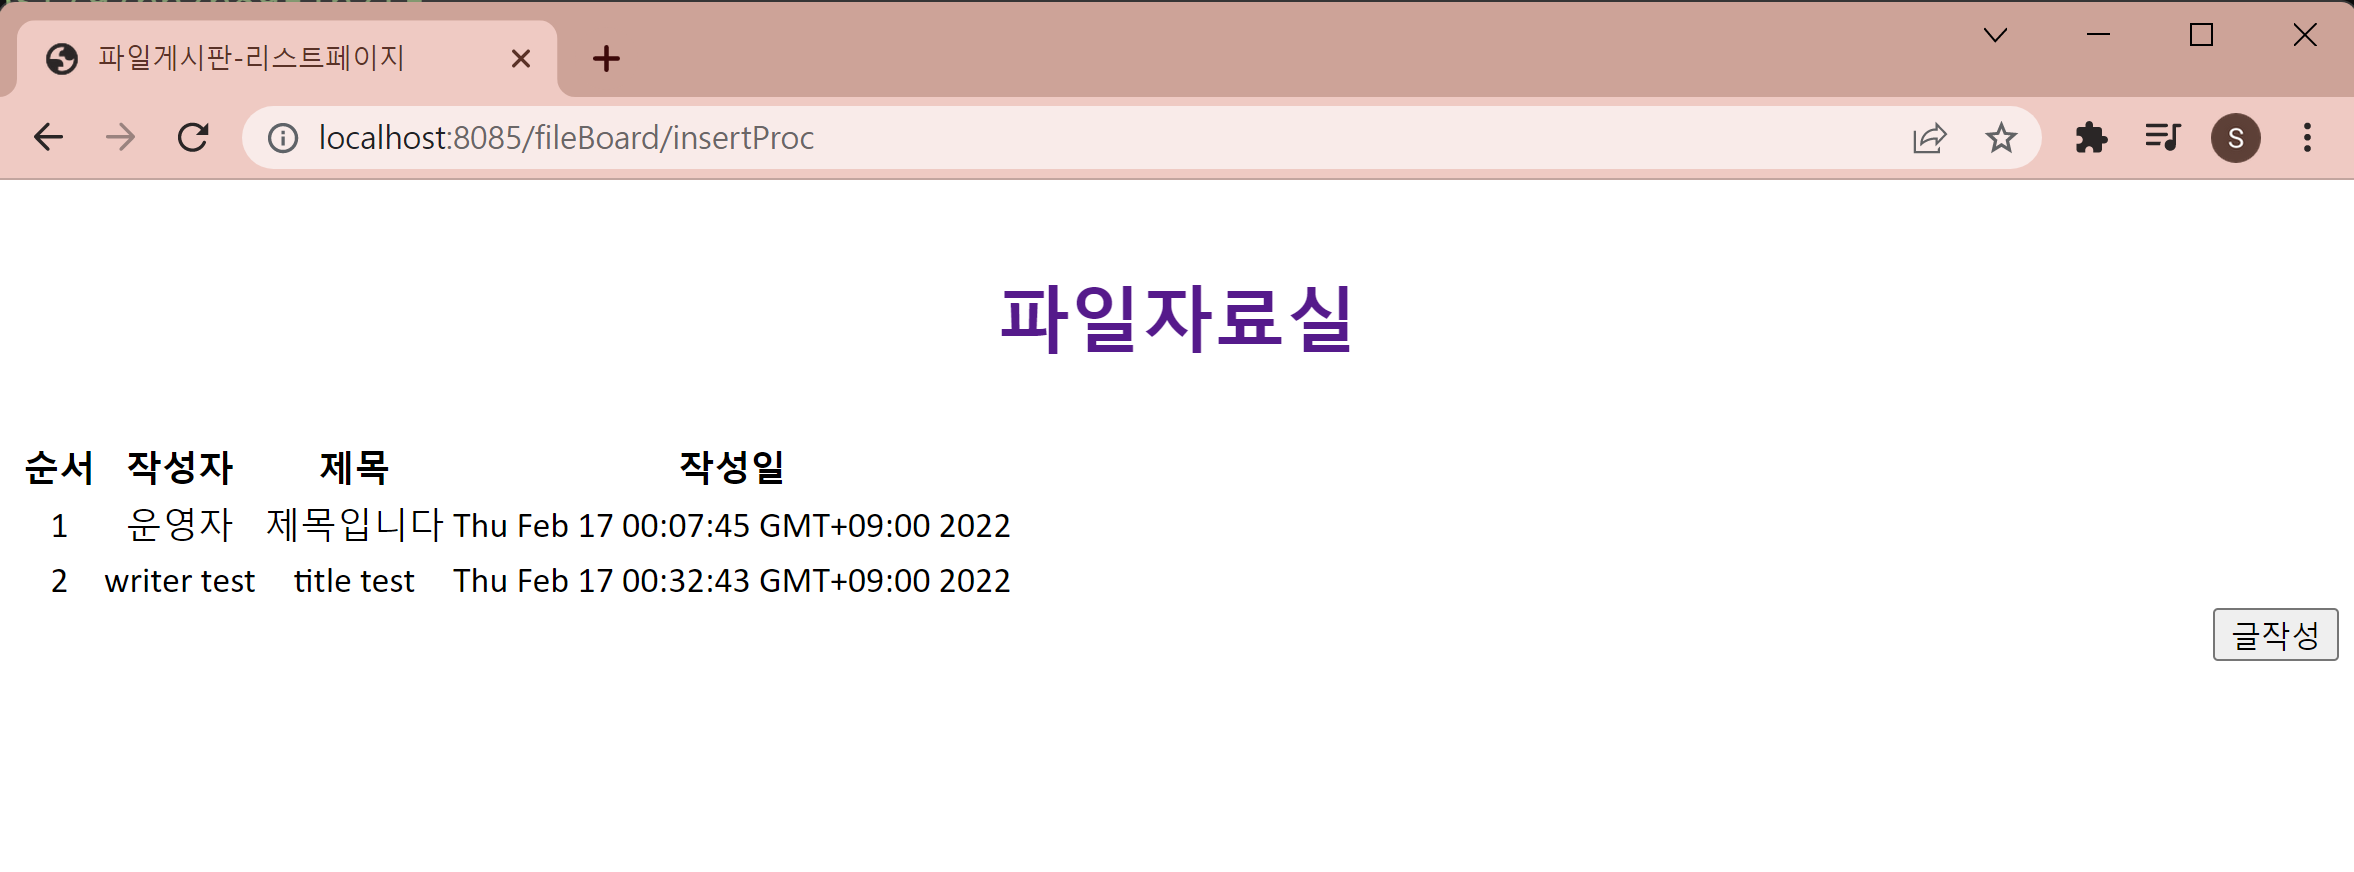
DB에 저장된 데이터가 잘 출력되는것이 확인되었다.
이제 직접 데이터를 입력해서 DB에 저장할 수 있도록 만들어보자
우선 데이터를 입력할 수 있도록 게시글 작성 html페이지 만들기
insert.html
<!DOCTYPE html>
<html xmlns:th="http://www.thymeleaf.org">
<head>
<meta charset="UTF-8" http-equiv="Content-Type">
<title>파일게시판 - 글작성</title>
</head>
<body>
  <div>
    <div style="padding: 10px; text-align: center;">
      <h1><a th:href="@{/fileBoard/list}" style="text-decoration: none;">게시글작성</a></h1>
    </div>
    <div>
      <form role="form" th:object=${fileBoardVO} th:action="@{/fileBoard/insertProc}", method="post" enctype="multipart/form-data">
        <div>
          <label for="title" style="font-weight: bolder;">제목</label>
          <input type="text" th:field="*{title}" id="title" name="title" placeholder="제목을 입력하세요" required="required">
        </div>
        <div>
          <label for="writer" style="font-weight: bolder;">작성자</label>
          <input type="text" th:field="*{writer}" id="writer" name="writer" placeholder="작성자를 입력하세요" required="required">
        </div>
        <div style="font-weight: bolder;">
          <label for="content">내용</label><br>
          <textarea th:field="*{content}" id="content" name="content" rows="15" cols="50" placeholder="내용을 입력하세요" required="required"></textarea>
        </div>
        <div>
          <input type="file" name="files">
        </div>
        <div style="text-align: right;">
          <input type="submit" th:value="목록" th:formaction="@{/fileBoard/list}">
          <input type="submit" th:value="작성">
          <input type="reset" th:value="취소">
        </div>
      </form>
    </div><br><br><br>
  </div>

</body>
</html>
와 하나하나 따라치느라 눈알 빠지는줄 알았다 복사가 안되네 이거
저장하고 웹에서 새로고침 후 글작성 버튼을 눌러보자
 좋았따 ,, ,
근데 이제 '목록'버튼을 누르면 required 속성 때문에
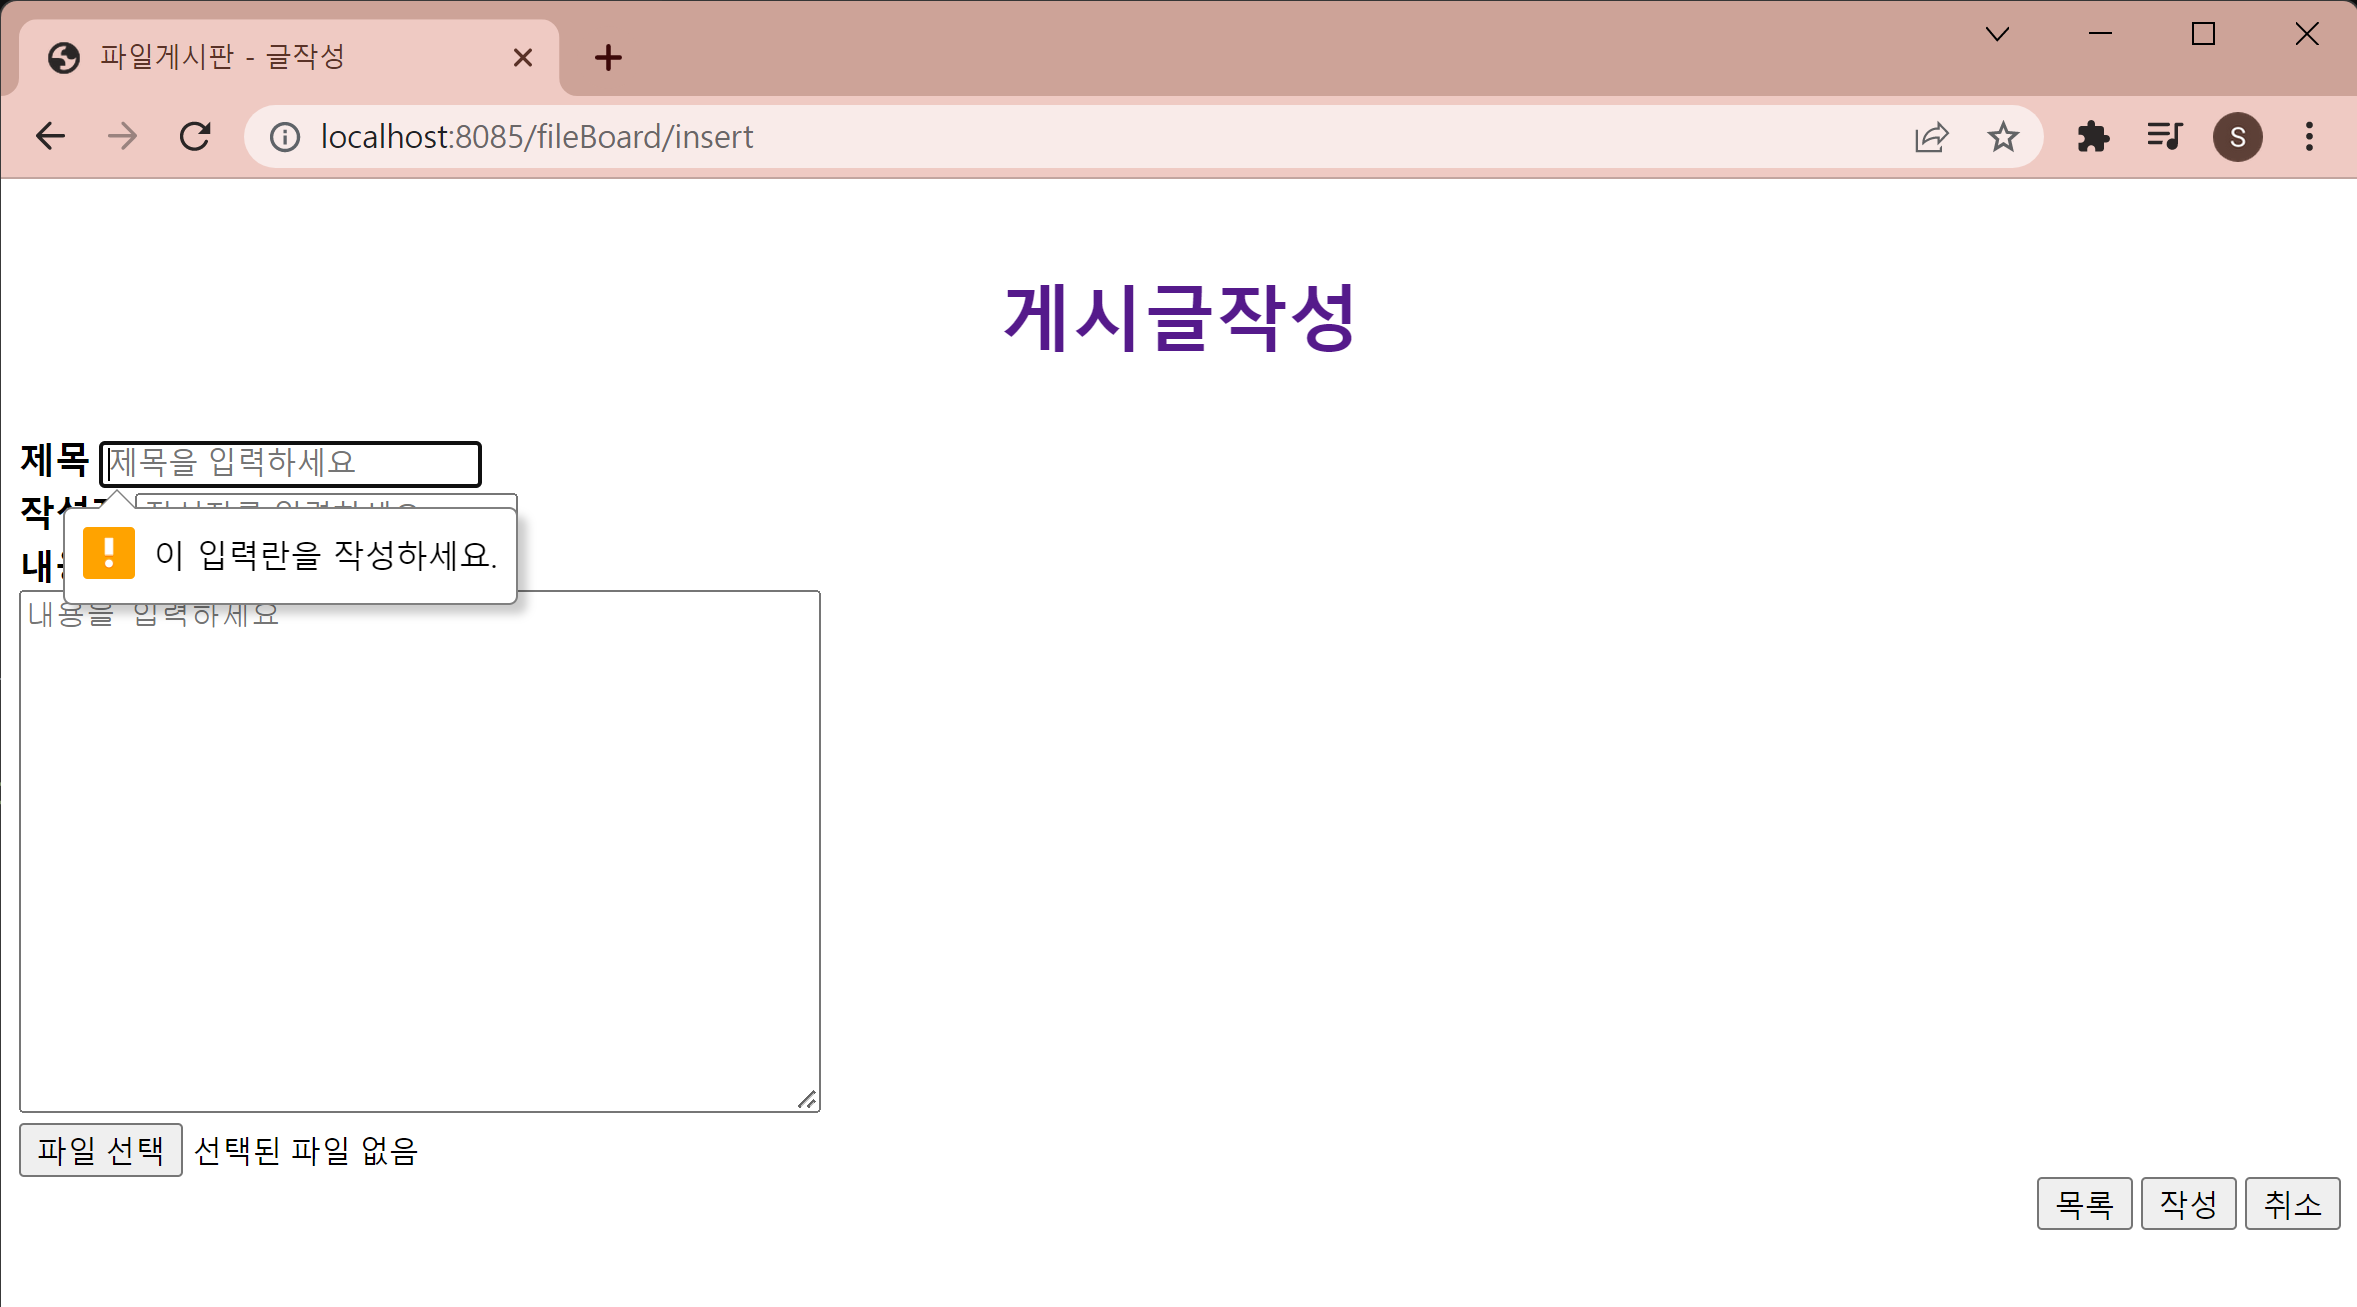
이렇게 된다.
블로그에서 required 속성을 삭제하라고 한다🙃오케이,,
근데 다른 방법도 있지 않을까? 없을라나?
일단 삭제
작성을 위해 내용을 채워보자
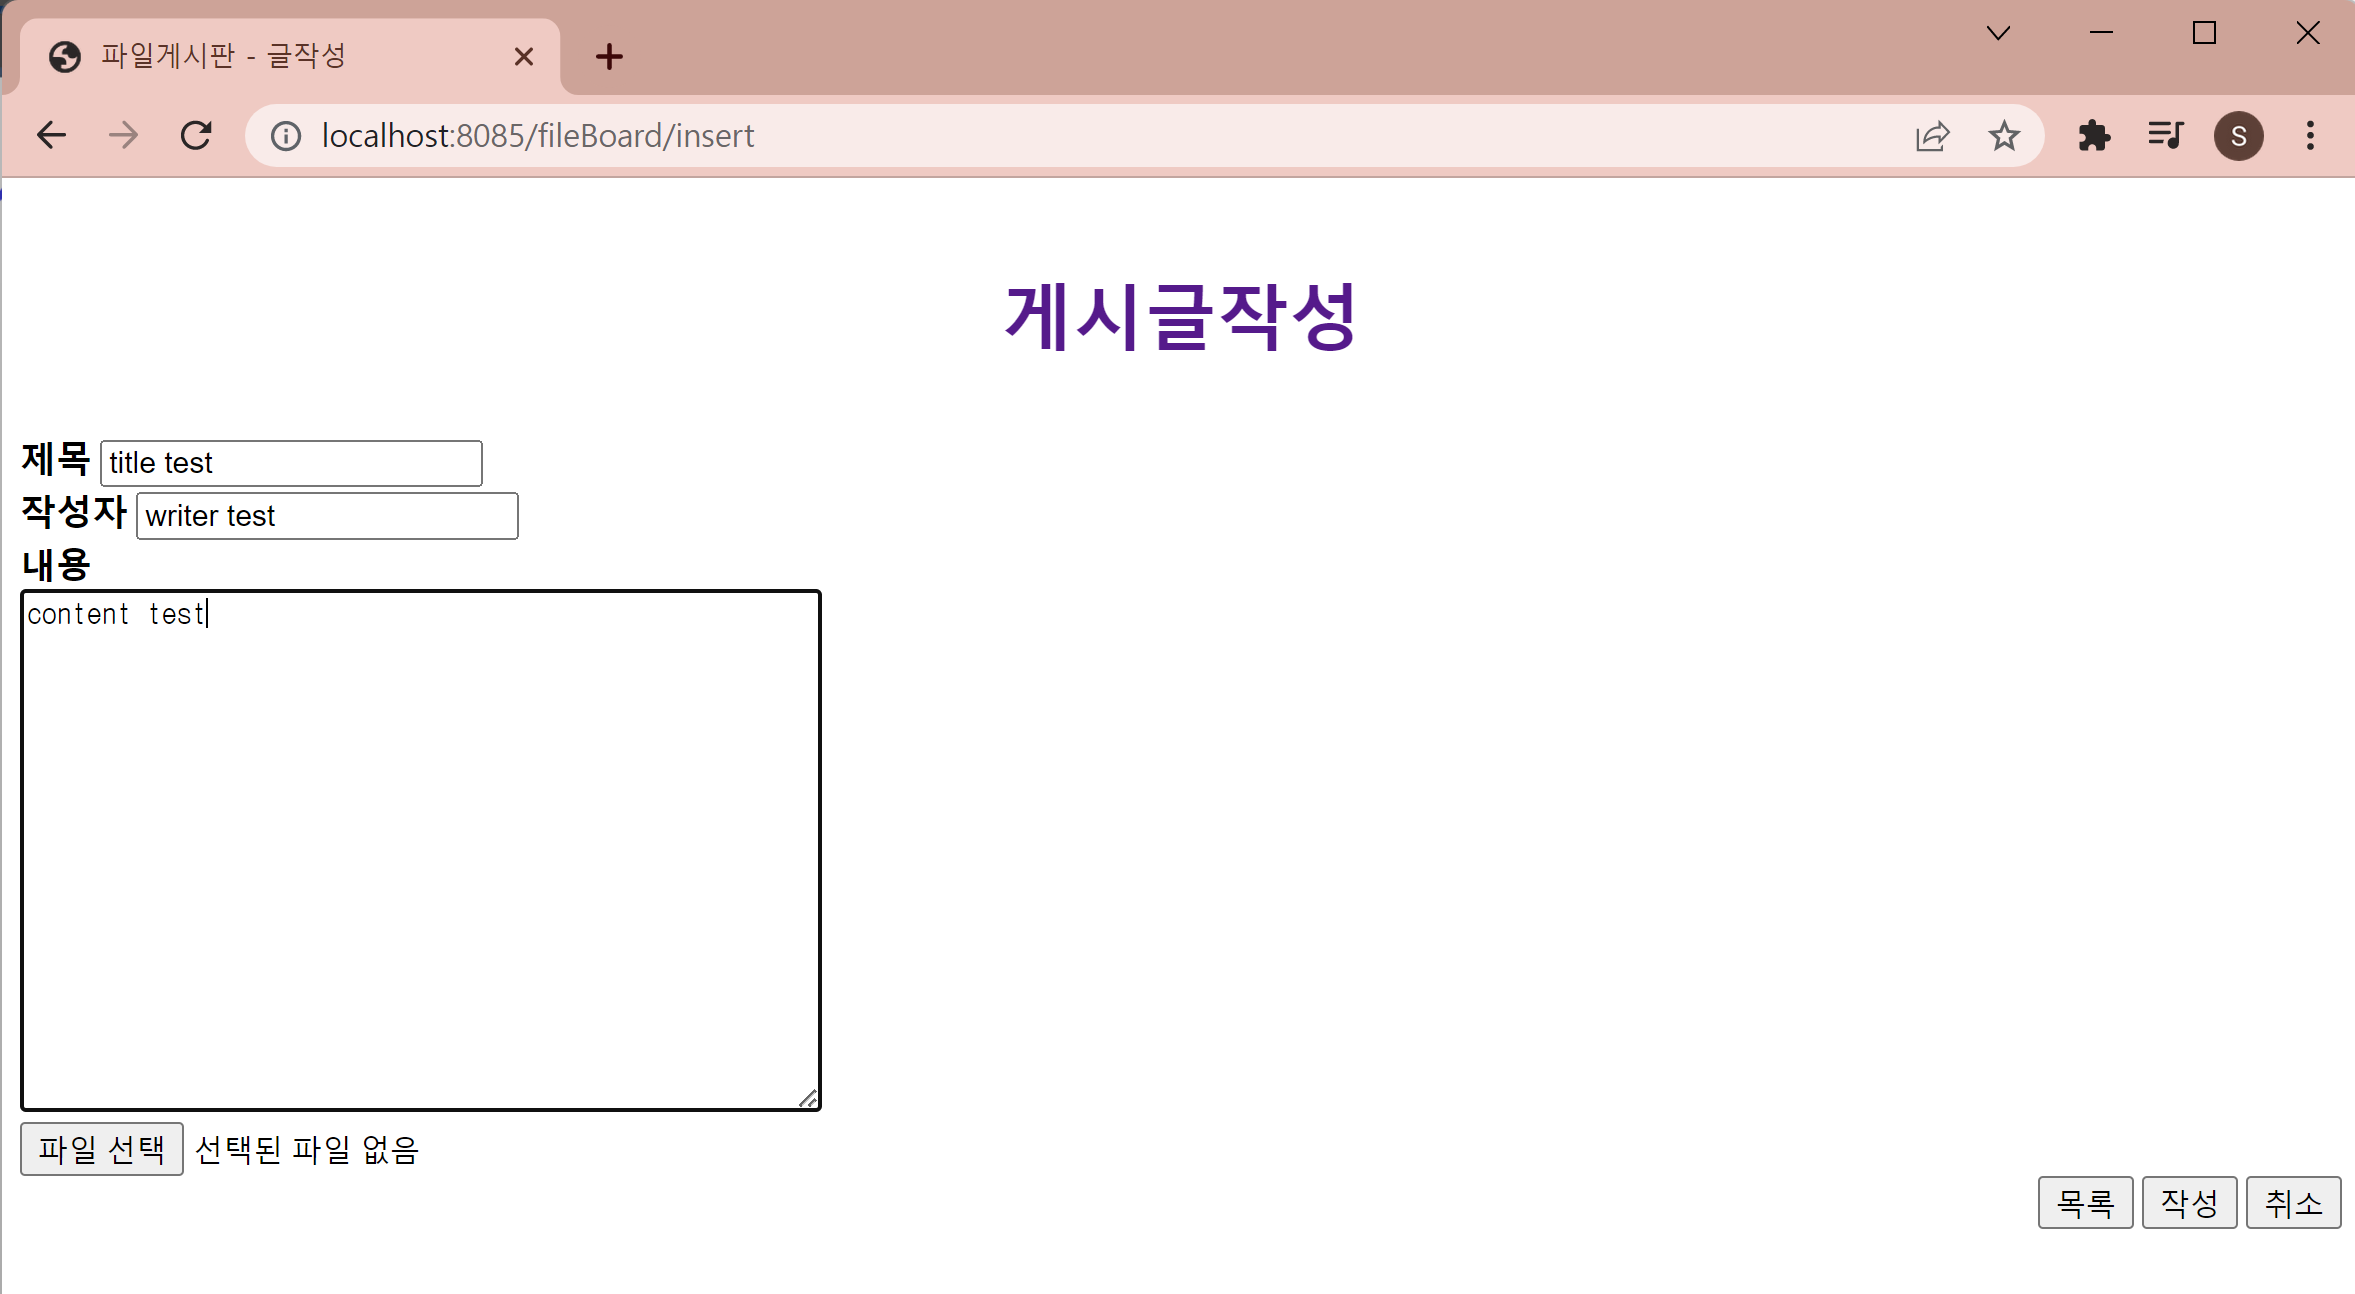
내용이 잘 들어갔다.
일단 오늘은 여기까지 해야겠다.
html에 있는 style속성 주렁주렁때문에 넘 속상하다 🙃🙃🙃
참고
lombok jar : https://gaebal-goebal.tistory.com/54