스켈레톤 UI란??
스켈레톤 컴포넌트는 데이터를 가져오는 동안 콘텐츠를 표시하는 컴포넌트이다. 사용자는 콘텐츠를 기다리다가 쉽게 지치고 지루함을 느끼므로 단순히 흰색 화면만 보여준다면 많은 사람들은 사이트를 떠나게 될 것이다.
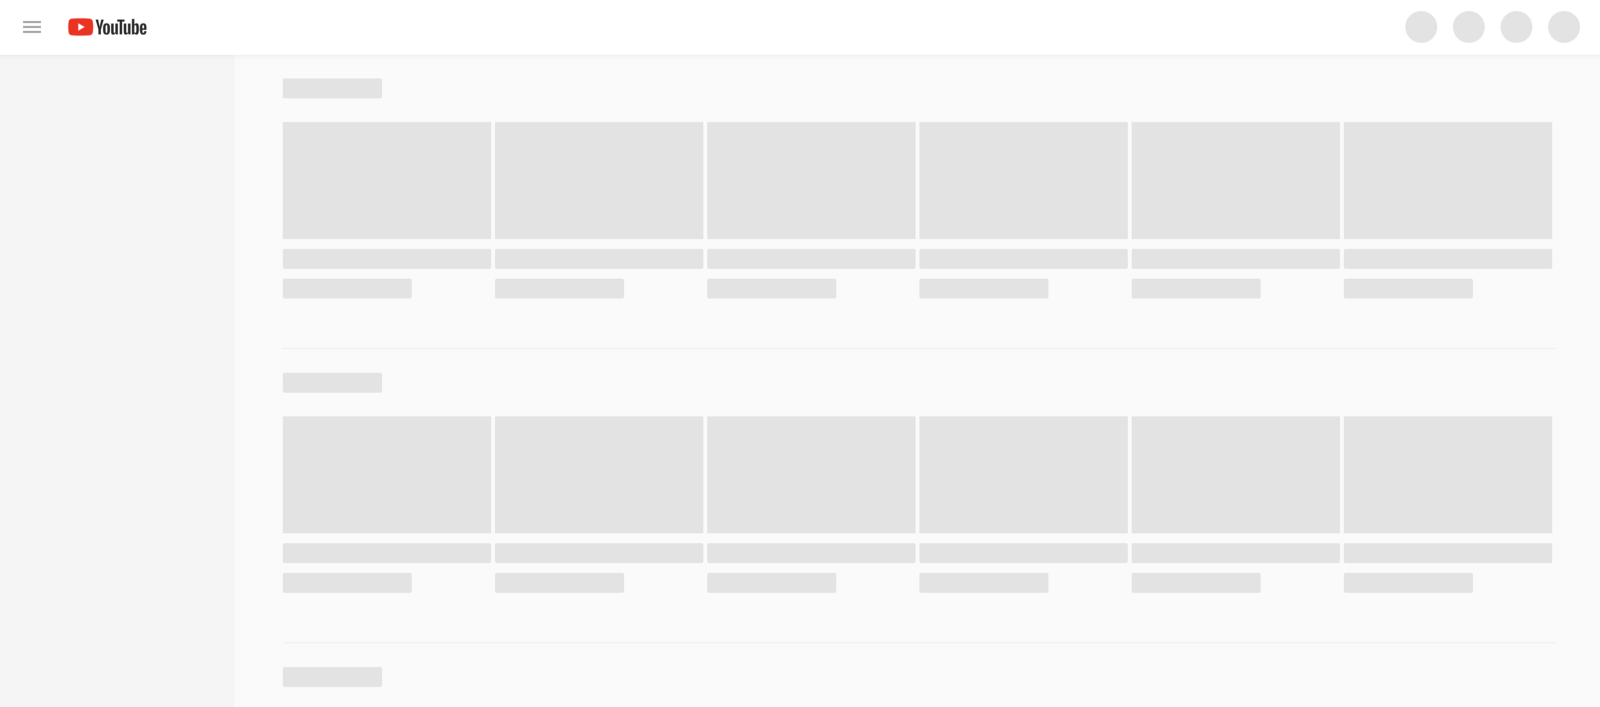
이런식으로 유튜브의 썸네일과 제목정보가 올라오기전에 회색으로 띄워주는 화면을 말한다.
원래 Loading을 보여주는 컴포넌트로 loading bar, spinner등등이 쓰였는데 요즘에는 페이스북,유튜브,링크드인 등등 대부분의 기업에서 skeleton ui를 사용하고 있다.
React로 Skeleton Component만들기
기본세팅
import React, { useState, useEffect } from "react";

const User = () => {
  const [profile, setProfile] = useState(null);

  useEffect(() => {
    setTimeout(async () => {
      console.log("load");
      const res = await fetch("https://jsonplaceholder.typicode.com/users");
      const data = await res.json();
      console.log(data);
      setProfile(data);
    }, 5000);
  }, []);
  return (
    <div className="user">
      <h2>User</h2>
      {profile &&
        profile.map((userInfo) => (
          <div className="profile" key={userInfo.id}>
            <h3>{userInfo.username}</h3>
            <p>{userInfo.email}</p>
            <a href={userInfo.website}>{userInfo.website}</a>
          </div>
        ))}

      {!profile && <div>Loading...</div>}
    </div>
  );
};

export default User;
유저정보를 fetch하여 화면에 보여주는 코드이다.여기서는 profile이 없을시 Loading...메시지가 나오게 표기를하였다.
base skeleton component
import React from "react";
import "./skeleton.css";
const SkeletonElement = ({ type }) => {
  const classes = `skeleton ${type}`;
  return <div className={classes}></div>;
};

export default SkeletonElement;
props로 skeleton type을 전달받는다(text,title,thumbnail..) 그리고 그 타입에 맞는 skeleton component를 보여주게 된다.
.skeleton {
    background: #ddd;
    margin : 10px 0;
    border-radius: 4px;

}

.skeleton.text {
    width : 100%;
    height : 12px;
}

.skeleton.title {
    width: 50%;
    height: 20px;
    margin-bottom: 15px;
}

.skeleton.avatar{
    width: 100px;
    height: 100px;
    border-radius: 50%;
}

.skeleton.thumbnail {
    width: 100px;
    height : 100px;
}
유저 프로필 스켈레톤 컴포넌트 만들기
import React from "react";
import SkeletonElement from "./skeleton.element";
const SkeletonProfile = () => {
  return (
    <div className="skeleton-wrapper">
      <div className="skeleton-profile">
        <div>
          <SkeletonElement type="avatar" />
        </div>
        <div>
          <SkeletonElement type="title" />
          <SkeletonElement type="text" />
          <SkeletonElement type="text" />
        </div>
      </div>
    </div>
  );
};

export default SkeletonProfile;
유저가 로딩중일때 보여줄 스켈레톤이미지다.

이제 User.js에 loading중일때 보여줄 컴포넌트를 SkeltonProfile로 재설정을 해준다.
{!profile && <SkeletonProfile />}자연스러운 로딩을 위해 animation 넣어주기
그냥 정적으로 띄워져있는 이미지가 있다면 로딩이 되고있다는 느낌이 들지 않기때문에 css의 @keyfame을 이용하여 애니메이션을 넣어줄것이다.
const Shimmer = () => {
  return (
    <div className="shimmer-wrapper">
      <div className="shimmer"></div>
    </div>
  );
};
Shimmer라는 component는 로딩중 선같은게 지나가는 이미지를 나타낸것이다.
.shimmer-wrapper {
    position : absolute;
    top: 0;
    left : 0;
    width : 100%;
    height : 100%;
    animation: loading 2.5s infinite;
}

.shimmer {
    width : 50%;
    height: 100%;
    background-color: rgba(255,255,255,0.2);
    transform: skewX(-20deg);
    box-shadow: 0 0 30px 30px rgba(255,255,255,0.05);
}

@keyframes loading {
    0% {
      transform: translateX(-150%);
    }
    50% {
      transform: translateX(-60%);
    }
    100% {
      transform: translate(150%);
    }
  }
애니메이션의 속도는 사용자의 관심을 끌정도가 아닌 2.5s 정도의 속도로 맞추고 무한히 반복을 시켜준다.😎

딩구르르