App Bar 만들기
appBar: AppBar(
backgroundColor: Colors.red[400],
title: Text('Appbar icon menu'),
centerTitle: true,
elevation: 0.0,
actions: <Widget>[
IconButton(
icon: Icon(Icons.shopping_cart),
onPressed: () {
print('shopping_cart button is clicked!');
},
),
IconButton(
icon: Icon(Icons.search),
onPressed: () {
print('search button is clicked!');
},
),
],
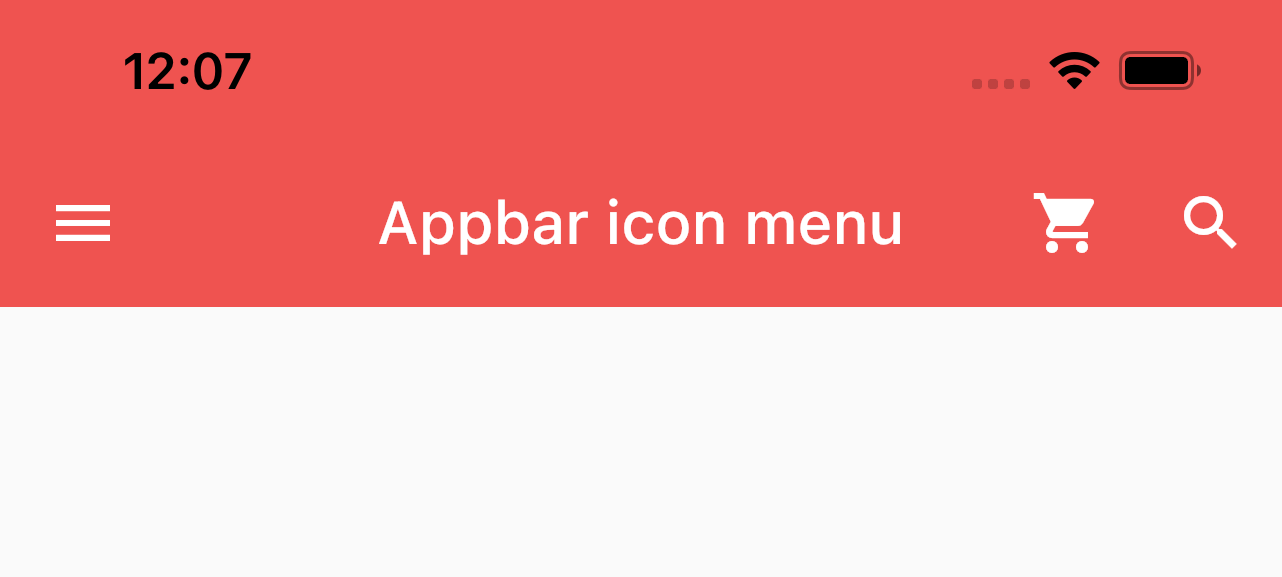
),AppBar를 사용하여 스크린 상단의 App bar 형태의 위젯을 만들 수 있습니다.
- backgroundColor : App bar 지정 색
- title : App bar 안에 들어갈 텍스트
- centerTitle : 텍스트 가운데 정렬
- evation : App bar 밑에 기본으로 생기는 그림자 조절
- actions : App bar 오른쪽으로 기본 정렬
Drawer 구현
drawer: Drawer(),위 코드와 같은 패턴으로 Drawer를 구현할 수 있습니다.
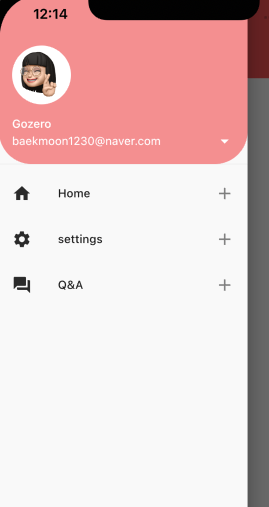
Drawer는 자동으로 왼쪽에 아이콘이 생성 되며 그 아이콘을 탭할 시, Drawer가 왼쪽을 기준으로 오른쪽으로 슬라이드 되며 나타납니다.
[ 위 스크린샷 Drawer 구현 코드]

drawer: Drawer(
  child: ListView(
    padding: EdgeInsets.zero,
    children: <Widget>[
      UserAccountsDrawerHeader(
        currentAccountPicture: CircleAvatar(
          backgroundColor: Colors.white,
          backgroundImage: AssetImage('assets/gozero.png'),
        ),
        accountName: Text('Gozero'),
        accountEmail: Text('baekmoon1230@naver.com'),
        onDetailsPressed: () {
          print('Hello, My Hope World!');
        },
        decoration: BoxDecoration(
          color: Colors.red[200],
          borderRadius: BorderRadius.only(
            bottomLeft: Radius.circular(40.0),
            bottomRight: Radius.circular(40.0),
          ),
        ),
      ),
      ListTile(
        leading: Icon(
          Icons.home,
          color: Colors.grey[850],
        ),
        title: Text('Home'),
        onTap: () {
          print('Home button is clicked!');
        },
        trailing: Icon(Icons.add),
      ),
      ListTile(
        leading: Icon(
          Icons.settings,
          color: Colors.grey[850],
        ),
        title: Text('settings'),
        onTap: () {
          print('settings button is clicked!');
        },
        trailing: Icon(Icons.add),
      ),
      ListTile(
        leading: Icon(
          Icons.question_answer,
          color: Colors.grey[850],
        ),
        title: Text('Q&A'),
        onTap: () {
          print('Q&A button is clicked!');
        },
        trailing: Icon(Icons.add),
      ),
    ],
  ),
),
Drawer를 오른쪽으로!
Drawer를 왼쪽이 아닌 오른쪽에 위치 시키고 싶다면,
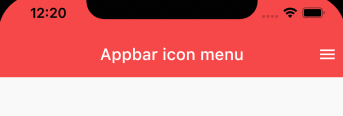
endDrawer: Drawer(),위 코드를 사용하면 됩니다.
혹시나 AppBar에서 actions를 이용하여 오른쪽에 무언가를 구현 하셨다면, 그것을 주석 처리 하여야 합니다. actions와 Drawer과 겹치는 현상이 발생하여 자동 생성 되는 Drawer 이모티콘이 안 보일 수 있습니다.
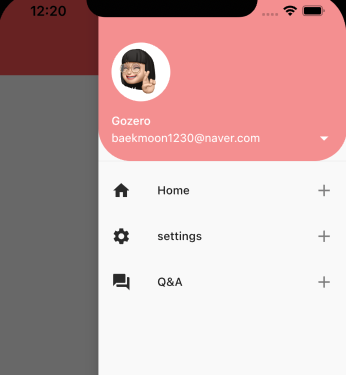
endDrawer를 사용하게 되면 아이콘이 오른쪽에 위치 하게 되며, Drawer가 오른쪽을 기준으로 왼쪽으로 슬라이드 되며 나타납니다.
AppBar 없이 Drawer 구현
https://www.youtube.com/watch?v=HCjek0cdGGc
'헤비프랜' 님의 영상을 참고 하였습니다.
좋은 영상 감사합니다!
AppBar에 갇히지 않고 내가 만든 위젯에 자유롭게 Drawer를 구현 하고 싶다면
- key 선언
final GlobalKey<ScaffoldState> _scaffoldKey = GlobalKey<ScaffoldState>();- Scffold 안에 key 포함
Scaffold(
  key: _scaffoldKey,
)- AppBar 없이 Drawer를 나타나게 할 버튼에 코드 추가
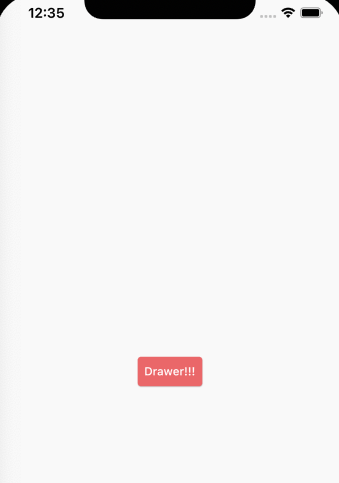
body: Center(
  child: TextButton(
    onPressed: () {
      _scaffoldKey.currentState.openDrawer();
    },
    child: Text('Drawer!!!'),
    style: TextButton.styleFrom(
      backgroundColor: Colors.red[300],
      elevation: 1,
      primary: Colors.white,
    ),
  ),
),
위 단계를 완료하면 버튼 탭 시, Drawer가 나타나는 것을 확인 할 수 있다. key를 활용하여 AppBar 없이도 Drawer를 자유자재로 구현 할 수 있는 것이다.
drawer를 사용하였다면 openDrawer,
endDrawer를 사용하였다면 openEndDrawer를 사용하여야 한다.

이것저것 앱으로 만드는 것을 좋아하는 모바일 개발자입니다.