Swagger?
Swagger는 API 문서 자동화 도구이다. 이전에는 API 문서를 따로 작성하여 프런트엔드에게 전달했지만 Swagger를 사용하면 문서 작업 없이 코드를 수정하면서 API 문서를 같이 수정할 수 있다. 코드가 수정되었을 때 API 문서 최신화를 굳이 하지 않아도 되는 수고로움을 덜 할 수 있다. 제일 큰 장점은 API를 테스트할 수 있는 화면을 제공하여 실제 데이터 베이스와 통신이 가능하다.
Swagger Install
npm install @nestjs/swagger swagger-ui-express
npm install express-basic-auth
Nest JS에서는 Swagger를 사용할 수 있도록 모듈을 제공한다. 따라서 간단히 모듈 하나만 설치하면 된다. 종종 swagger에 보안 설정을 해놓지 않아 보안이 취약한 웹 사이트를 볼 수 있다. 따라서 두 번째 모듈도 설치해 아이디와 비밀번호를 설정해야 한다.
Swagger setting
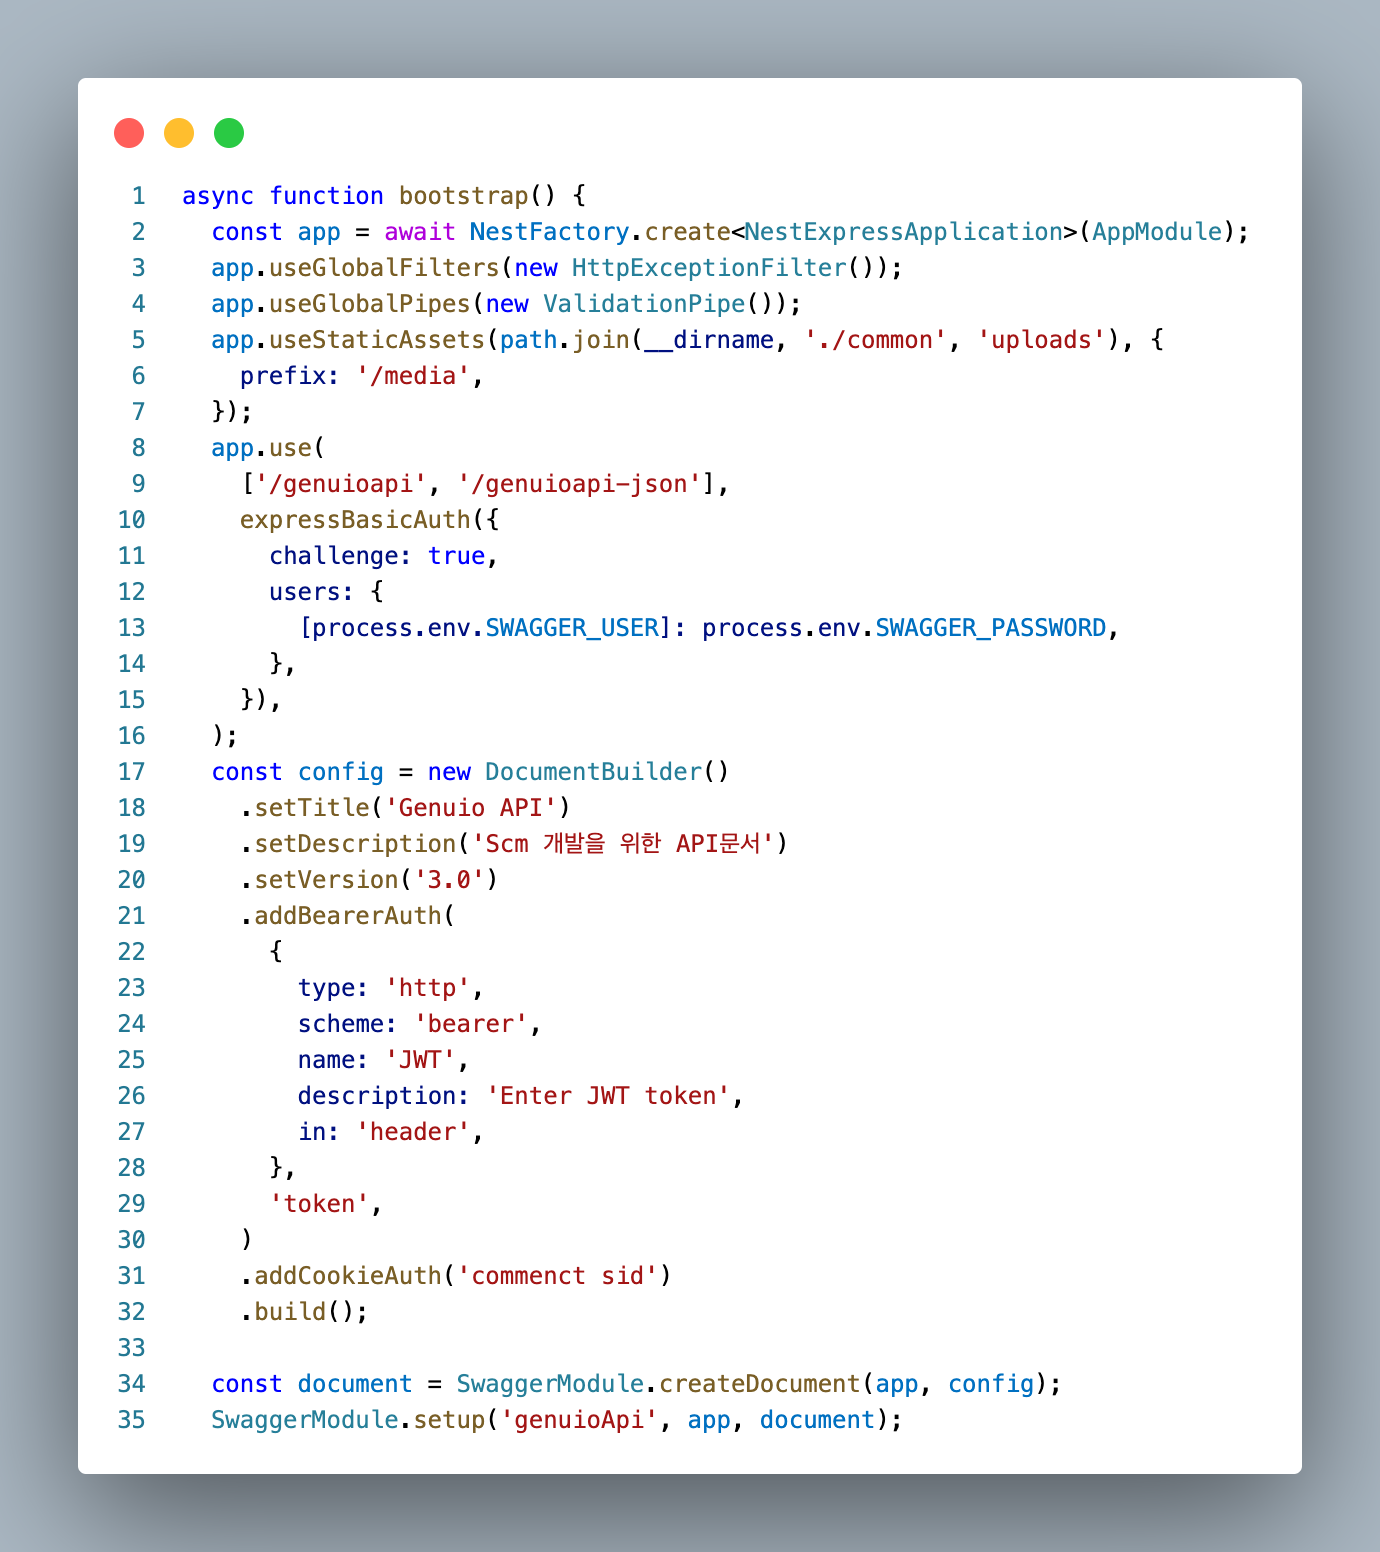
- Swagger를 사용하기 위해서 상위와 같이 main.ts에 장착한다.
- Nest는 express 기반 위해서 동작하게 설계를 했다. app.use를 통해 미들웨어를 main.ts에 장착하고 Swagger user와 password를 성정한다. 이 설정 파일은 꼭. env를 활용하여 환경 변수로 활용해야 한다.
- setUp은 genuioApi로 Swagger의 url을 정의한다.
- setTitile, setDescription으로 프로젝트 Swagger에 대한 간단한 설명을 설정한다.
- 필자는 인증/인가를 위해 JWT TOKEN을 사용하였습니다. 따라서 JwtAuthGuard가 적용되어 Token이 필요한 API를 Swagger에서 설정하기 위해 main.ts에서 addBearerAuth를 설정한다.
API Documentation
기본적으로 Swagger는 endpoint 별 혹은 메서드 별로 분류를 해 놓는다. 필자는 이렇게 분류되어 있는 곳에 좀 더 설명을 추가하였다. Swagger 사용법은 간단하다, @nestjs/swagger에서 제공하는 데코레이터들을 사용하면 된다.
@ApiTags
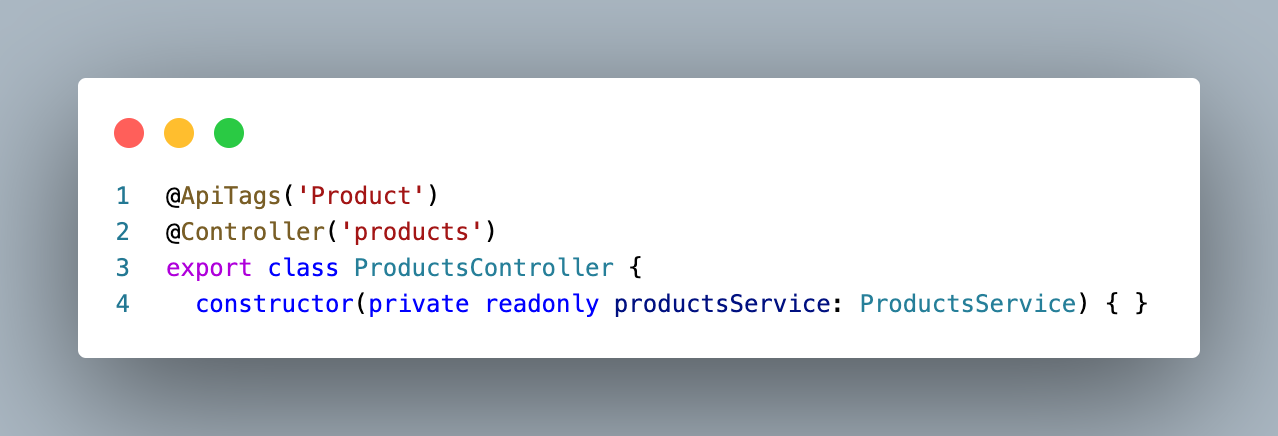

주로 기능별로 묶을 때 사용하지만 필자는 앱 별로 묶어서 사용하였다.### @ApiOperatons & @ApiCreateResponse @ApiBody
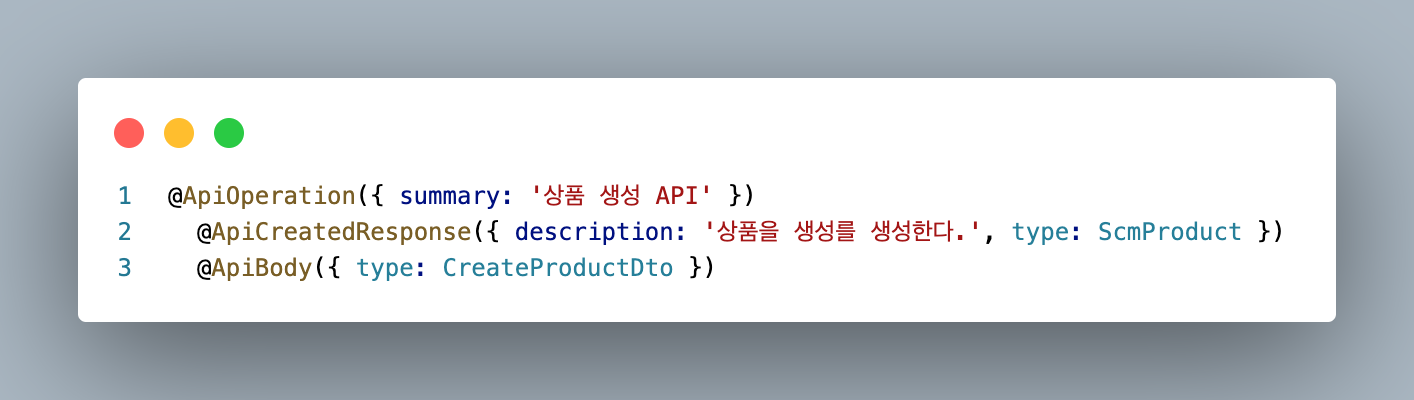
- @ApiOperation은 API에 대한 간단한 요약과 설명을 제공한다.
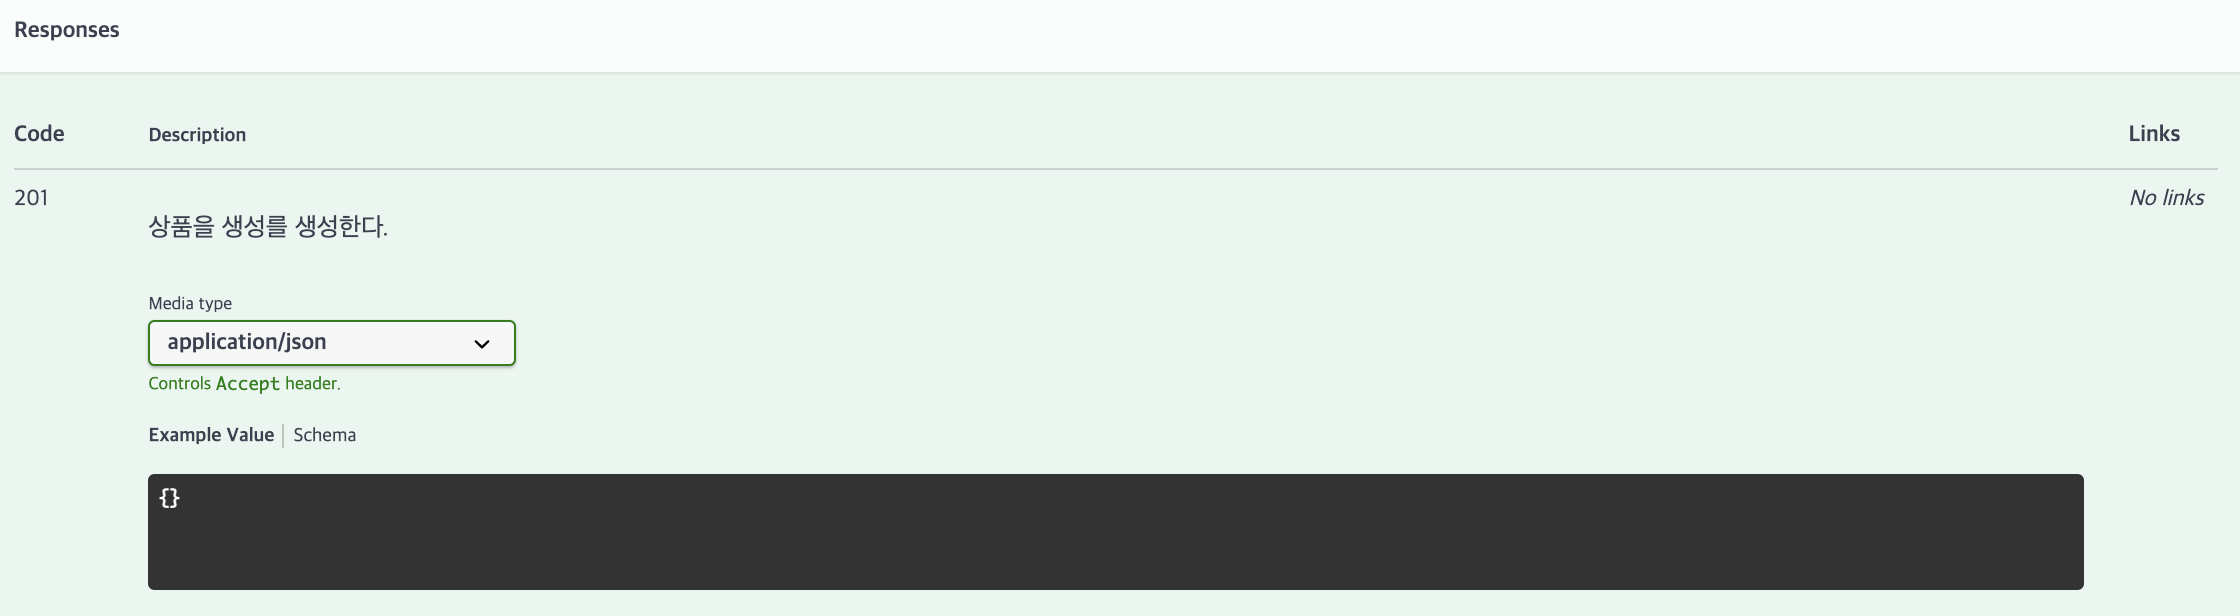
- @ApiCreateResponse는 Status 201에 대한 설정으로, Response의 Description과 Type을 제공한다.
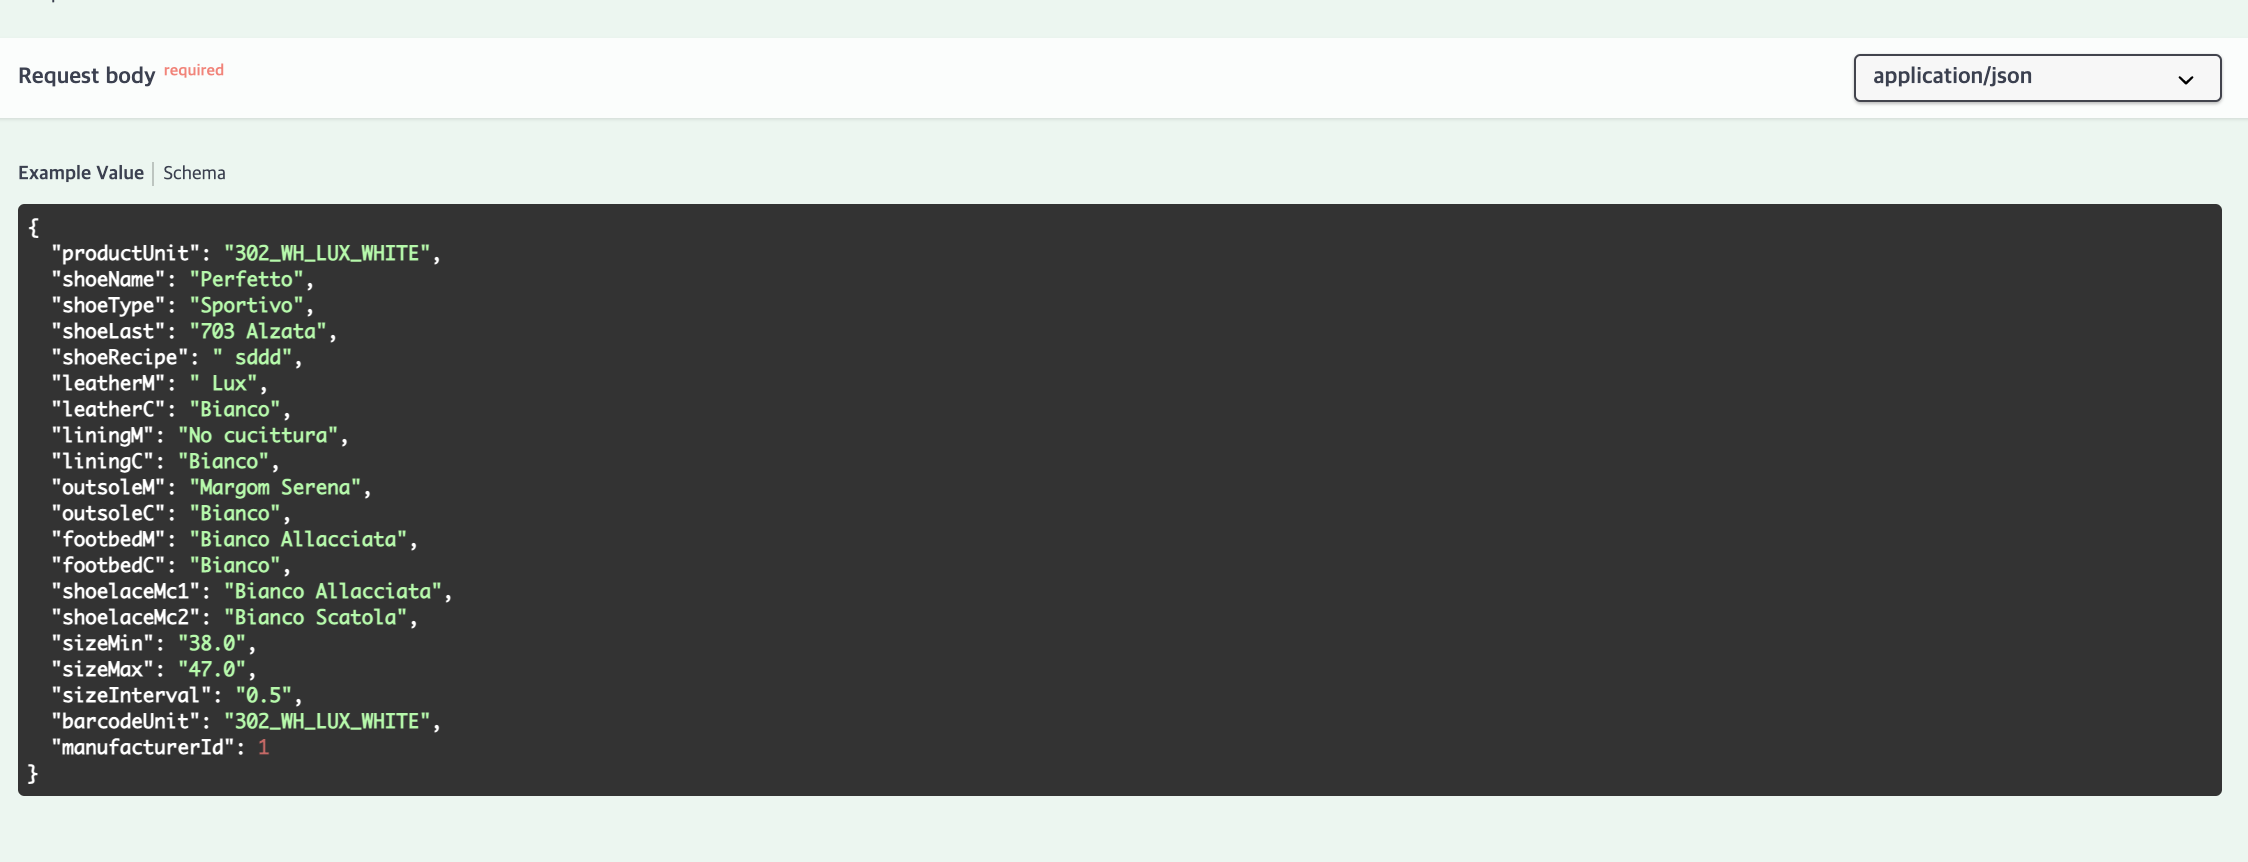
- @ApiBody는 Request Body의 타입을 설명한다.
@ApiBearerAuth
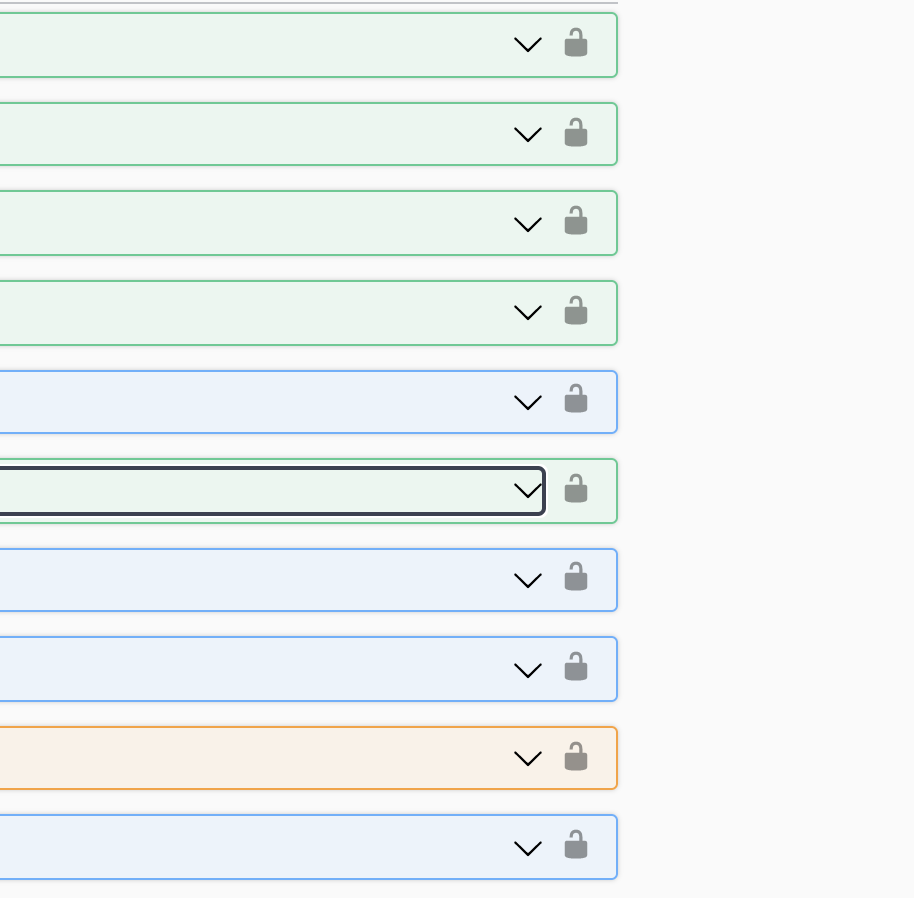
main.ts에 JWT로 지정한 Token을 @ApiBearerAuth()로 불러와서 사용한다. 이때 Parameter는 main.ts에 설정한 값이 일치해야 한다. 예를 들어 main.ts에 'token'이라고 설정했다면 데코레이터로 사용할 때도 동일하게 'token'이라고 설정해야 한다. @ApiBearerAuth를 사용하게 되면, API 별로 자물쇠 모양이 생겨날 것이다.
@ApiOkResponse & @ApiQuery
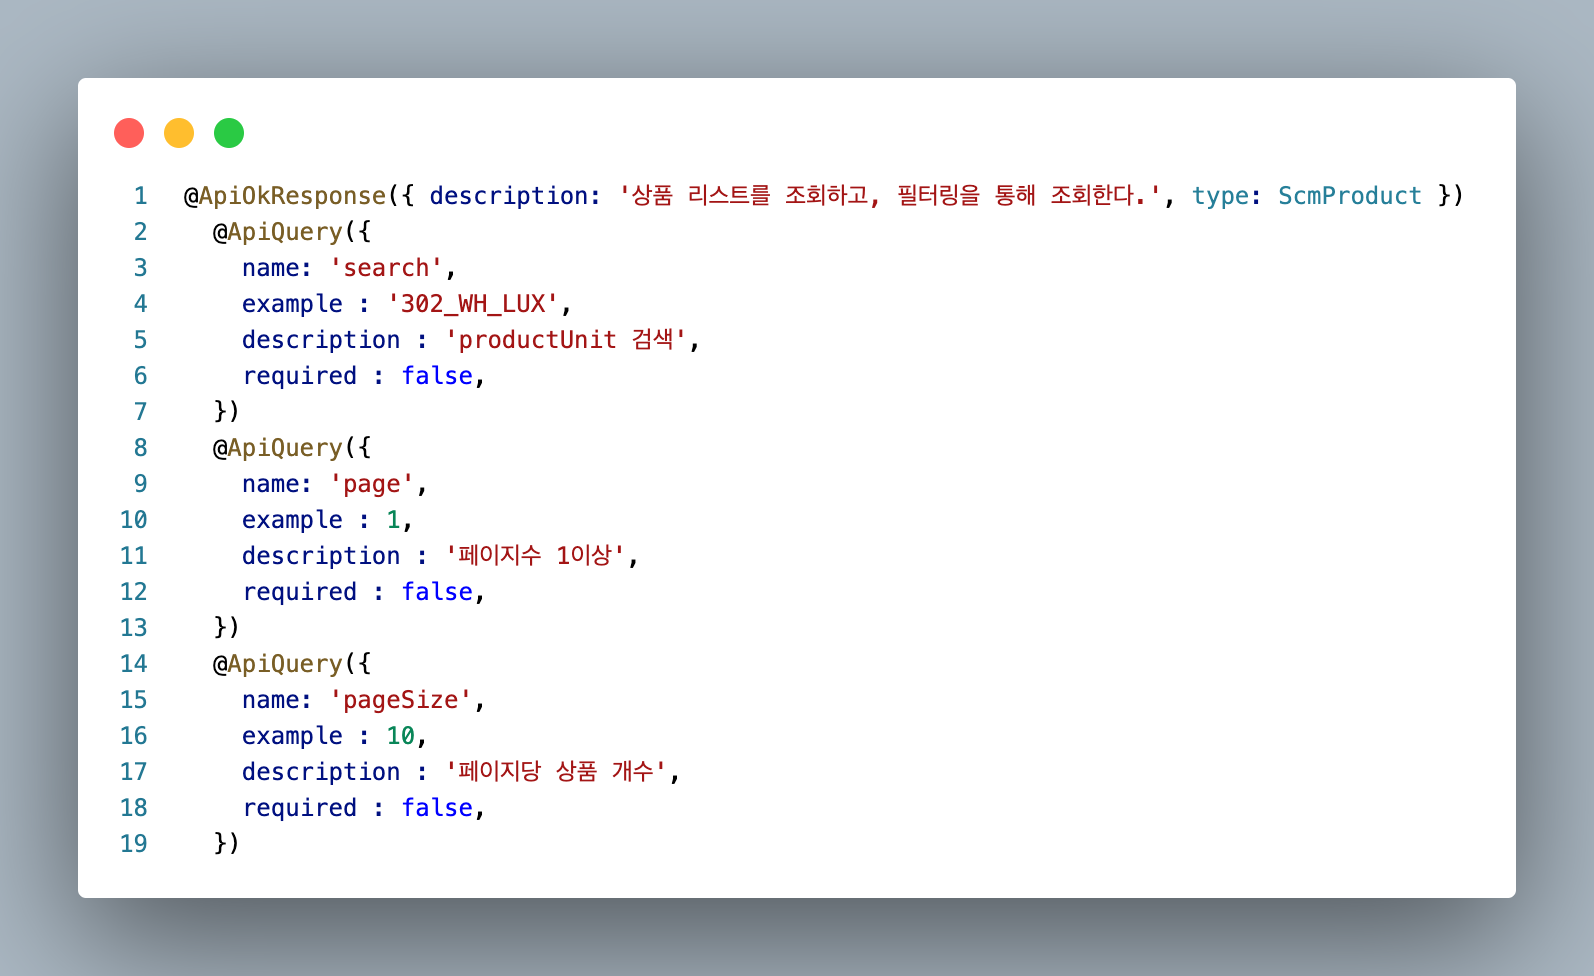
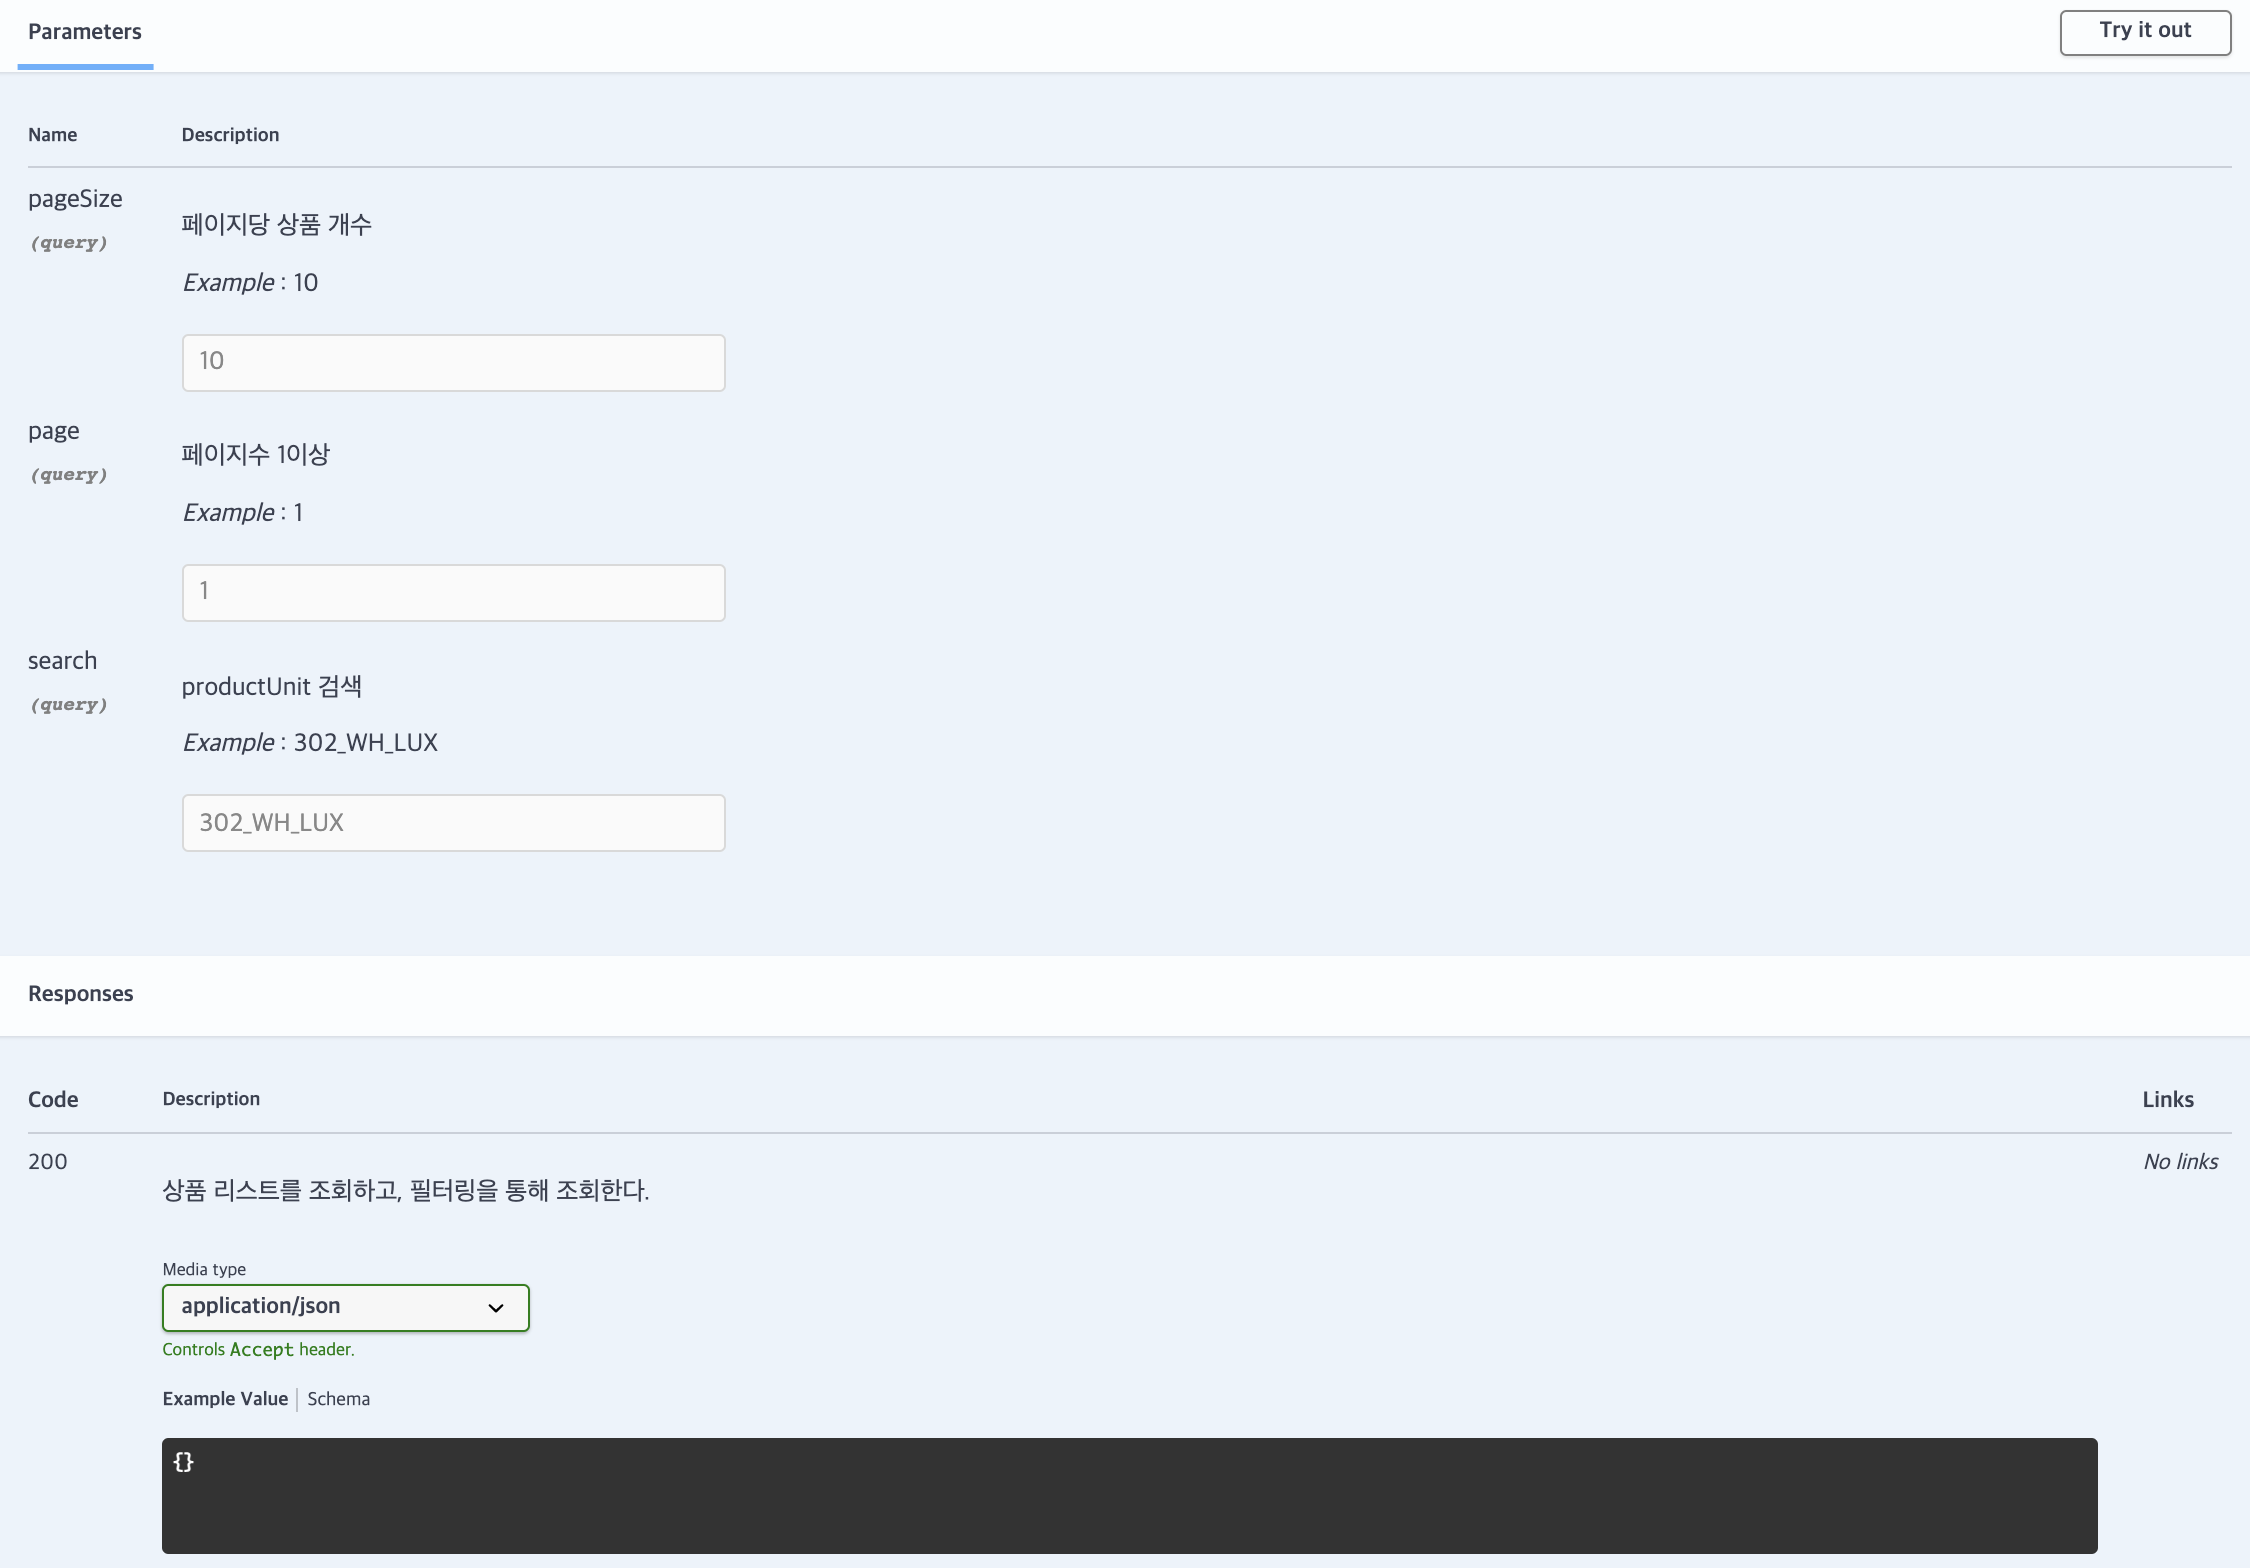
- @ApiOkResponse는 Status 200에 대한 설정으로, Response의 Description과 Type을 제공한다.
- @ApiQuery는 Query String에 대한 설명을 설정할 수 있다.
@Apiparams
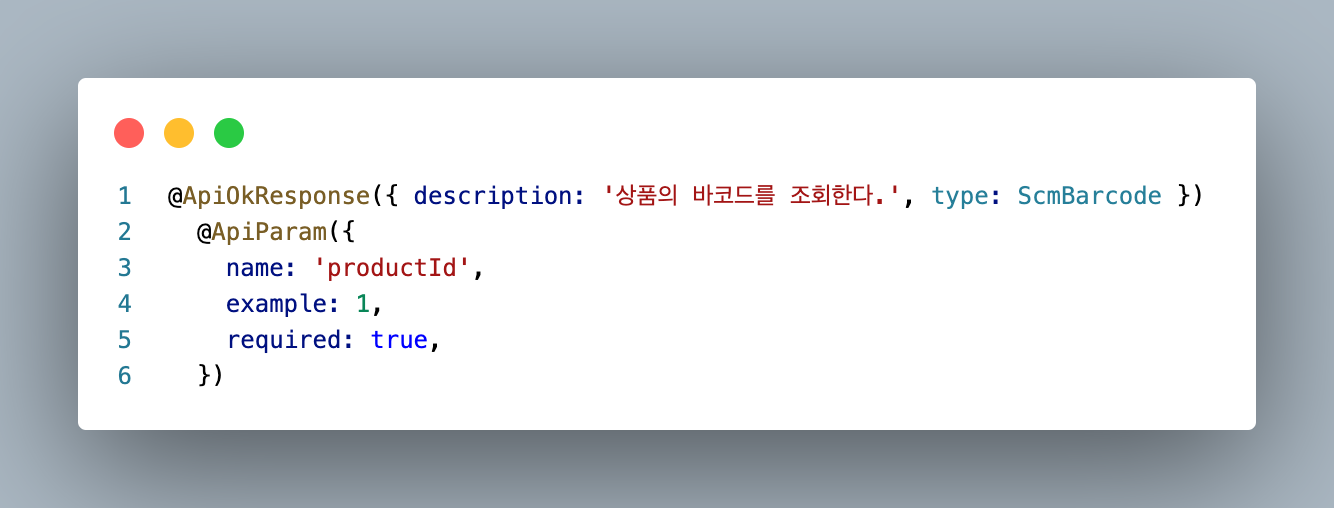

- @ApiParams는 Query Parameter에 대한 설명을 설정할 수 있다.
@ApiProperty
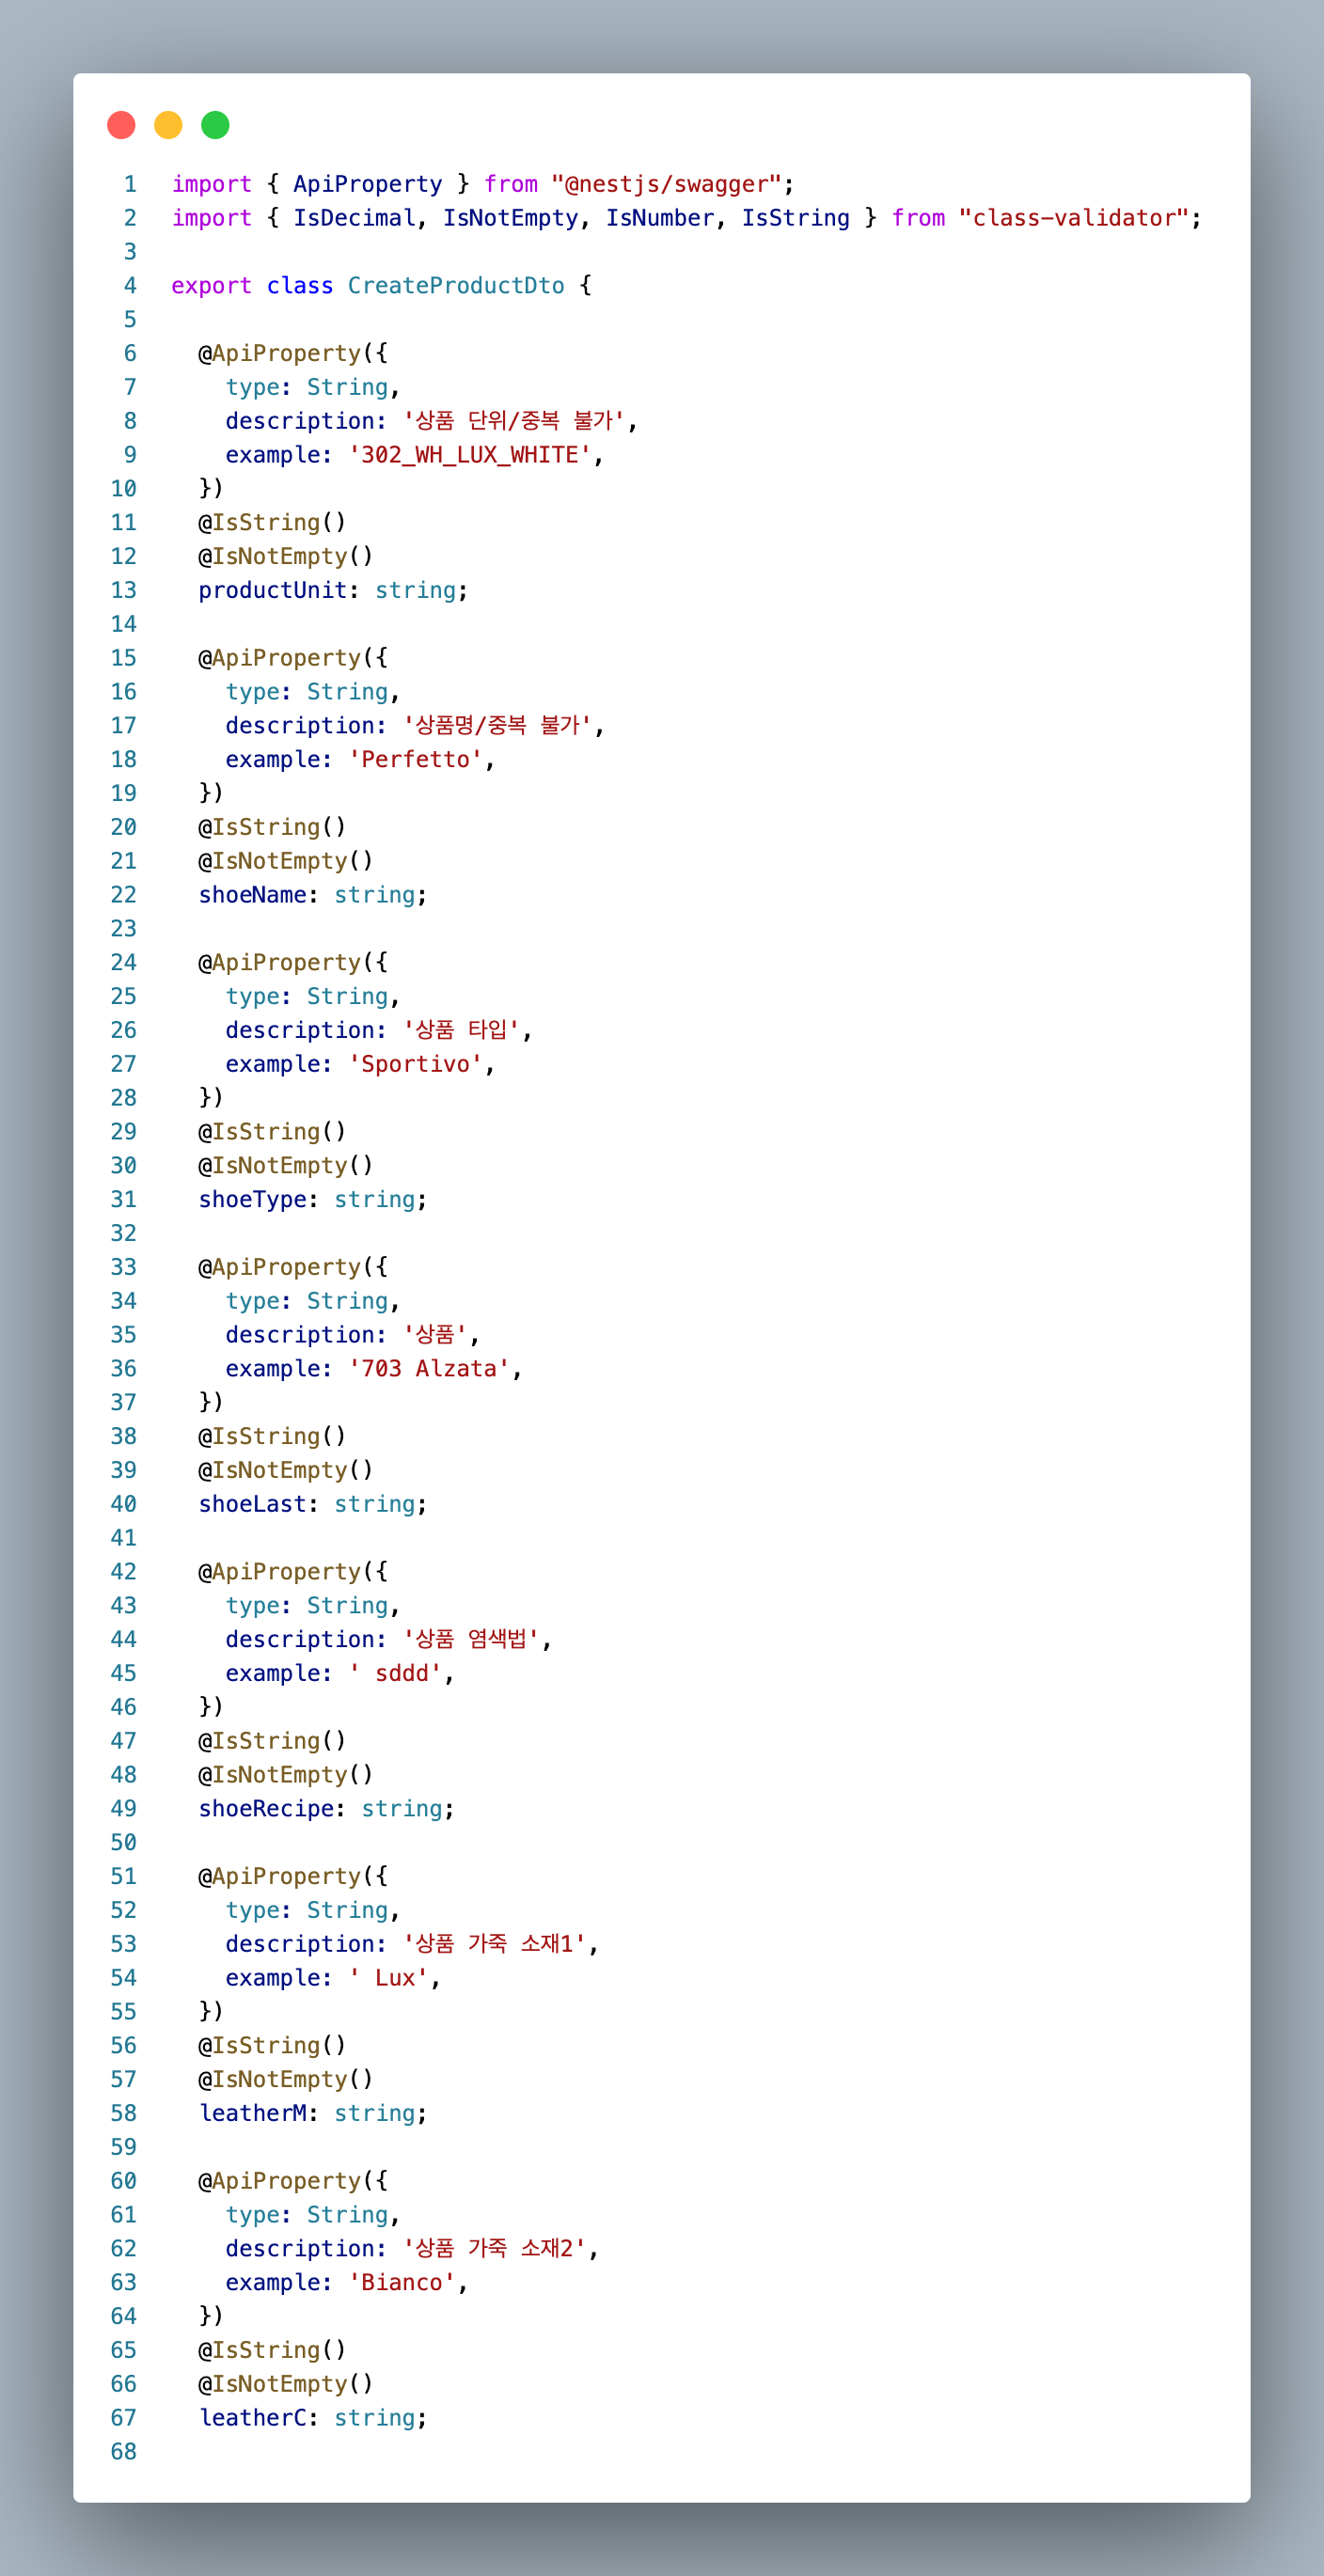
- Dto 클래스의 속성에 @ApiProperty() 데코레이터를 사용해서 Swagger 문서화한다.
- @ApiProperty에서 기본적으로 제공하는 옵션을 통해서 설정할 수 있다.
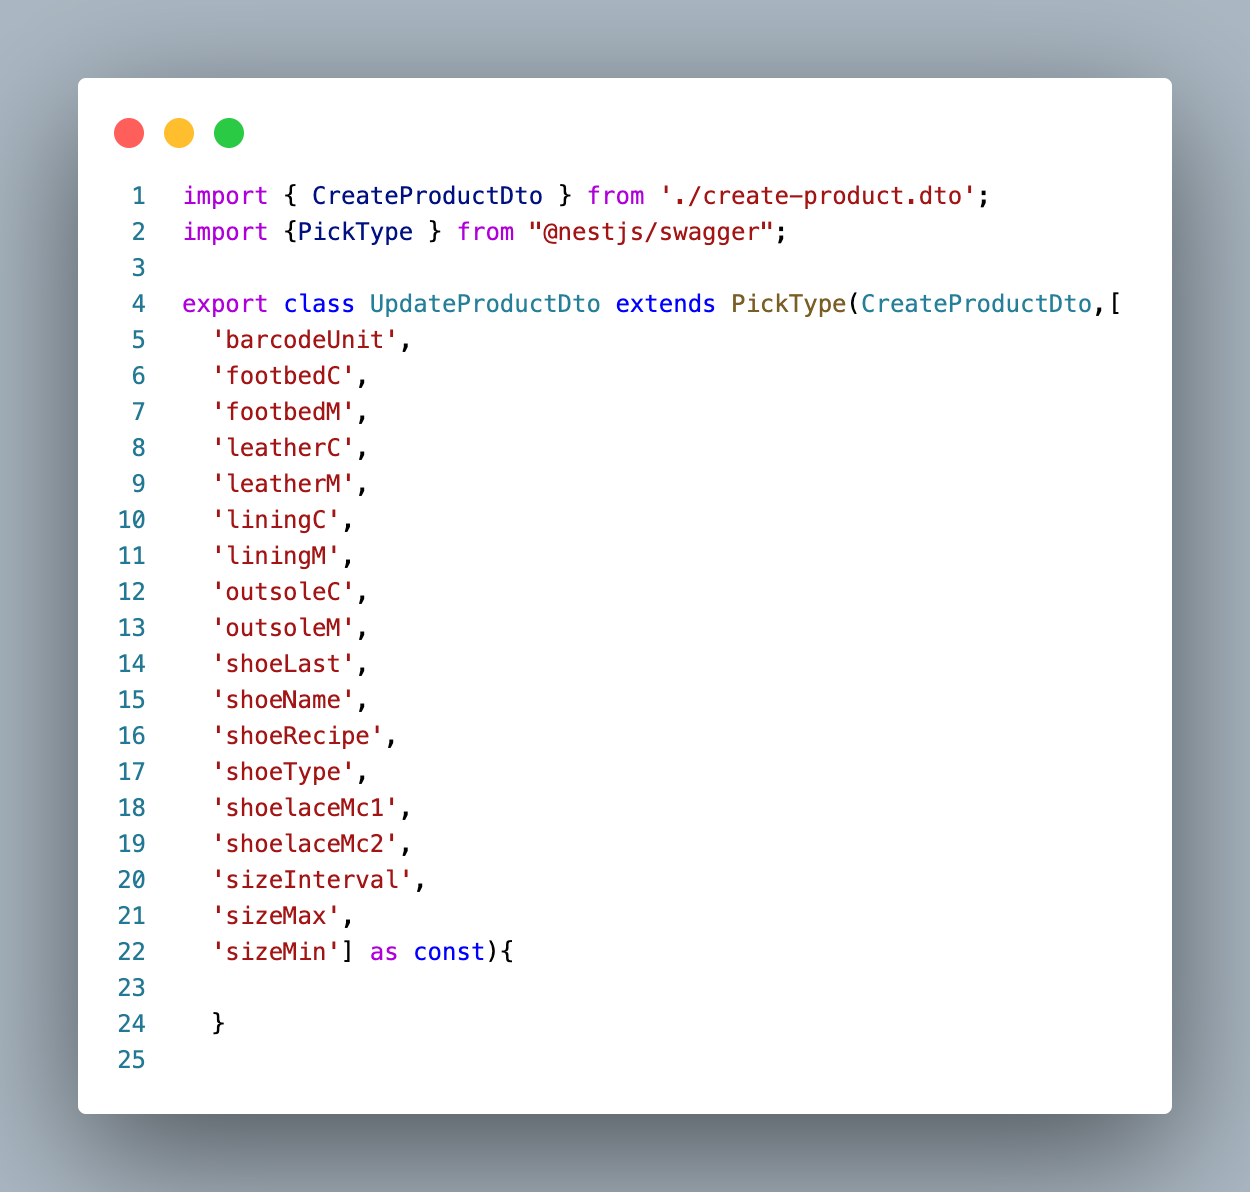
- 다른 Dto에서 Picktype을 통해서 설정해 놓은 @ApiProperty를 가져다가 쓸 수 있다. updateDto는 기본적으로 ParticalType을 사용한다.