📝 모바일 프로그래밍 Flutter 수업 기록
서론
이번 학기에 모바일 프로그래밍 수업을 수강하게 되었다.
이 수업에서는 Flutter를 배우게 되었는데, 혼자서 독학하던 것과는 다르게 이번에는 공식적으로 Flutter를 배우게 되니 기대가 된다!
Flutter는 이미 몇 번 사용해본 경험이 있지만, 수업을 통해 더욱 깊이 배우고 실력을 쌓고 싶다.
열심히 해서 좋은 결과를 얻어야겠다 ㅎㅅㅎ
🌿프로젝트 기획
아이돌을 좋아하는 사람으로서,
엔터테인먼트 업계에 필요한 앱을 만들고 싶었다.
(그런 회사에 들어가는 게 목표이기도 하고..)
특히 Lysn(Bubble) 앱을 사용하면서,
기말 프로젝트는 아티스트와 프라이빗 메세지를 주고 받는 어플 하나를 만들고싶다고 생각했다 ♡ ٩(´▽`)۶ ♡
🌿 Flutter 프로젝트 시작하기
이제 실제 프로젝트를 시작해보자.
먼저, VSCode에서 Flutter 프로젝트 생성부터 진행했다.
📜 Flutter New Project 생성 방법


- 상단 메뉴에서 보기를 선택.
- 명령 팔레트를 열어 Flutter: New Project를 선택.
(주의: Dart: New Project가 아님!) - Application을 선택하여 프로젝트를 생성.
이 과정을 거치면...
이 과정을 거치면
위와 같이 기본 앱 셋팅이 완료된다!
초기 프로젝트 파일에 있는 초록색 주석들은 각 함수에 대한 설명들인데, 지우는 게 은근 귀찮다.
주석을 하나하나 지우다가 몇 가지 생각이 들었다:
- 영어가 주 언어인 사람은 이 주석을 읽으면 쉽게 이해하겠구나.
- 나도 한 번 주석을 참고하면서 코드를 해석해봐야겠다는 생각이 들었다.
🌿 기본 함수의 구성
이제 프로젝트를 시작하면 자동으로 생성되는 main.dart 파일의 기본 구성 요소를 살펴보자.
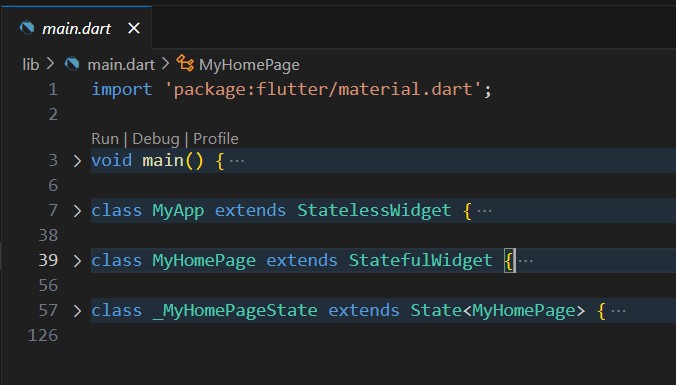
기본적으로 4개의 큰 함수로 나뉘며, 하나씩 살펴보도록 하자.
🌿 void main()
void main() {
  runApp(const MyApp());
}
이것은 앱이 실행될 때 가장 먼저 실행되는 기본 함수다.
C++의 main() 함수와 유사하게, Flutter 앱이 시작될 때 실행되는 함수이다.
runApp(): 주어진 위젯을 앱의 시작점으로 만든다.const MyApp():MyApp클래스의 인스턴스를 생성하며,const를 사용하면 인스턴스가 불변이라는 것을 Dart에 알려준다.
Q. 왜
MyApp()에const를 붙이는 걸까?
const로 위젯을 생성하면, 앱이 실행될 때 한 번만 메모리에 할당되며, 동일한 인스턴스가 계속 재사용된다.
이를 통해 메모리 사용량을 줄이고 앱의 성능을 최적화할 수 있다.
Q.
const를 안 쓰면 어떻게 될까?
const 없이 위젯을 생성하면, 위젯의 인스턴스는 런타임에 계속 생성된다.
이는 필요할 때마다 새로운 인스턴스를 메모리에 할당하는 것이므로, 불필요한 메모리 사용과 성능 저하를 야기할 수 있다.
결론적으로, const를 사용하면 성능을 최적화할 수 있지만, 위젯이 불변인 경우에만 사용하는 것이 적합하다.
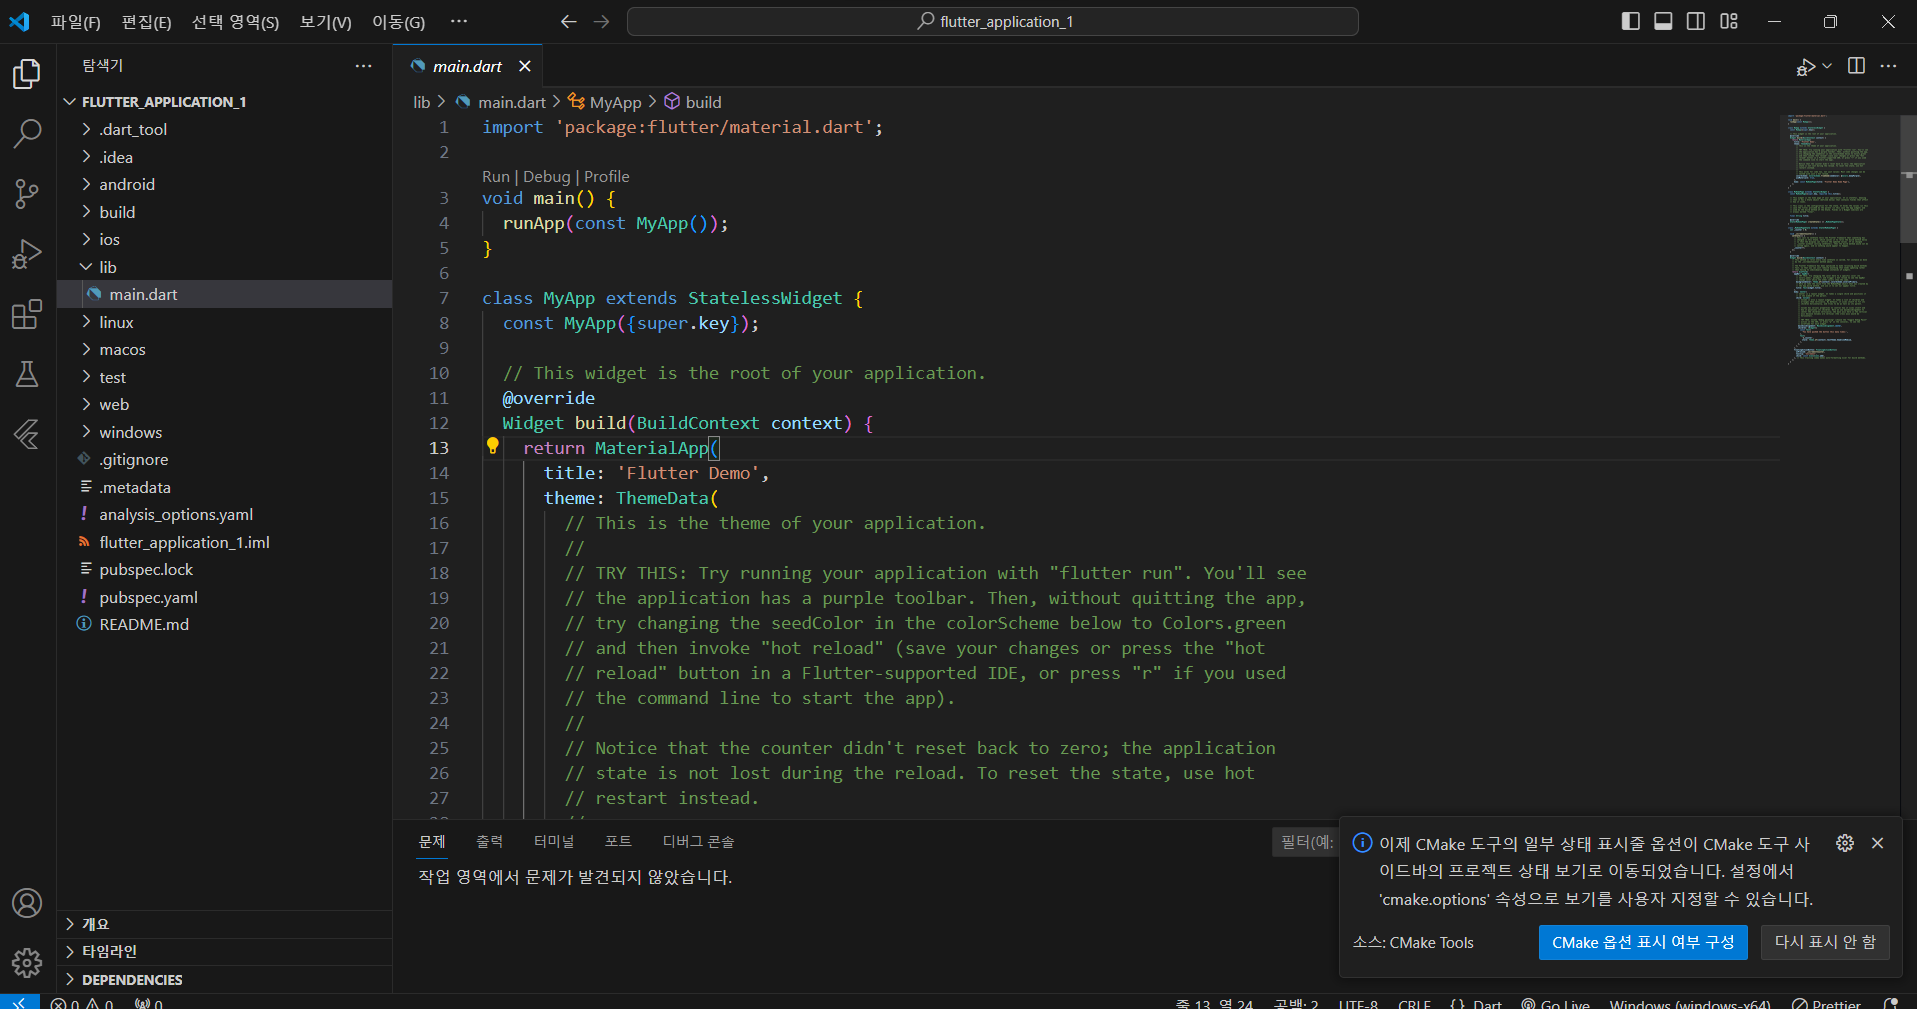
🌿 class MyApp
main.dart 중 MyApp()
class MyApp extends StatelessWidget {
const MyApp({super.key});
// This widget is the root of your application.
Widget build(BuildContext context) {
return MaterialApp(
title: 'Flutter Demo',
theme: ThemeData(
// This is the theme of your application.
//
// TRY THIS: Try running your application with "flutter run". You'll see
// the application has a purple toolbar. Then, without quitting the app,
// try changing the seedColor in the colorScheme below to Colors.green
// and then invoke "hot reload" (save your changes or press the "hot
// reload" button in a Flutter-supported IDE, or press "r" if you used
// the command line to start the app).
//
// Notice that the counter didn't reset back to zero; the application
// state is not lost during the reload. To reset the state, use hot
// restart instead.
//
// This works for code too, not just values: Most code changes can be
// tested with just a hot reload.
colorScheme: ColorScheme.fromSeed(seedColor: Colors.deepPurple),
useMaterial3: true,
),
home: const MyHomePage(title: 'Flutter Demo Home Page'),
);
}
}- StatelessWidget:
MyApp은 상태를 가지지 않는 StatelessWidget을 상속받아 정의되었다. build(): Flutter에서 UI를 렌더링하는 메서드로, 각종 위젯을 반환한다.
🌿 class MyHomePage
class MyHomePage extends StatefulWidget {
const MyHomePage({super.key, required this.title});
// This widget is the home page of your application. It is stateful, meaning
// that it has a State object (defined below) that contains fields that affect
// how it looks.
// This class is the configuration for the state. It holds the values (in this
// case the title) provided by the parent (in this case the App widget) and
// used by the build method of the State. Fields in a Widget subclass are
// always marked "final".
final String title;
State<MyHomePage> createState() => _MyHomePageState();
}이 클래스는 상태를 가지는 StatefulWidget이다.
MyHomePage는 상태 관리를 위해 별도의 State 객체를 사용하며, 이는 _MyHomePageState에서 정의된다.
🌿 Widget build
Widget build(BuildContext context) {
// This method is rerun every time setState is called, for instance as done
// by the _incrementCounter method above.
//
// The Flutter framework has been optimized to make rerunning build methods
// fast, so that you can just rebuild anything that needs updating rather
// than having to individually change instances of widgets.
return Scaffold(
appBar: AppBar(
// TRY THIS: Try changing the color here to a specific color (to
// Colors.amber, perhaps?) and trigger a hot reload to see the AppBar
// change color while the other colors stay the same.
backgroundColor: Theme.of(context).colorScheme.inversePrimary,
// Here we take the value from the MyHomePage object that was created by
// the App.build method, and use it to set our appbar title.
title: Text(widget.title),
),
body: Center(
// Center is a layout widget. It takes a single child and positions it
// in the middle of the parent.
child: Column(
// Column is also a layout widget. It takes a list of children and
// arranges them vertically. By default, it sizes itself to fit its
// children horizontally, and tries to be as tall as its parent.
//
// Column has various properties to control how it sizes itself and
// how it positions its children. Here we use mainAxisAlignment to
// center the children vertically; the main axis here is the vertical
// axis because Columns are vertical (the cross axis would be
// horizontal).
//
// TRY THIS: Invoke "debug painting" (choose the "Toggle Debug Paint"
// action in the IDE, or press "p" in the console), to see the
// wireframe for each widget.
mainAxisAlignment: MainAxisAlignment.center,
children: <Widget>[
const Text(
'You have pushed the button this many times:',
),
Text(
'$_counter',
style: Theme.of(context).textTheme.headlineMedium,
),
],
),
),
floatingActionButton: FloatingActionButton(
onPressed: _incrementCounter,
tooltip: 'Increment',
child: const Icon(Icons.add),
), // This trailing comma makes auto-formatting nicer for build methods.
);
}
}이 함수는 앱의 UI를 다시 빌드하는 메서드로, 각 위젯을 어떻게 배치할지 정의하는 핵심 함수다.
- Scaffold: Flutter에서 기본 화면 레이아웃을 구성하는 데 사용되는 위젯.
- AppBar: 상단의 앱바(툴바)를 나타낸다.
- Center: 하위 위젯을 중앙에 배치하는 레이아웃 위젯.
- Column: 하위 위젯을 수직으로 나열하는 레이아웃 위젯.
🧠 부족한 내용 보충
위 코드에서 중요한 부분은 setState() 함수이다.
setState()는 상태가 변경될 때 UI를 다시 빌드하도록 Flutter에 알려주는 메서드이다.
예를 들어, 카운터 앱에서 버튼을 눌렀을 때,
_incrementCounter함수가 호출되면setState()가 실행되고,_counter값이 증가하면서 UI가 갱신된다.
이 글을 통해 플러터의 기본 구성을 이해하고, 코드가 어떻게 작동하는지에 대한 이해를 높일 수 있다.
Flutter의 주요 개념인 StatelessWidget과 StatefulWidget의 차이점을 이해하는 것도 매우 중요하다.