
📌 ECR에 PUSH 하기
위한 도커파일 생성
나같은 경우, 셀레니움을 활용한 크롤링 서버를 구축했기에 chrome 및 chreomdreiver 를 다운로드 할 도커파일 생성하였다.
Dockerfile
FROM --platform=linux/amd64  python:3.9
WORKDIR /app
RUN apt-get update

# Install Chrome
RUN wget -q -O - https://dl-ssl.google.com/linux/linux_signing_key.pub | apt-key add -
RUN sh -c 'echo "deb [arch=amd64] http://dl.google.com/linux/chrome/deb/ stable main" >> /etc/apt/sources.list.d/google-chrome.list'
RUN apt-get -y update
RUN apt-get install -y google-chrome-stable

# Check chrome version
RUN google-chrome --version

# Install ChromeDriver.
RUN apt-get install wget
RUN apt-get install -yqq unzip
RUN wget -O /tmp/chromedriver.zip http://chromedriver.storage.googleapis.com/` curl -sS chromedriver.storage.googleapis.com/LATEST_RELEASE`/chromedriver_linux64.zip
RUN mkdir chrome
RUN unzip /tmp/chromedriver.zip chromedriver -d /app/chrome


COPY . .

RUN pip install --no-cache-dir -r requirements.txt

WORKDIR /app/crawling

CMD [ "python3", "crawling.py" ]
📌깃헙 액션으로 AWS ECR에 이미지 빌드 자동화
yaml 파일 생성 , 리젼 : us-east-1
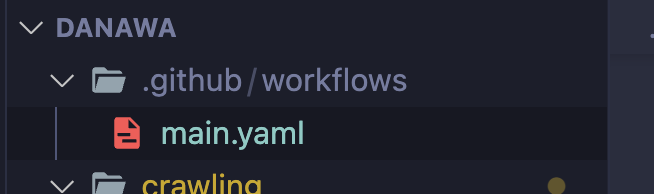
우선 자동화 파일을 깃헙에 등록시키기 위해 .github/workflows/{myfile.yaml} 구조로 yaml 파일 생성을 해주자
main.yaml
# This is a basic workflow to help you get started with Actions
name: Image push Amazon ECR
# Controls when the workflow will run
on:
# Triggers the workflow on push or pull request events but only for the "main" branch
push:
branches: ["main"]
# Allows you to run this workflow manually from the Actions tab
workflow_dispatch:
env:
AWS_REGION: us-east-1
# A workflow run is made up of one or more jobs that can run sequentially or in parallel
jobs:
# This workflow contains a single job called "build"
build:
name: Build image
# The type of runner that the job will run on
runs-on: ubuntu-latest
# Steps represent a sequence of tasks that will be executed as part of the job
steps:
# Checks-out your repository under $GITHUB_WORKSPACE, so your job can access it
- name: Checkout
uses: actions/checkout@v3
- name: Config AWS credentials
uses: aws-actions/configure-aws-credentials@master
with:
aws-access-key-id: ${{ secrets.AWS_ACCESS_KEY_ID }}
aws-secret-access-key: ${{ secrets.AWS_SECRET_ACCESS_KEY }}
aws-region: ${{ env.AWS_REGION }}
- name: Login to Amazon ECR
id: login-ecr-public
uses: aws-actions/amazon-ecr-login@v1
with:
registry-type: public
- name: Build, tag, and push image to Amazon ECR
id: build-image
env:
REGISTRY: ${{ steps.login-ecr-public.outputs.registry }}
REGISTRY_ALIAS: i8c7e5c5
REPOSITORY: crawling_server
IMAGE_TAG: crawling_server_image
run: |
# Build a docker container and
# push it to ECR so that it can
# be deployed to ECS.
docker build -t $REGISTRY/$REGISTRY_ALIAS/$REPOSITORY:$IMAGE_TAG .
docker push $REGISTRY/$REGISTRY_ALIAS/$REPOSITORY:$IMAGE_TAG
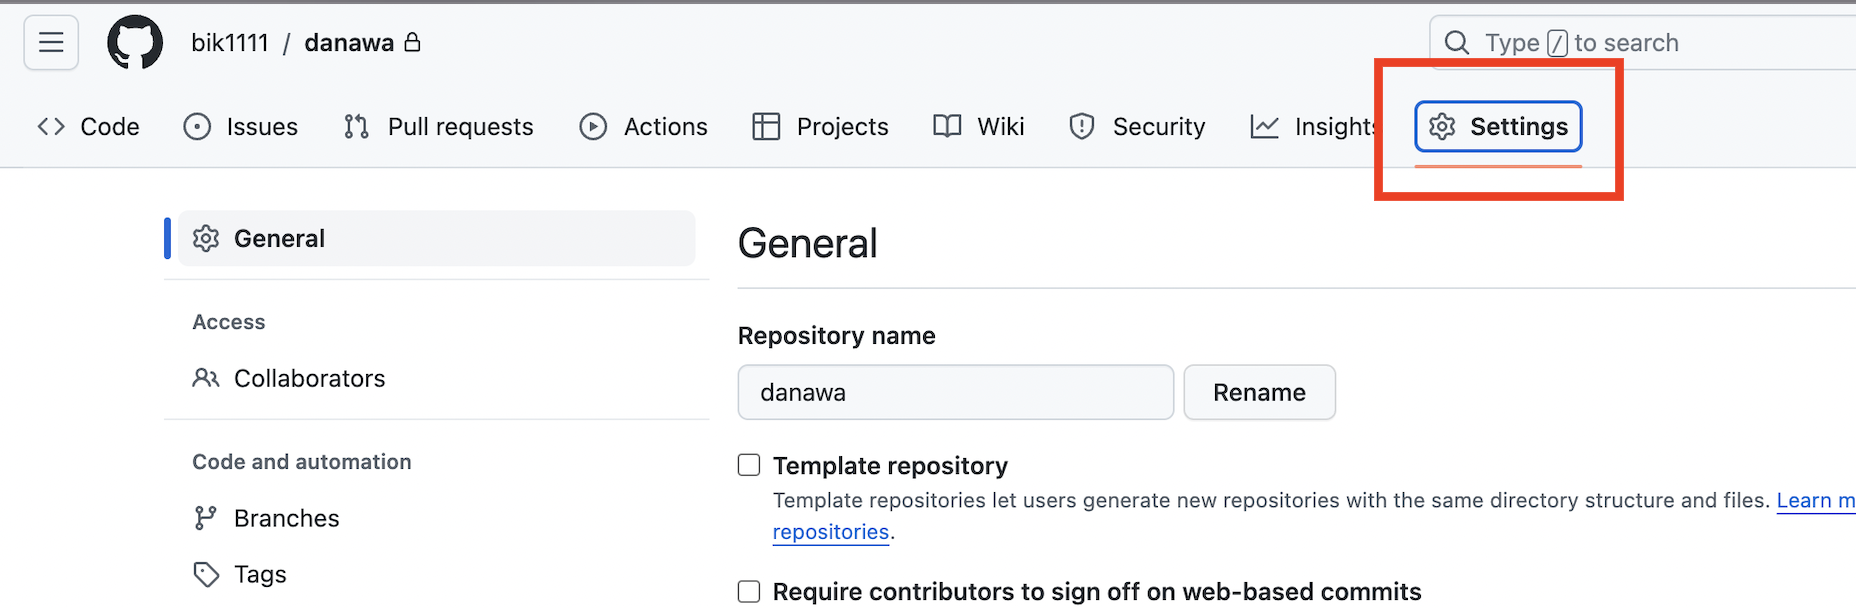
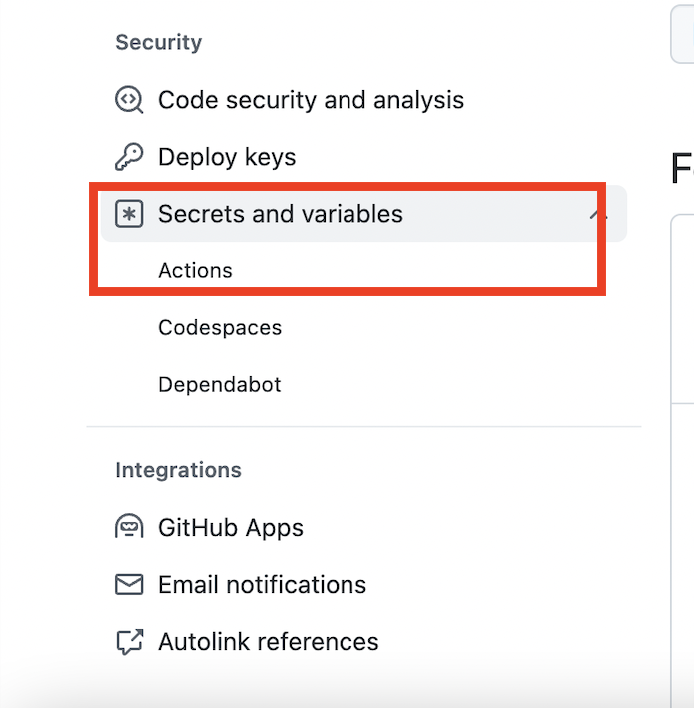
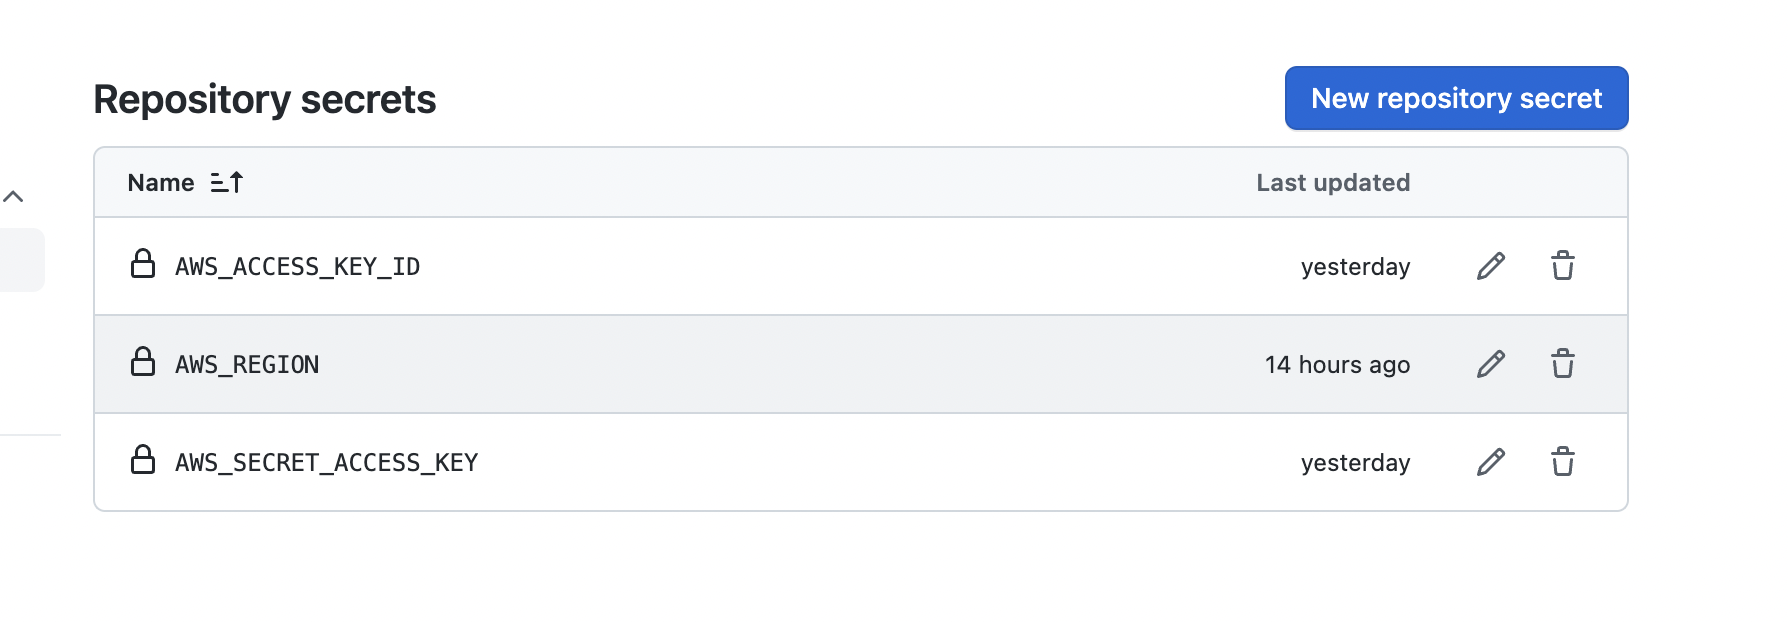
echo "::set-output name=image::$REGISTRY/$REGISTRY_ALIAS/$REPOSITORY:$IMAGE_TAG"템플릿은 깃헙에서 기존에 제공해주는 걸 택했고, 유의점은 AWS_ACCESS_KEY_ID, AWS_SECRET_ACCESS_KEY, AWS_REGION을 아래의 깃헙 환경변수로 세팅한다.
REGISTRY_ALIAS, REPOSITORY는 내가 AWS 안에서 생성한 ECR 정보와 동일하게 맞춰줘야한다.
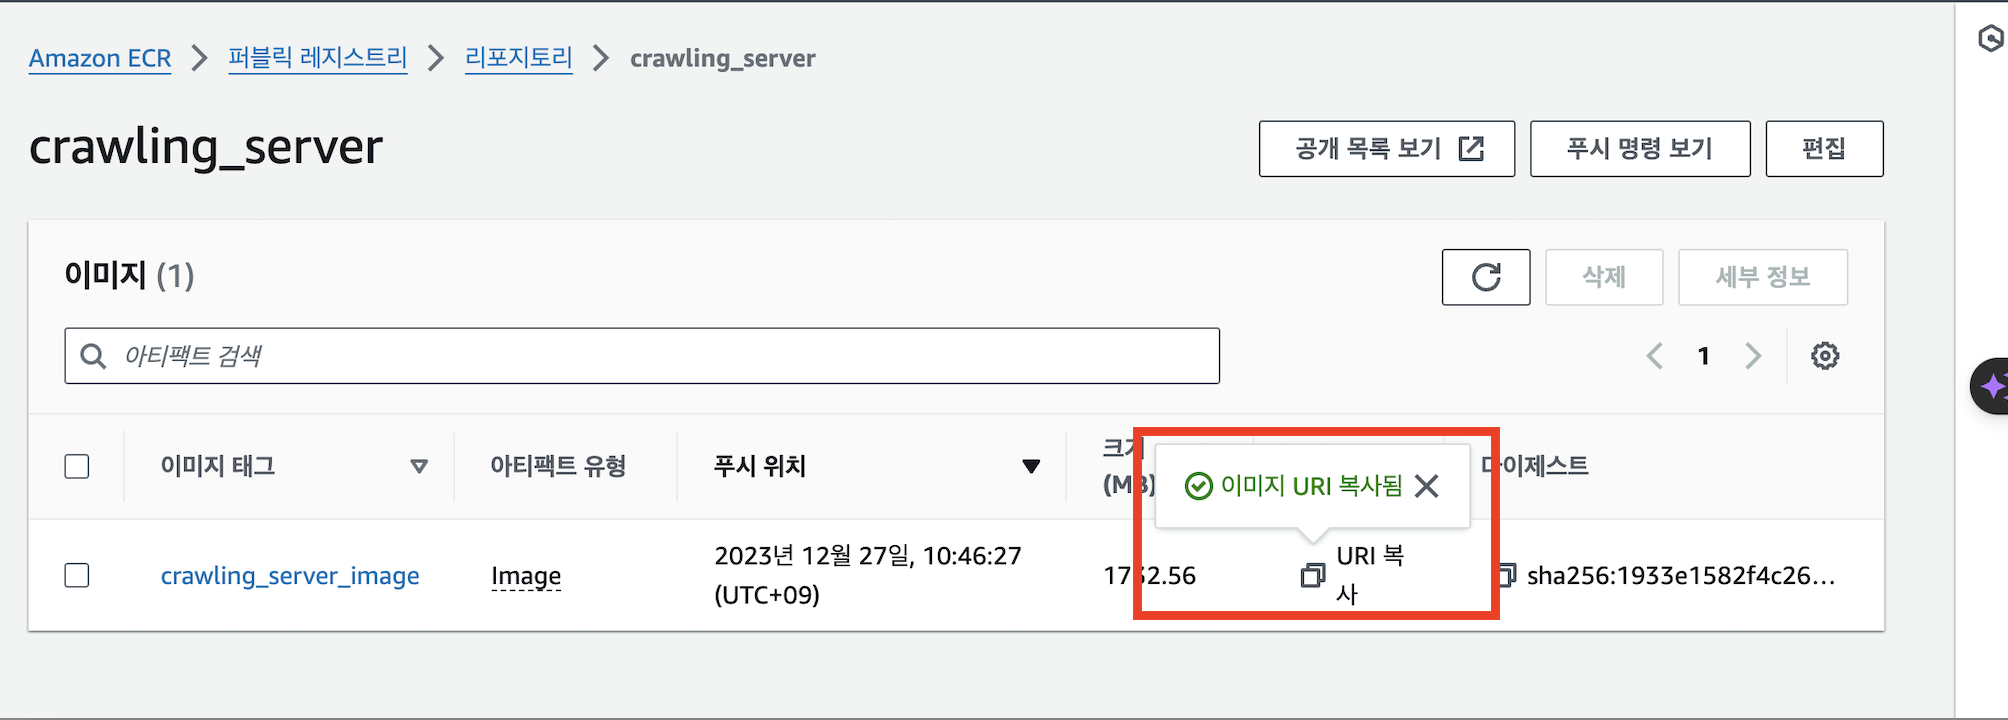
그러면 아래와 같이 이미지가 등록된다.
ECS로 ECR이미지 실행하기
⭐️ 그전에 !!
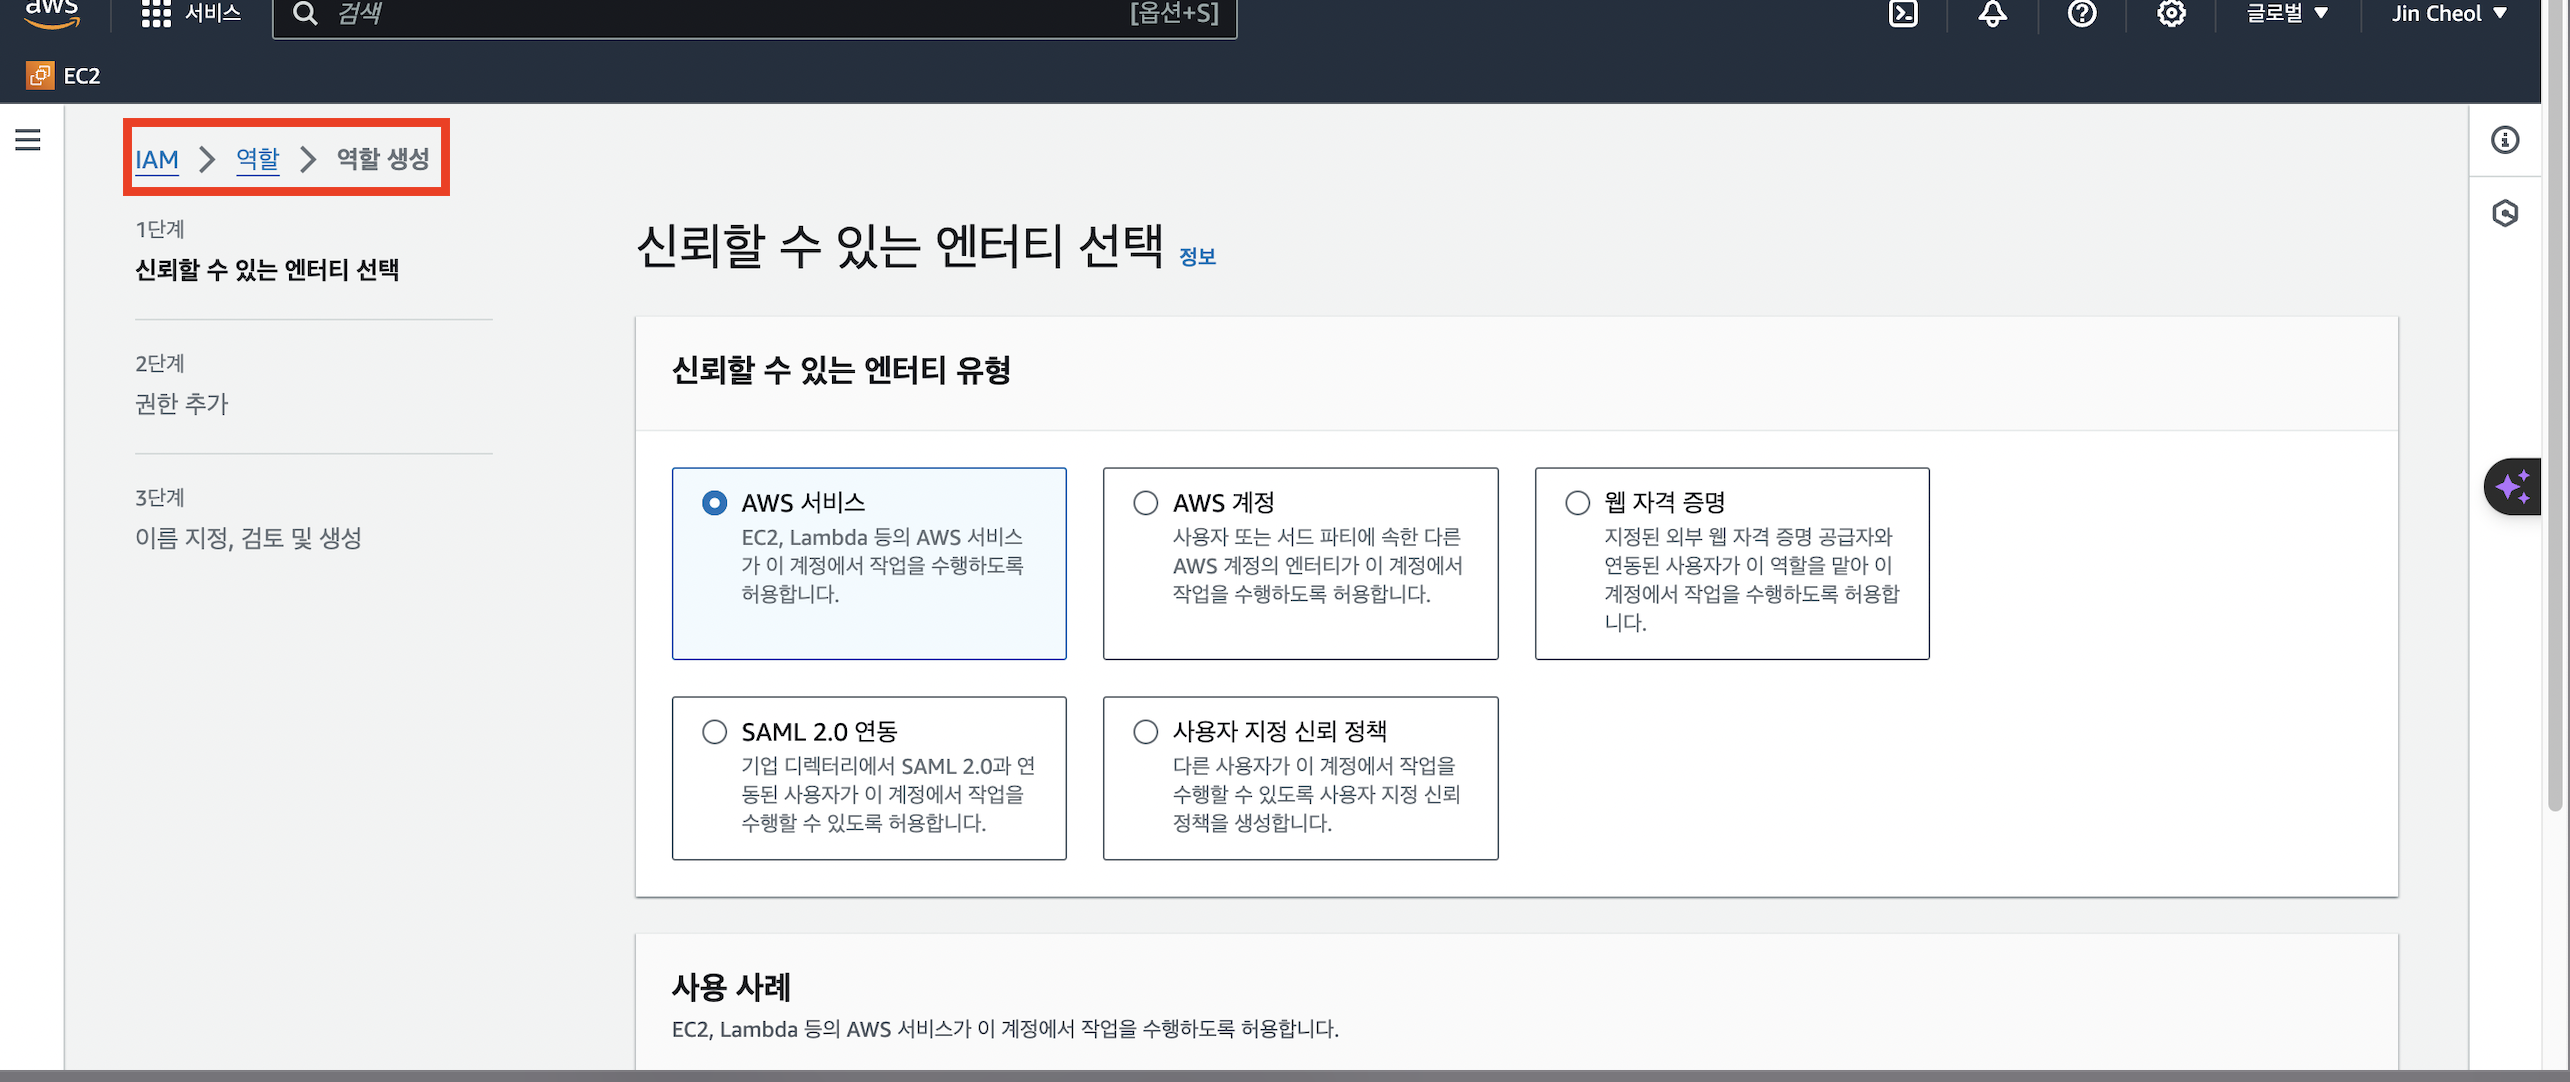
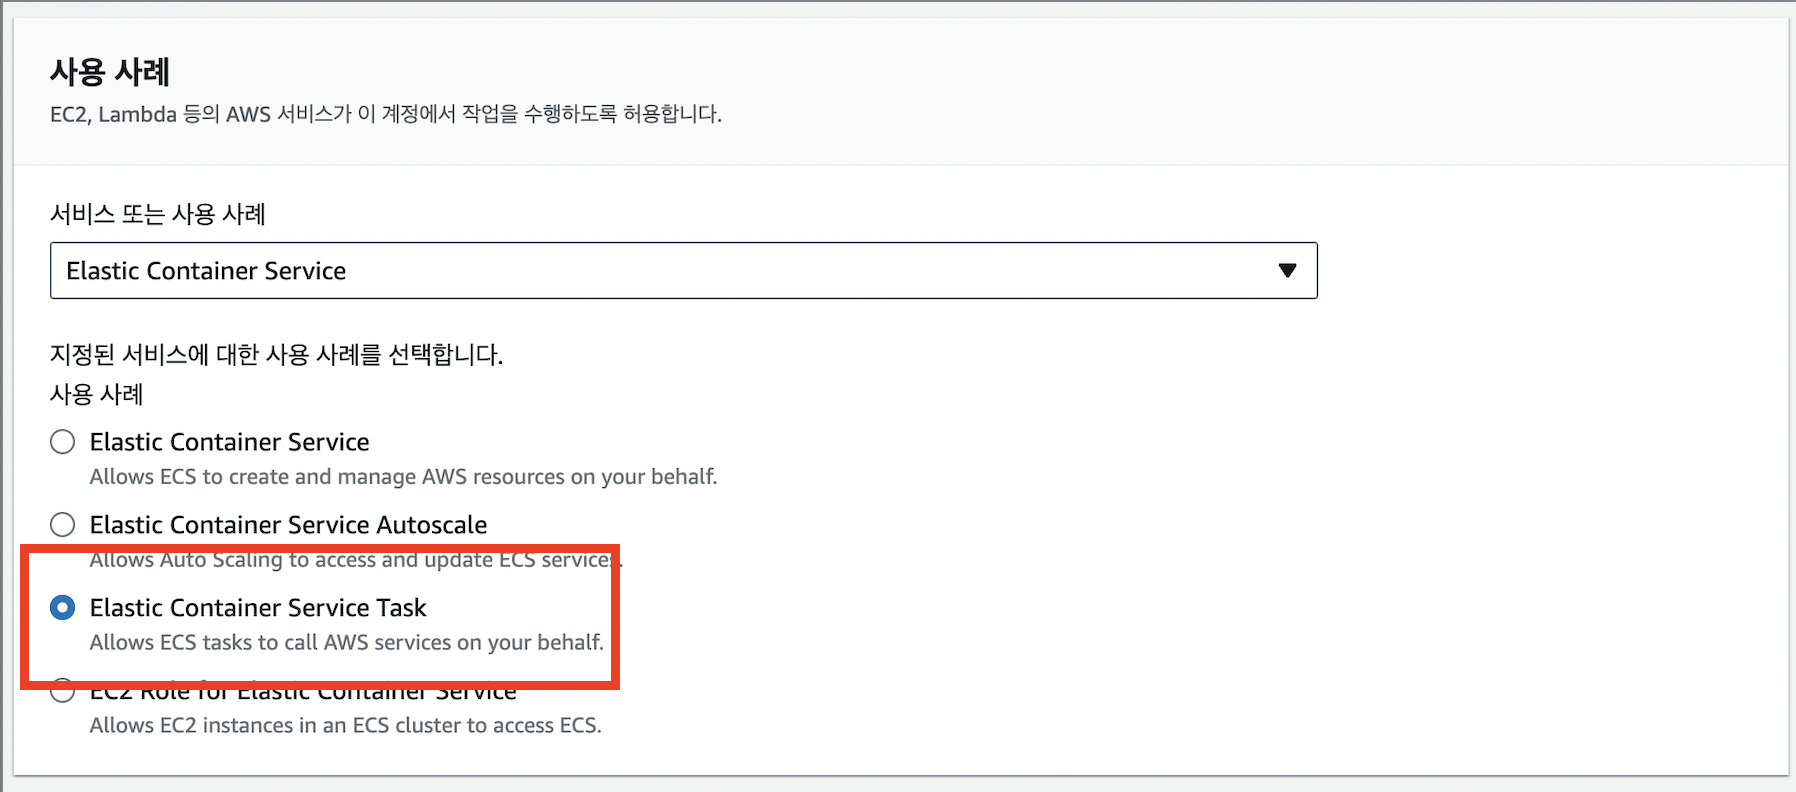
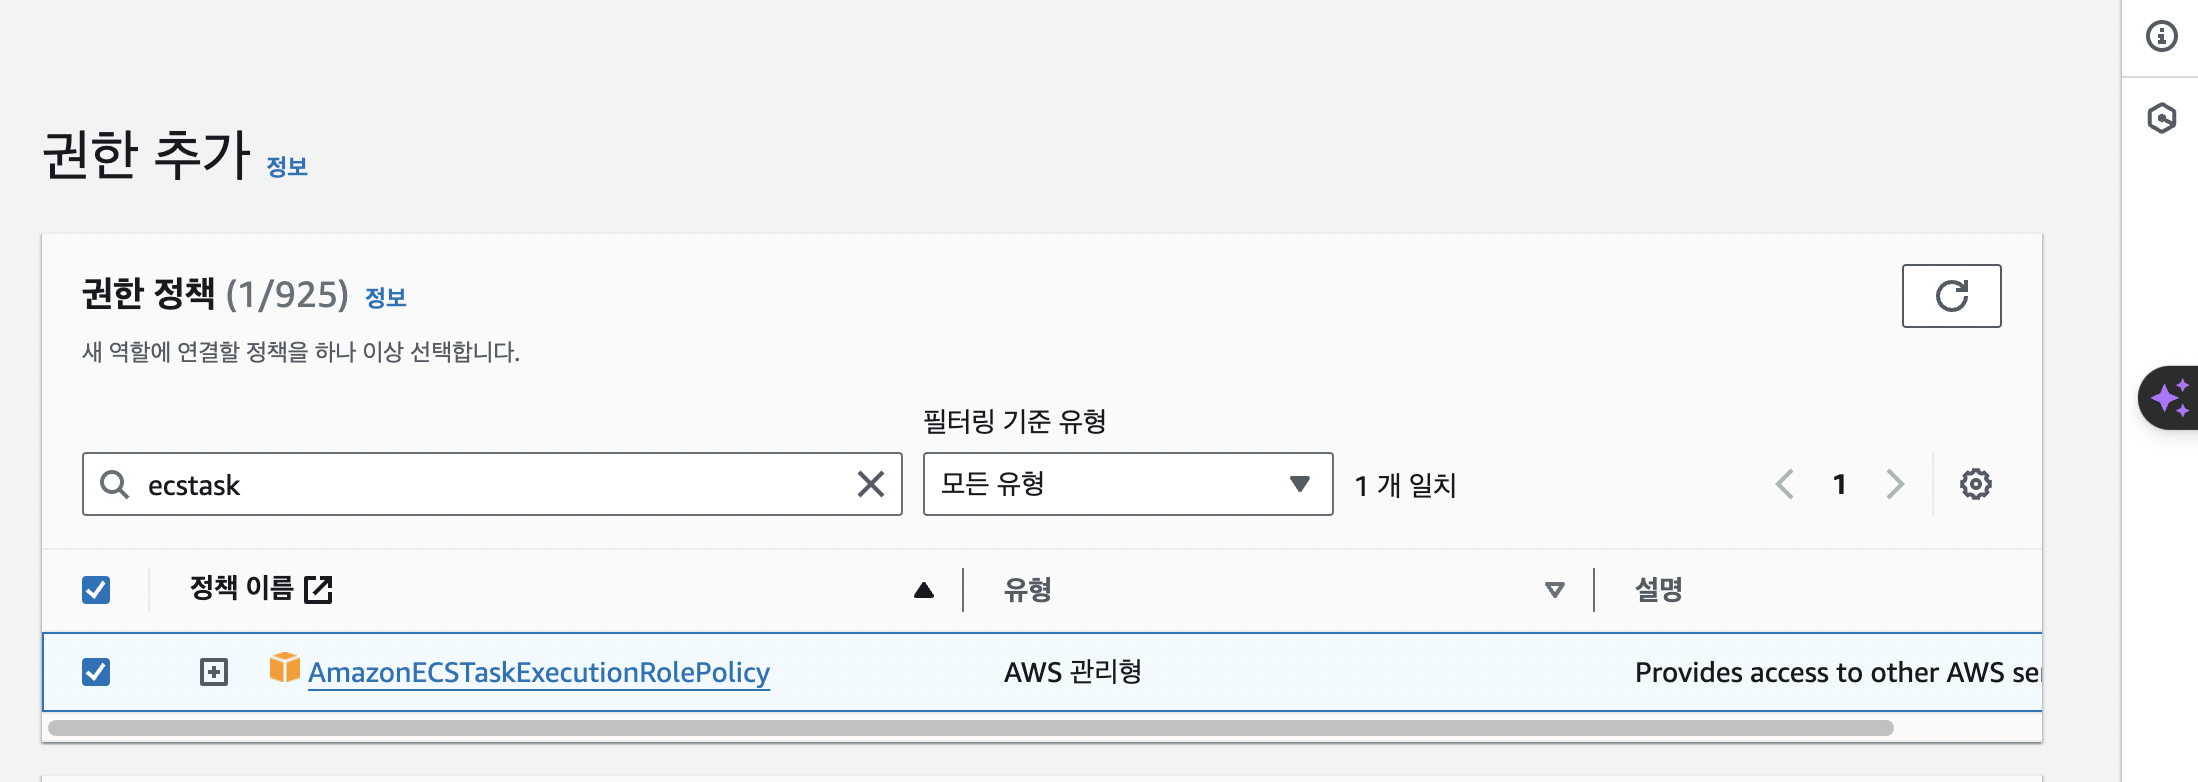
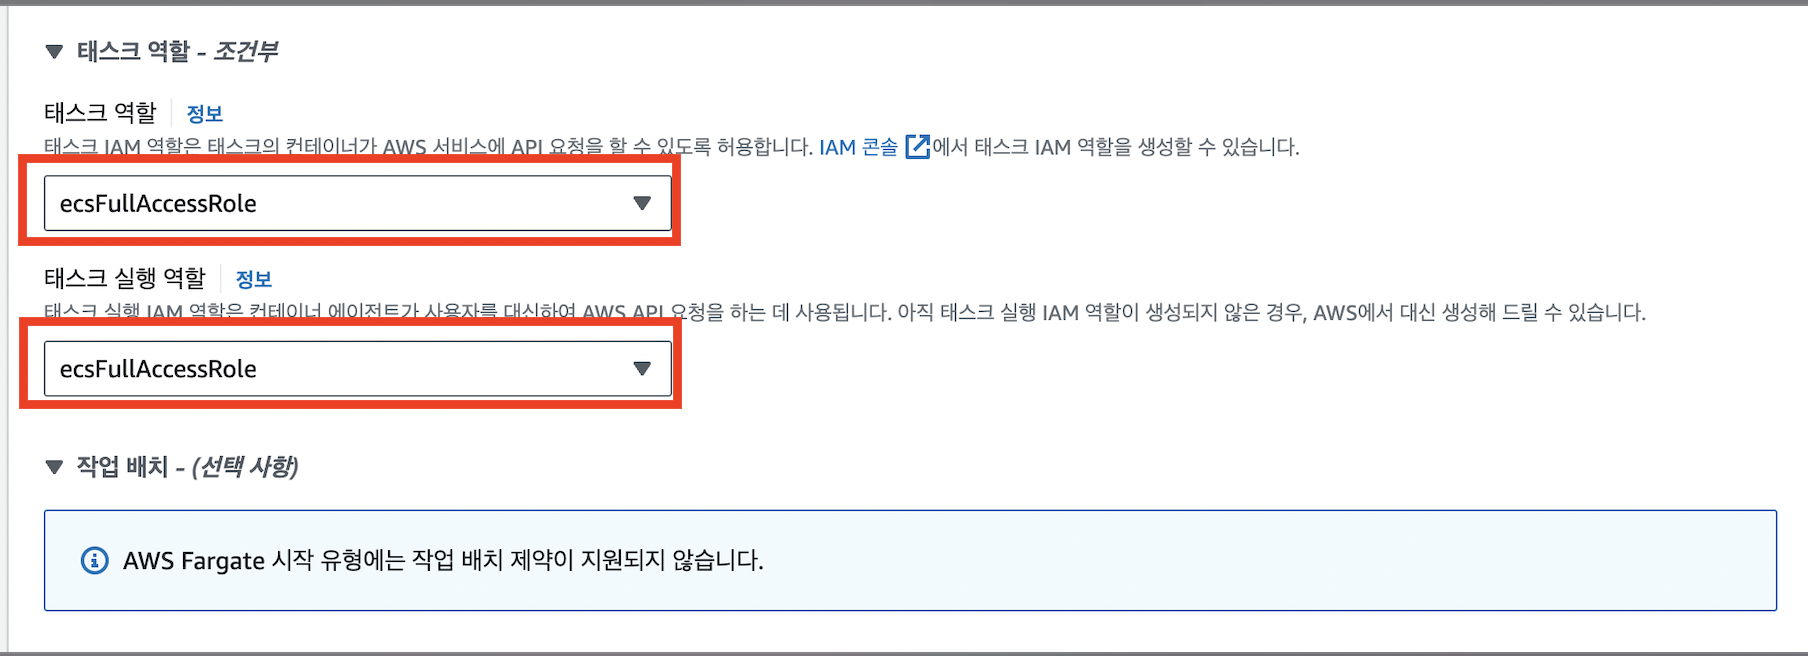
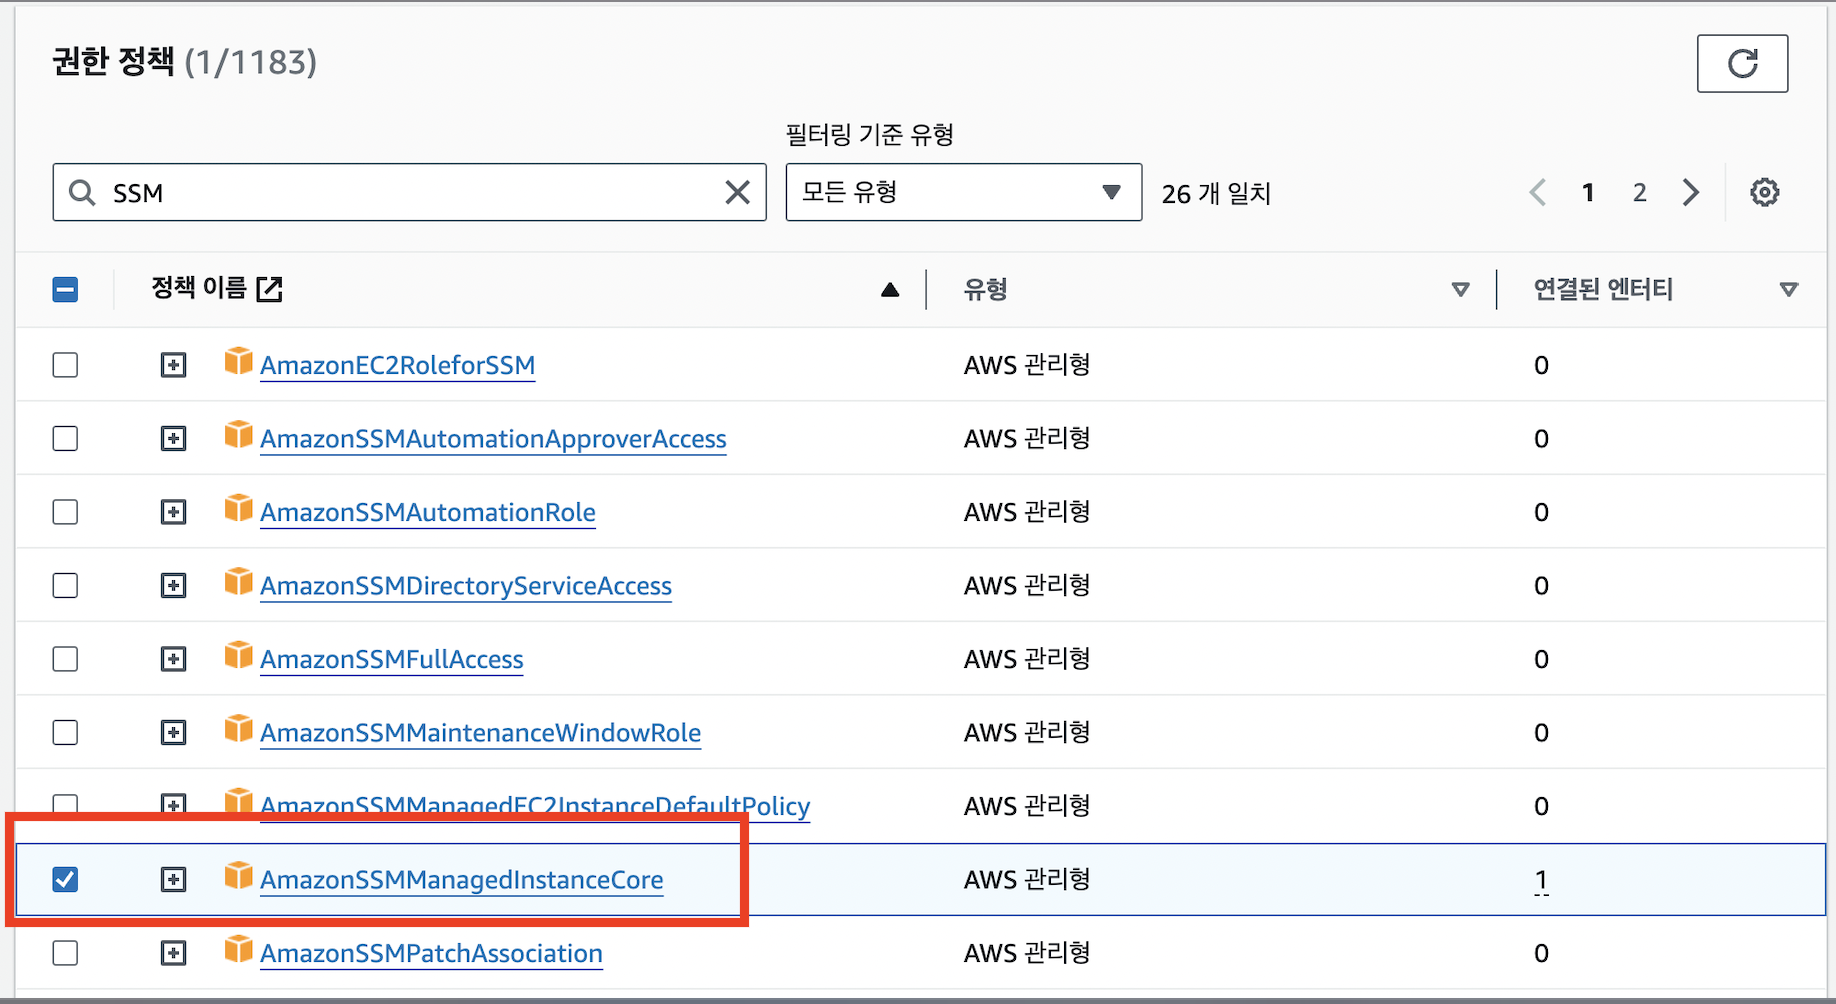
IAM을 통해 사용자 권한에 AmazonECSTaskExecutionRolePolicy 권한을 추가해주자
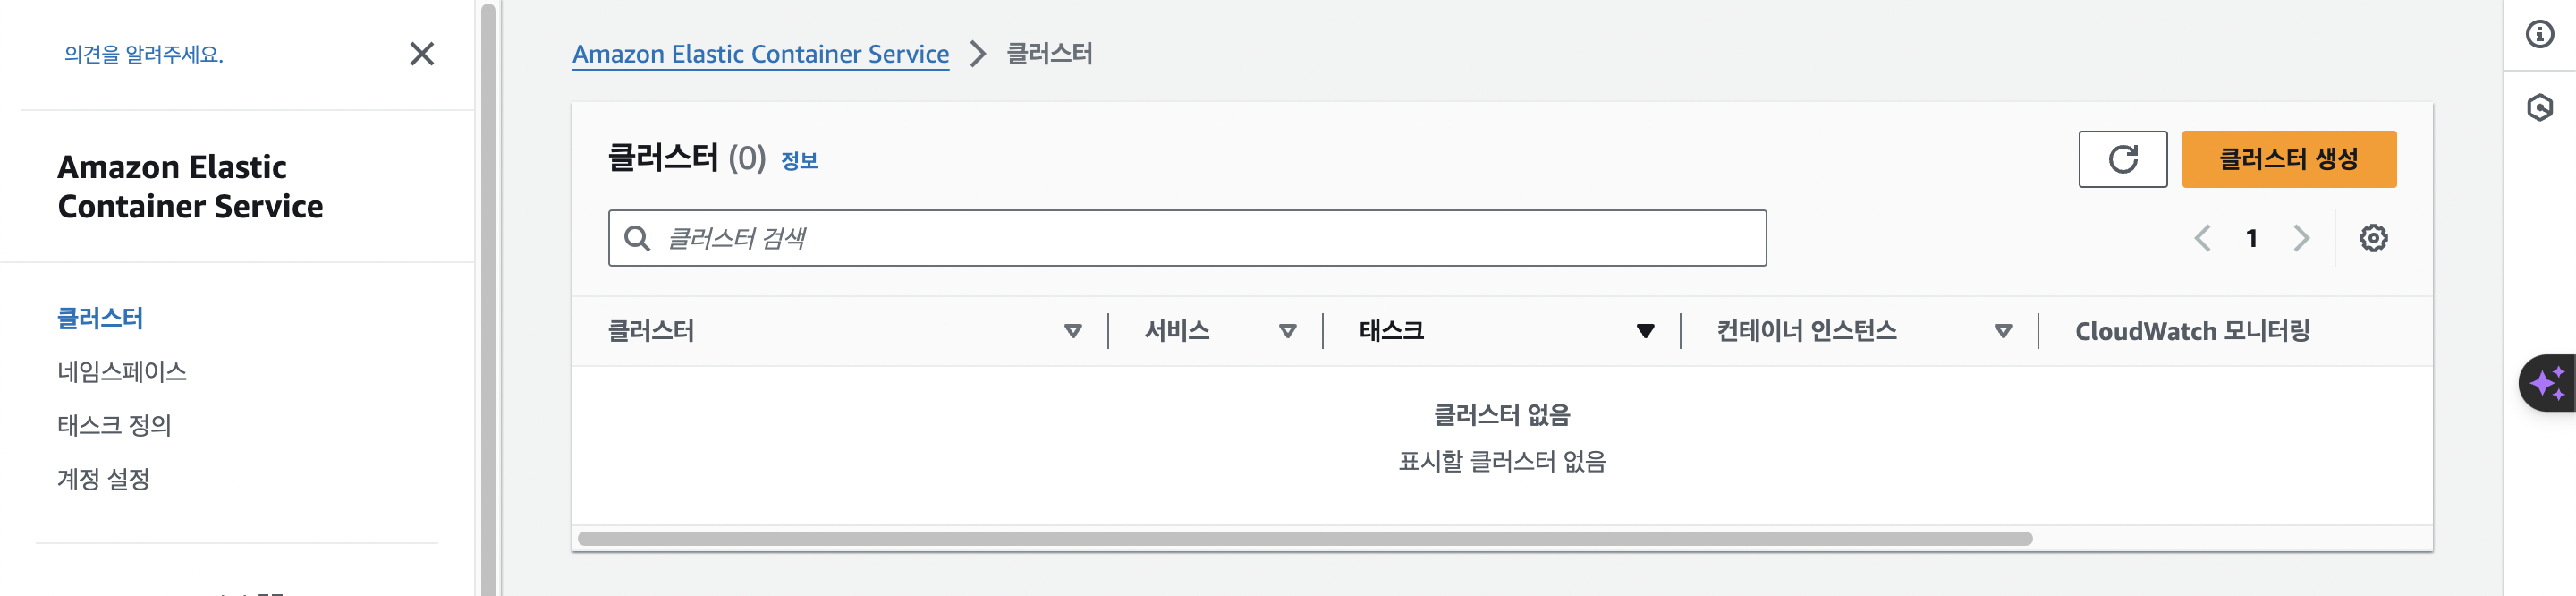
작업순서
클러스터 생성 -> 태스크 정의 -> 서비스 배포
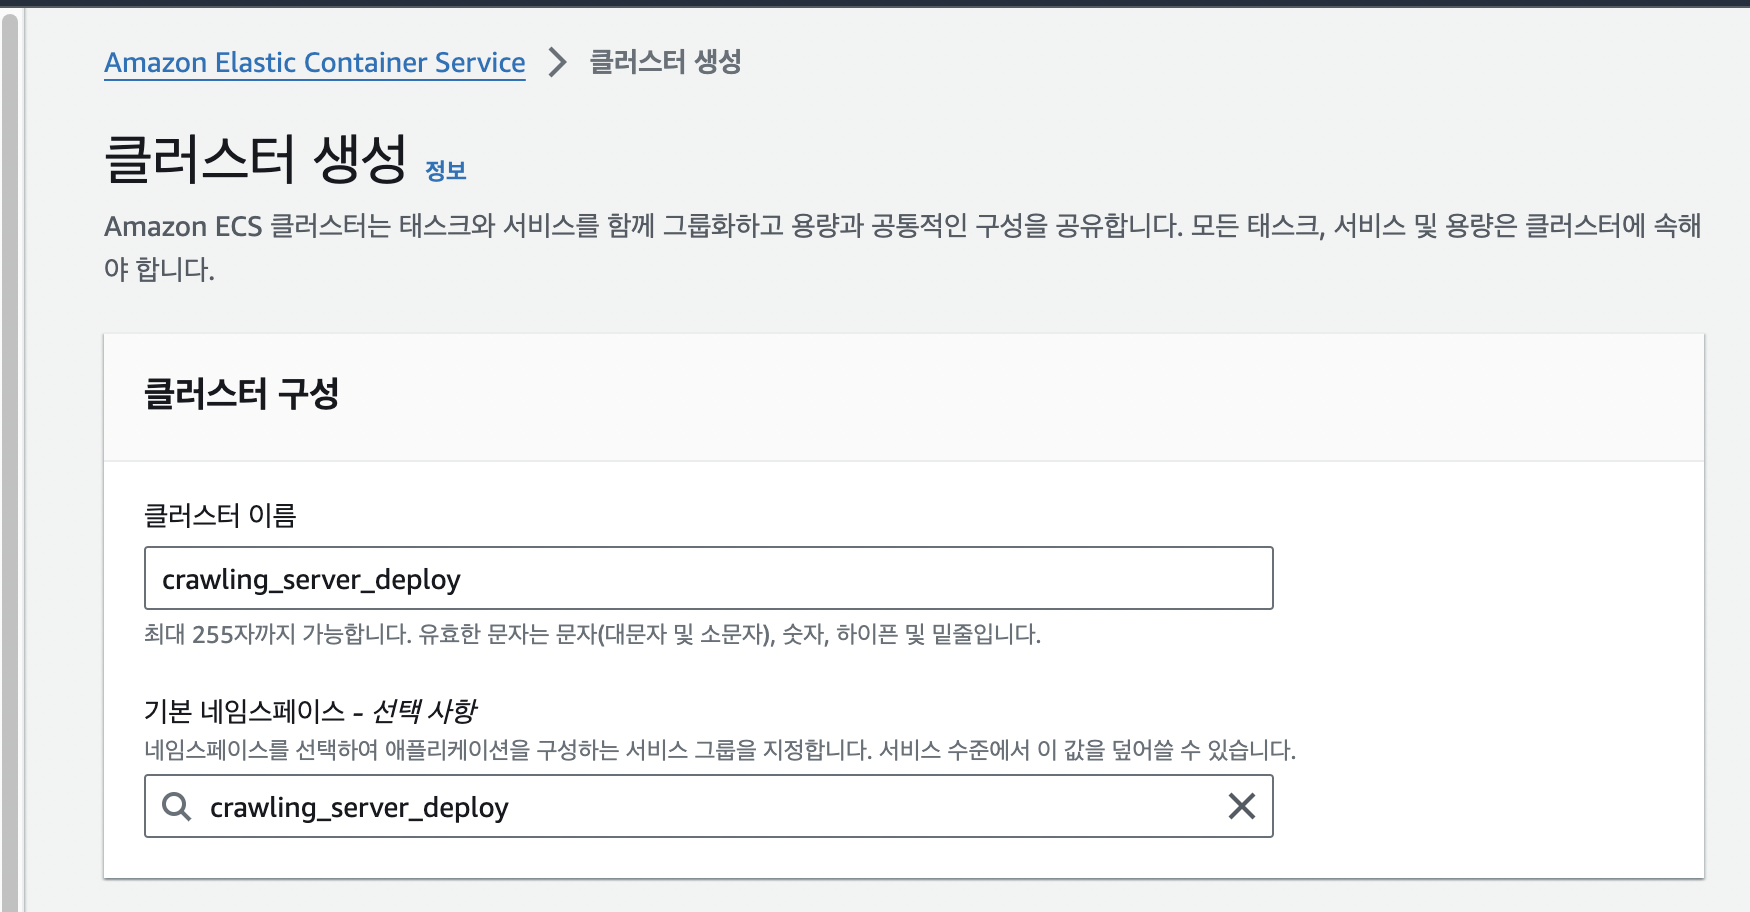
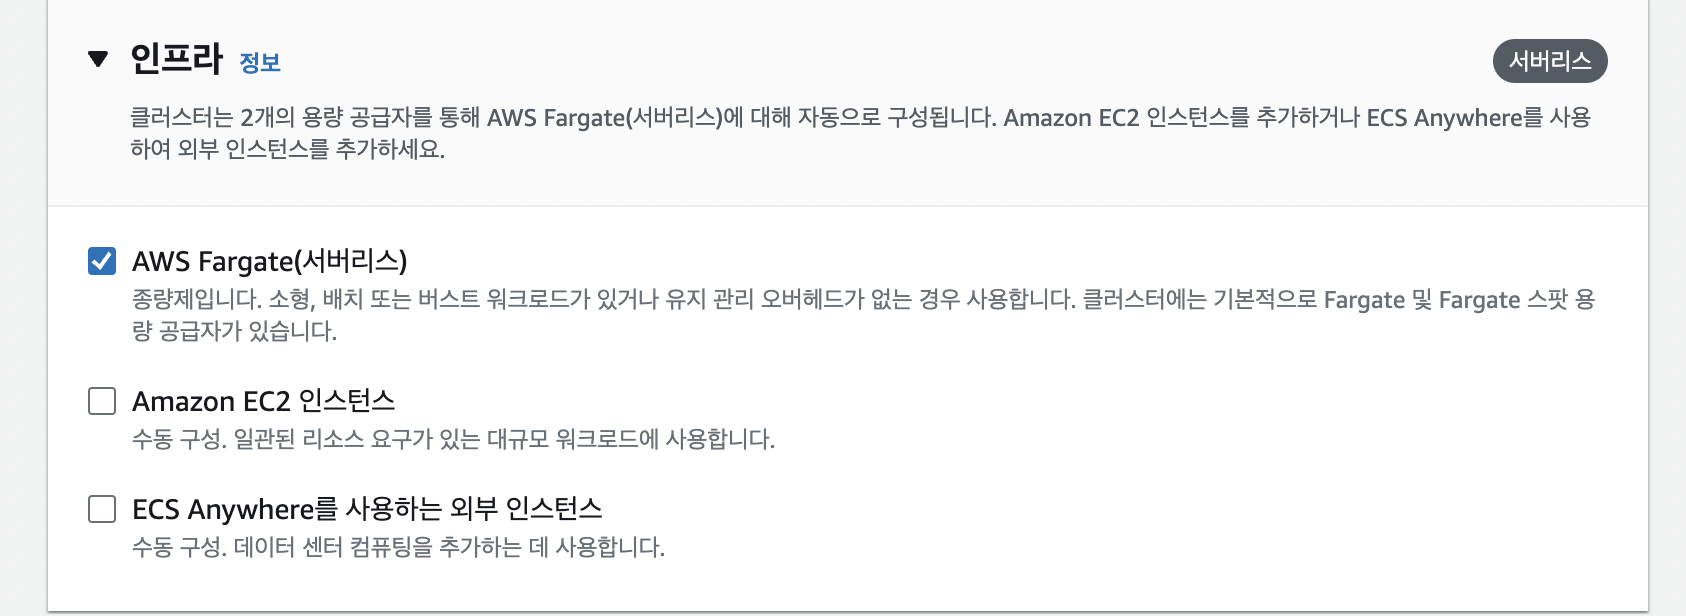
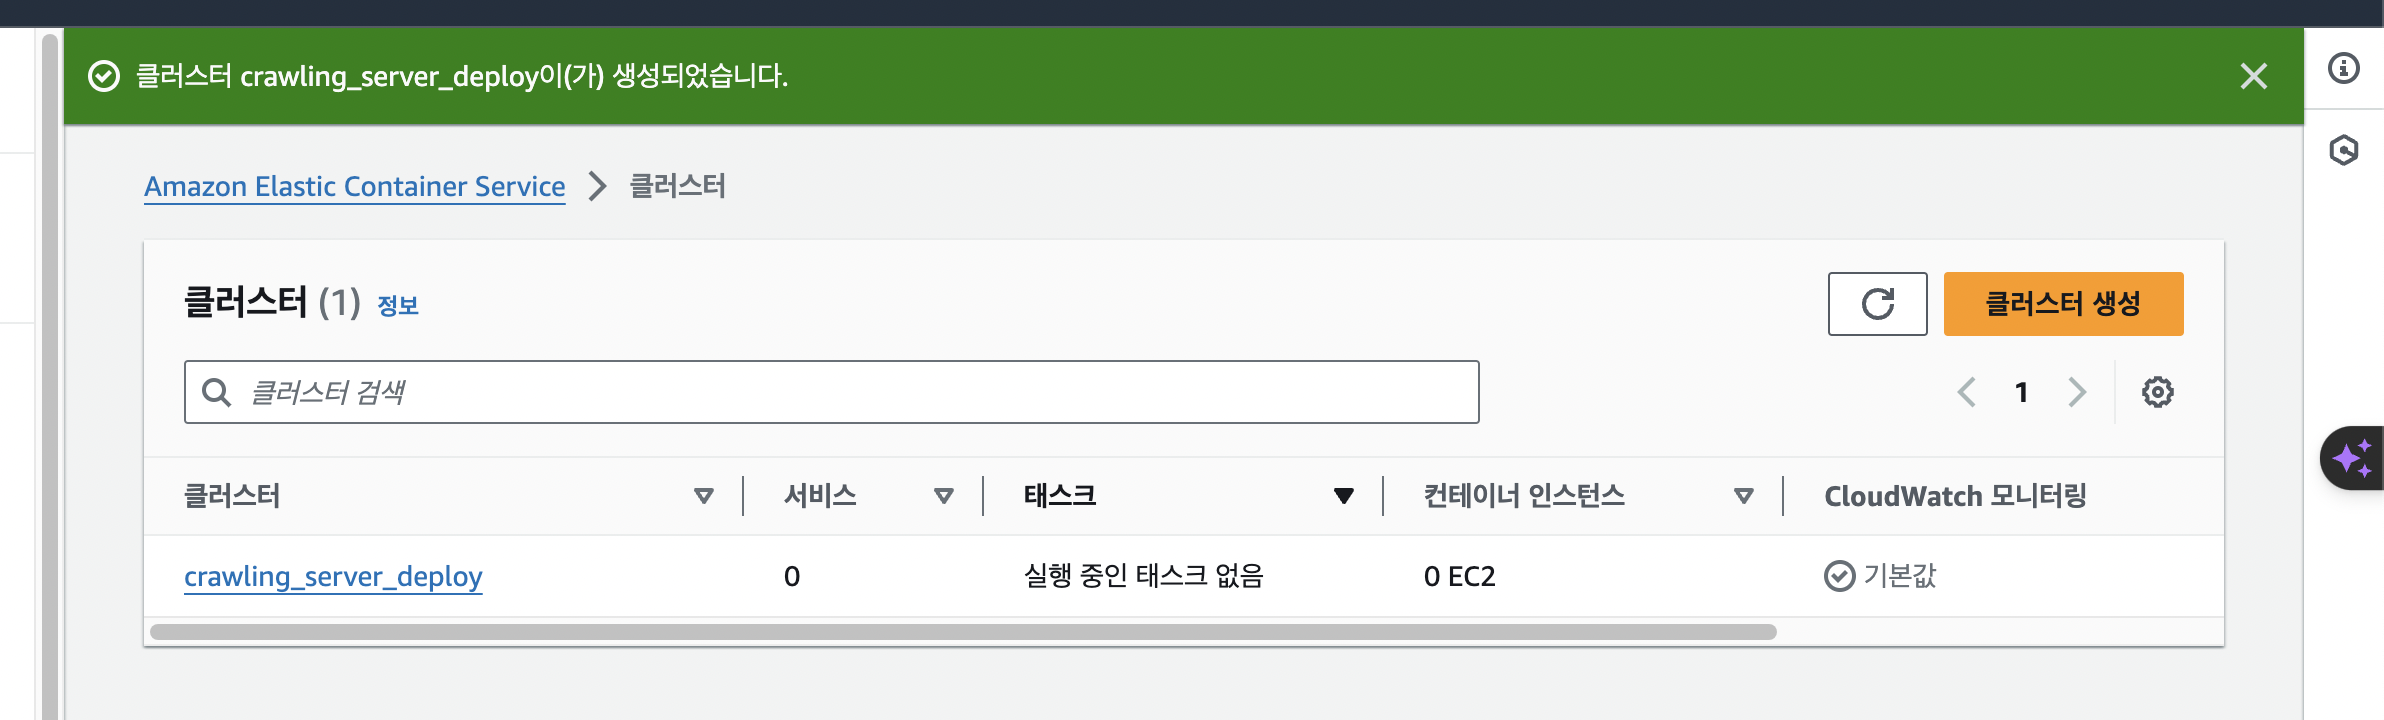
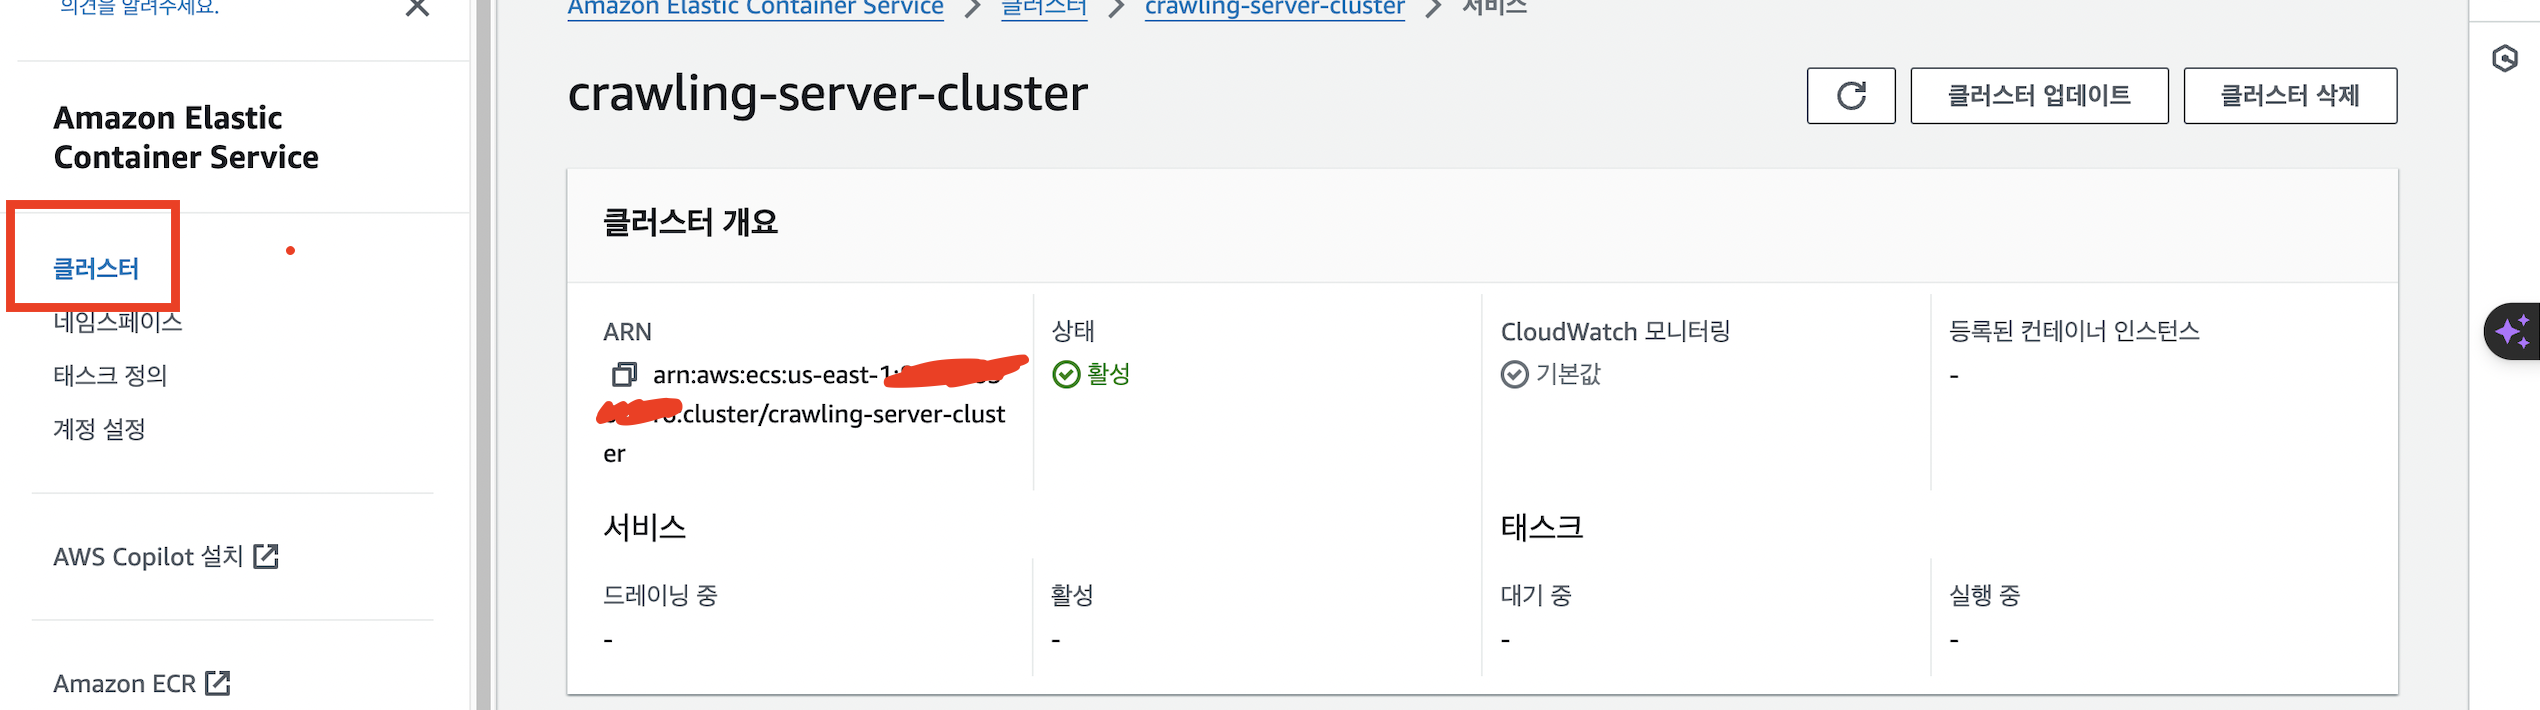
1. 클러스터 생성
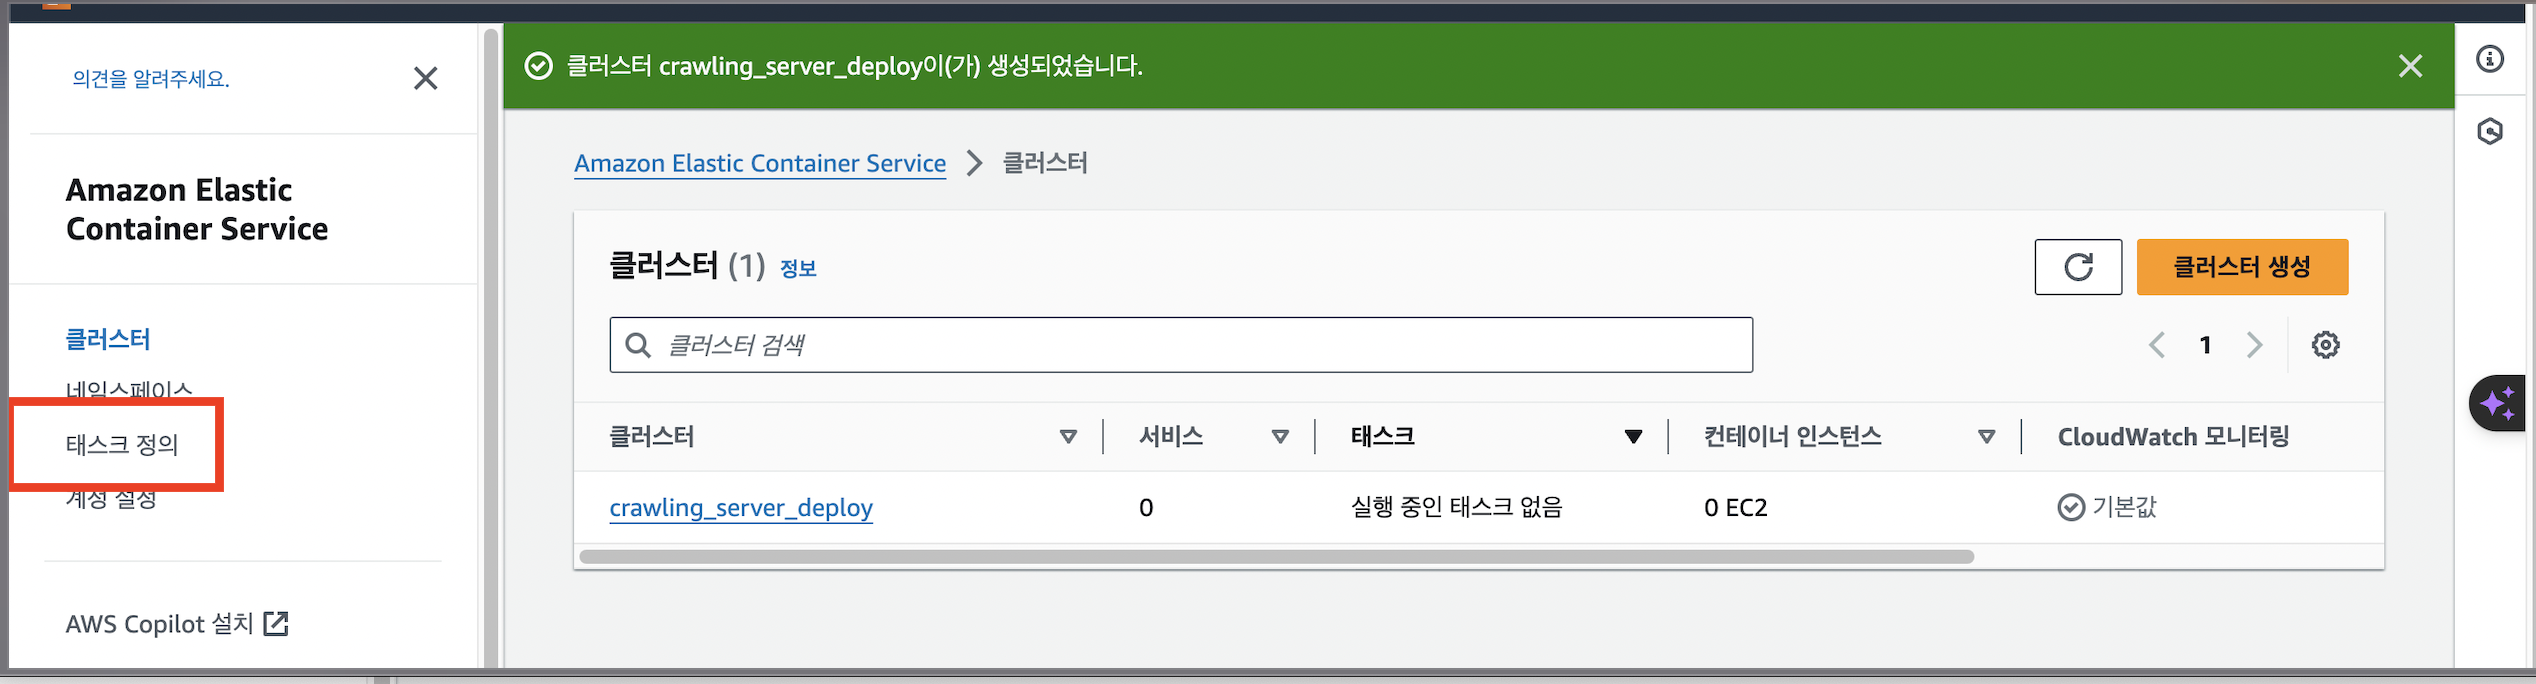
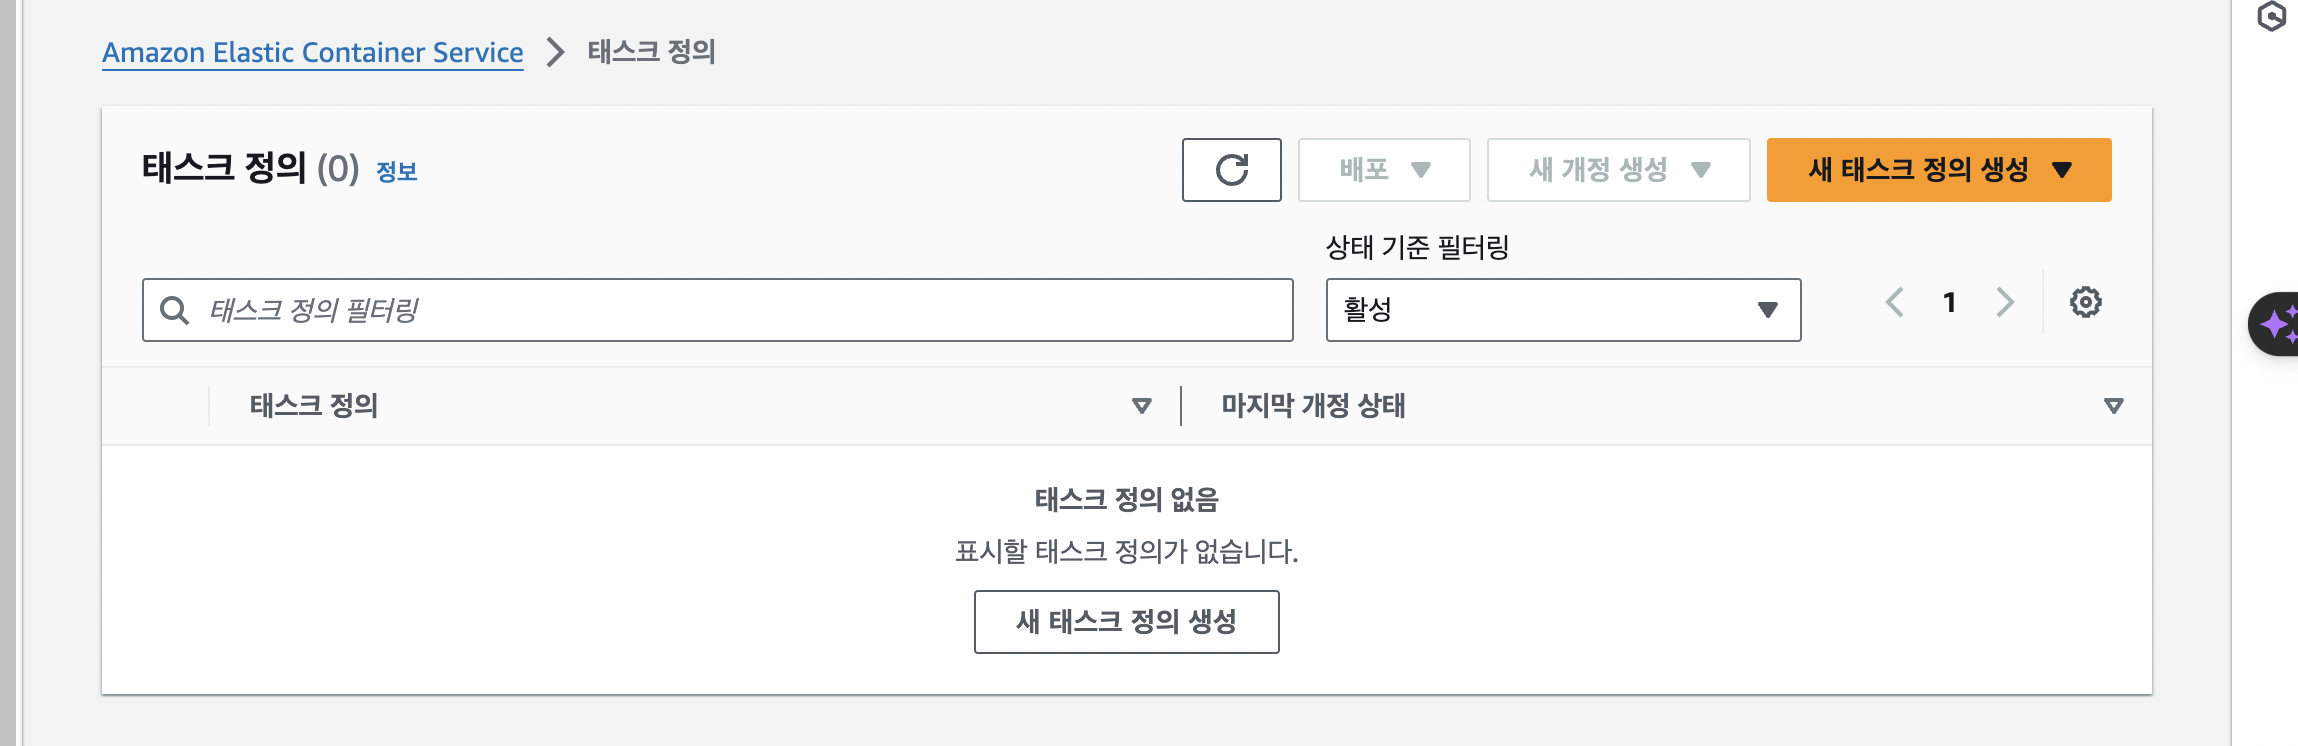
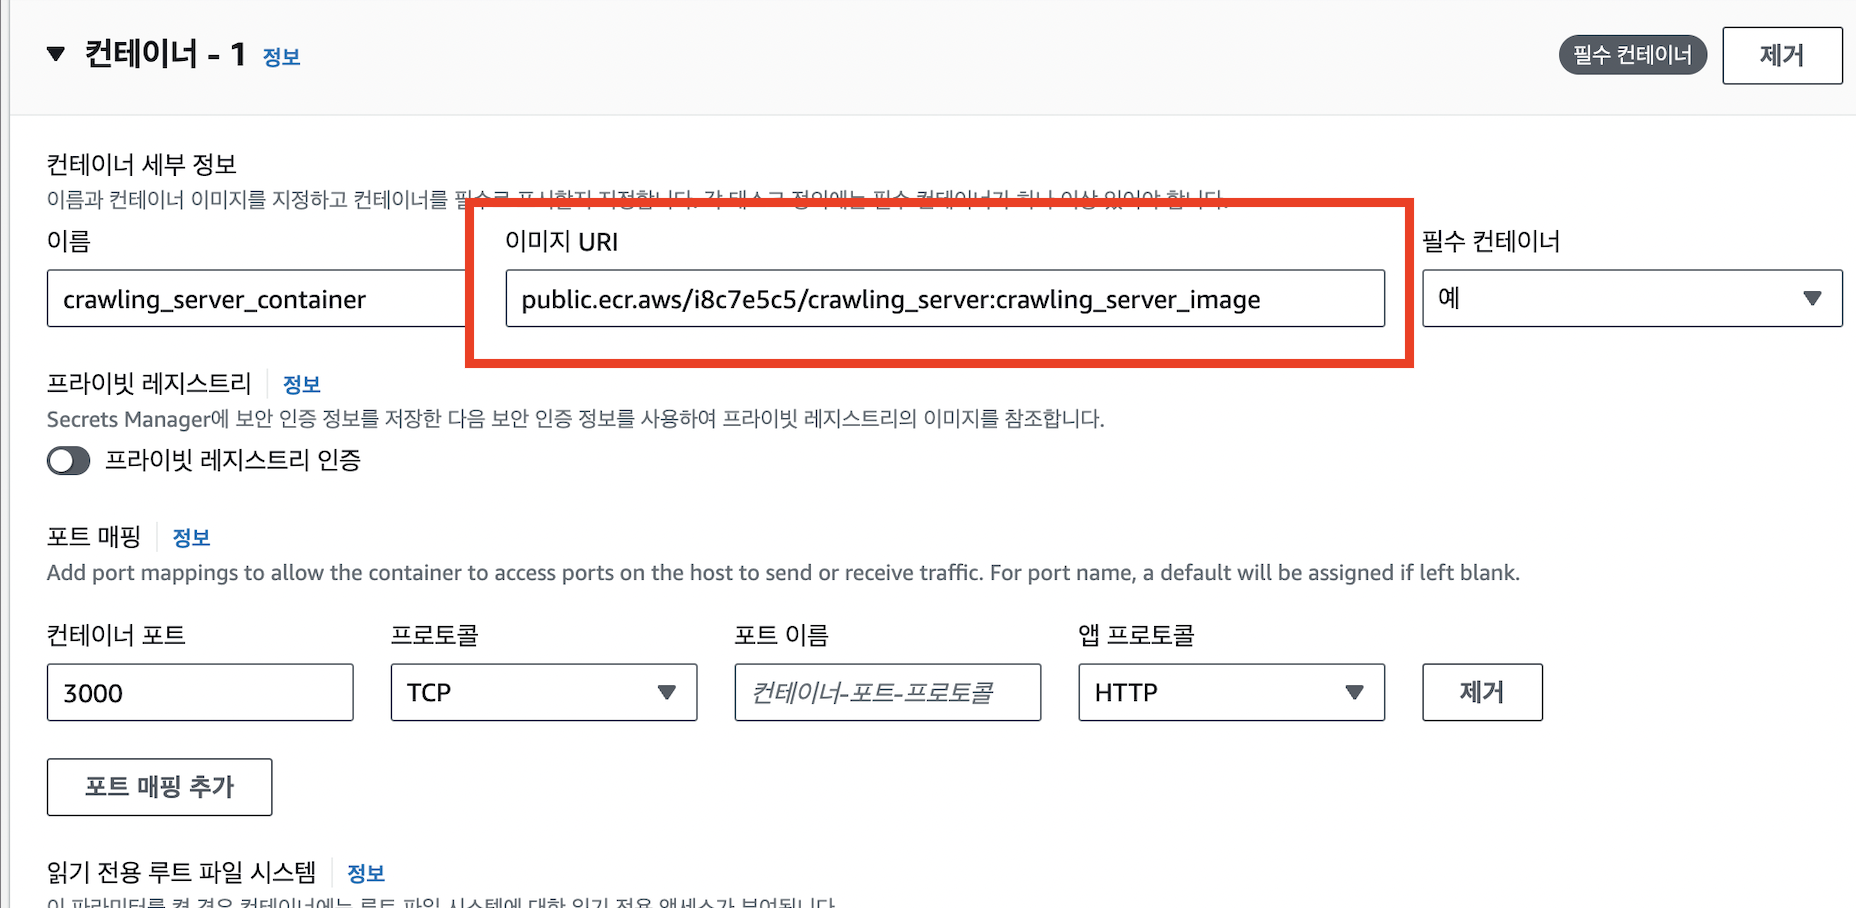
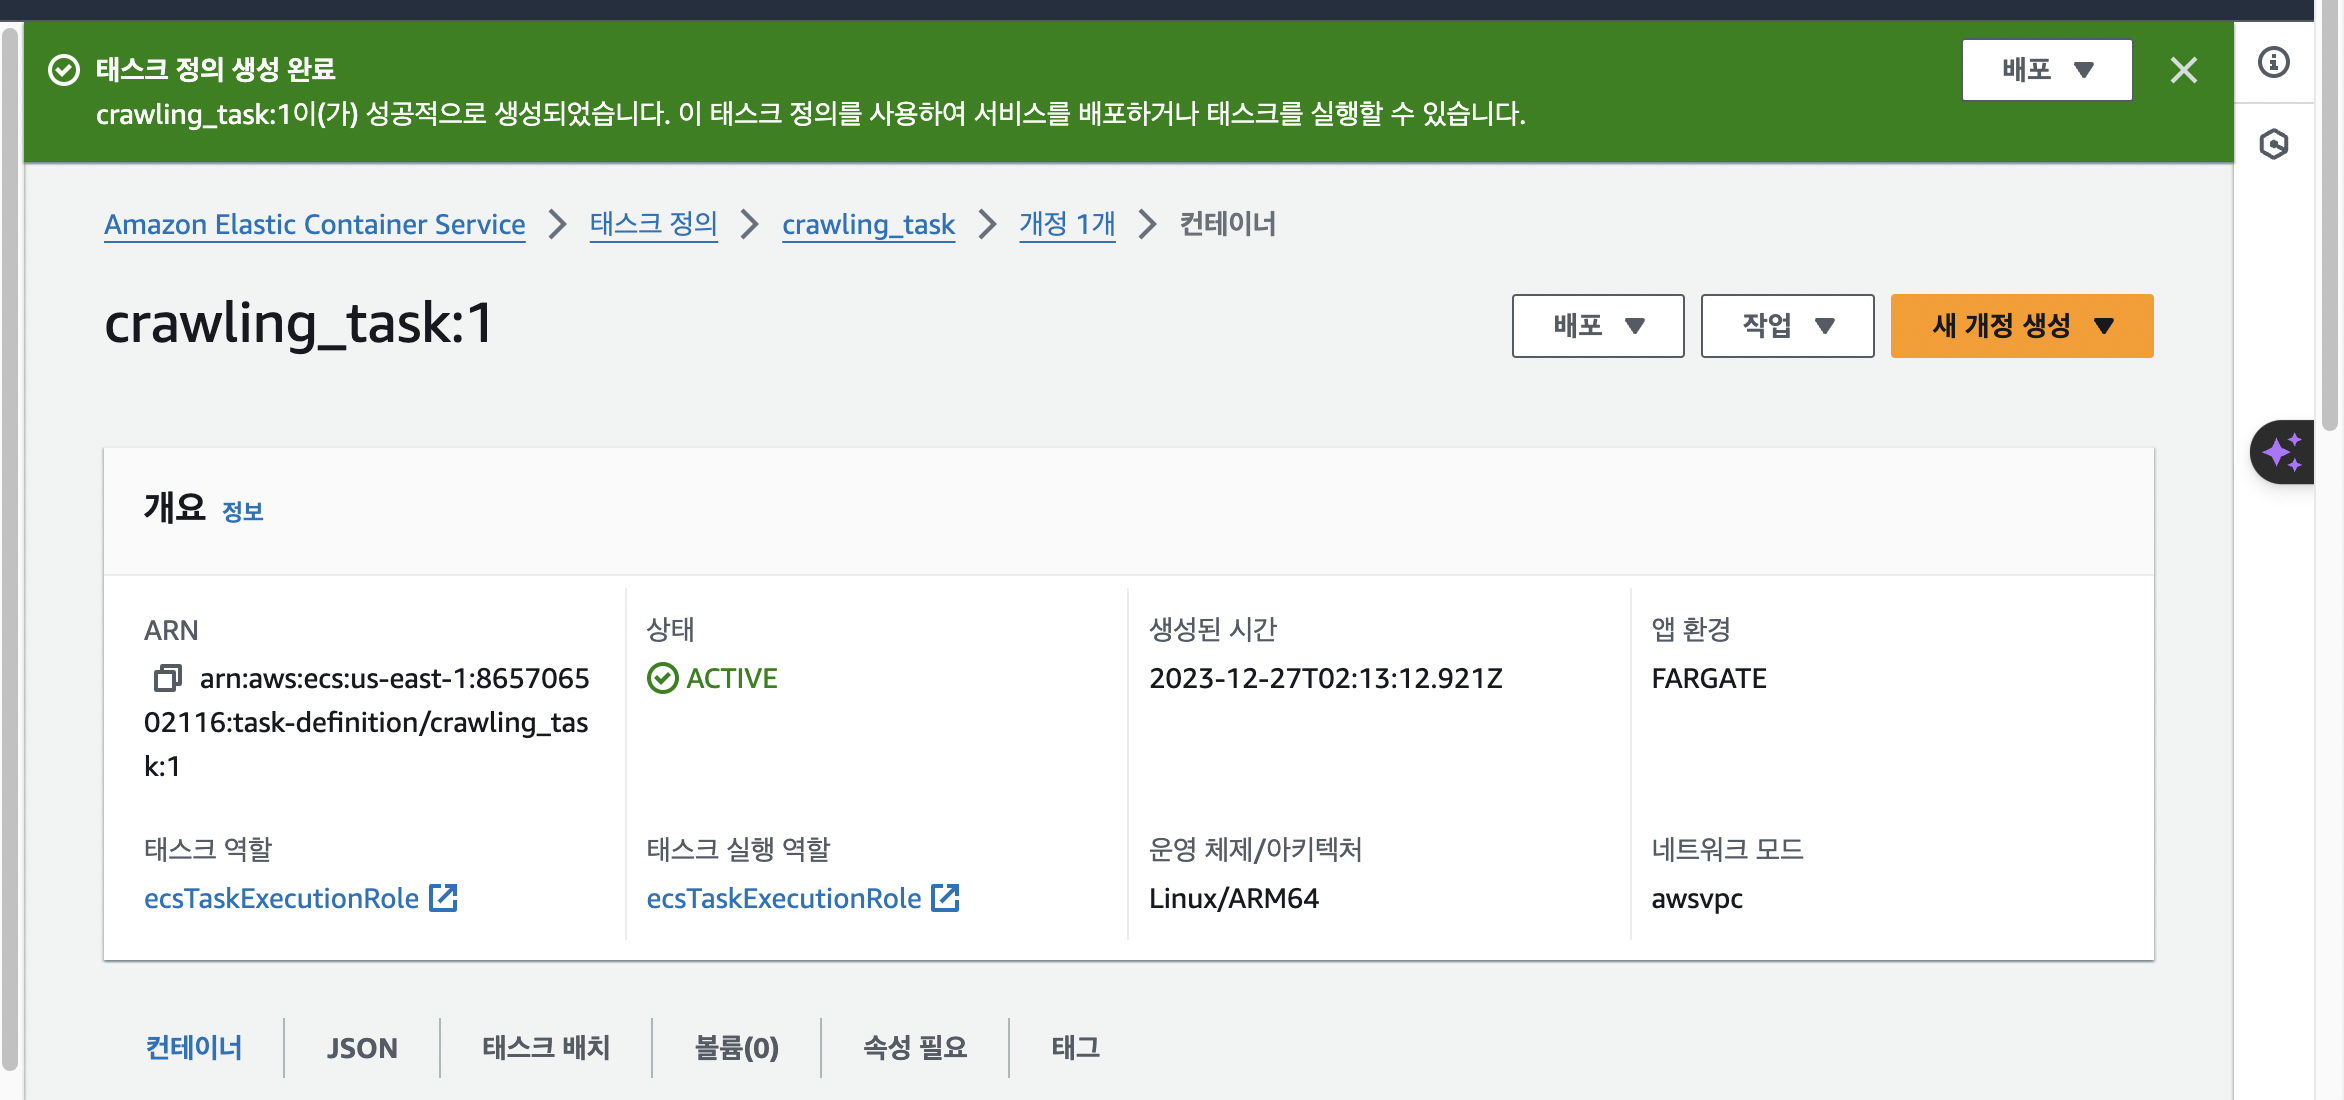
2. 태스크 정의
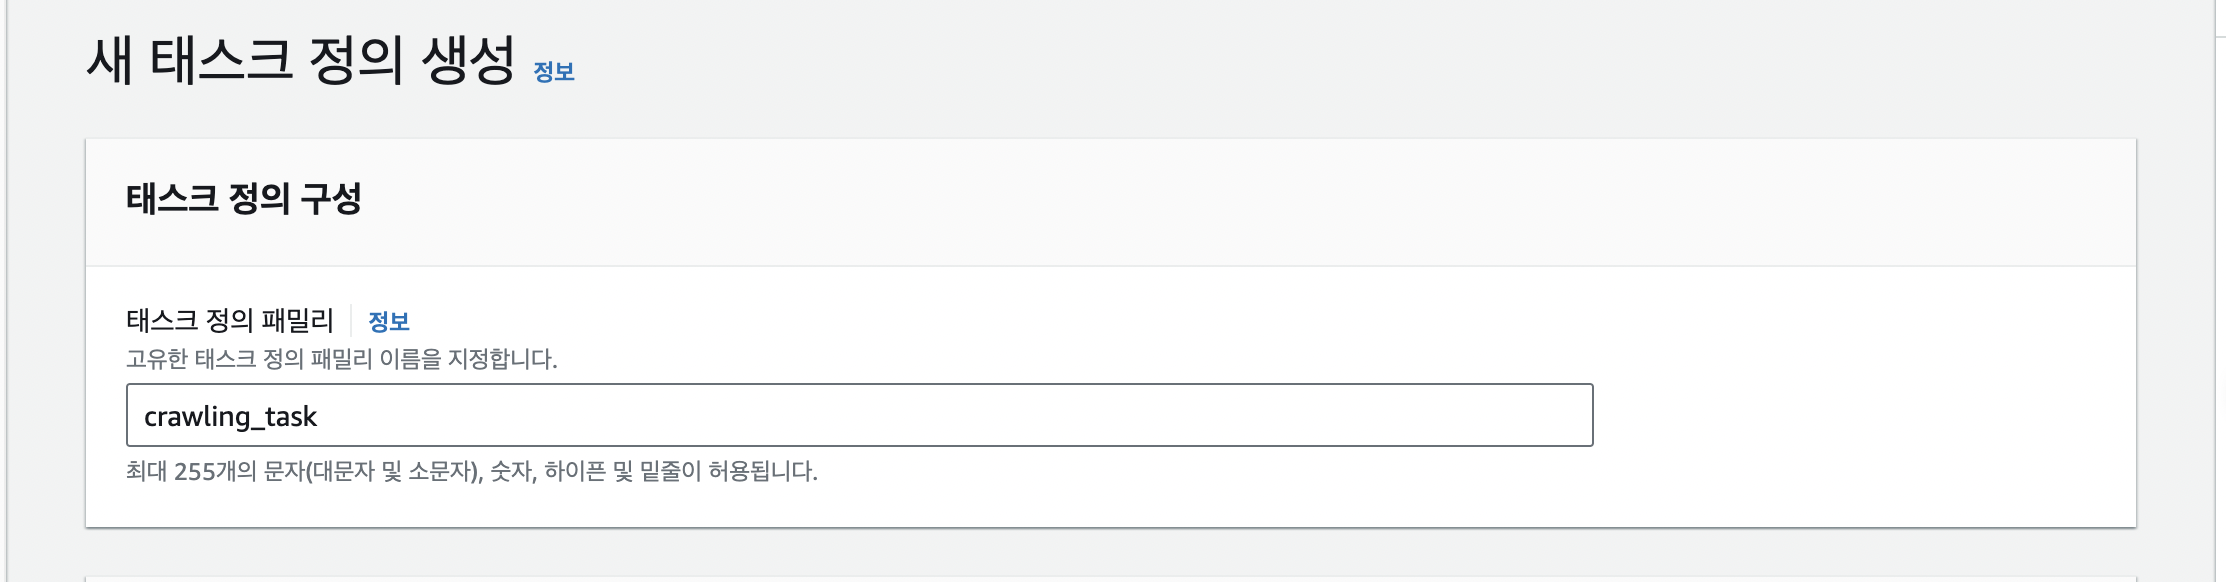
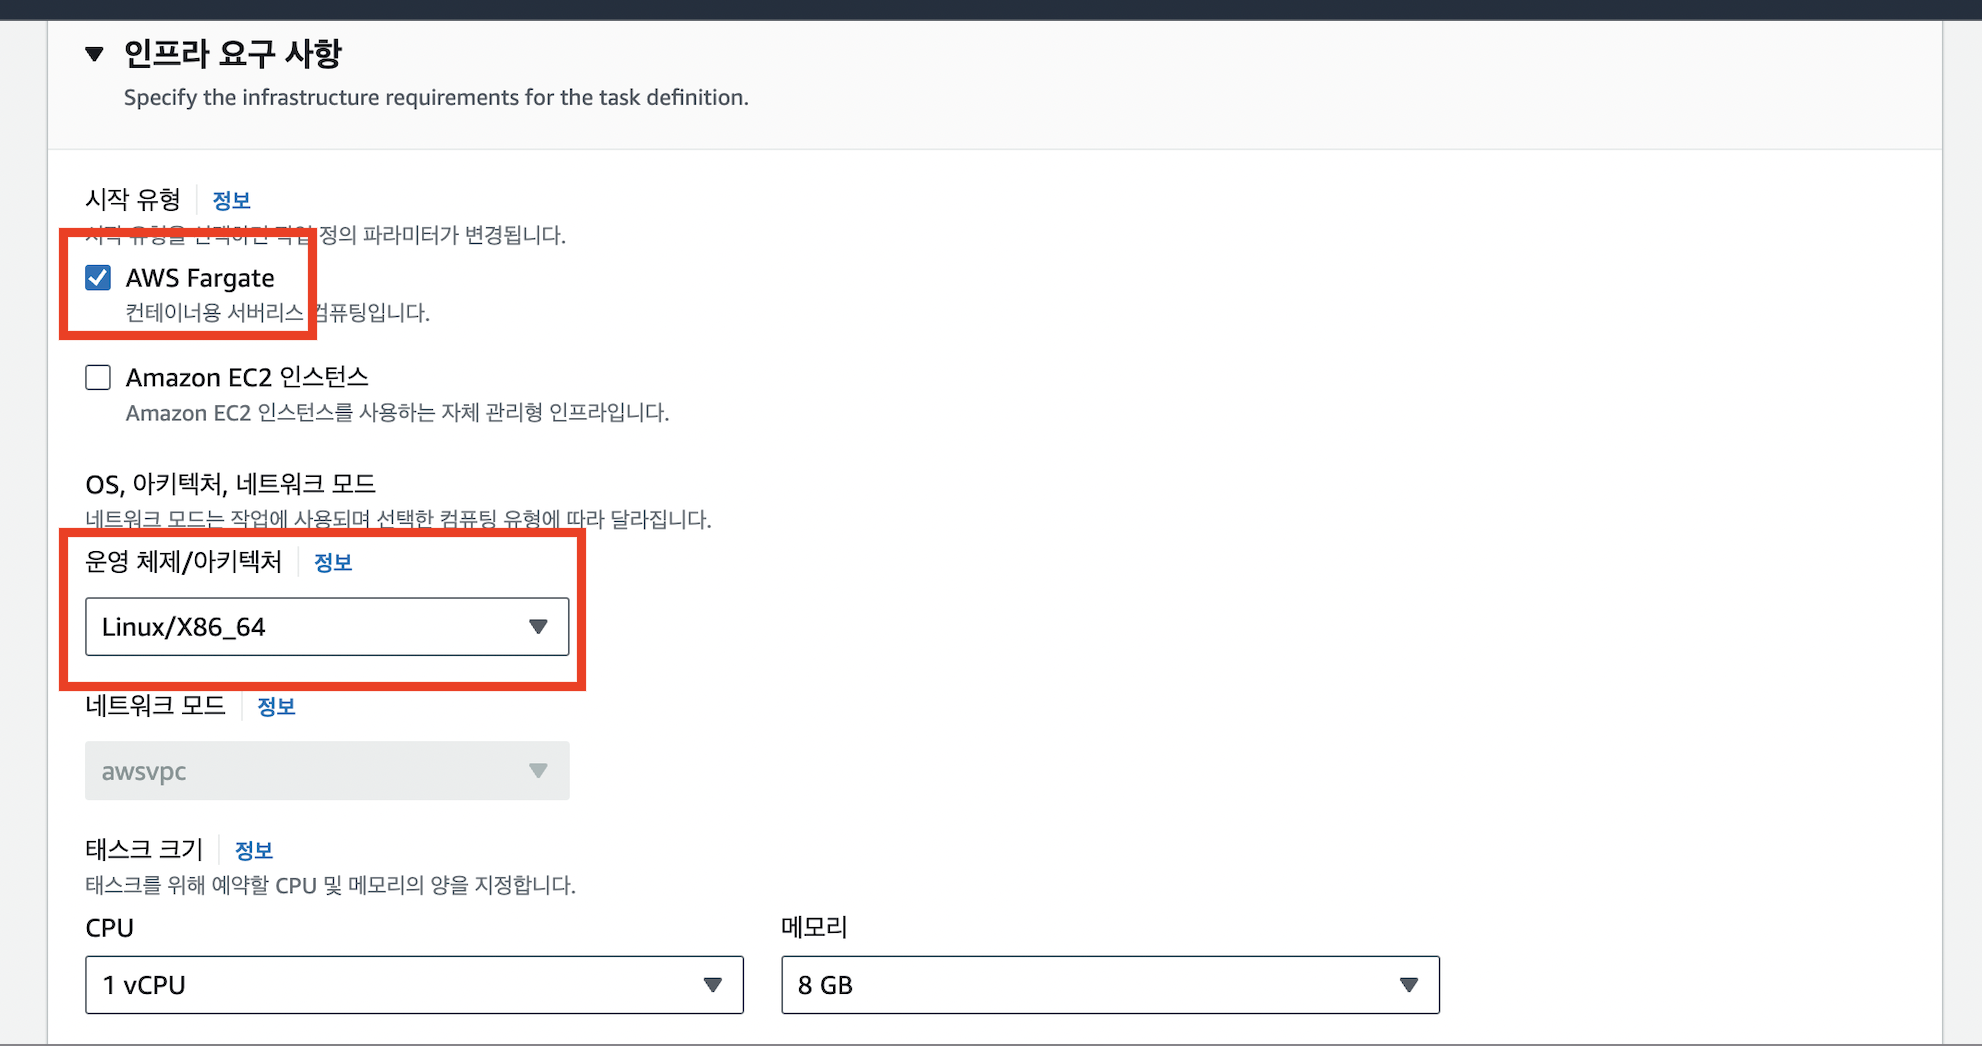
아래의 이미지URI를 설정하는 부분은 사전에 등록한 ECR에서 이미지 URI를 복사해 그대로 등록한다.
태스크 정의 완료
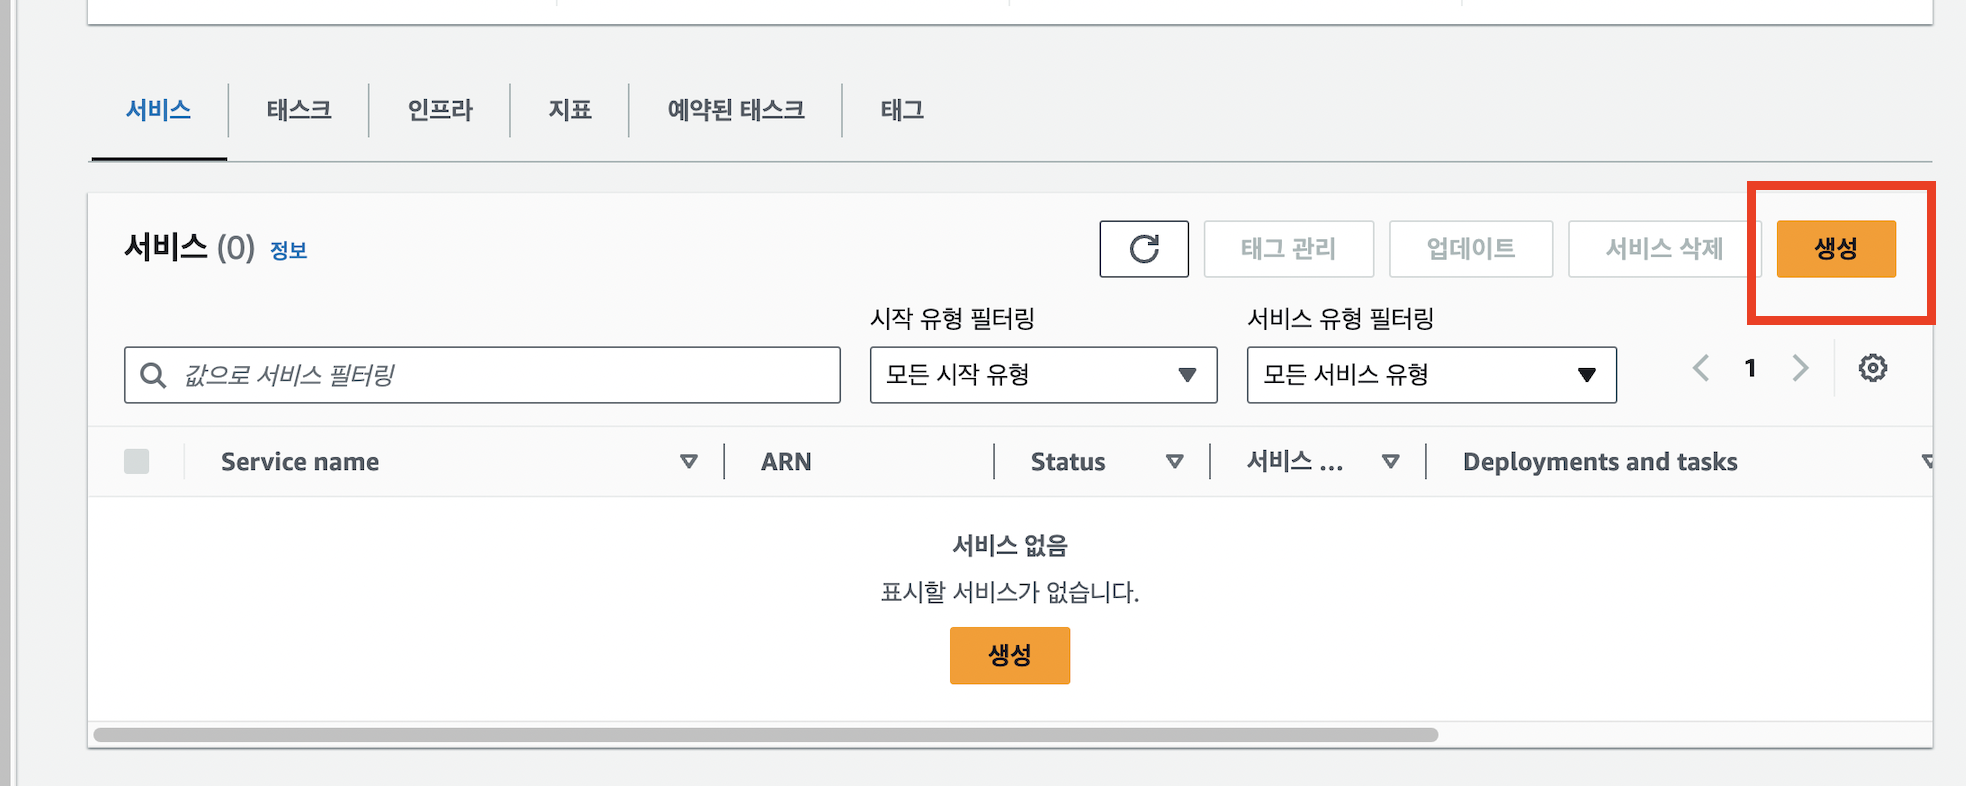
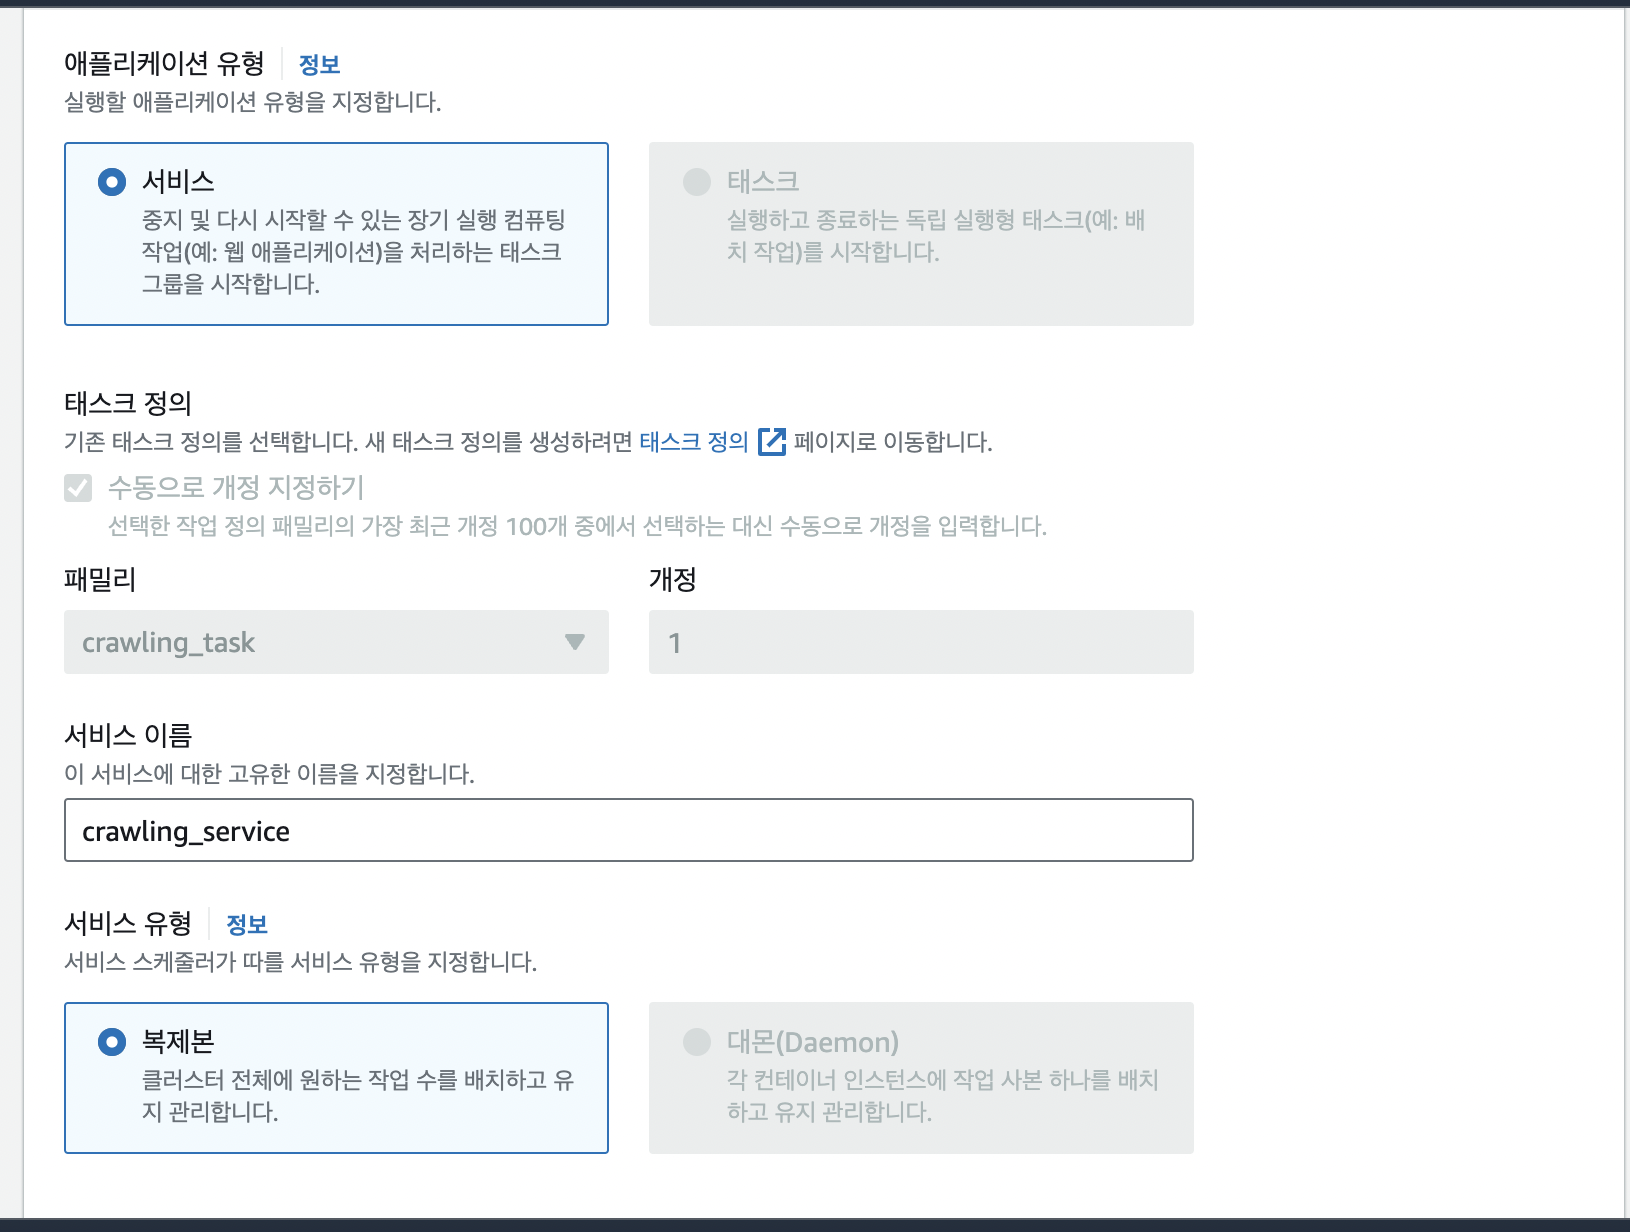
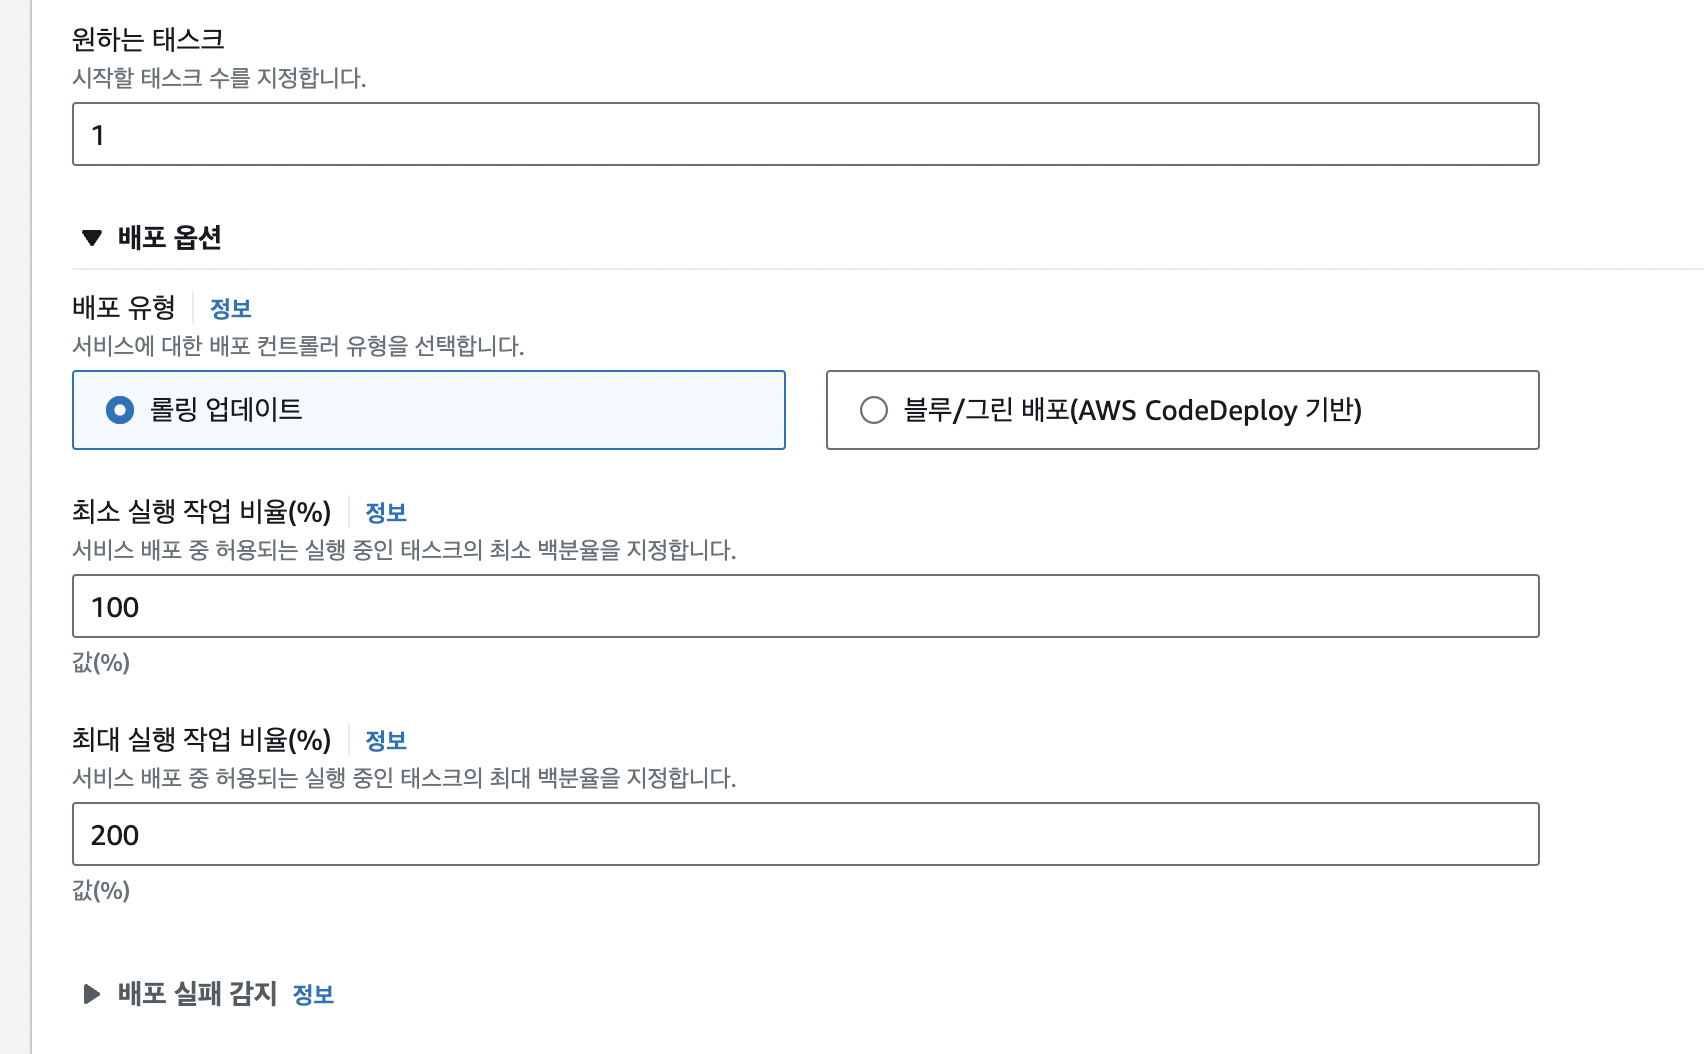
3. 서비스 배포
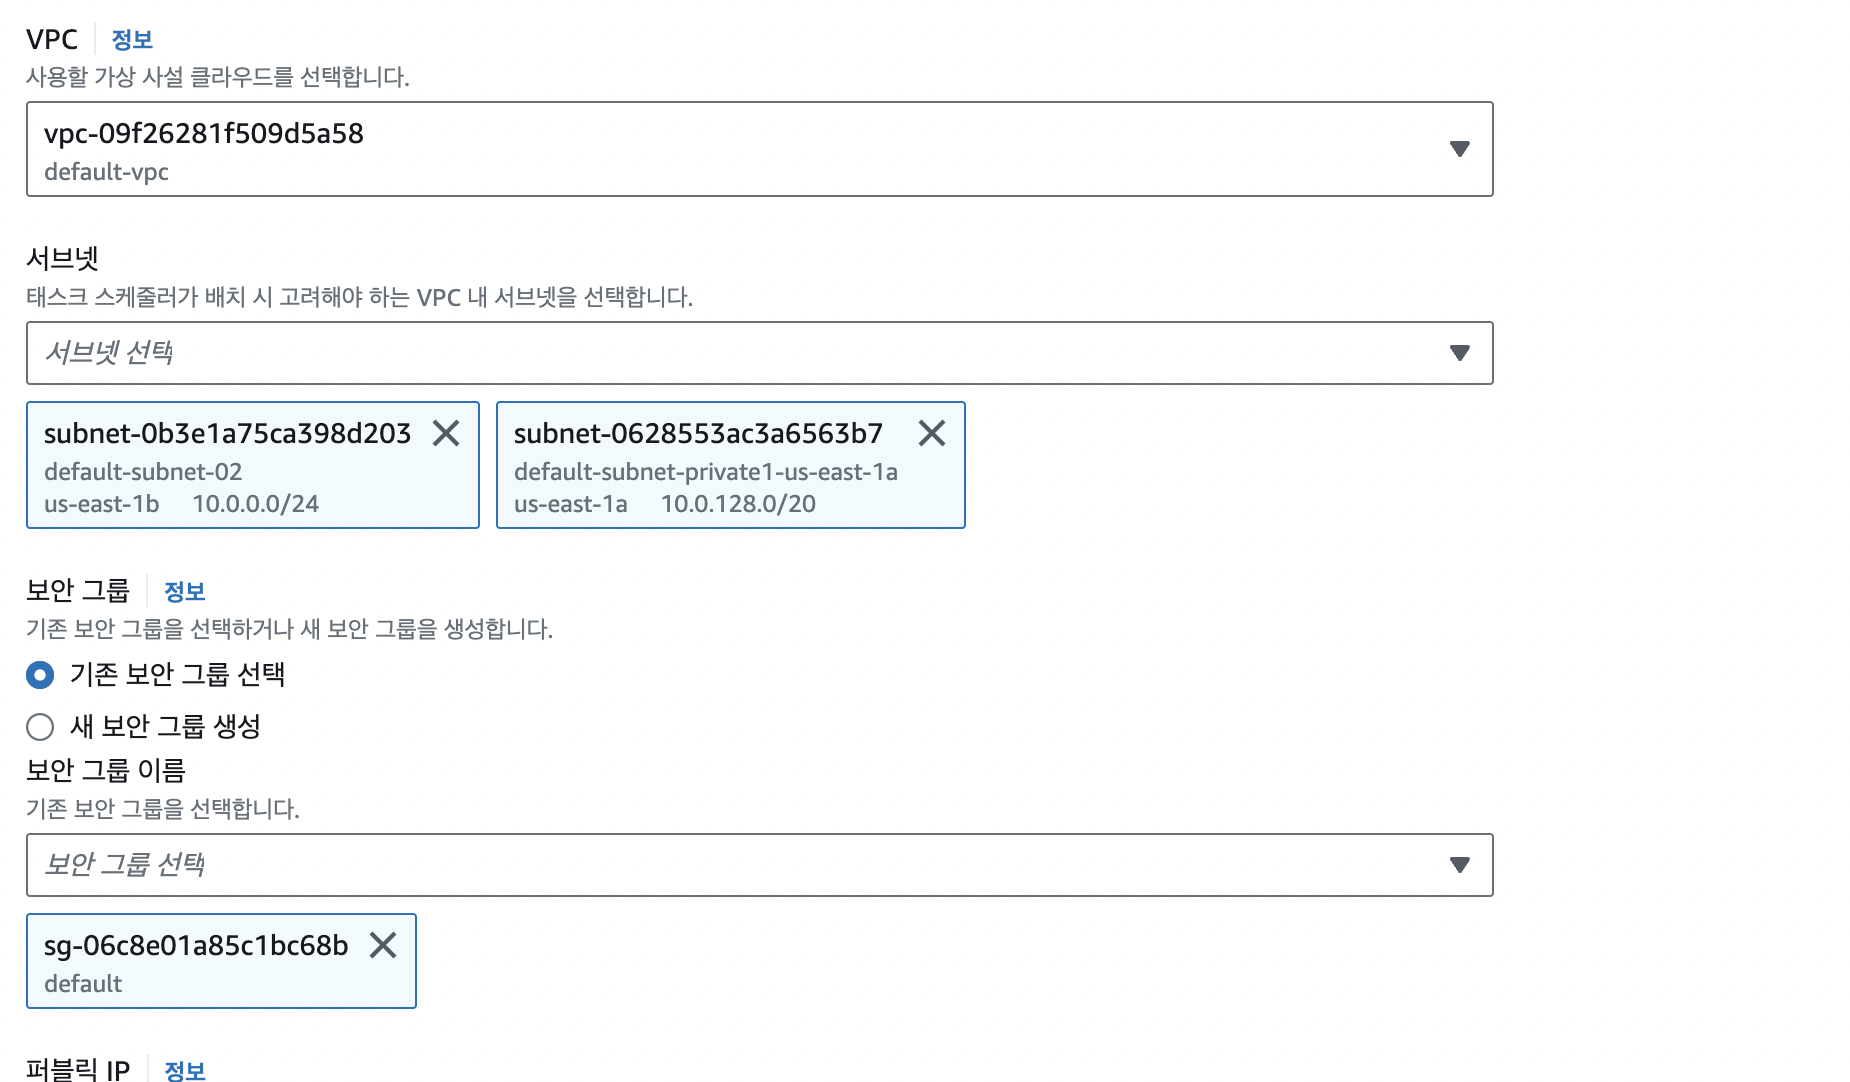
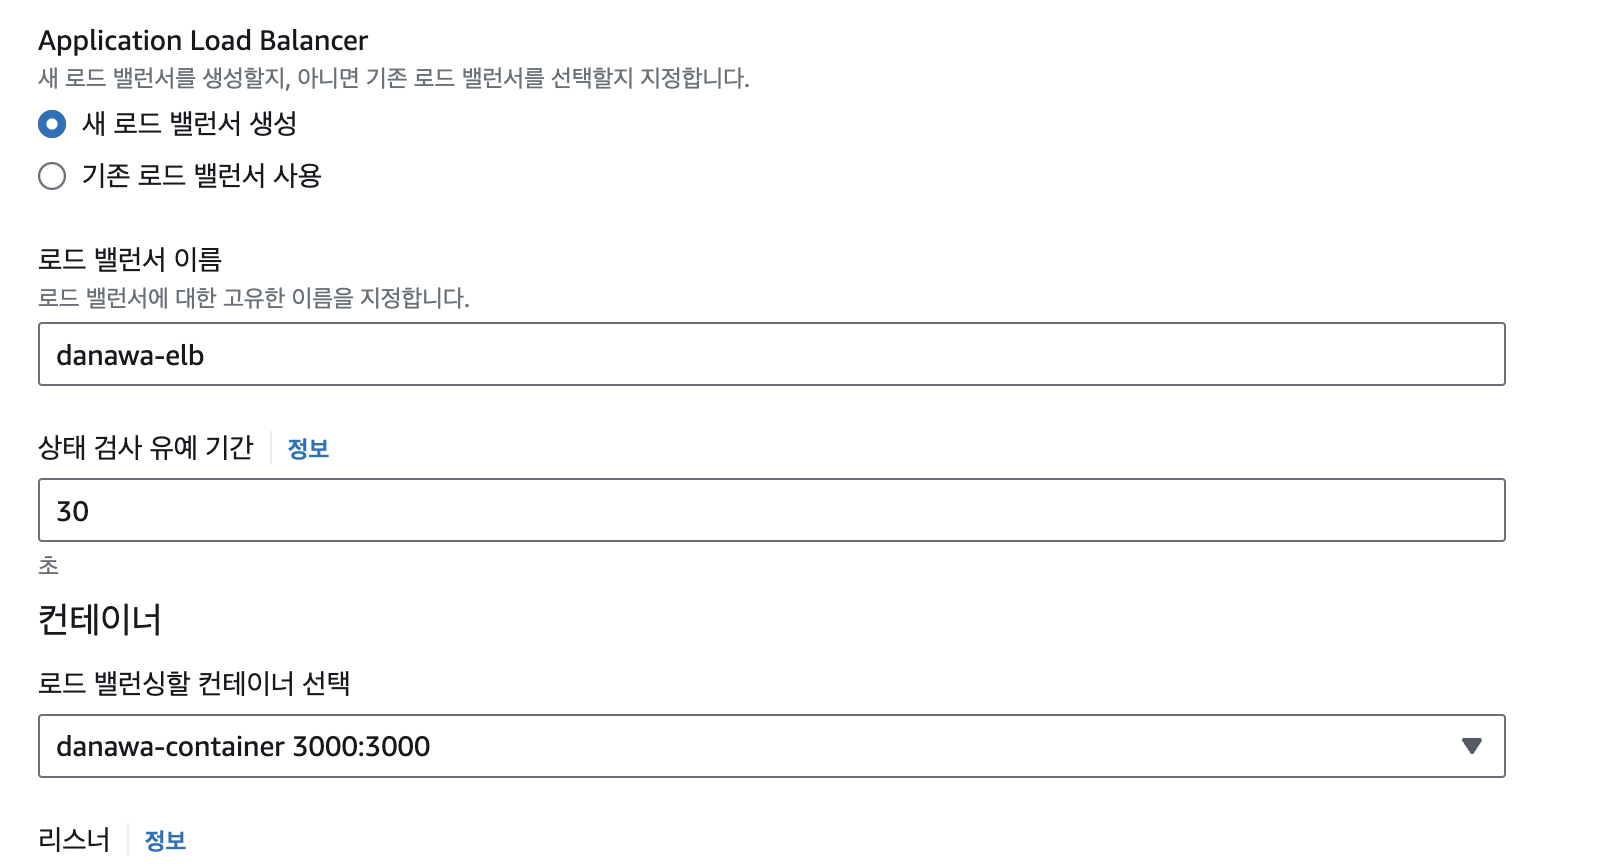
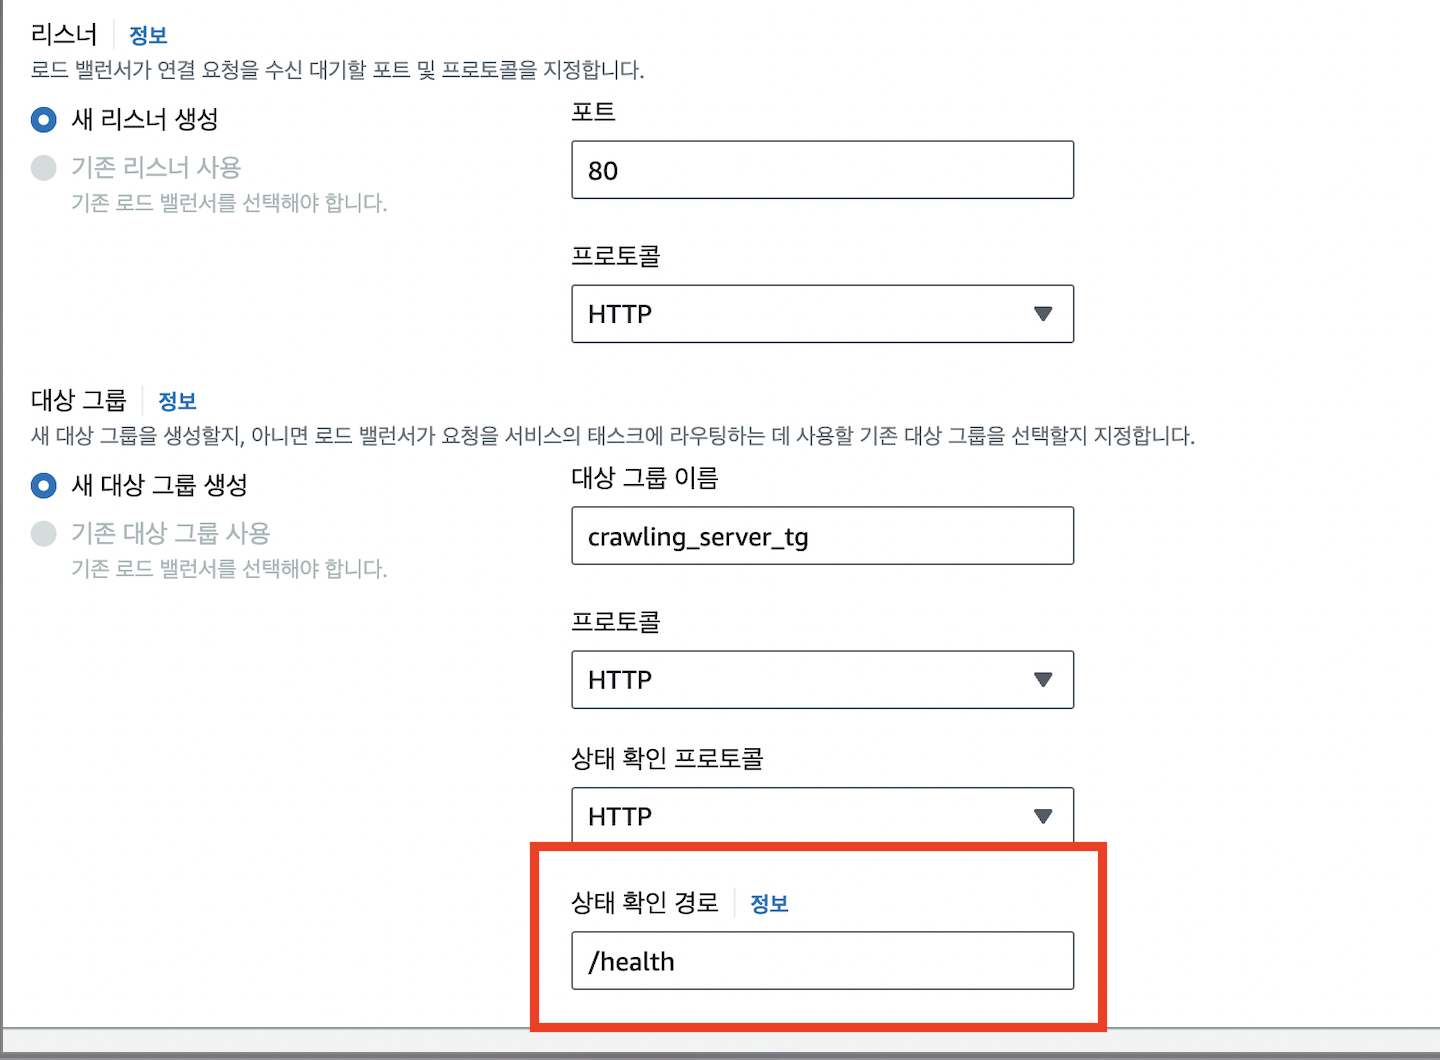
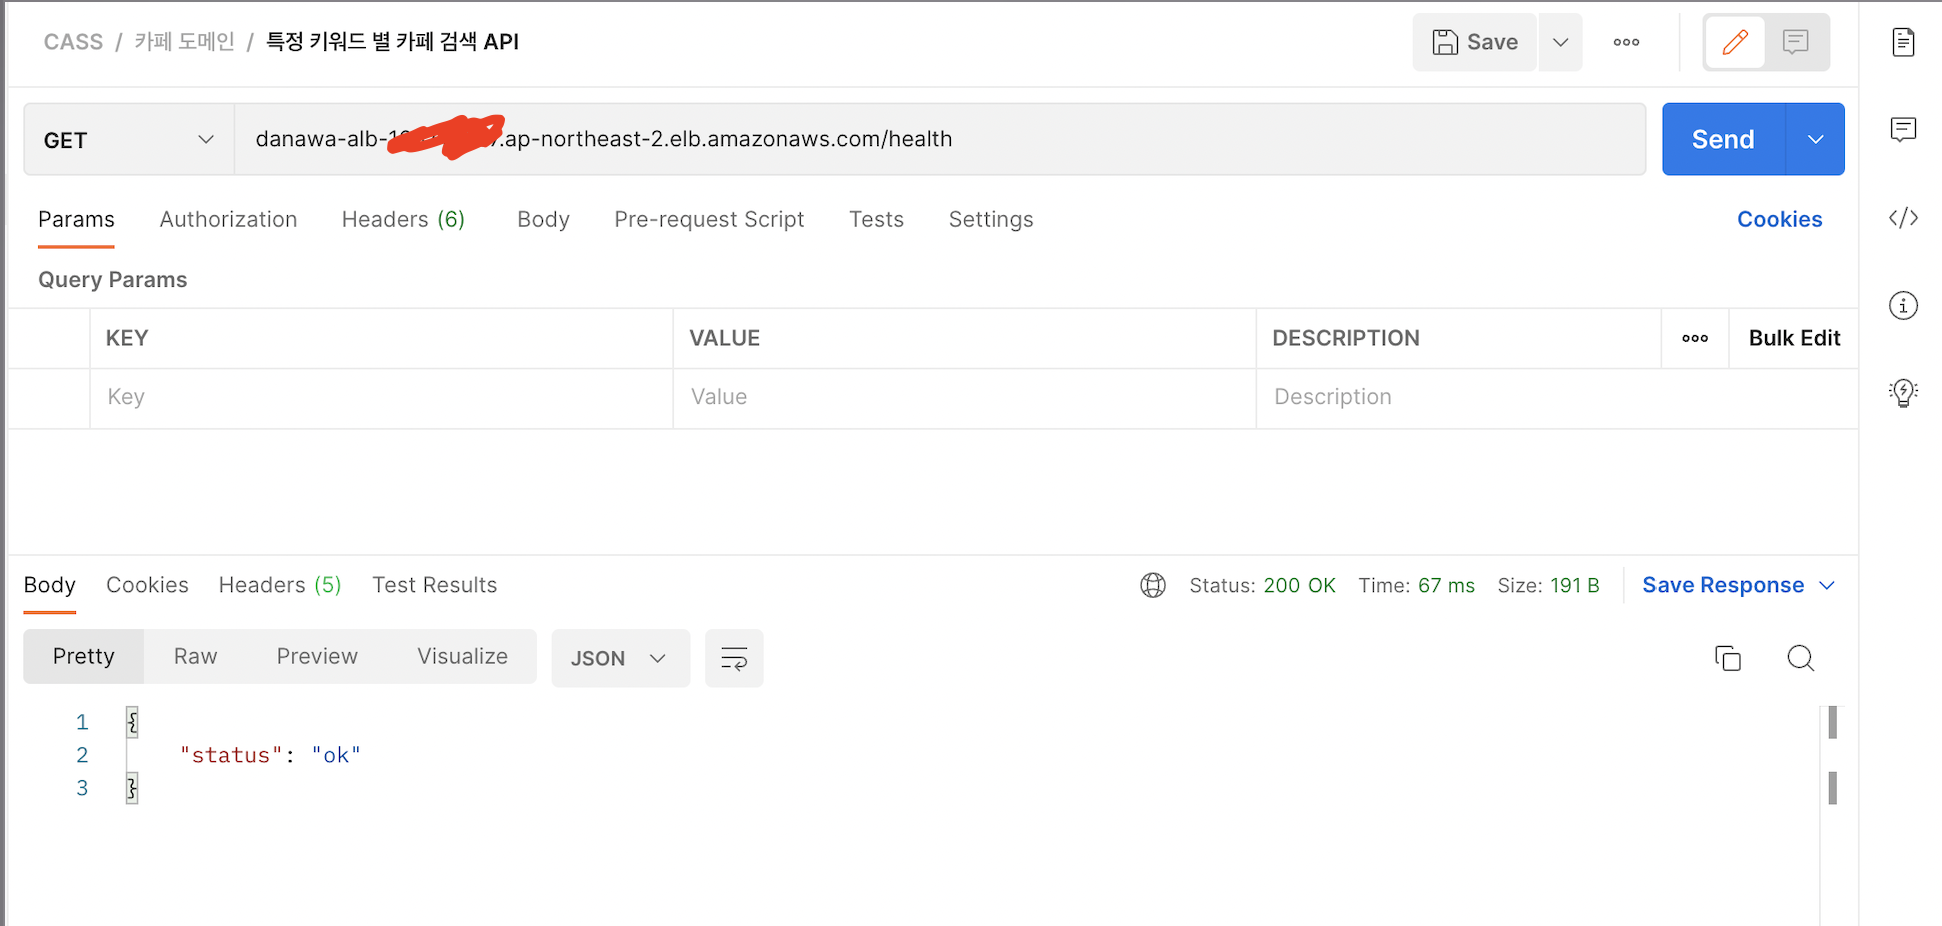
- 상태 확인 경로가 올바르지 않은 경우 서버의 상태가 온전치 못할 걸로 판단해 해당 서비스를 실행할 수 없으니 올바른 경로를 입력하도록 하자.
🔥 Trouble Shooting 과정
모든 설정을 완벽히 맞추었는데 계속해서 아래와 같은 오류가 발생...
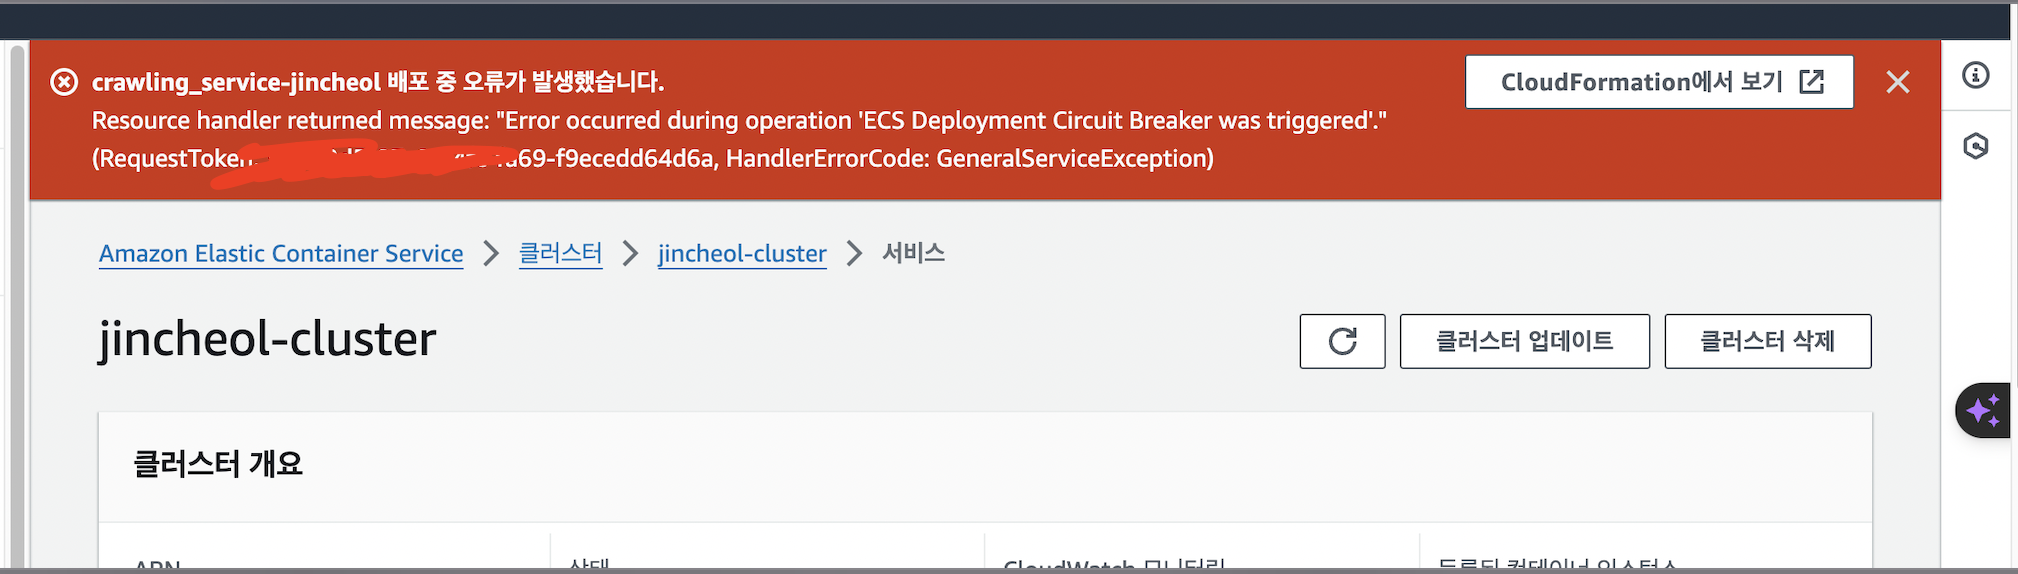
따라서 ClodWatch로 들어가 로그 수집 - 아래를 보니 formant 관련 오류가 발생
원인 : docker image를 build한 CPU 아키텍쳐(MAC M1 Pro)와 해당 이미지를 실행하는 CPU 아키텍쳐 (amd64) 에 대한 간극 해소

해결점 : AMD64 기반의 도커 이미지 빌드 실행 (builx 사용)
docker buildx build --platform linux/amd64 -t danawa:latest --load .
배포 완료 !!


Fargate 원격 접속
- https://docs.aws.amazon.com/ko_kr/AmazonECS/latest/developerguide/ecs-exec.html
- https://dev.classmethod.jp/articles/connect-to-amazon-fargate-using-ecs-exec/
1. IAM 권한 설정
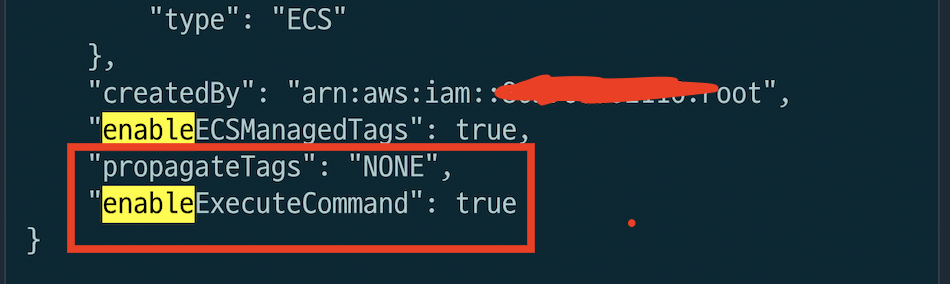
2. enable-execute-command 옵션을 활성화.
aws ecs update-service \
    --cluster cluster-name \
    --service service-name \
    --enable-execute-command
우선적으로, 해당 명령어를 통해 Fargate에 접근할 수 있는 권한 설정을 참으로 바꾼다.
3. 원격 접속 실행
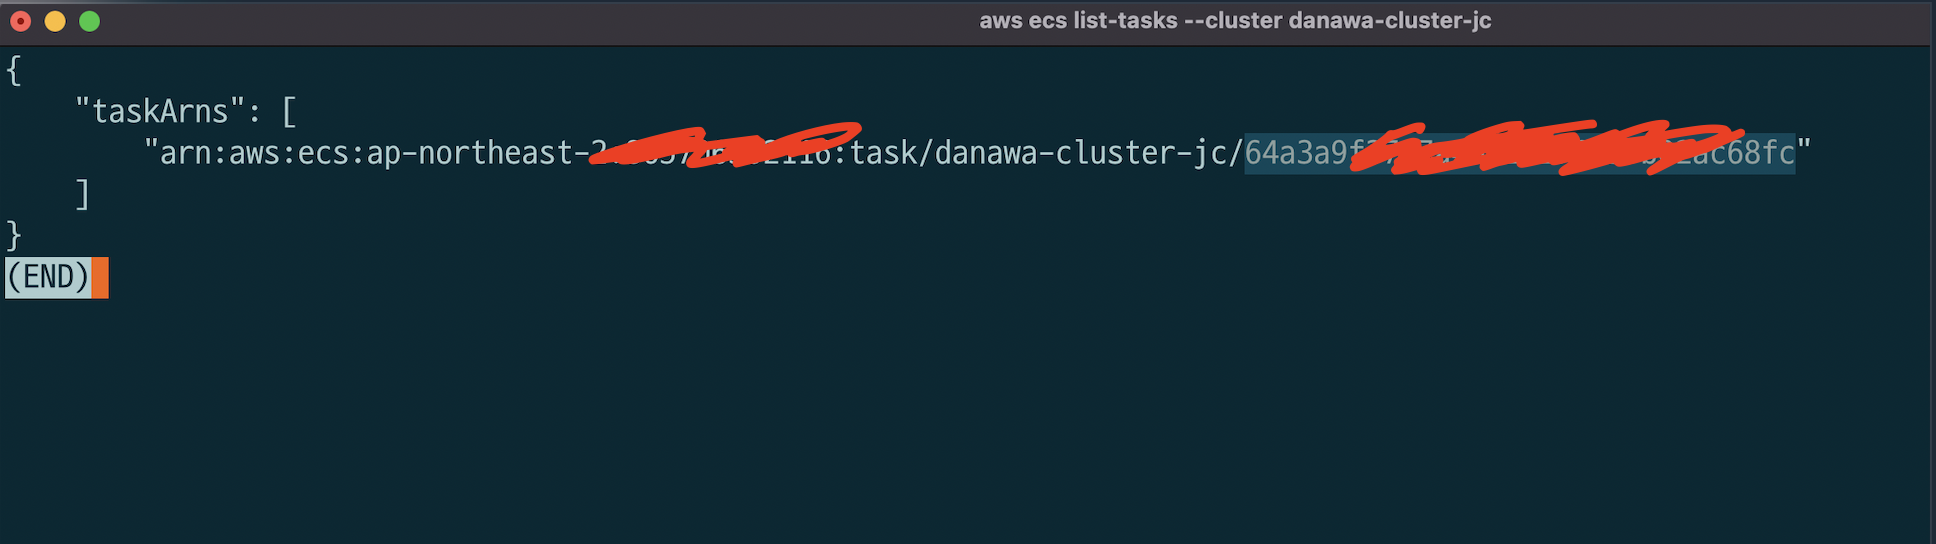
aws ecs list-tasks --cluster jincheol-cluster 3-1. 위와 같이 자신의 클러스터 이름을 기재해 task id를 가져온다.
3-2 . 가져온 task id를 다음 필요 요소와 함께 명령어에 실어 실행시킨다.
필요요소
- cluster name
- service name
- container name
aws ecs execute-command --cluster danawa-cluster-jc --task {task id} --container danawa-container --interactive --command "/bin/sh" 하지만 이내 실행되다가 오류에 걸린다.
이땐, 해당 테스크를 중지시키고 재실행 시키자
다만, 주의점은 테스크 재실행 시, task id가 변경되기에 다시 id를 찾아서 해당 명령어를 통해 접근하도록 하자.
그럼 아래와같이 Fargate에도 접근이 가능해진다.