Shiny
- R만으로 웹 애플리케이션을 개발할 수 있음
- HTML, CSS, JavaScript에 대한 지식 없이도 사용 가능
- R Markdown, 대시보드와 통합 가능
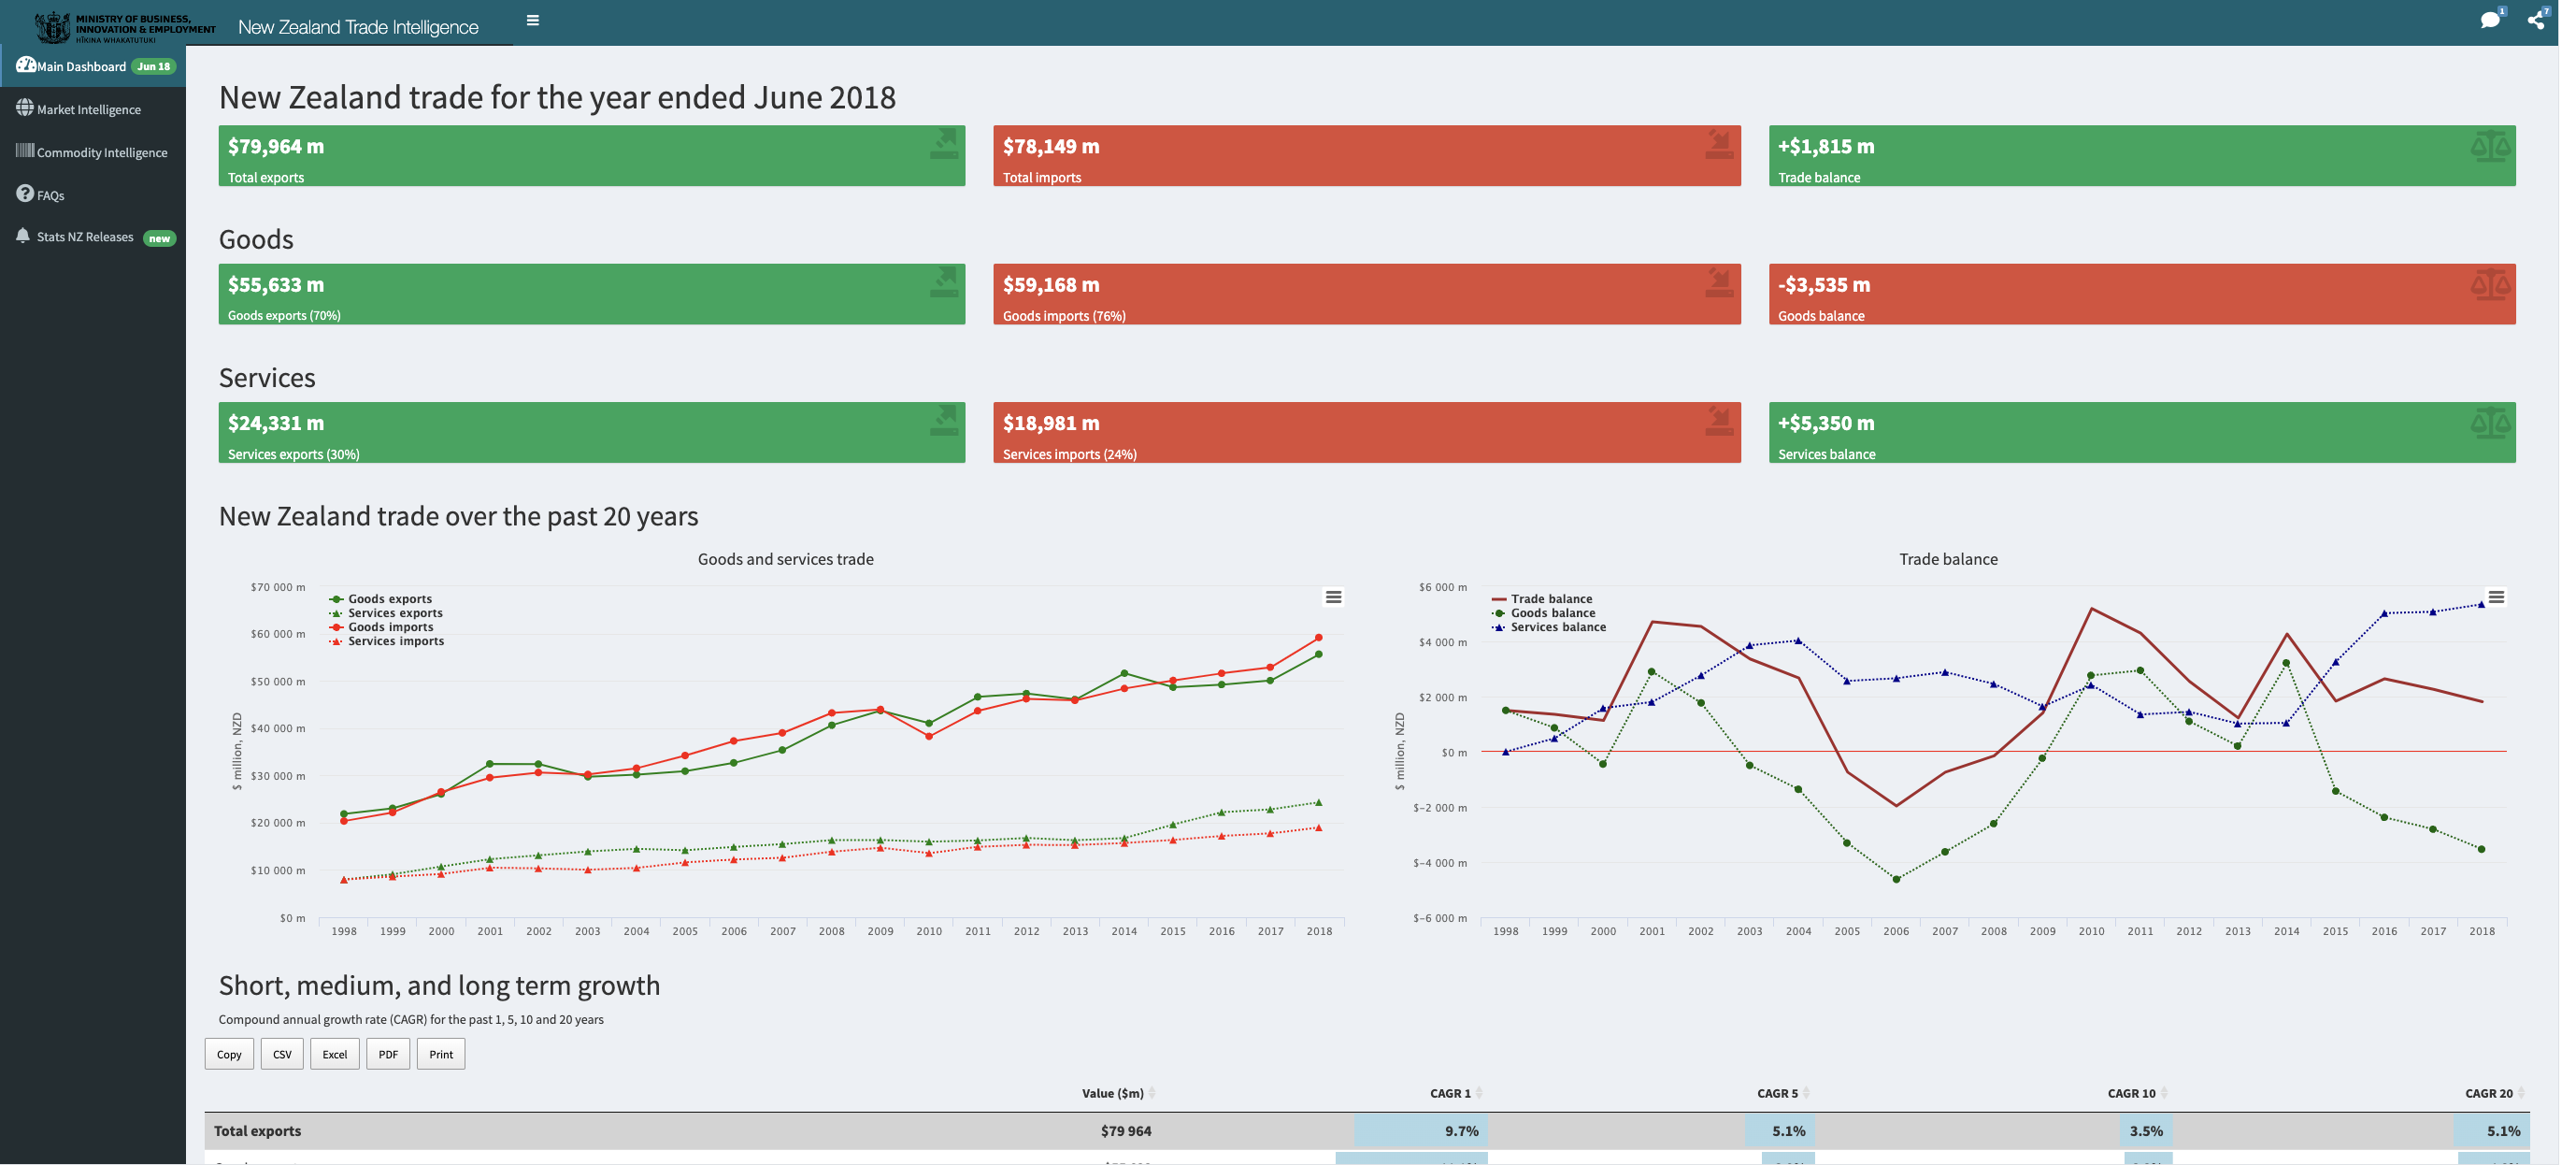
shiny app 구성
- UI (user interface): 사용자 인터페이스 정의
- server function: 데이터 처리 및 로직 실행
ui <- page_fluid() # 사용자 인터페이스 정의
server <- function(input, output) {} # 서버 로직 정의
shinyApp(ui = ui, server = server) # Shiny 앱 실행
SlideBar 예시
먼저 슬라이드바 예제를 만들어보겠습니다🤓
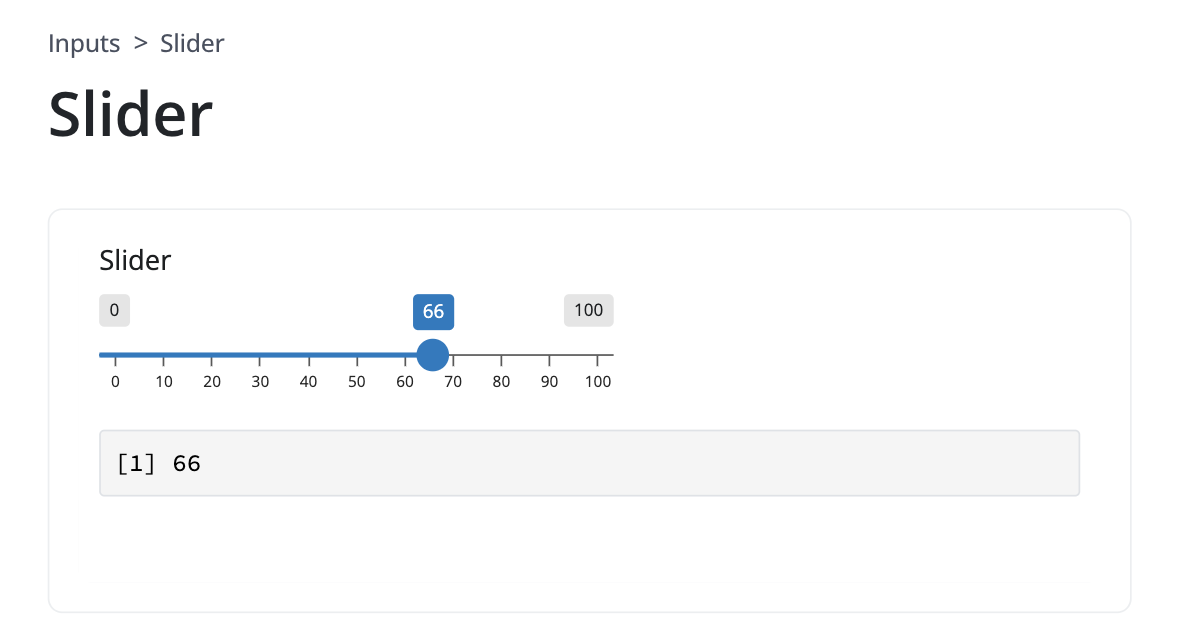
slider예시
슬라이드바가 어떻게 작동하는지, UI는 어떻게 작성해야하는 지 확인할 수 있습니다. 다른 컴포넌트도 많으니 원하는 UI를 선택해 코드를 작성할 수 있어요~!
우선 R studio에서 패키지를 설치합니다.
install.packages("shiny")
library("shiny")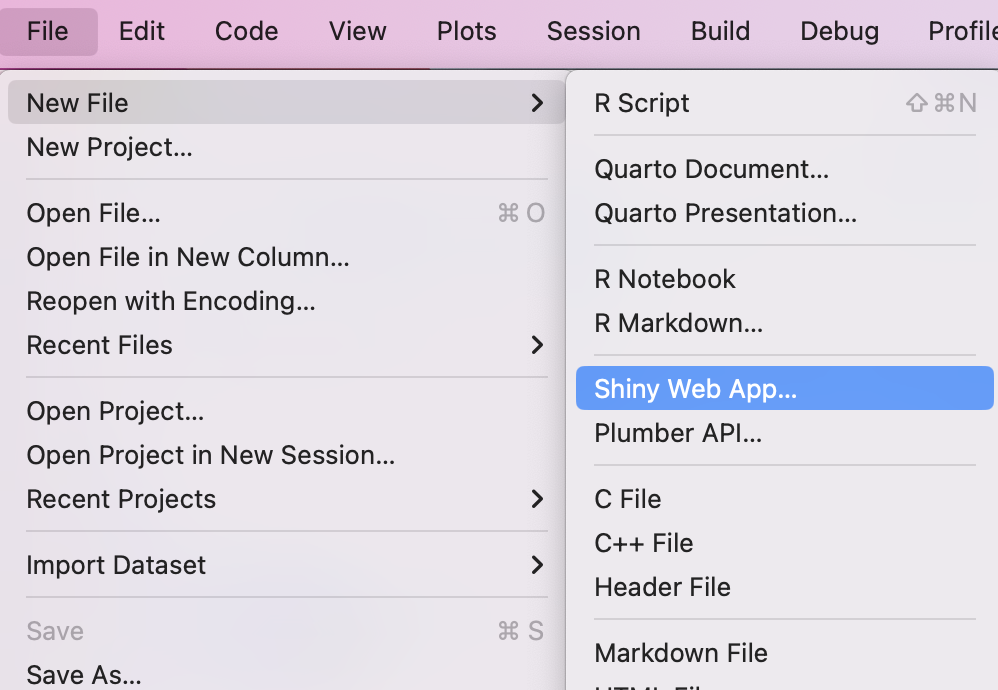
UI 코드
ui <- page_fluid(

  sliderInput(
    inputId = "bins",
    label = "Number of bins:",
    min = 1,
    max = 50,
    value = 30 # default
  ),

  # Output: Histogram ----
  plotOutput(outputId = "distPlot")
)
Server 코드
server <- function(input, output) {
  output$distPlot <- renderPlot({

    # draw the histogram with the specified number of bins
    ggplot(data=faithful,aes(x=waiting))+
      geom_histogram(bins = input$bins) +
      theme_bw() +
      labs(xlab = 'Waiting time to next eruption (in mins)')+
      ggtitle('Histogram of waiting times')
  })
}
앱 실행하기
# Run the application
shinyApp(ui = ui, server = server)
📌 Shiny 앱을 실행하면 R의 command line에서 다른 코드를 수행할 수 없기 때문에 앱 창을 닫거나 Stop 버튼으로 꼭 종료를 해줘야 합니다!
라디오버튼 예시
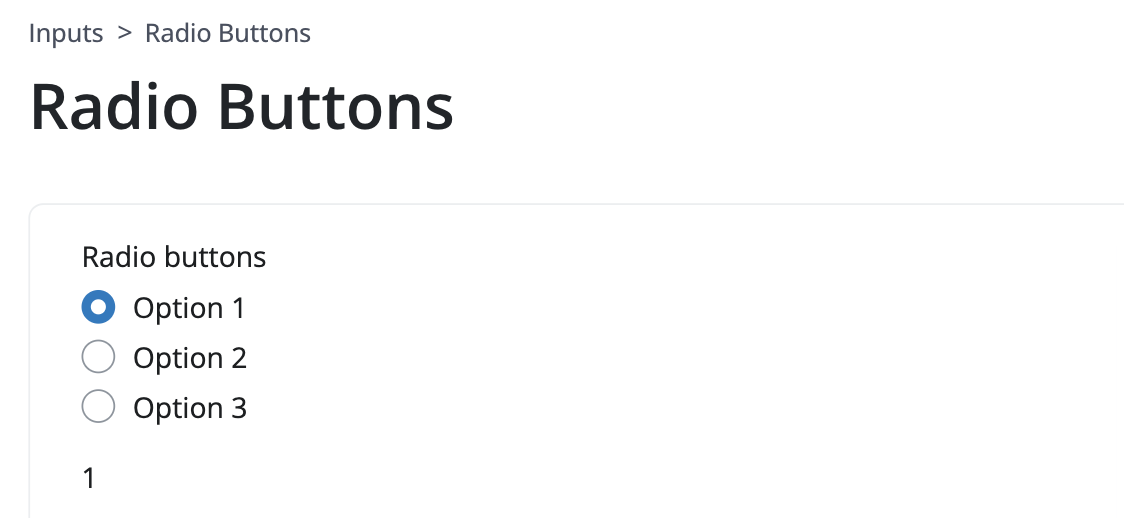
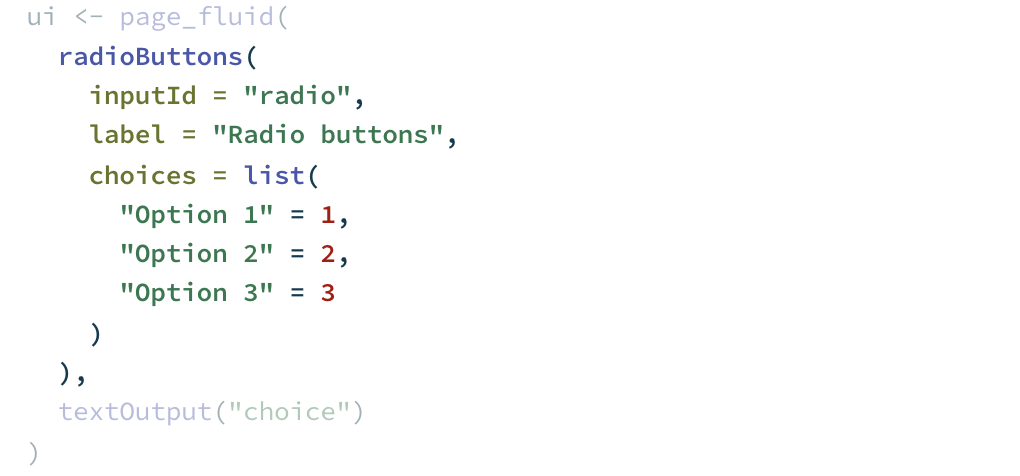
choices 안에서 원하는 옵션을 생성해줍니다.
전체코드
murders 데이터를 활용해서 원하는 데이터만 가져옵니다.
data(murders)
murders <- murders %>%
  mutate(
    population = population/(10^6),
    murders = total,
    murders_per_cap = murders / population
  )

ui <- page_sidebar(
  title = "Murders Data",
  sidebar = sidebar( #사이드바
    radioButtons( #라디오 버튼
      inputId = "var",
      label = "Variable to Plot",
      choices = list(
        "Total Population (in Millions)" = "population",
        "Total Murders" = "murders",
        "Murders Per Capita" = "murders_per_cap"
      ),
      selected = "murders_per_cap"
    )
  ),
  plotOutput(outputId = "myPlot")
)

server <- function(input, output){
  output$myPlot <- renderPlot({
    ggplot(murders, aes( x = get(input$var), fill = region)) +
      geom_histogram() +
      ylab(input$var) +
      theme_bw() +
      facet_grid(~region) +
      xlab(input$var)
    })
}
#앱 실행하기
shinyApp(ui = ui, server = server)
배포하기
이제 우리가 만든 Shiny app을 배포하여 공유할 수 있도록 해보겠습니다 🚀
https://www.shinyapps.io/
shinyapps.io에 방문해서 회원가입을 해주세요
Accounts > Tokens 로 이동해서 Add token을 눌러주면 토큰이 바로 생성됩니다!
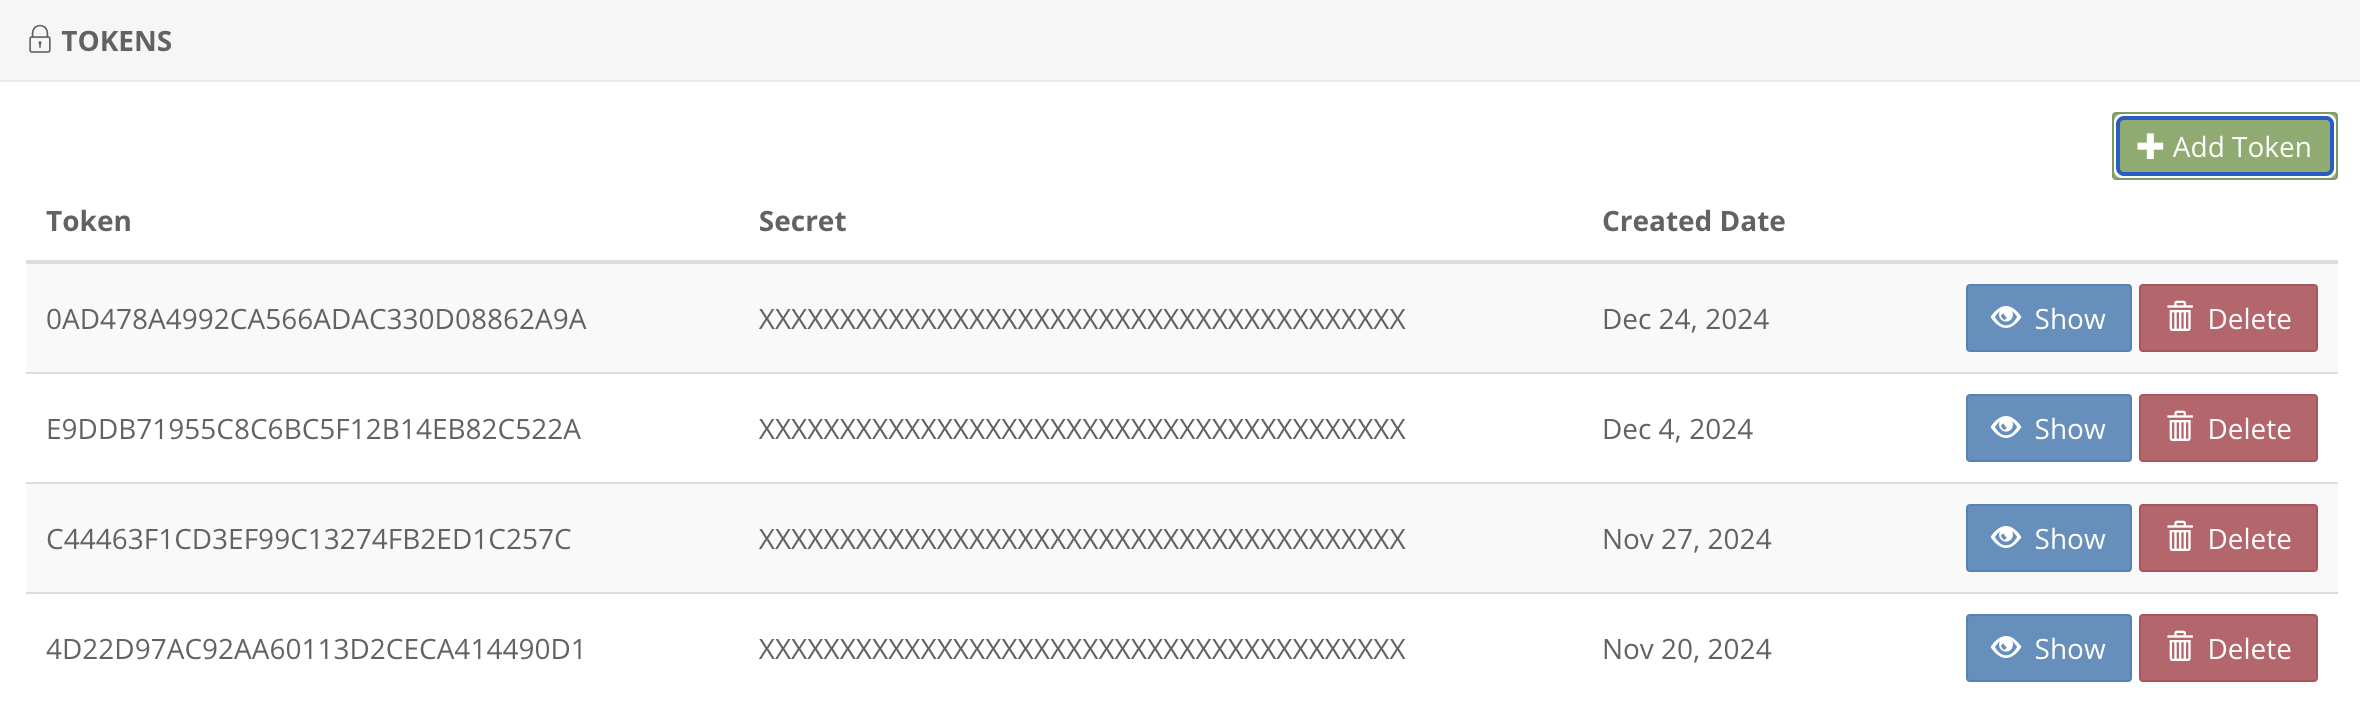
Show 버튼을 누르고 Show secret을 누르면 본인의 시크릿 코드를 확인할 수 있어요
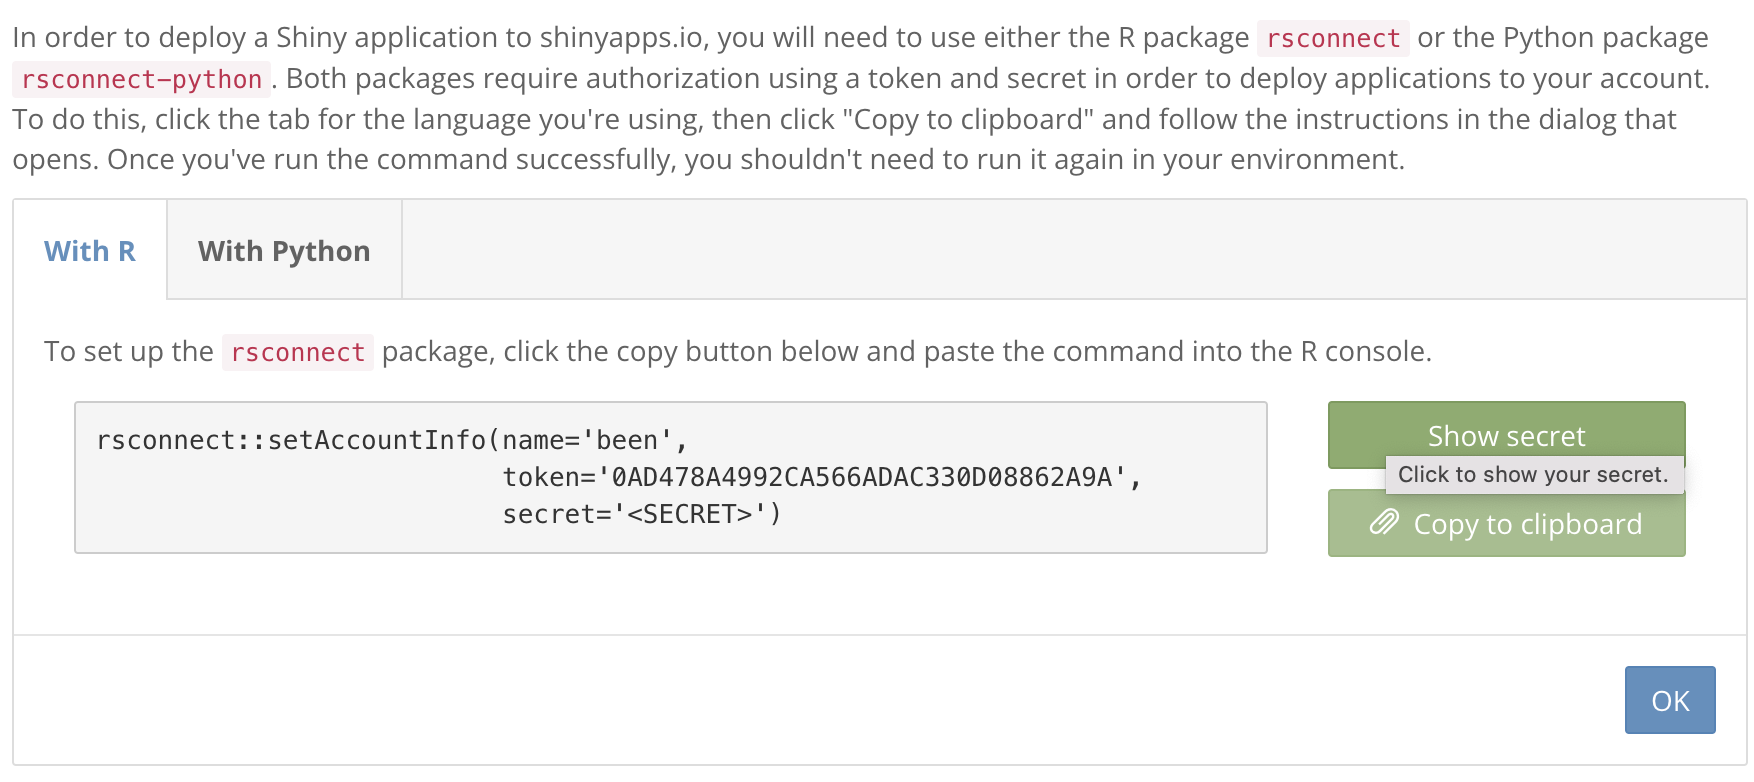
시크릿코드가 나온 상태에서 Copy to clipboard로 복사해줍니다.
rsconnect 라이브러리 설치 및 로드
install.packages('rsconnect')
library(rsconnect)
Authorize Account
아까 복사해준 내용을 붙여넣습니다
#"Show Secret" 누르는거 잊지 마세요
rsconnect::setAccountInfo(name='XXXX',token='XXX',secret='XXX')
최종배포 👊🏻
rsconnect::deployApp()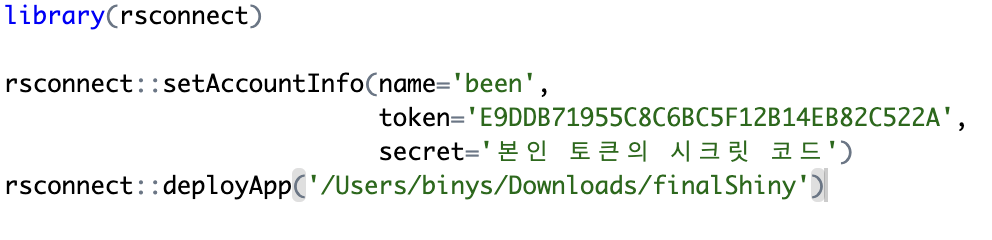
저는 deploy.R 파일에 이렇게 작성해서 실행했습니다.
app.R에 ui, server코드를 함께 작성해도 되고, ui.R, server.R 이렇게 따로 작성하셔도 됩니다

배포에 성공하고 나면 대시보드에서 running 중인 Shiny app을 확인할 수 있습니다 😉
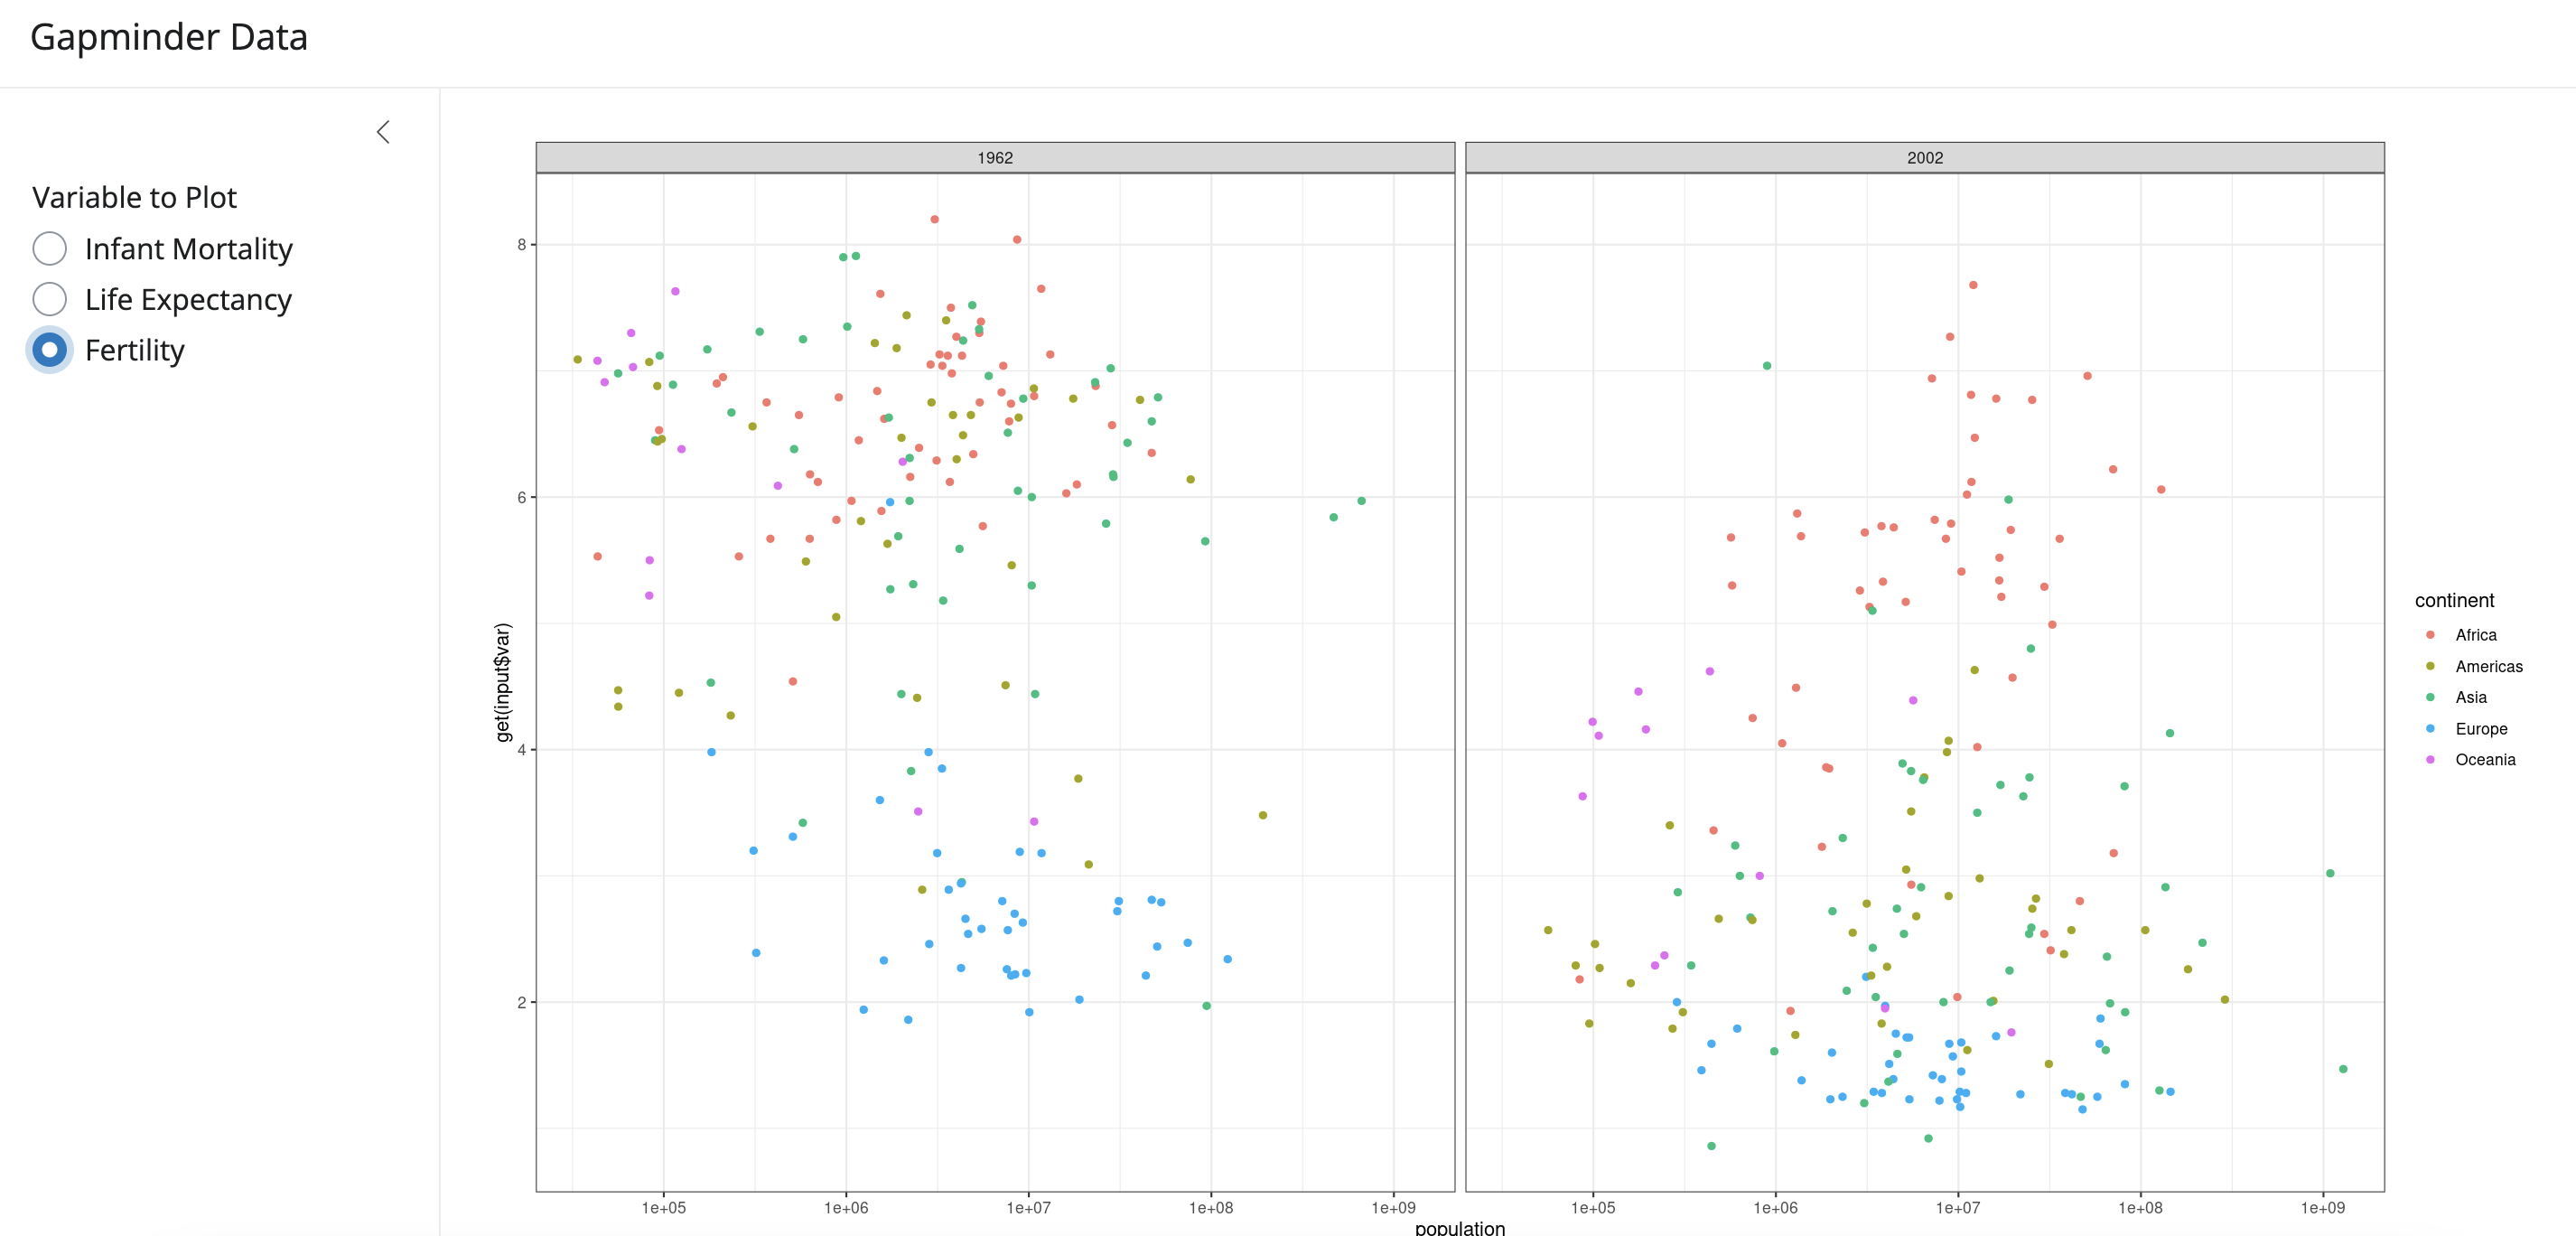
배포된 URL을 클릭해서 제대로 작동하는지 확인하고 이제 이 링크를 통해 공유할 수 있습니다.
