✅ 오늘 한 일
- 한 권으로 끝내는 블렌더 교과서 읽기
- Project BCA
- Random Study : Dialogue System for Unity
📖 한 권으로 끝내는 블렌더 교과서
p.18 ~ 31
🎮 Project BCA
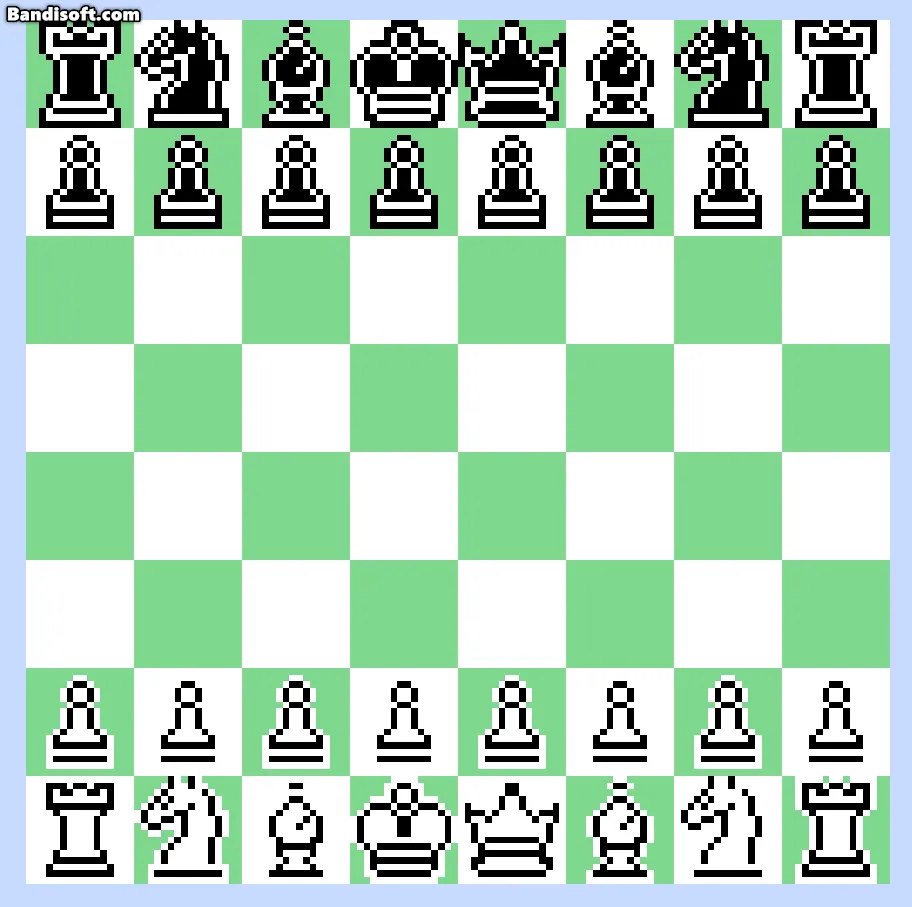
기물 이동 추가 구현
        for (int i = 1; i <= 8; i++)
        {
            pieces[i, 2] = Instantiate(white_Pawn, new Vector2(i, 2), Quaternion.identity);
            pieces[i, 7] = Instantiate(black_Pawn, new Vector2(i, 7), Quaternion.identity);
        }

        pieces[1, 1] = Instantiate(white_Rook, new Vector2(1, 1), Quaternion.identity);
        pieces[2, 1] = Instantiate(white_Knight, new Vector2(2, 1), Quaternion.identity);
        pieces[3, 1] = Instantiate(white_Bishop, new Vector2(3, 1), Quaternion.identity);
기물 배치 및 현황 관리를 위한 할당은 하드 코딩
public abstract class Piece : MonoBehaviour
{
    public bool isWhite;
    private GameManager gameManager;
    void Start()
    {
        gameManager = GameObject.FindGameObjectWithTag("GameManager").GetComponent<GameManager>();
    }
    public abstract List<(int, int)> PossibleMove();
}
임시로 gamemanager 할당 후 사용
향후 싱글톤 패턴 도입 예정
        // White team move
        if (gameManager.whiteTurn)
        {
            if (x != 1 && y != 8)
            {
                Piece p = gameManager.PieceAt(x - 1, y + 1);
                if (p != null && p.isWhite != isWhite) moves.Add((x - 1, y + 1));
            }
            ... 이하 생략
기물별 이동 로직 예시
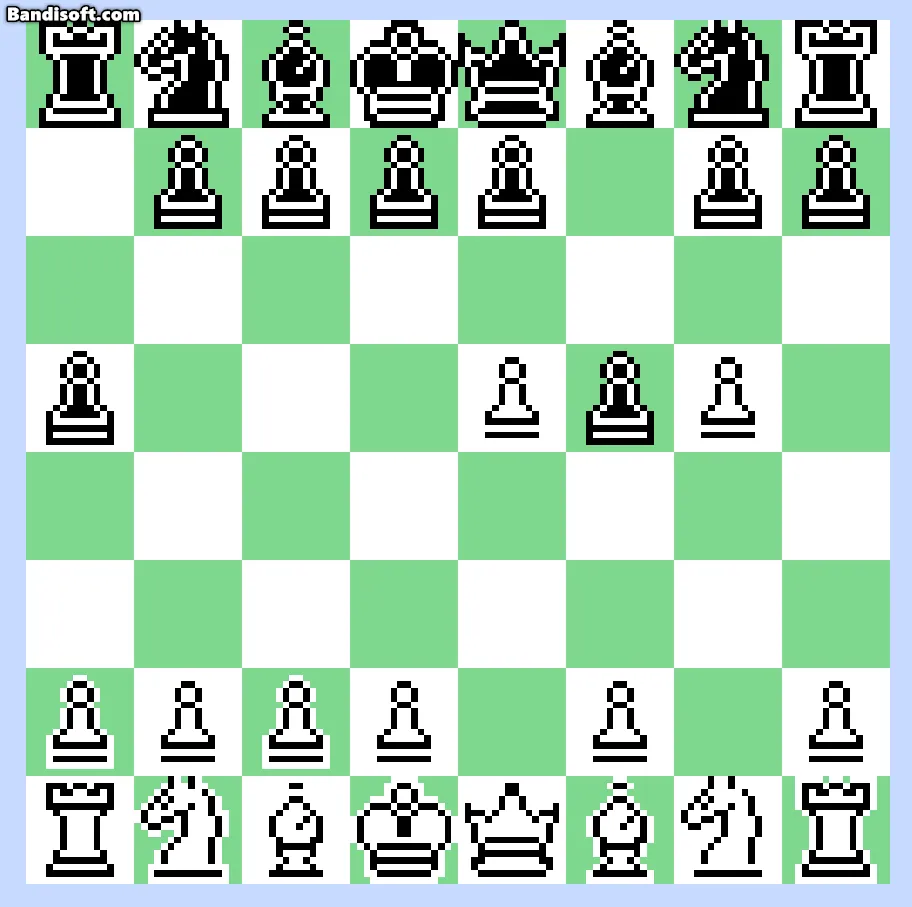
    public bool HandleClick()
    {
        GameObject clickedObject = ClickObject();

        if (selectedPiece == null && clickedObject != null && clickedObject.GetComponent<Piece>().isWhite == whiteTurn)
        {
            SelectPiece(clickedObject);
        }
        else
        {
            Vector2 clickedPosition = Camera.main.ScreenToWorldPoint(Input.mousePosition);
            clickedPosition = new Vector2(Mathf.Round(clickedPosition.x), Mathf.Round(clickedPosition.y));
            // 클릭한 위치가 보드 내부가 아니라면 취소
            if (clickedPosition.x < 1 || clickedPosition.x > 8 || clickedPosition.y < 1 || clickedPosition.y > 8)
            {
                DeselectPiece();
            }
            // 선택했던 기물이 있었고, valid한 위치라면 이동
            else if (selectedPiece != null && validMoves.Contains(((int)clickedPosition.x, (int)clickedPosition.y)))
            {
                MoveTo(selectedPiece, clickedPosition);
                DeselectPiece();
                return true;
            }
            // 아무것도 아니라면 취소
            else
            {
                DeselectPiece();
            }
        }

        return false;
    }
void MoveTo(GameObject piece, Vector2 position)
{
// 기물이 있다면 제거 (같은 편인지는 piece의 스크립트에서 검증되어 들어옴)
if (pieces[(int)position.x, (int)position.y] != null)
{
Destroy(pieces[(int)position.x, (int)position.y]);
print("Destroyed");
}
// Board 배열에 있는 정보 갱신
pieces[(int)position.x, (int)position.y] = piece;
pieces[(int)piece.transform.position.x, (int)piece.transform.position.y] = null;
piece.transform.position = position;
Piece pieceScript = piece.GetComponent<Piece>();
pieceScript.FirstMove = false;
selectedPiece = null;
}클릭 처리 로직 수정
이동 로직 리팩토링
        // Move down
        for (int i = y - 1; i >= 1; i--)
        {
            Piece p = gameManager.PieceAt(x, i);
            if (p == null)
            {
                moves.Add((x, i));
            }
            else
            {
                if (p.isWhite != isWhite)
                {
                    moves.Add((x, i));
                }
                break;
            }
        }
기존 단순 반복 코드를
    void Start()
    {
        gameManager = GameObject.FindGameObjectWithTag("GameManager").GetComponent<GameManager>();
        moveCalculator = gameManager.GetComponentInChildren<MoveCalculator>();
    }
추상 클래스 Piece에서 할당하는 moveCalculator를 통해
public class MoveCalculator : MonoBehaviour
{
    public List<(int, int)> MoveUp(GameManager gameManager, bool isWhite, int x, int y)
    {
        List<(int, int)> moves = new List<(int, int)>();

        for (int i = y + 1; i <= 8; i++)
        {
            Piece p = gameManager.PieceAt(x, i);
            if (p == null)
            {
                moves.Add((x, i));
            }
            else
            {
                if (p.isWhite != isWhite)
                {
                    moves.Add((x, i));
                }
                break;
            }
        }

        return moves;
    }
캡슐화하여
public class Rook : Piece
{
    public override List<(int, int)> PossibleMove()
    {
        List<(int, int)> moves = new List<(int, int)>(); // List of possible moves

        int x = (int)transform.position.x;
        int y = (int)transform.position.y;

        moves.AddRange(moveCalculator.MoveUp(gameManager, isWhite, x, y)); // Move up
        moves.AddRange(moveCalculator.MoveDown(gameManager, isWhite, x, y)); // Move down
        moves.AddRange(moveCalculator.MoveRight(gameManager, isWhite, x, y)); // Move right
        moves.AddRange(moveCalculator.MoveLeft(gameManager, isWhite, x, y)); // Move left

        return moves;
    }
}
기물들 간의 코드 중복 제거
기물별 특수 이동 : 킹, 앙파상
킹
        int[,] directions = new int[,]
        {
            { 0, 1 },  // Up
            { 0, -1 }, // Down
            { 1, 0 },  // Right
            { -1, 0 }, // Left
            { 1, 1 },  // Up Right
            { -1, 1 }, // Up Left
            { 1, -1 }, // Down Right
            { -1, -1 } // Down Left
        };

        for (int i = 0; i < directions.GetLength(0); i++)
        {
            int newX = x + directions[i, 0];
            int newY = y + directions[i, 1];

            if (newX >= 1 && newX <= 8 && newY >= 1 && newY <= 8)
            {
                Piece p = gameManager.PieceAt(newX, newY);
                if (p == null || p.isWhite != isWhite)
                {
                    moves.Add((newX, newY));
                }
            }
        }
킹은 하드 코딩으로 주변 8칸만 확인
앙파상
- 앙파상을 기물로 넣어버리면 다른 기물들도 앙파상으로 공격할 수 있게 된다.
폰만 앙파상을 통해 공격하게 하려면 앙파상은 따로 관리해야 한다. - 2턴 움직였을 때만 앙파상을 설정해야 한다.
그렇지 않고 겹치는 식으로 해결하면 첫 이동이 대각선이었을 때 앙파상을 해버릴 수 있다. - 턴이 시작되거나 끝날 때 앙파상 정보를 초기화하면 앙파상을 할 수 있는 타이밍이 생기지 않는다.
앙파상 가능한 곳 하나만 변수에 넣어 관리한다.
    private void HandleEnPassant(GameObject piece, int mx, int my, Pawn pawn)
    {
        // 첫 이동이고, 두 칸을 움직였다면 앙파상 가능 위치를 설정
        if (pawn.FirstMove && Math.Abs(my - (int)piece.transform.position.y) == 2)
        {
            if (piece.GetComponent<Pawn>().isWhite)
            {
                enPassantWhiteCandidate = (mx, my - 1);
            }
            else
            {
                enPassantBlackCandidate = (mx, my + 1);
            }
        }

        // 앙파상 가능 위치에 이동했다면 앙파상 실행
        if (piece.GetComponent<Pawn>().isWhite)
        {
            if (enPassantBlackCandidate == (mx, my))
            {
                Destroy(pieces[mx, my - 1]);
                print("Destroyed with EnPassant");
            }
        }
        else
        {
            if (enPassantWhiteCandidate == (mx, my))
            {
                Destroy(pieces[mx, my + 1]);
                print("Destroyed with EnPassant");
            }
        }
    }
폰이고, 첫 이동이라면 앙파상 가능 위치로 설정
폰이 이동할 때 해당 위치가 앙파상 가능 위치라면, 색깔에 따라 y축 +1 또는 -1에 있는 폰을 삭제
    public override List<(int, int)> PossibleMove()
    {
        List<(int, int)> moves = new List<(int, int)>(); // List of possible moves

        int x = (int)transform.position.x;
        int y = (int)transform.position.y;

        // White team move
        if (gameManager.whiteTurn)
        {
            if (x != 1 && y != 8)
            {
                Piece p = gameManager.PieceAt(x - 1, y + 1);
                if (p != null && p.isWhite != isWhite) moves.Add((x - 1, y + 1));
                if (gameManager.enPassantBlackCandidate == (x - 1, y + 1)) moves.Add((x - 1, y + 1));
            }
폰의 대각선 이동 가능 여부를 검증할 때 게임 매니저에 설정돼있는 앙파상 가능 위치와 일치한다면 이동 가능하다고 추가.
    public void EnterState()
    {
        // Debug.Log("Entering Black Turn");
        gameManager.enPassantBlackCandidate = (-1, -1);
    }
white의 턴이 시작될 땐 enPassantWhiteCandidate을 초기화하고, black의 턴이 시작될 땐 enPassanBlackCandidate을 초기화.
🎮 Random Study
Dialogue System for Unity
- Dialogue Database: 대화, 퀘스트, 변수들을 저장하는 곳
- Dialogue Editor: dialogue 데이터들을 편집한다. 서드 파티 포맷들도 import, export 가능.
- Dialogue Manager: 런타임에서 Dialogue System을 관리한다. 프리팹이 제공됨.
- Dialogue UIs: 상호작용 대화, 메시지 알림, 퀘스트 저널 등을 띄우는 곳
- Interaction System: 런타임에 활동(대화 시작 등)을 트리거한다.
튜토리얼
Step 1. 씬 만들기
Step 2. Assets ► Plugins ► Pixel Crushers ► Dialogue System ► Prefabs ► Dialogue Manager을 씬에 가져온다
Step 3. Dialogue Manager에서 dialogue database를 새로 만든다. Initial Database을 비우고 Create 클릭.
Step 4. Dialogue Manager로 다시 가서 Edit 클릭. (안 눌러도 열려있긴 함)
Step 5. Conversations 탭 클릭
- "+"를 눌러 새 대화 시작
- START 노드를 우클릭하고 Create Child Node 선택. Inspector에서 Dialogue Text를 "Hello"로 설정. 더블 클릭해도 편집 가능.
- 회색 자식 "Hello" 노드를 우클하고 다시 Create Child Node. Dialogue Text "Goodbye" 설정.
- 회색 노드들은 NPC가 말하고, 파란 노드들은 플레이어가 말한다.
Step 6. Player랑 NPC 오브젝트 만든다
Step 7. NPC에 Dialogue System Trigger 컴포넌트 추가
Step 8. Add Action 클릭하고 Start Conversation 선택
Step 9. Conversation에 있는 드롭다운 클릭하고 방금 만든 대화 선택. Conversation Actor에 Player 할당, Conversation Conversatn에 Conversant 할당.
Step 10. Trigger를 On Start로 설정. Dialogue System Trigger가 씬이 시작할 때 작동한다는 뜻.
Step 11. 씬 시작하면 대화 시작됨.
Step 12. Trigger를 On Use로 설정. Dialogue System Trigger가 OnUse 메세지를 받으면 행동을 시작한다는 뜻. OnUse 메세지는 주로 플레이어의 interaction 컴포넌트에서 온다.
Step 13. NPC에 Usable 컴포넌트 추가. 플레이어의 interaction component에게 NPC가 usable하다고 알려준다. 현재 카메라가 5 유닛 이상 멀어져 있기 때문에, Max Use Distance를 30으로 설정해준다.
Step 14. 플레이어에서 Selector 컴포넌트를 추가한다. Select At을 Mouse Position으로 설정한다.
Step 15.
씬 시작하고 NPC에 마우스 대면 메시지가 나올 거라는데 마우스 커서가 나오질 않는 이슈가 발생. 설정을 뒤지고 구글링을 해봤지만 답 없음. 공식 문서 갖다 버리고 유튜브 개인 튜토 봐야할듯.
