[Next.js] Next.js + TypeScript + ESLint + Prettier + 절대경로 + styled-components + Recoil + React Query 프로젝트 세팅
Next.js

1. CNA (Next.js + TypeScript)
폴더 생성 후 터미널에 아래 내용을 입력합니다.
yarn create next-app --typescript--typescript를 통해 타입스크립트로 프로젝트를 세팅할 수 있습니다.
자바스크립트로 개발하고 싶다면 --typescript를 제외하고 입력하면 됩니다.
What is your project named?가 뜨면 .을 입력합니다. (= 현재 폴더에 세팅)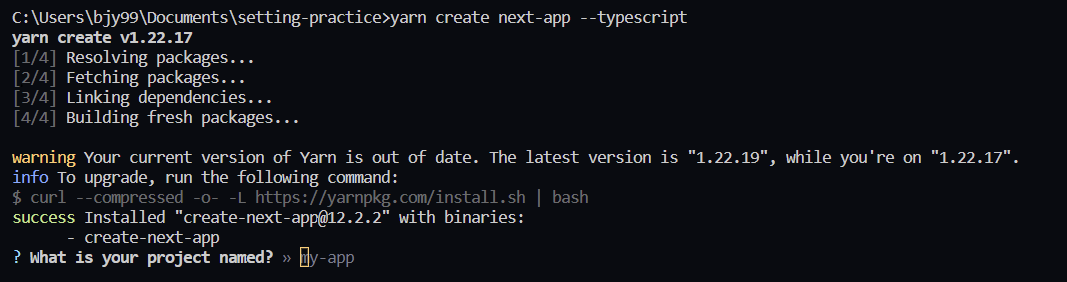 설치가 완료되면 아래 화면처럼
 Success!가 나타납니다.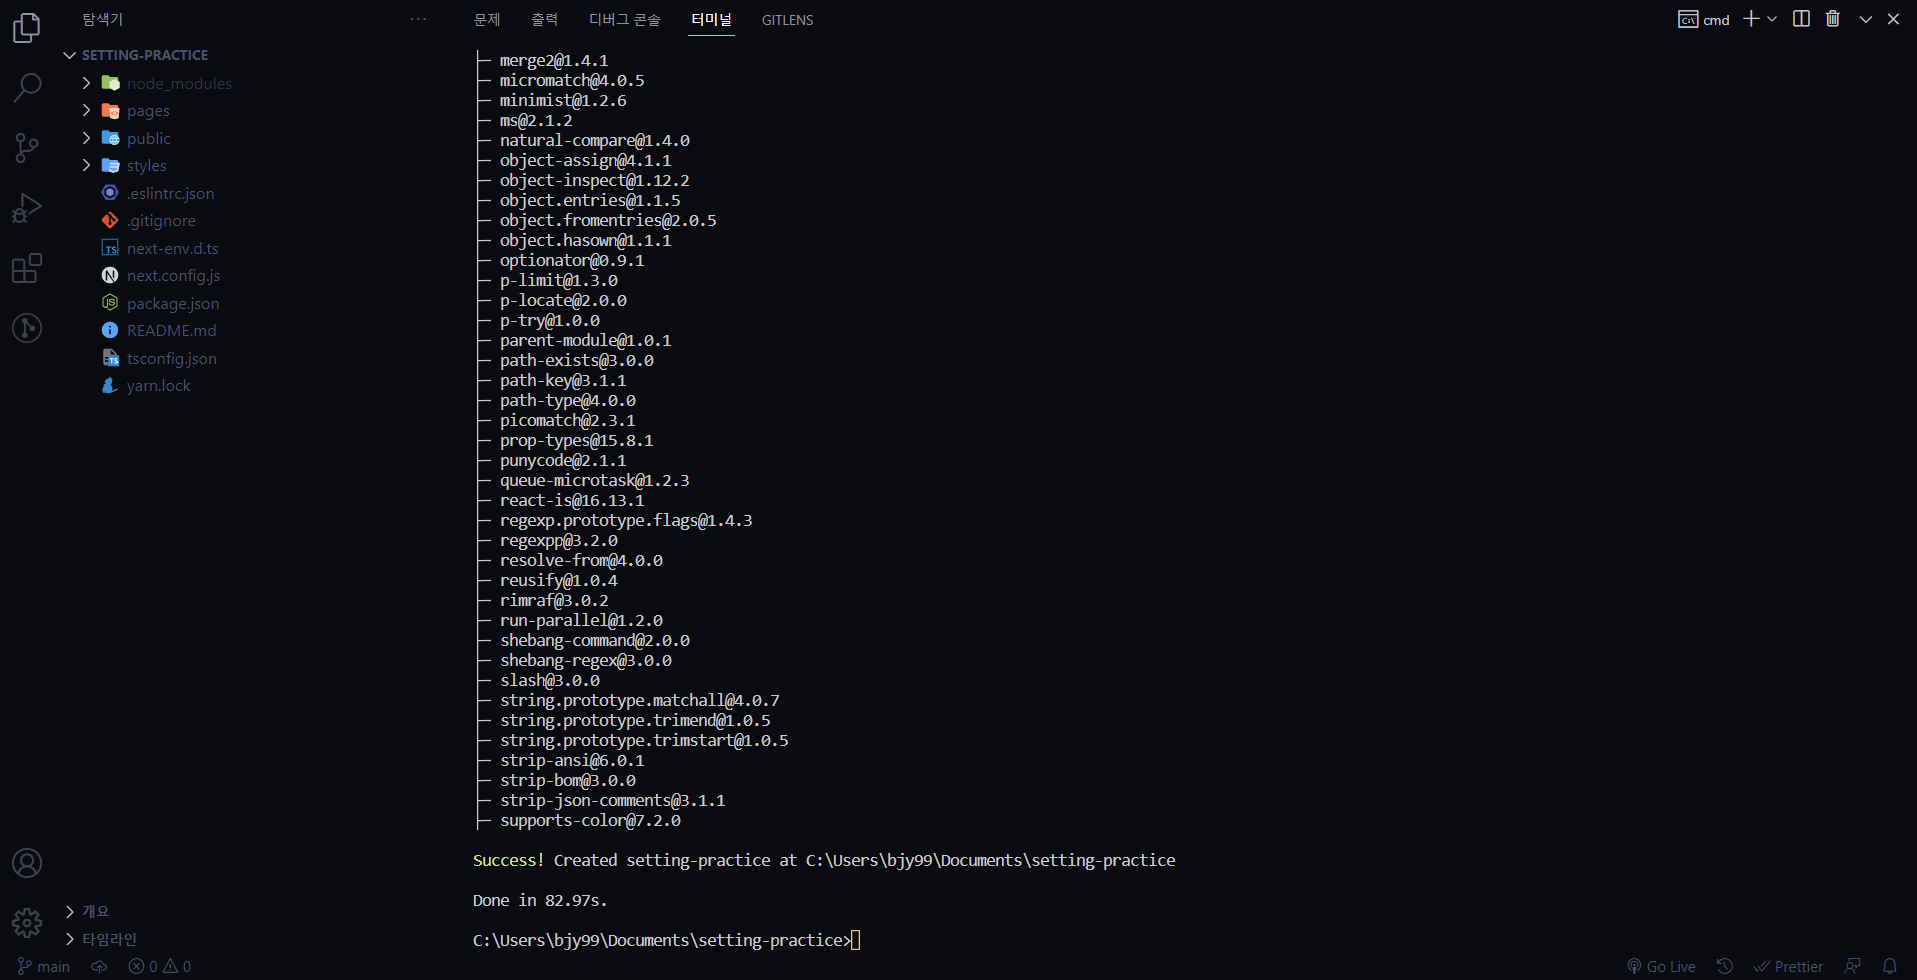
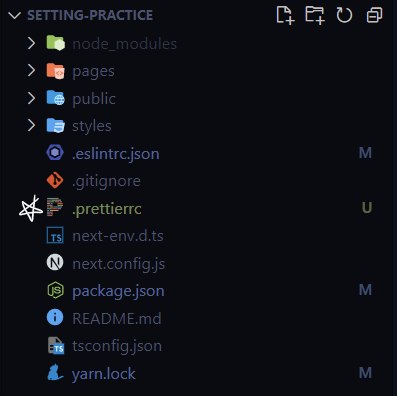
2. ESLint + Prettier
(1) 터미널에 아래 내용을 입력합니다.
yarn add -D eslint prettier eslint-plugin-prettier eslint-config-prettier eslint-plugin-import eslint-plugin-react eslint-plugin-react-hooks eslint-plugin-jsx-a11y @typescript-eslint/parser @typescript-eslint/eslint-plugin(2) .eslintrc.json 파일에 아래 내용을 복붙합니다.
{
  "env": {
    "browser": true,
    "es6": true,
    "node": true
  },
  "parser": "@typescript-eslint/parser",
  "parserOptions": {
    "ecmaFeatures": {
      "jsx": true
    },
    "ecmaVersion": "latest",
    "sourceType": "module"
  },
  "plugins": ["@typescript-eslint"],
  "extends": [
    "eslint:recommended",
    "plugin:prettier/recommended",
    "plugin:@typescript-eslint/recommended",
    "plugin:@next/next/recommended",
    "next/core-web-vitals",
    "prettier"
  ],
  "rules": {
    "prettier/prettier": ["error", { "endOfLine": "auto" }, { "usePrettierrc": true }],
    "react/react-in-jsx-scope": "off",
    "react/prop-types": "off",
    "react/display-name": "off",
    "no-unused-vars": "off",
    "@typescript-eslint/no-var-requires": 0,
    "@typescript-eslint/no-unused-vars": ["error"],
    "@typescript-eslint/explicit-module-boundary-types": "off"
  }
}
(3) .eslintrc.json과 동일한 위치에 .prettierrc 파일을 생성하고 아래 내용을 복붙합니다.
{
  "bracketSameLine": true,
  "printWidth": 120,
  "semi": true,
  "singleQuote": true,
  "trailingComma": "all",
  "tabWidth": 2
}
3. 절대경로
최상위 디렉터리에 src 폴더를 하나 생성한 뒤, tsconfig.json에 들어가서 "incremental": true, 밑에 baseUrl과 paths를 추가합니다.
{
  "compilerOptions": {
    ...
    "incremental": true,
    "baseUrl": ".",
    "paths": {
      "@src/*": ["src/*"]
    }
  }
}
4. styled-components
Next.js는 React와 다르게 styled-components를 사용하려면 별도의 세팅이 필요합니다.
(1) 터미널에 아래 내용을 입력합니다.
yarn add styled-components styled-reset
yarn add -D @types/styled-components
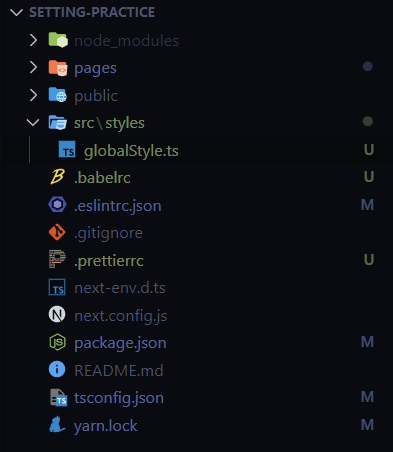
yarn add -D babel-plugin-styled-components(2) .prettierrc 파일을 생성했던 것과 마찬가지로 프로젝트의 최상위 디렉터리에 .babelrc 파일을 생성하고 아래 내용을 복붙합니다. 스타일이 적용되기 전에 렌더링되는 현상을 막기 위함입니다.
{
  "presets": ["next/babel"],
  "plugins": [["styled-components", { "ssr": true, "displayName": true, "preprocess": false }]]
}
(3) pages 폴더 안에 _document.tsx 파일을 생성하고 아래 내용을 복붙합니다. _document.tsx는 _app.tsx 다음에 실행되며, 공통적으로 활용할 <head>나 <body> 태그 안에 들어갈 내용들을 커스텀 할 때 활용합니다. _document.tsx 파일에 css를 미리 적용하면 css 로딩이 늦어 깜빡이는 현상을 방지할 수 있습니다.
import Document, { DocumentContext, Html, Head, Main, NextScript } from 'next/document';
import { ServerStyleSheet } from 'styled-components';

export default class MyDocument extends Document {
  static async getInitialProps(ctx: DocumentContext) {
    const sheet = new ServerStyleSheet();
    const originalRenderPage = ctx.renderPage;
    try {
      ctx.renderPage = () =>
        originalRenderPage({
          enhanceApp: (App) => (props) => sheet.collectStyles(<App {...props} />),
        });
      const initialProps = await Document.getInitialProps(ctx);
      return {
        ...initialProps,
        styles: (
          <>
            {' '}
            {initialProps.styles} {sheet.getStyleElement()}{' '}
          </>
        ),
      };
    } finally {
      sheet.seal();
    }
  }

  render() {
    return (
      <Html>
        <Head />
        <body>
          <Main />
          <NextScript />
        </body>
      </Html>
    );
  }
}
(4) CNA를 통해 자동 생성된 styles 폴더를 삭제합니다. styles 폴더가 삭제되면 Home.module.css를 import했던 index.tsx에서 에러가 나기 때문에 index.tsx를 다음과 같이 바꿔줍니다.
import Head from 'next/head';

function Home() {
  return (
    <div>
      <Head>
        <title>setting-practice</title>
        <link rel="icon" href="/favicon.ico" />
      </Head>
      <div>Home</div>
    </div>
  );
}

export default Home;
(5) src 폴더 안에 styles 폴더를 새로 생성한 뒤, 그 안에 globalStyle.ts 파일을 생성합니다. 파일에는 아래 내용을 복붙합니다.
import { createGlobalStyle } from 'styled-components';
import reset from 'styled-reset';

const GlobalStyle = createGlobalStyle`
  ${reset};

  html,
  body {
    width: 100%;
    height: 100%;
  }

  #root {
    margin: 0 auto;
  }

  html {
    font-size: 62.5%;
  }

  * {
    box-sizing: border-box;
  }

  body, button {
    font-family: -apple-system, BlinkMacSystemFont, Segoe UI, Roboto, Oxygen, Ubuntu, Cantarell, Fira Sans, Droid Sans,
    Helvetica Neue, sans-serif;
  }

  button {
    cursor: pointer;
    border: none;
    outline: none;
    background-color: transparent;
    -webkit-tap-highlight-color : transparent;
  }

  a, a:visited {
    text-decoration: none;
    color: black;
  }
`;

export default GlobalStyle;
(6) _app.tsx에 아래 내용을 복붙해서 GlobalStyle을 적용합니다.
import type { AppProps } from 'next/app';
import GlobalStyle from '@src/styles/globalStyle';

function MyApp({ Component, pageProps }: AppProps) {
  return (
    <>
      <GlobalStyle />
      <Component {...pageProps} />
    </>
  );
}

export default MyApp;
5. Recoil, React Query
(1) 터미널에 아래 내용을 입력합니다.
yarn add recoil @tanstack/react-query(2) _app.tsx에 아래 내용을 복붙합니다.
import type { AppProps } from 'next/app';
import { QueryClient, QueryClientProvider } from '@tanstack/react-query';
import { RecoilRoot } from 'recoil';
import GlobalStyle from '@src/styles/globalStyle';

function MyApp({ Component, pageProps }: AppProps) {
  // 이렇게 해야 서로 다른 사용자와 요청 사이에 데이터가 공유되지 않는다.
  const [queryClient] = React.useState(() => new QueryClient());

  return (
    <QueryClientProvider client={queryClient}>
      <RecoilRoot>
        <GlobalStyle />
        <Component {...pageProps} />
      </RecoilRoot>
    </QueryClientProvider>
  );
}

export default MyApp;
6. 실행
터미널에 yarn dev를 입력하면 localhost:3000에서 확인할 수 있습니다.
yarn dev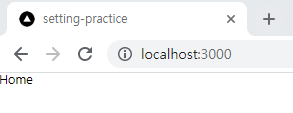

styled-components는 TS로 작성되어서 @types/styled-components는 설치 안해줘도 되지 않나요?