스프링 view 만들기
apache에 처음 접속하면 index.html로 연결해준다. 이는 비단 apache만 아니라 모든 web이 그러하다.
그렇지만 저번글에서 쓴것처럼 server만 run 하면 index가 없어서 오류를 보게 된다. 따라서 index.html을 만들어줘야한다.
index.html
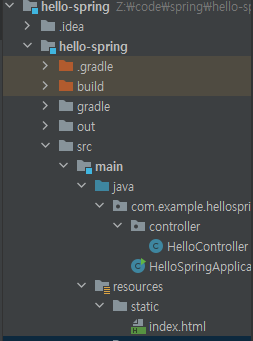
resources/static 안에 index.html을 만들어준다.
<!DOCTYPE html>
<html>
<body>
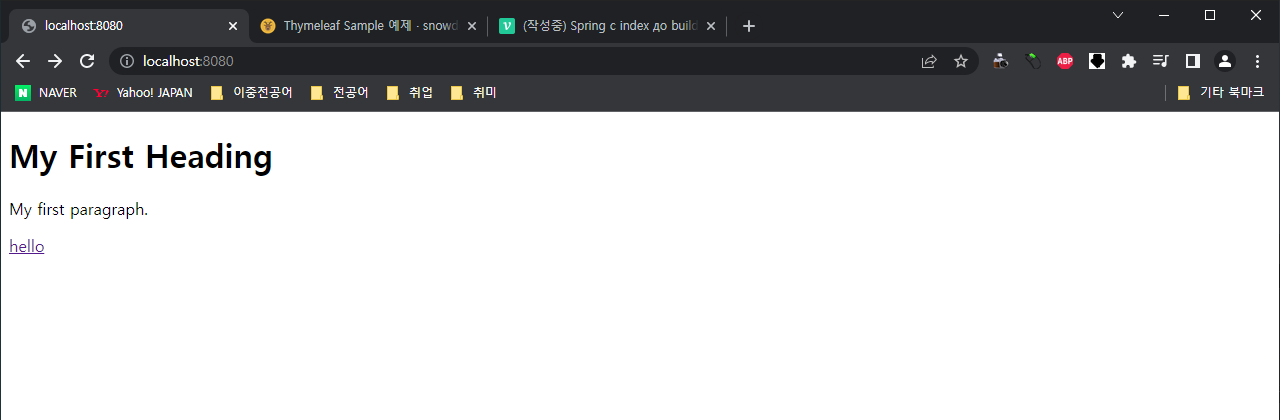
<h1>My First Heading</h1>
<p>My first paragraph.</p>
<a href = "\Hello">hello</a>
</body>
</html>
html 코드는 별로 중요한게 아니라 아무 샘플이나 복붙했다.
이 html에는 hello.html로 가는 hyperlink가 있는데, 아직 안만들었기에 아무것도 안나올것이다.
static 폴더안에 있는 html 파일들은 말 그대로 정적인 파일들이다. 따로 엔진을 쓰거나 하는게 아니라 단순하게 index.html파일을 웹으로 넘겨주는것이다.
따라서 우리는 hello.html이라는 파일을 template에 만들고 controller로 연결해주도록 하겠다 .
hello.html
<!DOCTYPE html>
<html xmlns:th="http://www.thymeleaf.org">
<head>
<meta charset="UTF-8">
<title>Hello</title>
</head>
<body>
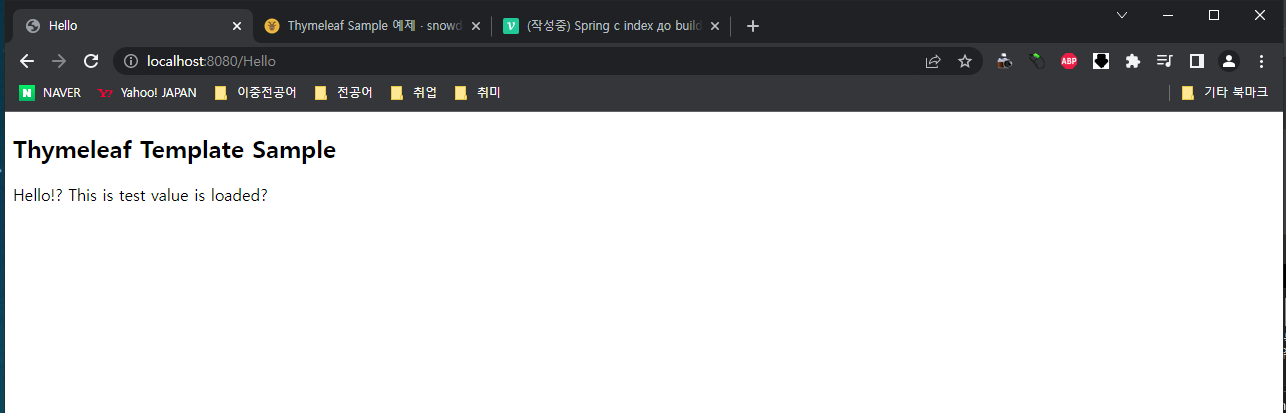
<h2>Thymeleaf Template Sample</h2>
<p th:text="'Hello!? ' + ${data} + 'is loaded?'"> Hello Officer </p>
</body>
</html>html이 thymeleaf를 사용한다고 선언했고, th:text가 이를 사용한다.
controller
main/java.hello-spring/contoller라는 파일을 만들고 그 안에 hello controller를 만든다.
package com.example.hellospring.controller;
import org.springframework.stereotype.Controller;
import org.springframework.ui.Model;
import org.springframework.web.bind.annotation.GetMapping;

@Controller
public class HelloController {

    @GetMapping("Hello")
    public String hello(Model model) {
        model.addAttribute("data", "This is test value ");
        return "hello";
    }
}
Controller annotation으로 Controller 선언을 하고, model을 호출해서 "data"라는 이름을 가진 곳에 "This is ~ "의 값을 넣어주도록 작성한다.
그리고 return hello를 하면 hello.html 안에 thymeleaf (혹은 다른 html 엔진)를 이용해서 data에 value를 넣어줄 것이다.
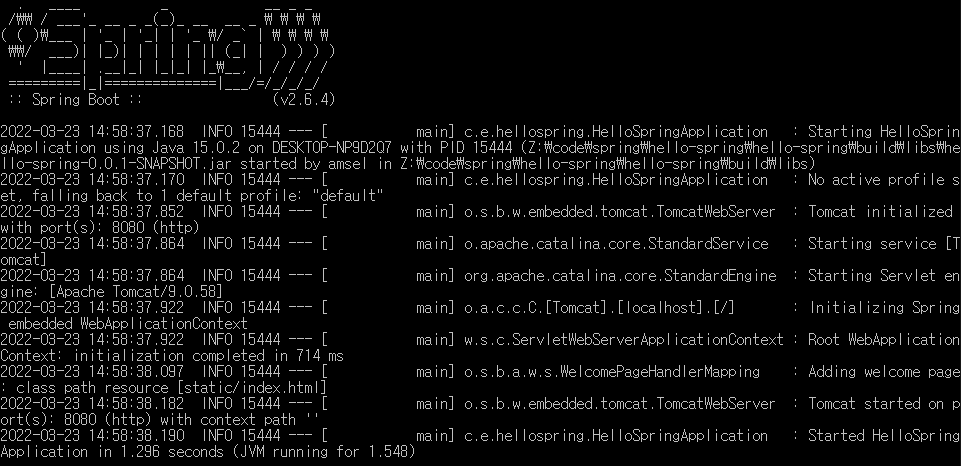
실행
Intellij 에서 바로 실행하기
기존에 하던것처럼 하면 된다.
빌드하기
-
터미널에서 workspace로 이동하고 gardlew 명령어를 이용 빌드
-
build/lib로 이동해서 jar파일을 실행
java -jar hello-spring.jar혹은 이 jar파일을 서버 컴퓨터에 넣고 실행시켜주면 된다.
결과물