리엑트 실습으로 메인페이지 만들기를 해보았다.
파일 구조
├── README.md
├── package-lock.json
├── package.json
├── public
│   └── index.html
├── src
│   ├── App.js
│   ├── app.css
│   ├── assets
│   │   ├── icon-heart-on.svg
│   │   ├── icon-heart.svg
│   │   └── icon-shopping-cart-white.svg
│   ├── components
│   │   ├── ProductCard
│   │   │   ├── ProductCard.jsx
│   │   │   └── productCard.css
│   │   ├── ProductImage
│   │   │   ├── ProductImage.jsx
│   │   │   └── productImage.css
│   │   ├── ProductName
│   │   │   ├── ProductName.jsx
│   │   │   └── productName.css
│   │   └── ProductPrice
│   │       ├── ProductPrice.jsx
│   │       └── productPrice.css
│   ├── database
│   │   └── data.js
│   ├── index.js
│   ├── pages
│   │   └── HomePage
│   │       ├── HomePage.jsx
│   │       └── homePage.css
│   └── reset.css
└── 파일명.txt
index.html
root를 가지고 있는 파일.
redux를 사용하기 위해서 container를 가지고 있음.
App.js
HomePage를 렌더링 시키는 파일 pages / Homepage.jsx
import { useState, useEffect } from "react";
// import { data } from "../../database/data";
import "./homePage.css";
import ProductCard from "../../components/ProductCard/ProductCard";

export default function HomePage() {
  const [error, setError] = useState(null);
  const [isLoaded, setIsLoaded] = useState(false);
  const [items, setItems] = useState([]);

  useEffect(() => {
    const getData = async () => {
      try {
        const res = await fetch("https://test.api.weniv.co.kr/mall");
        const result = await res.json();
        setItems(result);
        setIsLoaded(true);
      } catch (error) {
        setIsLoaded(true);
        setError(error);
      }
    };
    getData();
  }, []);
  if (error) {
    return <div>에러입니다. {error.message}</div>;
  } else if (!isLoaded) {
    return <div>로딩중!</div>;
  } else {
    return (
      <main className="product">
        <ul className="product-list">
          {items.map((item) => (
            <ProductCard
              key={item.id}
              productName={item.productName}
              price={item.price}
              img={item.thumbnailImg}
            />
          ))}
        </ul>
        <a className="link-btn cart-link" href="#"></a>
      </main>
    );
  }
}
상태 관리를 위한 useState, useEffect가 쓰인다. 데이터를 받아오고, 이를 ProductCard에게 전달한다. if 조선문을 통해 렌더링 상태를 화면에 표시할 수 있다.
components/ProductCard/Productcard.jsx
카드 몸통을 말한다. useRef를 이용해 하트를 클릭하면 채워지게 할 수 있다. 앞서 HomePage에서 받은 데이터를 컴포넌트에게 전달한다. 여기서 가장 오래 헤맸던 부분이 .. 매개변수를 모두 {}중괄호에 꼭 넣어줘야 한다는 점이다.
import { useRef } from "react";
import ProductImage from "../ProductImage/ProductImage";
import ProductName from "../ProductName/ProductName";
import ProductPrice from "../ProductPrice/ProductPrice";
import "./productCard.css";
//매개변수 꼭 .. 모두 다 함께 하나의 중괄호 안에 넣기!!
export default function ProductCard({ productName, price, img }) {
  const likeBtn = useRef();
  function handleLikeClick(e) {
    // console.log(e);
    // console.log(e.currentTarget);
    e.currentTarget.classList.toggle("on");
  }
  return (
    <li className="product-item">
      <div className="product-img">
        <ProductImage thumbnailImg={img} productName={productName} />
      </div>
      <ProductName productNames={productName} />
      <button
        ref={likeBtn}
        onClick={handleLikeClick}
        className="like-btn"
      ></button>
      <div className="product-price">
        <ProductPrice price={price} />
      </div>
    </li>
  );
}
components/ProductImage/ProductImage.jsx
썸네일을 웹에서 받아오기 위해 일단 ProductCard에서 썸네일 이름을 받아오고, 사이트 주소와 합쳐서 썸네일을 가져왔다.
export default function ProductImage({ thumbnailImg, productName }) {
const imgUrl = "https://test.api.weniv.co.kr/" + thumbnailImg;
return <img src={imgUrl} alt={productName} />;
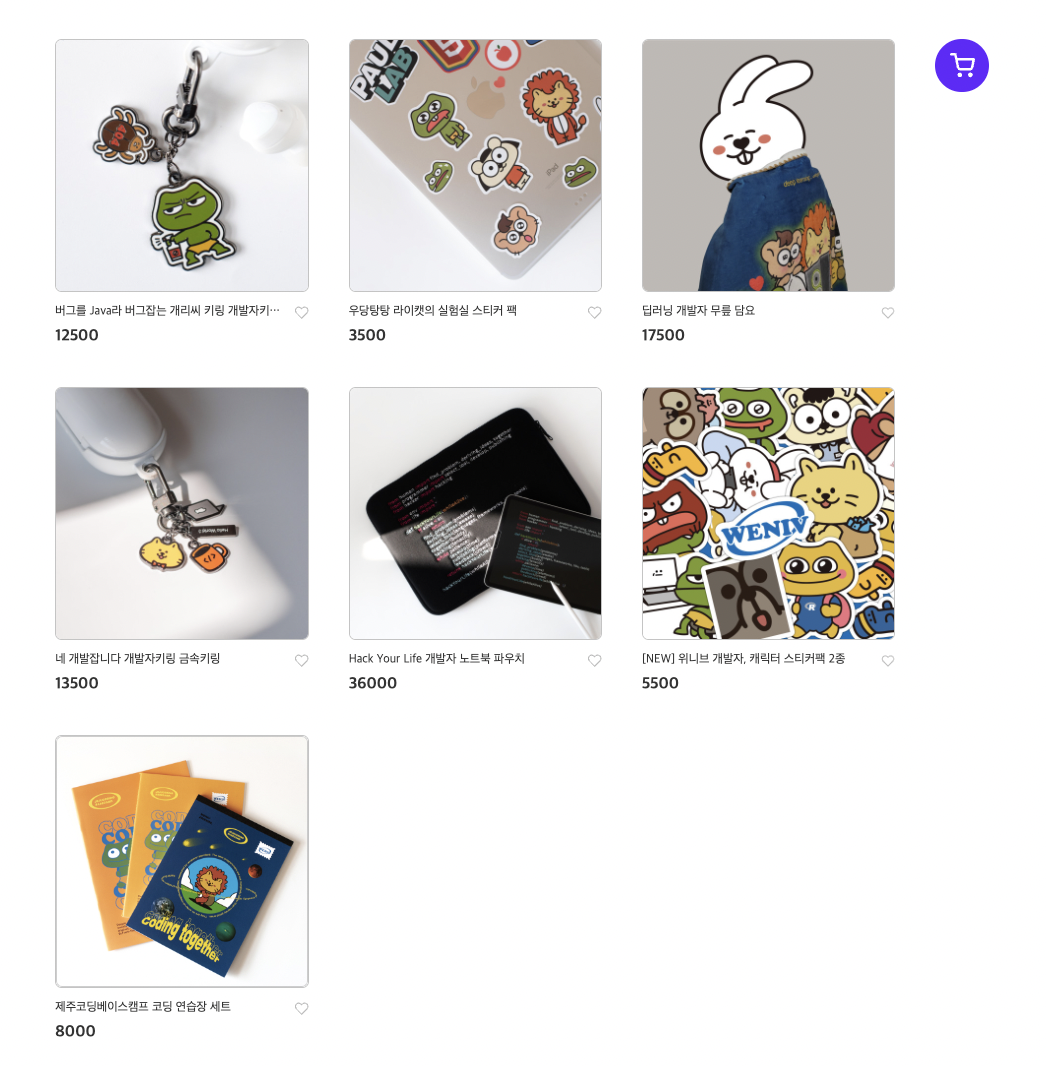
}사이트 완성모습
자료출처 - https://inf.run/xnPo