
프로젝트 정보
- 소개
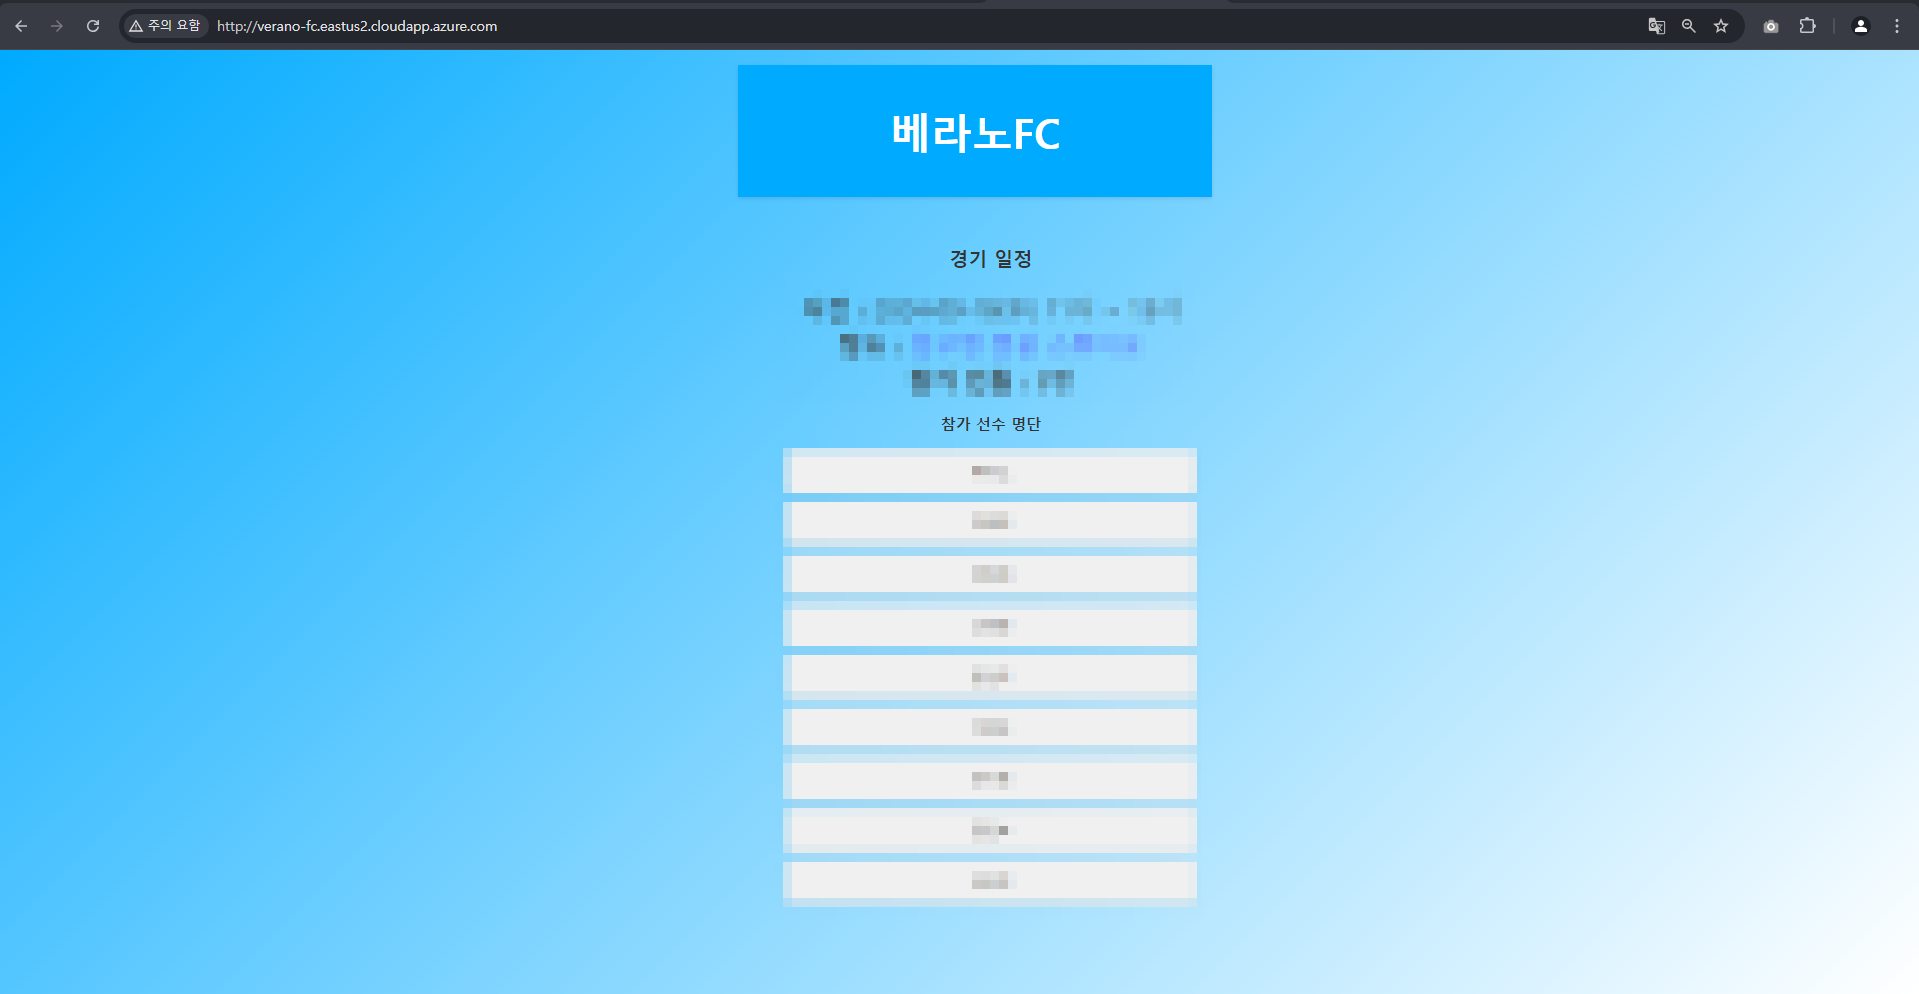
축구 풋살팀 홈페이지
- 개발환경
Front - React, TypeScript
DevOps - Nginx
프로젝트 배포하기
1. Nginx 설치하기
apt-get update
apt-get install nginx
위의 명령어를 입력하게 되면 nginx가 설치가 되는데 사용자 계정으로 로그인을하여 apt-get update 명령어를 입력할 때 권한에러가 발생할 수 있다.

이런 경우에는 root 계정으로 변경 후에 진행을 해야하는데 root 계정 비밀번호를 모른다면 아래의 명령어를 통해 비밀번호를 재설정하고 진행하면 됩니다.
sudo passwd root2. nginx.conf 파일 설정
nginx.conf 파일(nginx.conf 파일 설정)을 아래와 같이 설정하였고 80포트에 포워딩 하였습니다.
user bm941201;
worker_processes auto;

events {
    worker_connections 1024;
}

http {
    include       /etc/nginx/mime.types;
    default_type  application/octet-stream;

    sendfile        on;
    keepalive_timeout  65;
    gzip  on;

    server {
        listen       80;
        server_name  fc-verano;

        error_log    /home/bm941201/install/logs/error.log;
        access_log   /home/bm941201/install/logs/access.log;

        location / {
            root   /home/bm941201/install/dist;
            index  index.html;
            try_files $uri /index.html;
        }
    }
}
3. 배포확인
위의 설정을 완료한 후에 Azure에서 설정했던 DNS 이름으로 접속을 하게 되면 성공적으로 접속되는 것을 알 수 있습니다. 만약 화면에 접속이 되지 않는다면 가상머신 생성 당시에 인바운드 포트규칙에 80 포트가 추가 되어있는지를 확인하면 됩니다.
Reference

개발자의 기록하는 습관