세팅하기
작업할 폴더에 들어가줍니다
1. tuist 설치
curl -Ls https://install.tuist.io | bash제 노트북은 mac m1인데 첫 번째 명령어를 치고 이러한 에러를 마주해서
error: active developer path ("/Users/유저네임/Downloads/Xcode 2.app/Contents/Developer") does not exist
Use `sudo xcode-select --switch path/to/Xcode.app` to specify the Xcode that you wish to use for command line developer tools, or use `xcode-select --install` to install the standalone command line developer tools.
See `man xcode-select` for more details.
이 명령어를 치고 작업했습니다
sudo xcode-select --reset2. Tuist로 iOS 프로젝트 생성
작업할 폴더에 들어가주고
tuist로 iOS 프로젝트를 생성해줍니다
tuist init --platform ios참고로 밑에와 같은 문구를 마주할 수 있었는데
프로젝트 생성될 폴더에는 파일이 없어야되는 것 같습니다
Can't initialize a project in the non-empty directory at path /Users/폴더위치.
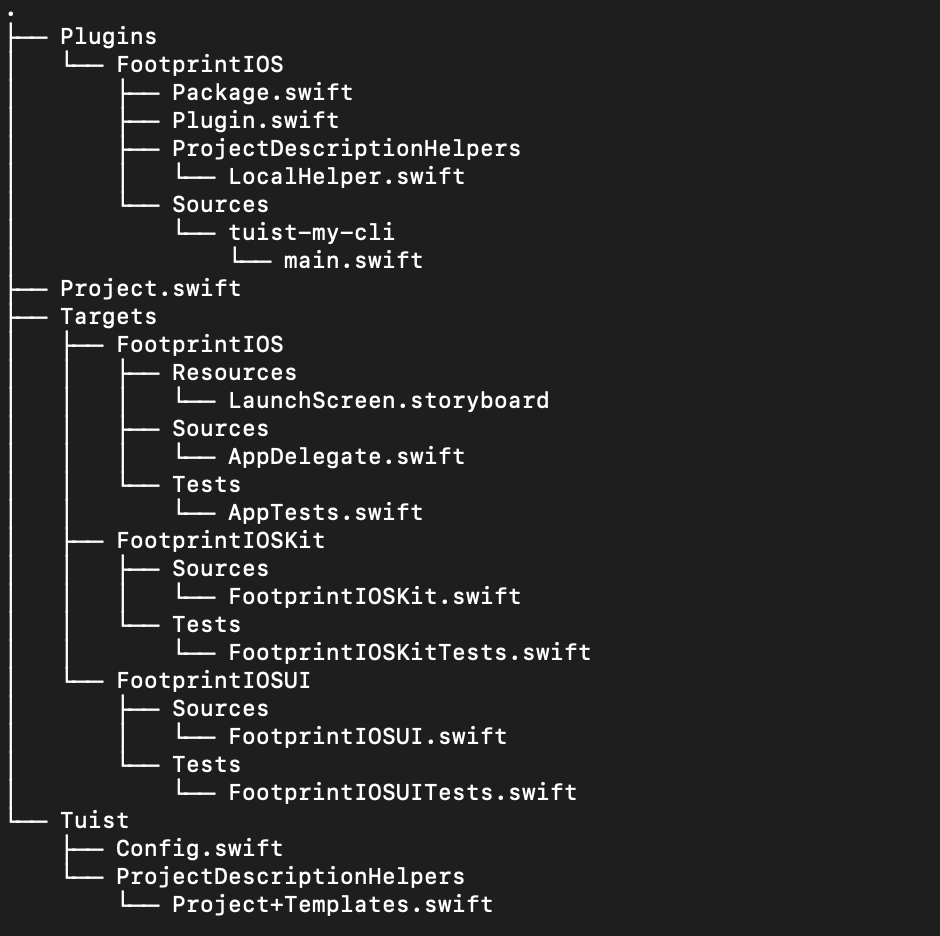
네 개의 폴더가 생겼습니다 !
3. 예제 파일 생성
tree를 설치해줍니다
//m1인 경우
arch -arm64 brew install [pacakge name]
//m1 아닌경우
brew install tree
설치하셨다면
tree .밑에 보시면 자동으로 예제 파일이 생성됨을 알 수 있답니다
4. project.swift 파일 수정
tuist edit명령어를 치게 되면 자동으로 xcode가 열리게 됩니다
project.swift 파일이고 이 파일을 수정해주어야 합니다 !
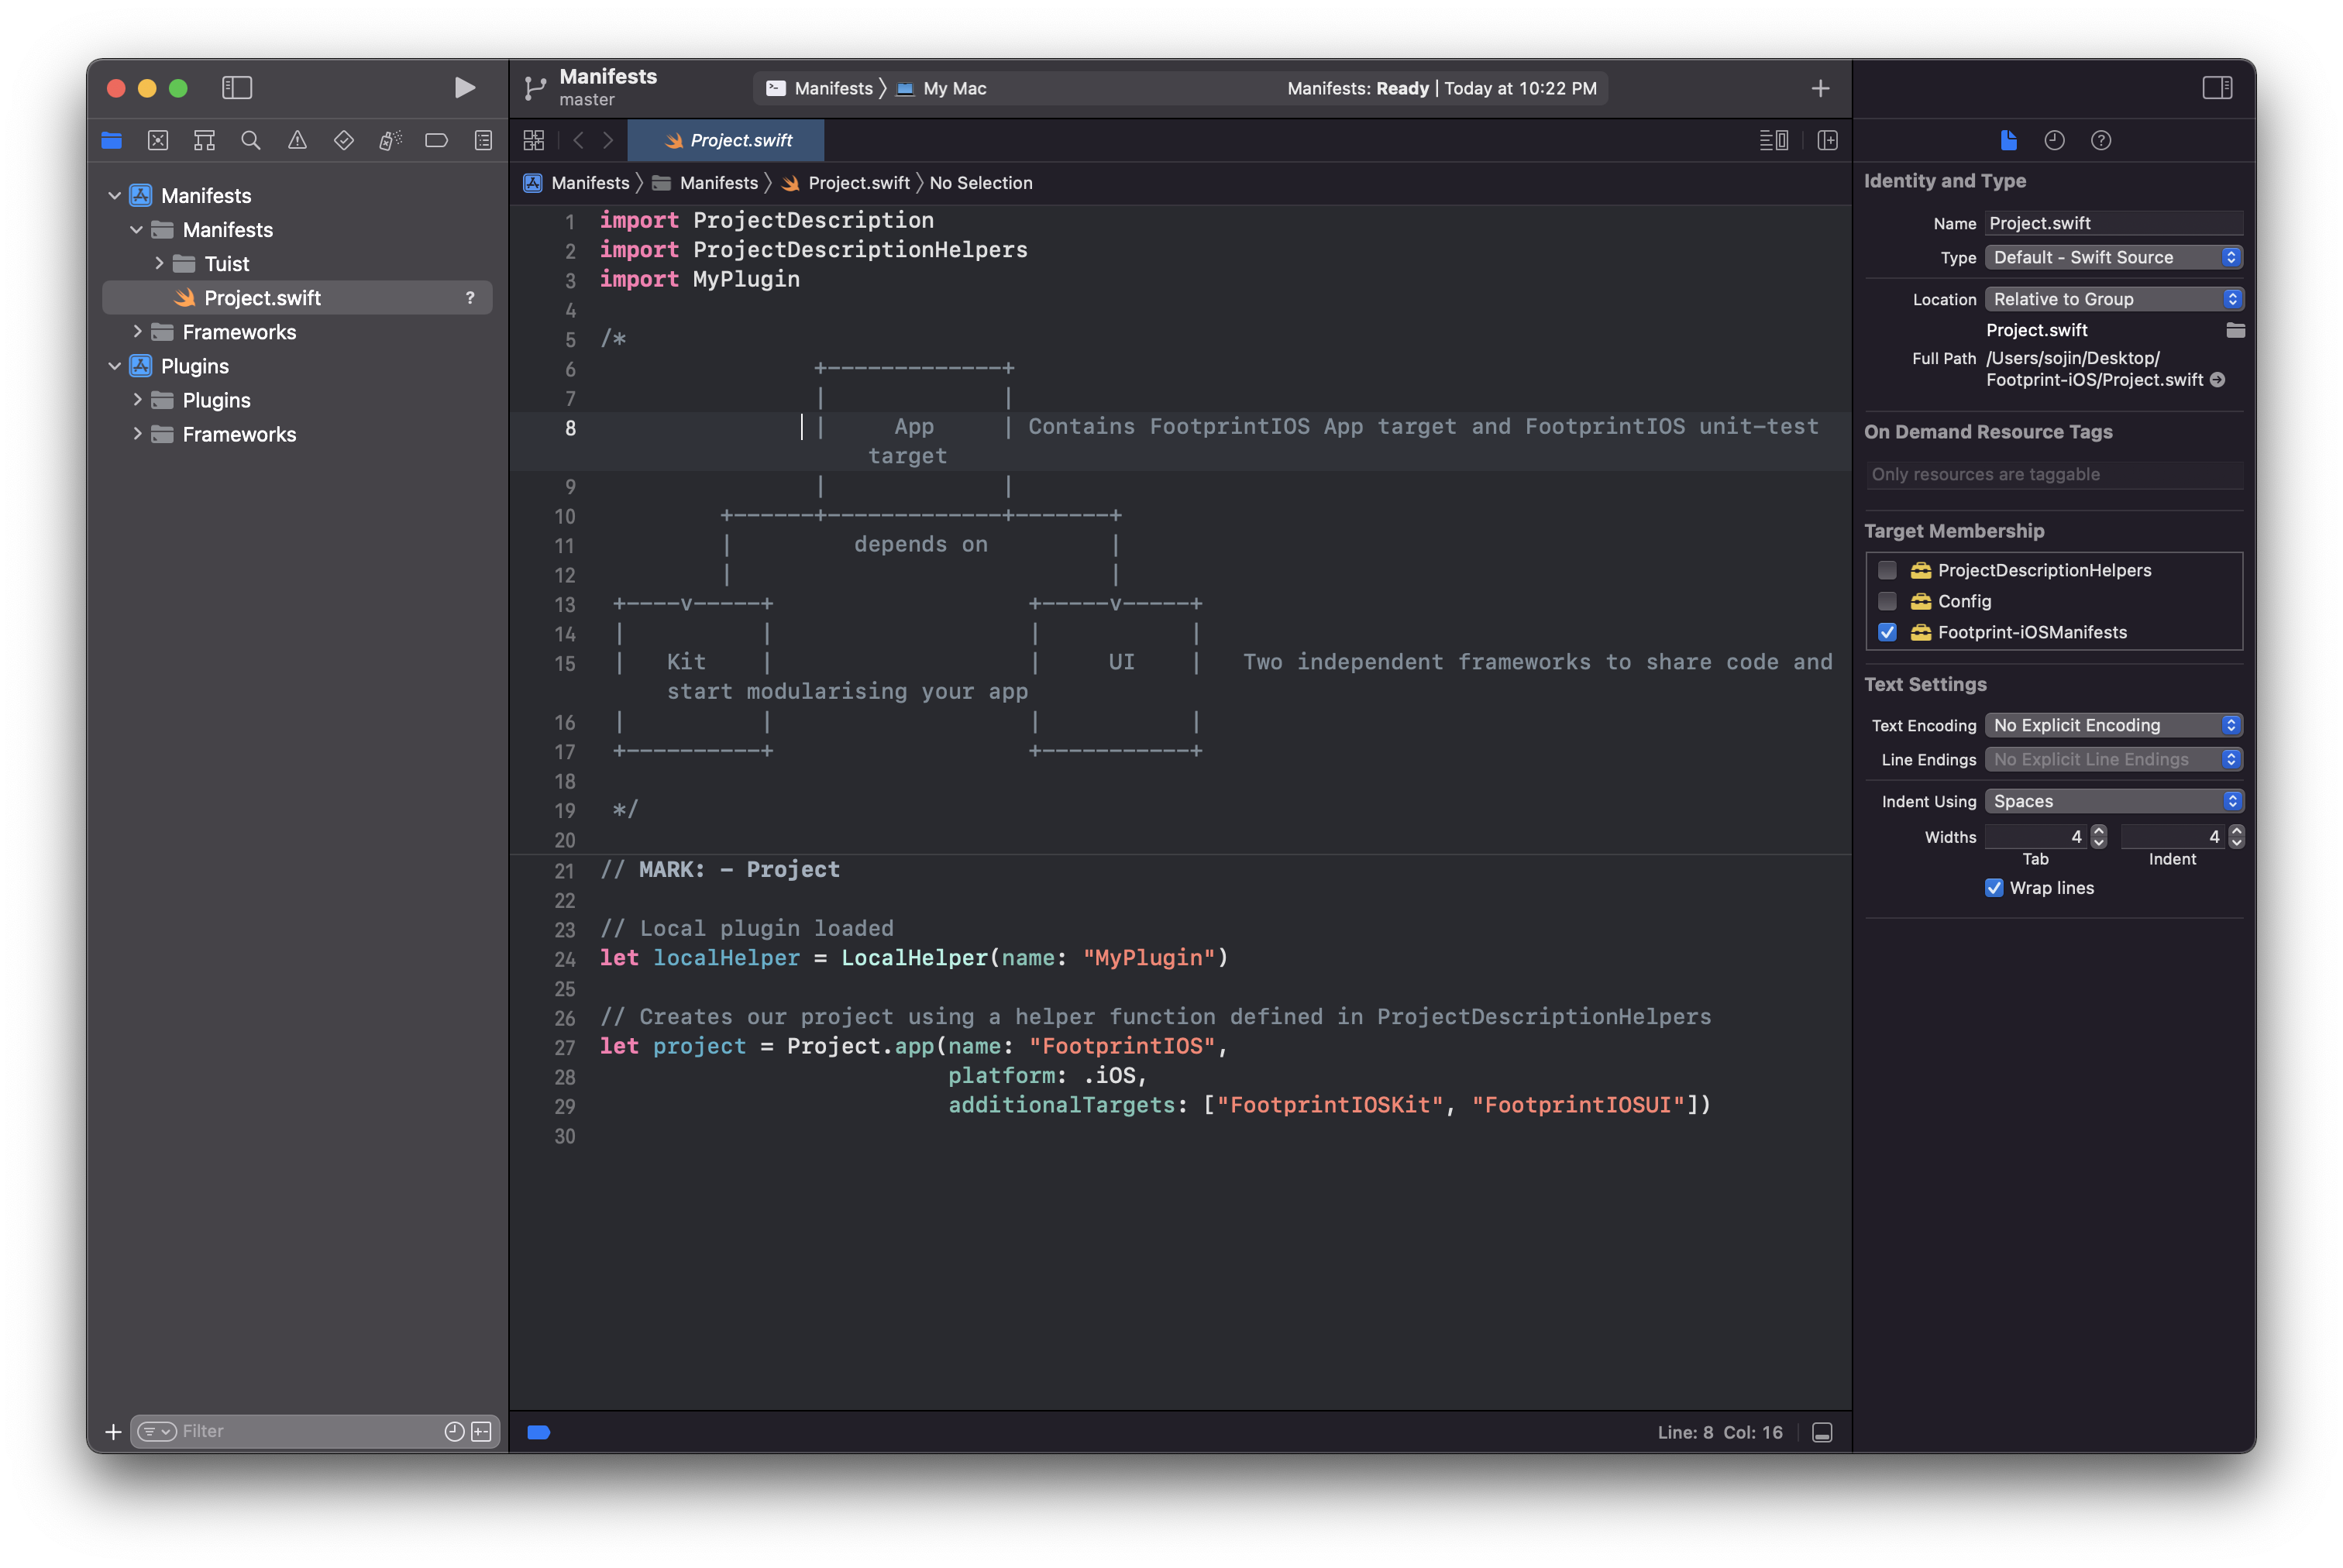
공식문서를 같이 따라가보면 밑의 코드가 나와있는데
import ProjectDescription

let project = Project(
    name: "MyApp",
    organizationName: "MyOrg",
    targets: [
        Target(
            name: "MyApp",
            platform: .iOS,
            product: .app,
            bundleId: "io.tuist.MyApp",
            infoPlist: "Info.plist",
            sources: ["Sources/**"],
            resources: ["Resources/**"],
            headers: .headers(
                public: ["Sources/public/A/**", "Sources/public/B/**"],
                private: "Sources/private/**",
                project: ["Sources/project/A/**", "Sources/project/B/**"]
            ),
            dependencies: [
                /* Target dependencies can be defined here */
                /* .framework(path: "framework") */
            ]
        ),
        Target(
            name: "MyAppTests",
            platform: .iOS,
            product: .unitTests,
            bundleId: "io.tuist.MyAppTests",
            infoPlist: "Info.plist",
            sources: ["Tests/**"],
            dependencies: [
                .target(name: "MyApp")
            ]
        )
    ]
)
tuist generate이 코드 그대로 해보면 프로젝트가 성공적으로 생김을 알 수 있답니다 !!
하지만 우리가 원하는 그림은 아닐테니 설정을 바꿔볼까요 ㅎ.ㅎ
5. 의존성 설치
공식문서를 보고 따라해봅시다
Dependencies.swift 파일이 만들어져 있다면 여기에 추가를 하면되고
그게 아니라면 새롭게 만들어줍시다
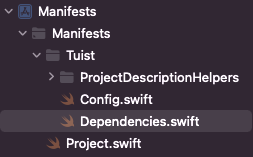
저는 여기 위치에 만들어주었어요 !
이제 깔아줘야하는 라이브러리를 정리해둡시다
저는 moya를 설치해줄건데요
깃헙에 들어가보면 Swift Package Manager라고 나와있는 부분이 있는데 여기에 써져있는 버전 정보를 참고하시면 됩니다

저는 이런식으로 추가해주었습니다
import ProjectDescription

let dependencies = Dependencies(
    swiftPackageManager: [
        .remote(url: "https://github.com/Moya/Moya.git", requirement: .upToNextMajor(from: "15.0.0")),
        .remote(url: "https://github.com/ReactiveX/RxSwift.git", requirement: .upToNextMinor(from: "6.5.0")),
        .remote(url: "https://github.com/ReactorKit/ReactorKit.git", requirement: .upToNextMinor(from: "3.2.0")),
        .remote(url: "https://github.com/SnapKit/SnapKit.git", requirement: .upToNextMinor(from: "5.0.0")),
        .remote(url: "https://github.com/devxoul/Then.git", requirement: .upToNextMinor(from: "3.0.0")),
    ],
    platforms: [.iOS]
)
그 후에 다시 Project.swift 파일로 돌아와서
추가해줬던 라이브러리를 dependencies에 적어줍니다
dependencies: [
                    .external(name: "Moya")
                    .external(name: "RxSwift")
                ]
번외) SceneDelegate 파일 추가해주기
Tuist로 프로젝트 세팅을 하게 되면
Xcode가 프로젝트에 파일을 추가하는 것과 다르게 SceneDeleagate.swift 파일이 따로 추가되지 않는데요
infoPlist 설정을 밑에와 같이 해주었는데 디바이스의 main screen으로 보여질 것에 대한 설정을 SceneDelegate에 넣어준다고 했기 때문에 SceneDelegate.swift 파일을 따로 추가해주었답니다 !!
let infoPlist: [String: InfoPlist.Value] = [
        "CFBundleVersion": "1",
        "UILaunchStoryboardName": "LaunchScreen",
        "UIApplicationSceneManifest": [
            "UIApplicationSupportsMultipleScenes": false,
            "UISceneConfigurations": [
                "UIWindowSceneSessionRoleApplication": [
                    [
                        "UISceneConfigurationName": "Default Configuration",
                        "UISceneDelegateClassName": "$(PRODUCT_MODULE_NAME).SceneDelegate"
                    ],
                ]
            ]
        ],
    ]
Reference
https://ios-development.tistory.com/1006
https://docs.tuist.io/tutorial/get-started
https://github.com/Nexters/JYP-iOS/blob/develop/Project.swift
-> 여기 팀의 파일을 많이 참고했습니다 JYP팀 짱 최고 @ !!