구현하고자 하는 화면은 이러합니다
스크롤 되야하는 부분은 두 곳
가로 스크롤 -> story영역
세로 스크롤 -> feed영역
이 두 개의 스크롤이 한 번에 스크롤 되는 것이 목표이고
collectionView로 구현한 부분을 tableView안에 넣는 것을 글의 주제로 다루려고 합니다
왜 tableView안에 collectionView를 넣게 되었는지 궁금하지 않으신가여 ?
상황을 설명해보자면 위 화면을
구현할 수 있는 선택지는
scrollView안에collectionView와tableView를 넣기tableView로 구현하되 story부분을tableView의 header로 넣기tableView로 구현하되 story부분과 feed부분을 각각의 section으로 구현하기
scrollView안에 collectionView와 tableView를 넣기
스토리보드로 진행한 내게 첫 번째 방법은 꽤나 혼란을 주었다(..🤔)
scrollView의 높이를 설정하는 부분에 있어서인데..!
세로 스크롤뷰의 경우 내부 들어갈 것들의 높이와 constraints를 설정해줘야합니다
하지만 데이터에 따라서 cell의 height가 변할 수 있는 tableView를 고려하기 위해서는 좋은 방법은 아니라는 이야기를 듣게 되었습니다 . .
tableView header에 story영역을 넣기
충분히 구현이 가능함
collectionView부분을 tableView header부분에 넣어주면 됩니다
하지만 우리에게 보통 친숙한 UI는 한 번 스크롤 할 때
가로 스크롤 되는 영역도 많고 세로 스크롤 되는 영역도 많습니다
header / footer 두 개를 추가하게 되면 세 개의 영역이나 보여줄 수 있겠지만 그보다 더 많은 경우를 대비하여
세 번째 방식을 선택하게 되었답니다
tableView 구현하기
일단 main이 될 tableView를 구현해주어야 합니다
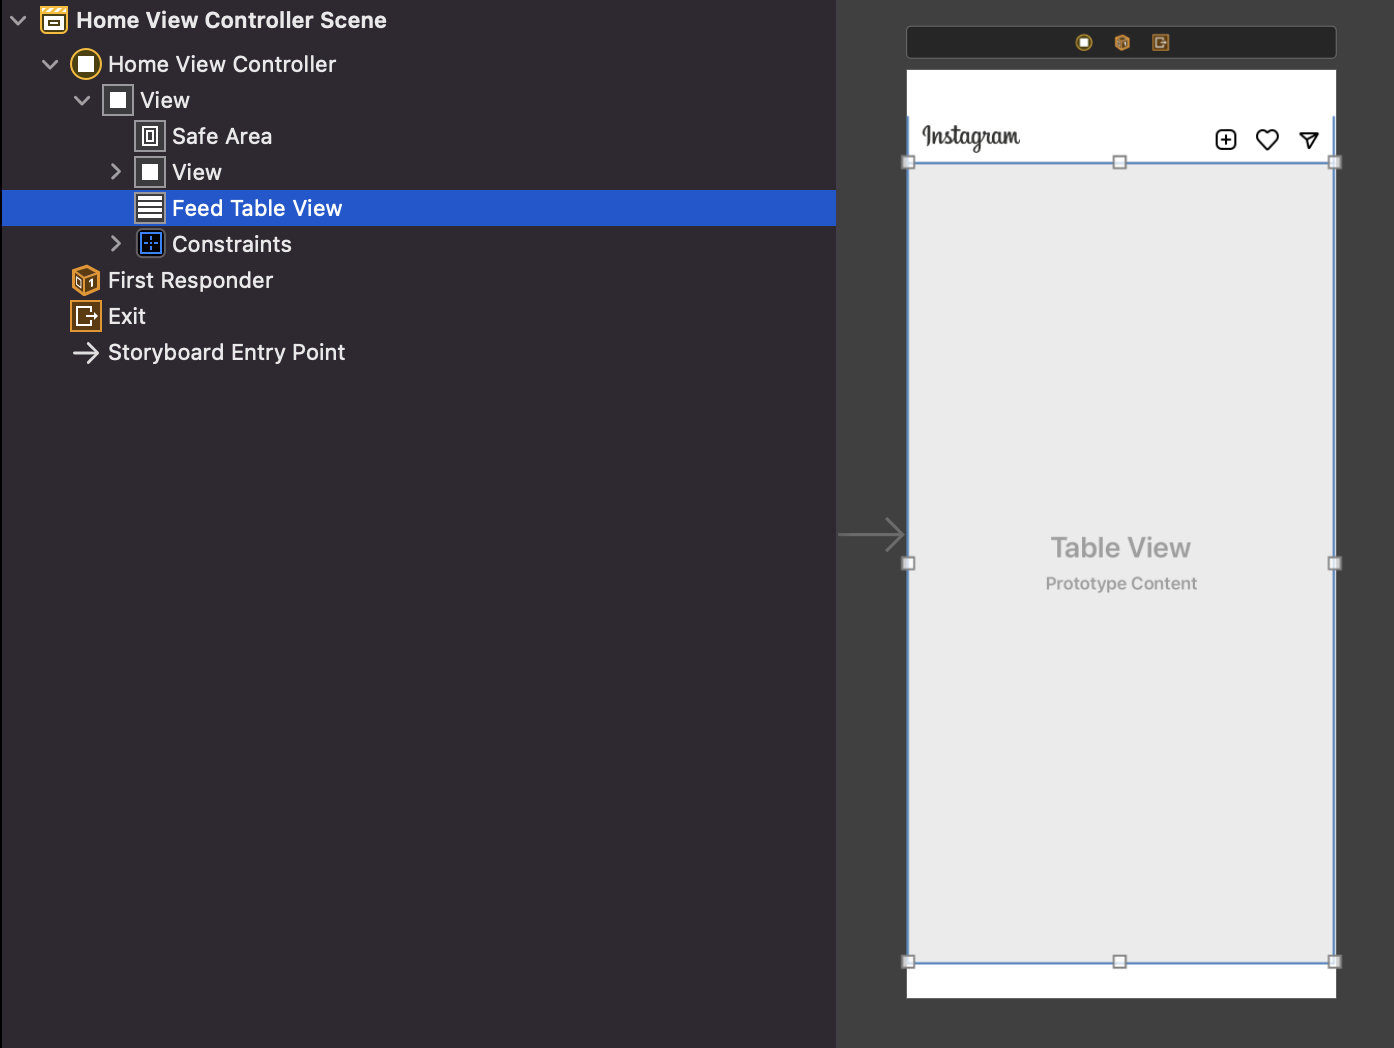
보여질 화면에 tableView를 넣어준다.
constraint는 모두 0으로 준 상태
tableView는 section으로 이루어져 있고,
section은 row들로 이루어져있다
첫 번째 section 구현하기
인스타 스토리에 해당되는 부분이자 글의 주제입니다 🤔
tableView안에 collectionView가 들어가있는 상태이므로
1. tableViewCell 만들기
xib 파일도 함께 만들어주었습니다
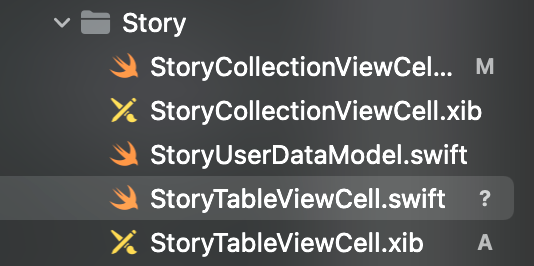
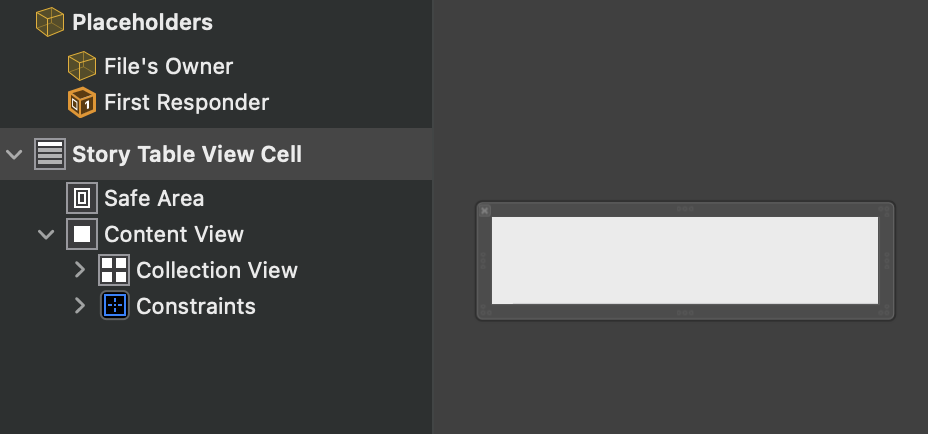
안에는 collectionView를 넣어둔 상태입니다
2. collectionViewCell 만들기
collectionView안에 들어갈 cell을 만들어줍니다
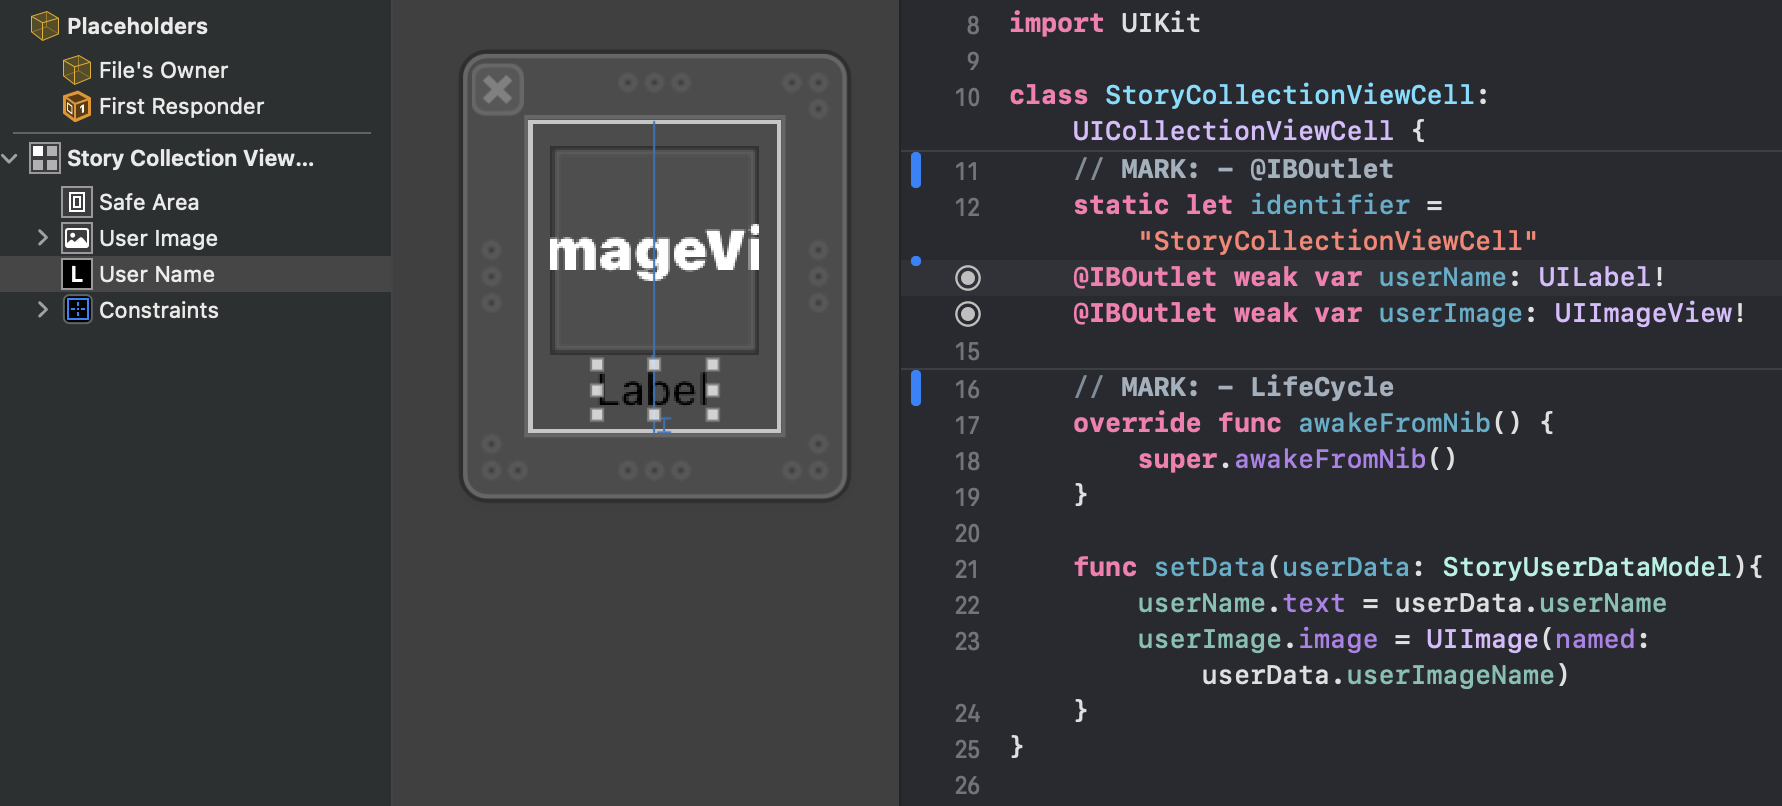
@IBOutlet 연결도 잊지 말기 !
3.tableViewCell 완성하기
import UIKit

class StoryTableViewCell: UITableViewCell {

    static let identifier = "StoryTableViewCell"
    @IBOutlet weak var collectionView: UICollectionView!

    override func awakeFromNib() {
        super.awakeFromNib()
        registerXib()
        registerDelegate()
    }

    private func registerXib(){
        let storyNib = UINib(nibName: StoryCollectionViewCell.identifier, bundle: nil)
        collectionView.register(storyNib, forCellWithReuseIdentifier: StoryCollectionViewCell.identifier)
    }

    private func registerDelegate(){
        collectionView.delegate = self
        collectionView.dataSource = self
    }

    override func setSelected(_ selected: Bool, animated: Bool) {
        super.setSelected(selected, animated: animated)
    }
}
xib 파일을 등록해주고, collectionView를 이용할 때 했던것처럼
필요한 메서드들을 사용해줍니다
extension StoryTableViewCell: UICollectionViewDataSource{
    func collectionView(_ collectionView: UICollectionView, numberOfItemsInSection section: Int) -> Int {
        return StoryUserDataModel.sampleData.count
    }

    func collectionView(_ collectionView: UICollectionView, cellForItemAt indexPath: IndexPath) -> UICollectionViewCell {
        guard let cell = collectionView.dequeueReusableCell(withReuseIdentifier: StoryCollectionViewCell.identifier, for: indexPath) as? StoryCollectionViewCell else { return UICollectionViewCell() }
        cell.setData(userData: StoryUserDataModel.sampleData[indexPath.row])
        return cell
    }
}-
numberOfItemsInSection
: 한 개의 섹션에 몇 개의 cell이 들어갈지 정의하는 메서드

-
cellForItemAt
: 어떤 셀을 보여줄지 지정하고 어떻게 데이터를 담아줄지 정해주는 메서드

tableViewCell을tableView에 등록하기
private func registerXib(){
        let feedCell = UINib(nibName: FeedTableViewCell.identifier, bundle: nil)
        feedTableView.register(feedCell, forCellReuseIdentifier: FeedTableViewCell.identifier)
        **let storyCell = UINib(nibName: StoryTableViewCell.identifier, bundle: nil)
        feedTableView.register(storyCell, forCellReuseIdentifier: StoryTableViewCell.identifier)**
    }
아까 tableViewCell을 만들어주었으니 사용하고자 하는 곳에서 등록해주고
delegate를 구현해주면 완성 !
(그냥 tableView구현 하는 과정과 완벽하게 일치합니다, ** ** 여기 부분을 봐주세요)
// MARK: - UITableViewDelegate
extension HomeViewController: UITableViewDelegate{
    func tableView(_ tableView: UITableView, heightForRowAt indexPath: IndexPath) -> CGFloat {
        return indexPath.section == 0 ? 84 : 488
    }
}

// MARK: - UITableViewDataSource
extension HomeViewController: UITableViewDataSource{
    func numberOfSections(in tableView: UITableView) -> Int {
        return 2
    }

    func tableView(_ tableView: UITableView, numberOfRowsInSection section: Int) -> Int {
        if section == 0 {
            return 1
        }else {
            return FeedDataModel.sampleData.count
        }
    }

    func tableView(_ tableView: UITableView, cellForRowAt indexPath: IndexPath) -> UITableViewCell {
        switch indexPath.section{
        **case 0:
            guard let cell = tableView.dequeueReusableCell(withIdentifier: StoryTableViewCell.identifier, for: indexPath) as? StoryTableViewCell else { return UITableViewCell() }
            return cell**
        case 1:
            guard let cell = tableView.dequeueReusableCell(withIdentifier: FeedTableViewCell.identifier, for: indexPath) as? FeedTableViewCell else { return UITableViewCell() }
            cell.setData(FeedDataModel.sampleData[indexPath.row])
            cell.index = indexPath.row
            cell.delegate = self
            return cell
        default:
            return UITableViewCell()
        }
    }
}
section이 두 개이기 때문에 tableView 구현시에
case를 나눠서 구현했는데요
참고하시면 도움될 듯합니다 ^__^
Reference