
aws에서 엘라스틱 서치를 생성해보자. 테스트용으로 하는 것이기 때문에 디테일한 설정과 과금이 들어갈 설정은 하지 말자.
AWS 프리 티어로 Amazon Elasticsearch Service를 무료로 시작할 수 있습니다. AWS 프리 티어 고객에게는 Amazon Elasticsearch Service에서 매월 최대 750시간의 t2.micro.elasticsearch 또는 t3.small.elasticsearch 인스턴스와 매월 10GB의 EBS 스토리지 옵션(마그네틱 또는 범용)을 무료로 제공합니다
1. AWS Management console
콘솔창에서 elasticsearch를 선택한다.
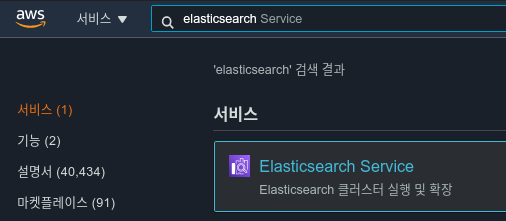
2. 도메인생성
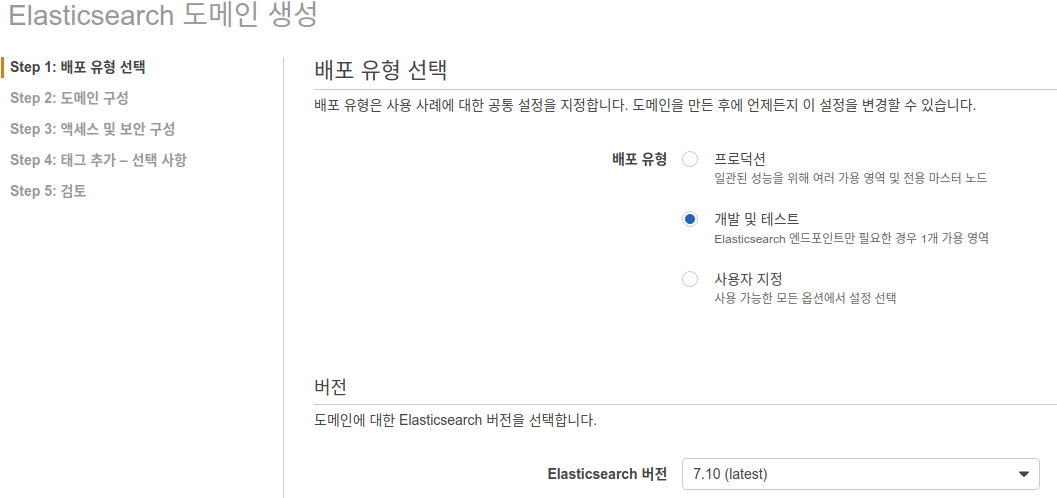
2-1. 배포 유형 선택
배포유형은 변경가능하므로 개발 및 테스트로 먼저 진행함.
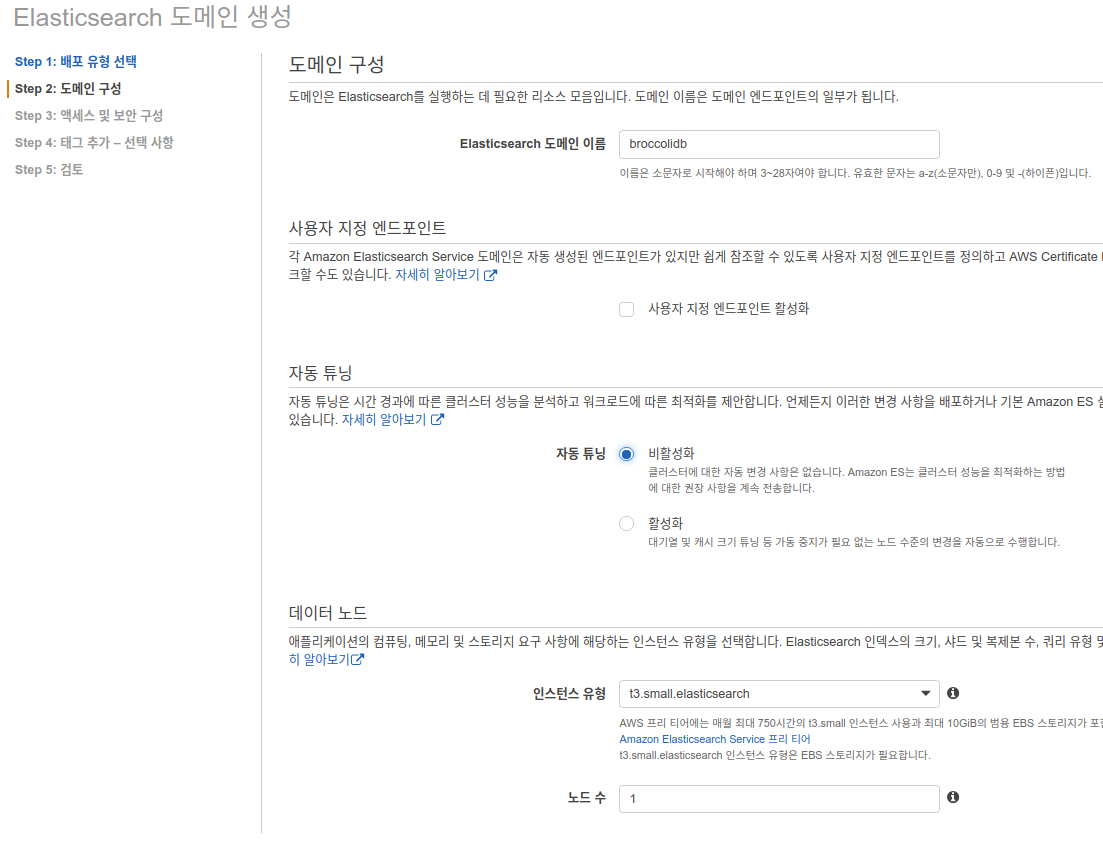
2-2. 도메인구성
- Elasticsearch 도메인이름만 설정한다.
- 자동튜닝은 비활성화한다.
- 인스턴스는 t2.small.elasticsearch (프리티어)로 하고 노드수는 1개로 한다.인스턴스 참조링크
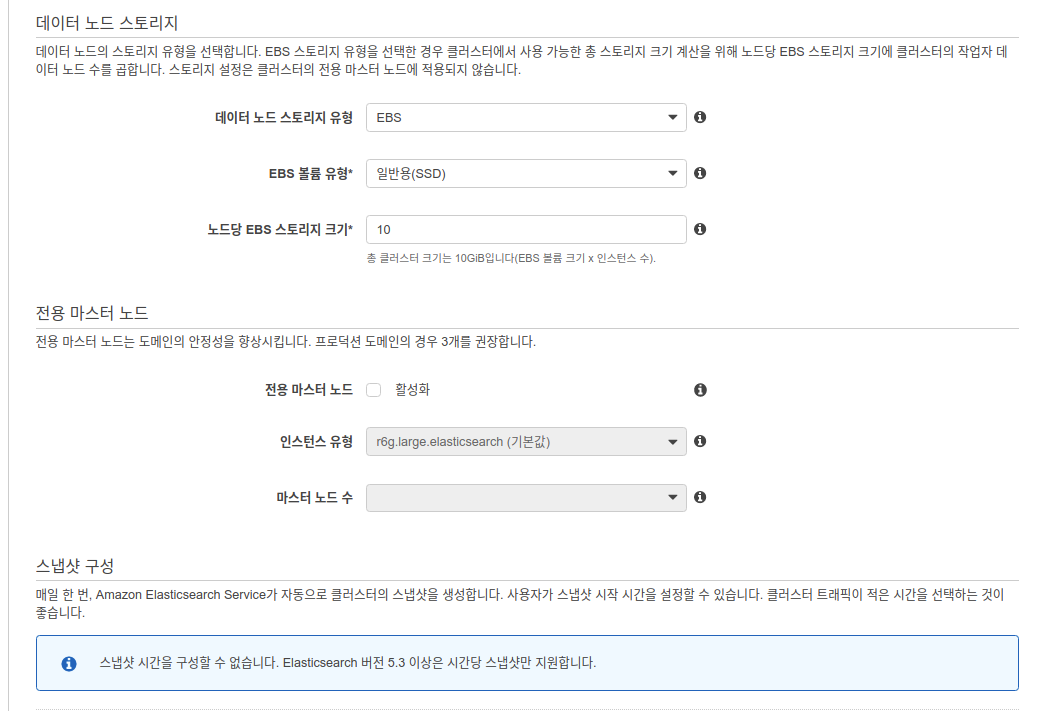
- 데이터 노드 스토리지는 기본제공인 10GB를 하고 EBS를 선택한다.
2-3. 엑세스 및 보안 구성
- 퍼블릭 엑세스로 한다.
- 마스터 사용자 생성을 함.
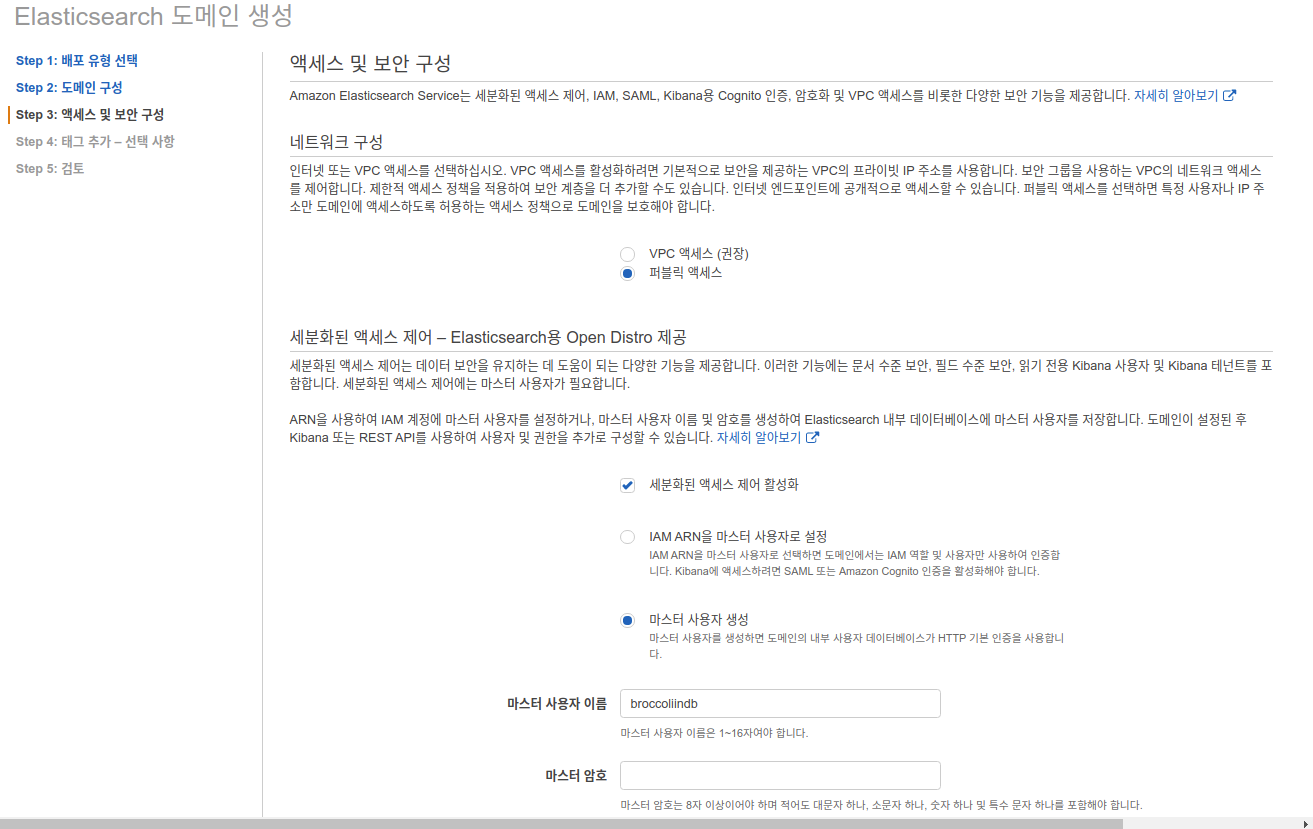
2-4. 태그추가
본인이 원하는 태그를 추가한다.

검토후 확인을 하면 도메인이 생성된다. 약 10분이 걸린다고 하는데 그 이상이 걸릴 수도 있음.
2-5. 접속
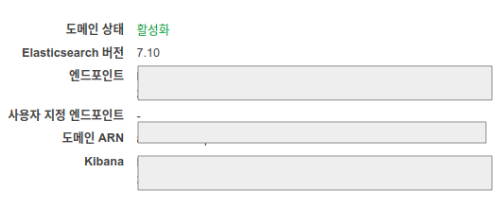
문제가 없다면 도메인상태가 활성화된 이후에 엔드포인트로 이동하면 elasticsearch 정보가 담긴 json을 확인할 수 있고 그럼 구동이 잘 된것이다.
마스터설정을 했다면 설정했던 계정과 비번을 물어오는데 그것을 입력하면 된다. 키바나도 마찬가지 계정으로 로그인하면 된다.
3. kibana를 통해 인덱스 생성 및 한국어 분석해보기(with 은전한닢)
aws elasticsearch는 노리를 사용할 수 없다. 따라서 은전한닢으로 한글의 형태소분석을 해보자.
aws 은전한닢 사용하기링크를 참고해보자.
3-1. 인덱스 생성
curl은 사용이 좀 불편하므로 kibana를 통해 생성하자.
아래 put 명령을 통해 broccoli라는 인덱스를 생성했고 해당 인덱스에 broccoli_eunjeon이라는 분석기 설정했다.
PUT broccoli
{
  "settings": {
    "index": {
      "number_of_shards": 1,
      "number_of_replicas": 1,
      "analysis": {
        "analyzer": {
          "broccoli_eunjeon": {
            "type": "custom",
            "tokenizer":"seunjeon"
          }
        },
        "tokenizer": {
          "seunjeon": {
            "type": "seunjeon_tokenizer"
          }
        }
      }
    }
  },
  "mappings": {
    "properties": {
      "content": {
        "type": "text",
        "fields": {
          "keyword": {
            "type": "keyword",
            "ignore_above": 256
          }
        },
        "analyzer": "broccoli_eunjeon"
      },
      "title": {
        "type": "text",
        "fields": {
          "keyword": {
            "type": "keyword",
            "ignore_above": 256
          }
        },
        "analyzer": "broccoli_eunjeon"
      }
    }
  }
}
3-2. 한글 분석하기
아래와 같이 분석을 요청해보면
GET broccoli/_analyze
{
  "text": "한라산 백두산 금수강산"
  , "analyzer": "broccoli_eunjeon"
}
다음 결과가 나온다.
{
  "tokens" : [
    {
      "token" : "한라/N",
      "start_offset" : 0,
      "end_offset" : 2,
      "type" : "N",
      "position" : 0
    },
    {
      "token" : "한라산/EOJ",
      "start_offset" : 0,
      "end_offset" : 3,
      "type" : "EOJ",
      "position" : 0,
      "positionLength" : 2
    },
    {
      "token" : "산/N",
      "start_offset" : 2,
      "end_offset" : 3,
      "type" : "N",
      "position" : 1
    },
    {
      "token" : "백두/N",
      "start_offset" : 4,
      "end_offset" : 6,
      "type" : "N",
      "position" : 2
    },
    {
      "token" : "백두산/EOJ",
      "start_offset" : 4,
      "end_offset" : 7,
      "type" : "EOJ",
      "position" : 2,
      "positionLength" : 2
    },
    {
      "token" : "산/N",
      "start_offset" : 6,
      "end_offset" : 7,
      "type" : "N",
      "position" : 3
    },
    {
      "token" : "금수/N",
      "start_offset" : 8,
      "end_offset" : 10,
      "type" : "N",
      "position" : 4
    },
    {
      "token" : "금수강산/EOJ",
      "start_offset" : 8,
      "end_offset" : 12,
      "type" : "EOJ",
      "position" : 4,
      "positionLength" : 2
    },
    {
      "token" : "강산/N",
      "start_offset" : 10,
      "end_offset" : 12,
      "type" : "N",
      "position" : 5
    }
  ]
}
99. Troubleshooting
- User: anonymous is not authorized : 해결법 링크 ip기반 엑세스정책을 사용한다.
- 해당 링크로 이동시에
https://checkip.amazonaws.com/에서 로컬컴퓨터의 퍼블릭 ip를 확인 할 수 있는데 해당 ip를 찾아 등록시켜주면 된다.
- 해당 링크로 이동시에
# 이걸 터미널에 쳐도 퍼블릭 ip 확인 가능함.
host myip.opendns.com resolver1.opendns.com