이 게시글은 김형종 강사님의
Django 웹개발강의를 듣고 작성하였습니다.
> Django 프로젝트 관련 정보
       - 프로젝트 관리 폴더 이름 : `config`
       - 프로젝트 내에서 실습 시 생성한 앱의 이름 : `board`
View를 생성하는 2가지 방법
🛴 FBV (Function Based View)
board/views.py
        def index_function(request):

            # GET
            if request.method == "GET":
                return HttpResponse("index by GET function called")

            # POST
            if request.method == "POST":
return HttpResponse("index by POST function called")view:request를 받아서response를 보내는 함수url:Browser에서 화면을 출력하는 기준views.py에서view function을 생성 후,urls.py에 해당view를 통해response를 화면에 출력할url을 연결해줘야 함.
config/urls.py
from django.contrib import admin
from board.views import index_function
urlpatterns = [
# 127.0.0.1:8000/admin/ 으로 접속 시, admin page 나옴
path("admin/", admin.site.urls),
# 기본 주소 접속 시 페이지 설정
path("", index, name="index"),
# 'board' App 관련 urls
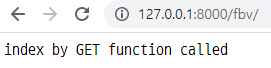
# 127.0.0.1:8000/fbv/ 로 접속 시, views.py에서 생성한 index_function 을 통해 처리한 방법대로 화면이 나옴
path("fbv/", index_function, name="index_function"), ◀◀◀ view에서 생성한 FBV 함수를 url로 연결해주는 코드
] browser
🔥 path 내에서 지정한 name은 template 폴더 내 html 파일에서 django 템플릿 언어를 사용하여 링크 연결 시 사용하게 되는 점을 꼭 기억할 것!!!
- 위와 같이 코드 작성 후, 서버를 실행한 다음 해당
url로 접속하면 아래와 같이 나옴.
🛴 CBV (Class Based View)
board/views.py
        class IndexClass(View):

            # GET
            def get(self, request):
                return HttpResponse("index by GET class called")

            # POST
            def post(self, request):
return HttpResponse("index by POST class called")- 대표적인
HTTP Methods:GET&post CBV의 경우, 요청받은method에 따라분기문으로 나누는FBV와 비교하였을 때 직관적이고 코드가 깔끔하기 때문에 관리하기에 더 용이함.Django는 우리가 원하는 서비스의logic을views.py에 모두 작성해야 하는 구조로 되어 있음.- 그렇기 때문에 일반적으로 렌더링해야 하는 화면이 많고
logic이 많은 상황에서는FBV보다는CBV를 더 선호함.
config/urls.py
from django.contrib import admin
from board.views import IndexClass
urlpatterns = [
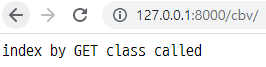
# 127.0.0.1:8000/cbv/ 로 접속 시, views.py에서 생성한 index_function 을 통해 처리한 방법대로 화면이 나옴
path("cbv/", IndexClass.as_view(), name="index_class"), ◀◀◀ view에서 생성한 CBV 함수를 url로 연결해주는 코드
] browser
- 위와 같이 코드 작성 후, 서버를 실행한 다음 해당
url로 접속하면 아래와 같이 나옴.
HTML 연결하기
여러 종류의 데이터를 화면에 보여주기
🛴 FBV - html을 url과 연결
board/views.py
      from django.shortcuts import HttpResponse, render

      # 단순 텍스트가 아닌 html을 url과 연결하여 화면에 보여줄 때 사용
      def index_function2(request):

          # GET
          if request.method == "GET":
              return render(request, "practice/index_f2.html", {})

          # POST
          if request.method == "POST":
              return HttpResponse("index by POST function2 called")
🔥
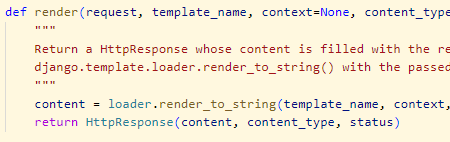
render는 결국HttpResponse를return하는 것임
render클래스 구성
config/urls.py
        from django.contrib import admin
        from board.views import index_function2

        urlpatterns = [
            path("fbv2/", index_function2, name="index_function2"),
        ]
templates/practice/index_f2.html
        <h1>Hard Practice</h1>
        <h3>test - 'index_function2'</h3>
browser
- 위와 같이 코드 작성 후, 서버를 실행한 다음 해당
url로 접속하면 아래와 같이 나옴.

🛴 FBV - html을 url과 연결 - context 활용
context를 이용하면context내에 지정한data를 우리가 연결하고자 하는html내에 삽입하여 화면에 보여줄 수 있음.context는key : value형태의dictionary자료구조context내의key를 그 이름 그대로html에템플릿 변수로 넣어주면 됨.
board/views.py
      from django.shortcuts import HttpResponse, render

      def index_function3(request):

          # GET
          if request.method == "GET":
              # context는 dictionary 형태(key : value)로 되어 있는 우리의 data를 전달함.
              #   웹페이지라는 것은 결국은 어떠한 정보를 전달하기 위한 페이지이고,
              #   그런 데이터를 우리는 context를 이용하여 전달함.
              context = {
                  "method": request.method,
                  "user": request.user,
                  "temp": "welcome to my site!!",
              }
              return render(request, "practice/index_f3.html", context)

          # POST
          if request.method == "POST":
              return HttpResponse("index by POST function3 called")
config/urls.py
        from django.contrib import admin
        from board.views import index_function3

        urlpatterns = [
            path("fbv3/", index_function3, name="index_function3"),
        ]
templates/practice/index_f3.html
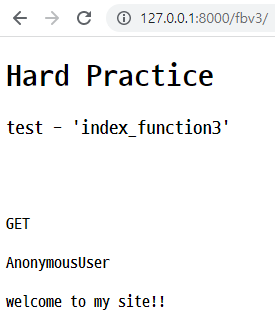
        <h1>Hard Practice</h1>
        <h3>test - 'index_function3'</h3>
        <br>
        <br>
        <h4>{{method}}</h4>
        <h4>{{user}}</h4>
        <h4>{{temp}}</h4>
browser
- 위와 같이 코드 작성 후, 서버를 실행한 다음 해당
url로 접속하면 아래와 같이 나옴.
🛴 FBV - url path 지정

context내의key,value를 이용하여url의path지정 가능
board/views.py
      from django.shortcuts import HttpResponse, render

      def index_function4(request, name, code):

          # GET
          if request.method == "GET":
              context = {
                  "method": request.method,
                  "user": request.user,
                  "temp": "welcome to my site!!",
                  "name": name,
                  "code": code,
              }
              return render(request, "practice/index_f4.html", context)

          # POST
          if request.method == "POST":
              return HttpResponse("index by POST function4 called")
config/urls.py
from django.contrib import admin
from board.views import index_function4
urlpatterns = [
# main path와 sub path 지정 시, <str:변수명> 으로 코드 작성
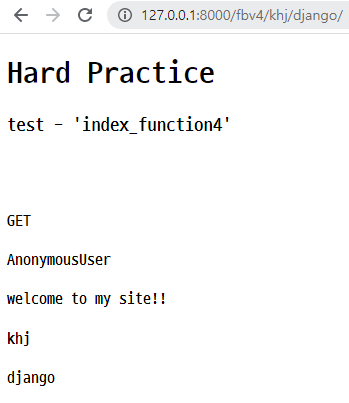
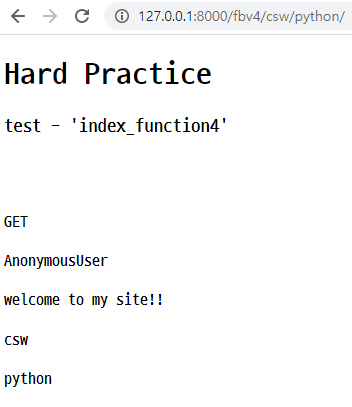
path("fbv4/<str:name>/<str:code>/", index_function4, name="index_function4"),
]templates/practice/index_f4.html
        <h1>Hard Practice</h1>
        <h3>test - 'index_function4'</h3>
        <br>
        <br>
        <h4>{{method}}</h4>
        <h4>{{user}}</h4>
        <h4>{{temp}}</h4>
        <h4>{{name}}</h4>
        <h4>{{code}}</h4>
browser
- 위와 같이 코드 작성 후, 서버를 실행한 다음 해당
url로 접속하면 아래와 같이 나옴.
🛴 CBV - html을 url과 연결
board/views.py
      from django.shortcuts import HttpResponse, render
      from django.views.generic import TemplateView

      # CBV로 html을 url과 연결시키고자 할 경우에는 TemplateView를 상속받아 class를 선언
      class IndexClass2(TemplateView):
          # 명시적으로 template_name을 선언
          template_name = "practice/index_c2.html"

          # GET
          def get(self, request):
              response = super(IndexClass2, self).get(self, request)
              return response

          # POST
          def post(self, request):
              return HttpResponse("index by POST class2 called")
config/urls.py
        from django.contrib import admin
        from board.views import IndexClass2

        urlpatterns = [
            path("cbv2/", IndexClass2.as_view(), name="index_class2"),
        ]
templates/practice/index_f2.html
        <h1>Hard Practice</h1>
        <h3>test - 'index_class2'</h3>
        <br>
        <br>
        <h4>{{method}}</h4>
        <h4>{{user}}</h4>
        <h4>{{temp}}</h4>
        <h4>{{name}}</h4>
        <h4>{{code}}</h4>
browser
- 위와 같이 코드 작성 후, 서버를 실행한 다음 해당
url로 접속하면 아래와 같이 나옴.

🛴 FBV - query string 사용
- 주소 뒤에
?query=검색어를 붙여 접속- 해당 query는 `request.GET.get('query', default) 형태로 작성
board/views.py
      from django.shortcuts import HttpResponse, render

      # context 내의 일부 인자는 query string으로 사용하는 방법
      def index_function5(request, name):

          # GET
          if request.method == "GET":
              return render(
                  request,
                  "practice/index_f5.html",
                  {
                      "method": request.method,
                      "user": request.user,
                      "temp": "welcome to my site!!",
                      "name": name,
                      # query로 code를 사용
                      "code": request.GET.get("code"),
                  },
              )

          # POST
          if request.method == "POST":
              return HttpResponse("index by POST function5 called")
config/urls.py
from django.contrib import admin
from board.views import index_function5
urlpatterns = [
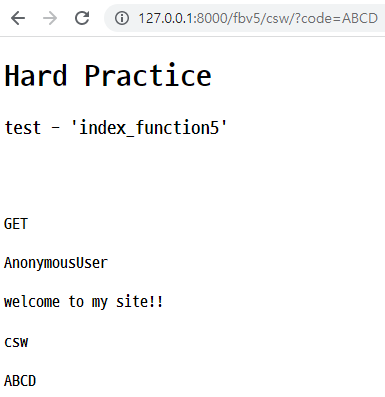
path("fbv5/<str:name>/", index_function5, name="index_function5"),
]templates/practice/index_f5.html
        <h1>Hard Practice</h1>
        <h3>test - 'index_function5'</h3>
        <br>
        <br>
        <h4>{{method}}</h4>
        <h4>{{user}}</h4>
        <h4>{{temp}}</h4>
        <h4>{{name}}</h4>
        <h4>{{code}}</h4>
browser
- 위와 같이 코드 작성 후, 서버를 실행한 다음과 같이
url을 입력하여 접속하면 아래와 같이 나옴.
CSRF TOKEN
🛴 CSRF(Cross Site Request Forgery)
- 정상적인 사용자의 의도와는 무관하게, 공격자가 의도한 행위(수정, 삭제, 등록 등)로 웹사이트에 요청하는 것
🚧 Django CSRF
- 클라이언트 요청이 발생시,
Django는 자동으로csrf_token을 클라이언트에게 전송- 클라이언트는
form data를csrf_token과 함께POST로 전송- 전송받은
csrf_token의 유효성을 검증하여 유효한 경우 요청을 처리.- 검증 오류(유효하지 않거나, 존재하지 않음)시,
403 Forbidden Response반환
🔥 Django는 POST 동작에서 csrf_token을 제공
CSRF를 예외로 처리하기보다, 로직을 점검 및 구현하는 것이 좋습니다.
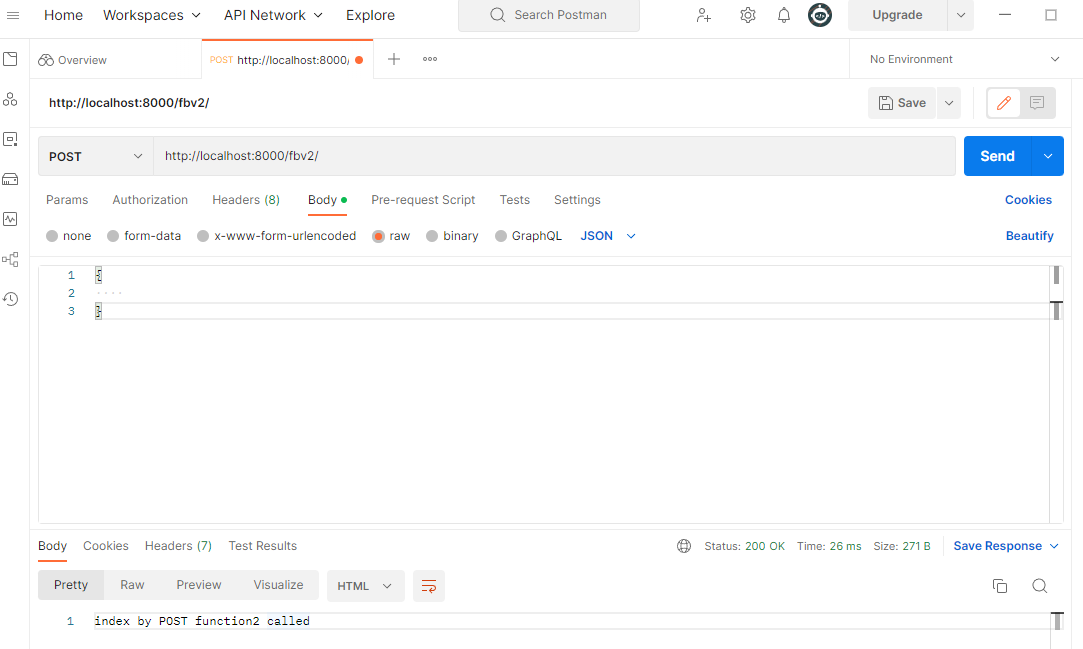
🌍 CSRF 예외처리
csrf_exempt함수를decorator로 사용하면 됨.
board/views.py
      from django.shortcuts import HttpResponse, render
      from django.views.decorators.csrf import csrf_exempt

      # FBV 위에  csrf_exempt를 decorator로 사용
      @csrf_exempt
      def index_function2(request):

          # GET
          if request.method == "GET":
              return render(request, "practice/index_f2.html", {})

          # POST
          if request.method == "POST":
              return HttpResponse("index by POST function2 called")
config/urls.py
        from django.contrib import admin
        from board.views import index_function2

        urlpatterns = [
            path("fbv2/", index_function2, name="index_function2"),
        ]
templates/practice/index_f2.html
        <h1>Hard Practice</h1>
        <h3>test - 'index_function2'</h3>
Postman
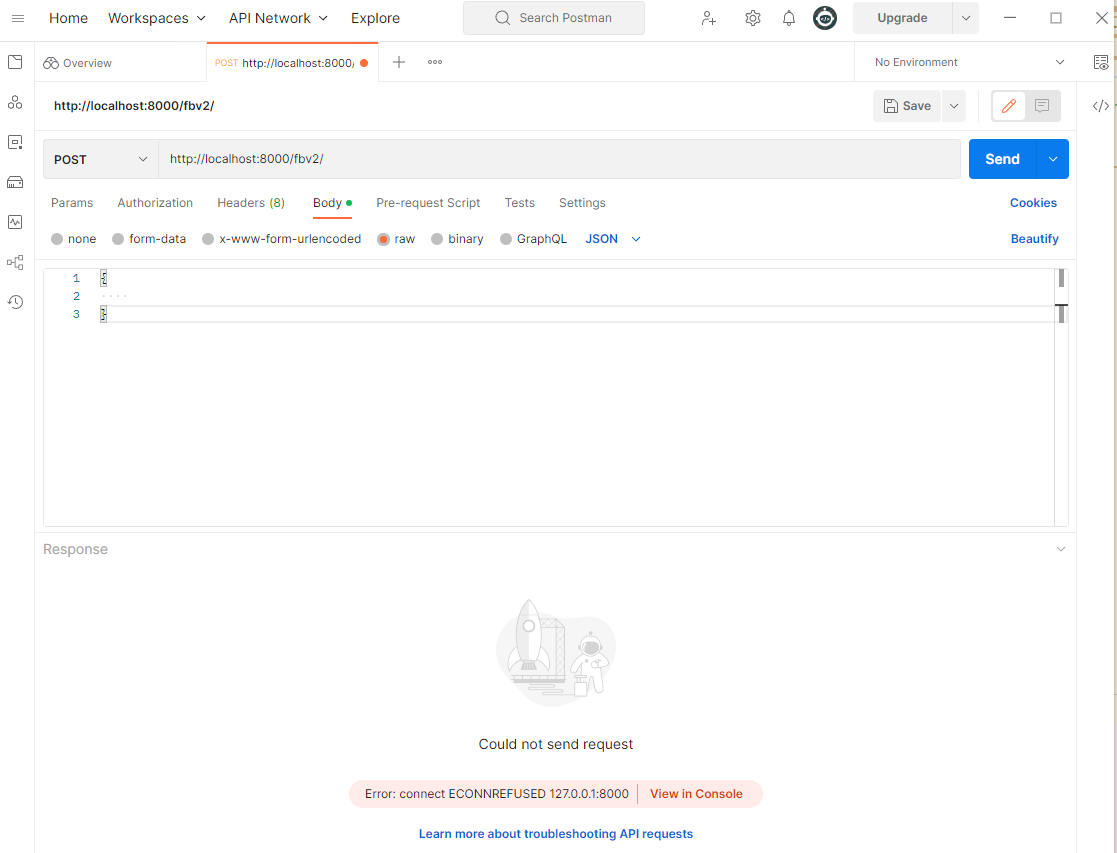
Postman프로그램을 사용하여 해당 링크로post요청을 보내면 아래와 같이 정상적인 결과를return받게 됨을 확인 가능.
- 만약, 위의
csrf_exempt데코레이터를 제거하게 되면 아래와 같이 에러 메세지가 출력됨.