
merci 프로젝트에서 화면을 담당하는 view 부분은 thymeleaf를 이용해 server-side 렌더링 방식으로 처리하기로 결정하였다.
thymeleaf를 사용하기 위해서는 우선적으로 thymeleaf 관련 dependency들을 다운로드해주어야 한다.
build.gradle 파일의 dependencies 부분에 아래 두개의 dependency들을 추가해준다.
dependencies {

    ....

	implementation 'org.springframework.boot:spring-boot-starter-thymeleaf'
	implementation('nz.net.ultraq.thymeleaf:thymeleaf-layout-dialect')
}
이후에 application.properties 파일에 들어가 아래와 같이 thymeleaf 관련 설정들을 등록해준다.
#THYMELEAF
spring.thymeleaf.cache = false
spring.thymeleaf.check-template = true
spring.thymeleaf.check-template-location = true
spring.thymeleaf.enabled=true
spring.thymeleaf.encoding=UTF-8
spring.thymeleaf.mode=HTML
spring.thymeleaf.prefix=classpath:templates/
spring.thymeleaf.suffix=.html
spring.thymeleaf.template-resolver-order=1
merci 프로젝트에서는 resources > templates 폴더 안에 thymeleaf 관련 뷰 파일들을 담을 것이다.
thymeleaf가 제대로 설치되어 동작하는지 확인해보자.
우선 아래와 같이 common 폴더 내에 hello.html을, layout 폴더 내에 layout.html을 만들어주었다.
templates
	ㄴ common
    	ㄴ hello.html
    ㄴ layout
    	ㄴ layout.html
[*hello.html]
<!DOCTYPE html>
<html xmlns:th="http://thymeleaf.org"
      xmlns:layout="http://www.ultraq.net.nz/thymeleaf/layout"
      layout:decorate="~{layout/layout}">
<body>
  hello
</body>
</html>
[*layout.html]
<!DOCTYPE html>
<html xmlns:th="http://www.thymeleaf.org"
      xmlns:layout="http://www.ultraq.net.nz/thymeleaf/layout">
  <head>
    <meta charset="utf-8">
    <title>merci</title>
    <link rel="stylesheet" th:href="@{/css/style.css}">

    <link rel="stylesheet" th:href="@{/css/jquery-ui.css}">
    <script th:src="@{/js/jquery/jQuery-2.1.4.min.js}"></script>
    <script th:src="@{/js/jquery/jquery-ui.js}"></script>
  </head>
  <th:block layout:fragment="script"></th:block>
</html>
이후에 테스트를 할 수 있는 컨트롤러 하나를 만들어준다.
[*HelloController.java]
@Slf4j
@Controller
public class HelloController {
@GetMapping("/hello")
public String hello() {
log.debug("hello");
return "common/hello";
}
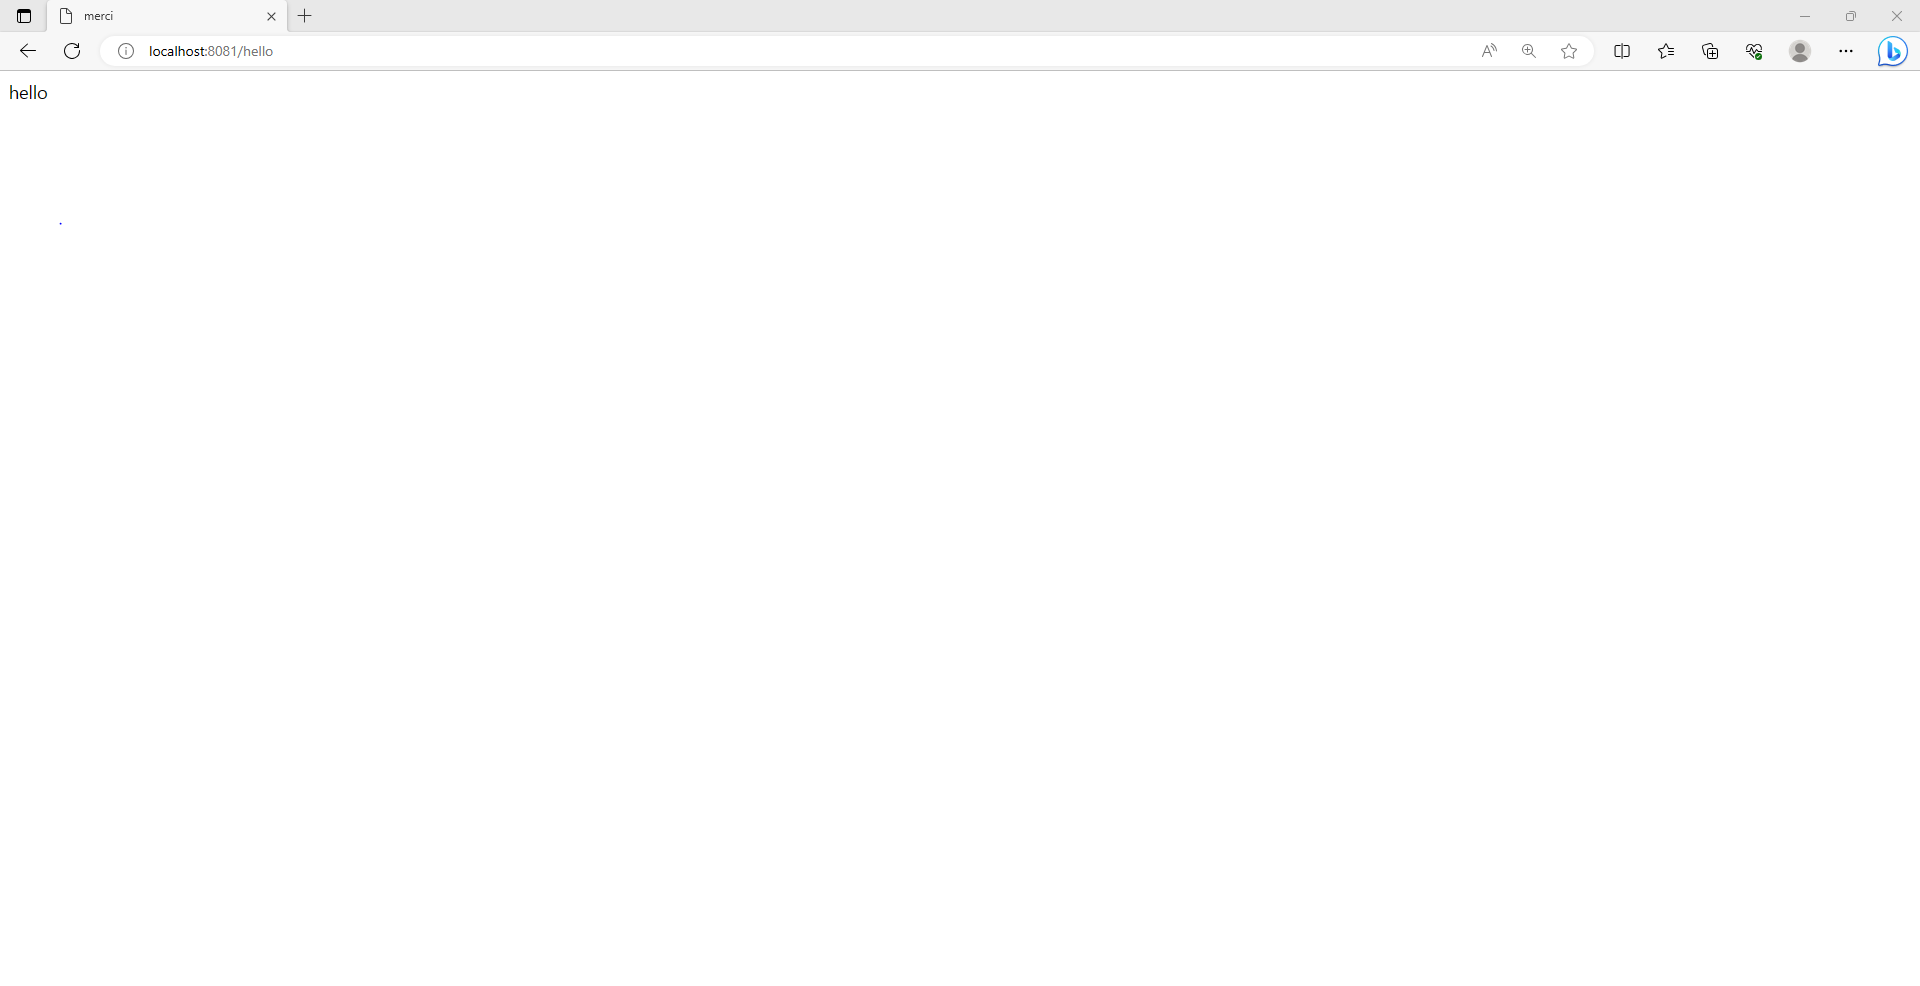
}localhost:8081/hello에 접속하면 아래와 같이 성공적으로 렌더링이 진행되는 것을 확인할 수 있다.
나의 개발 기록 일지