TableView 안에 CollectionView를 담아 섹션 별 컨텐츠를 가로로 스크롤해서 볼 수 있는 구조를 디자인하려 한다.
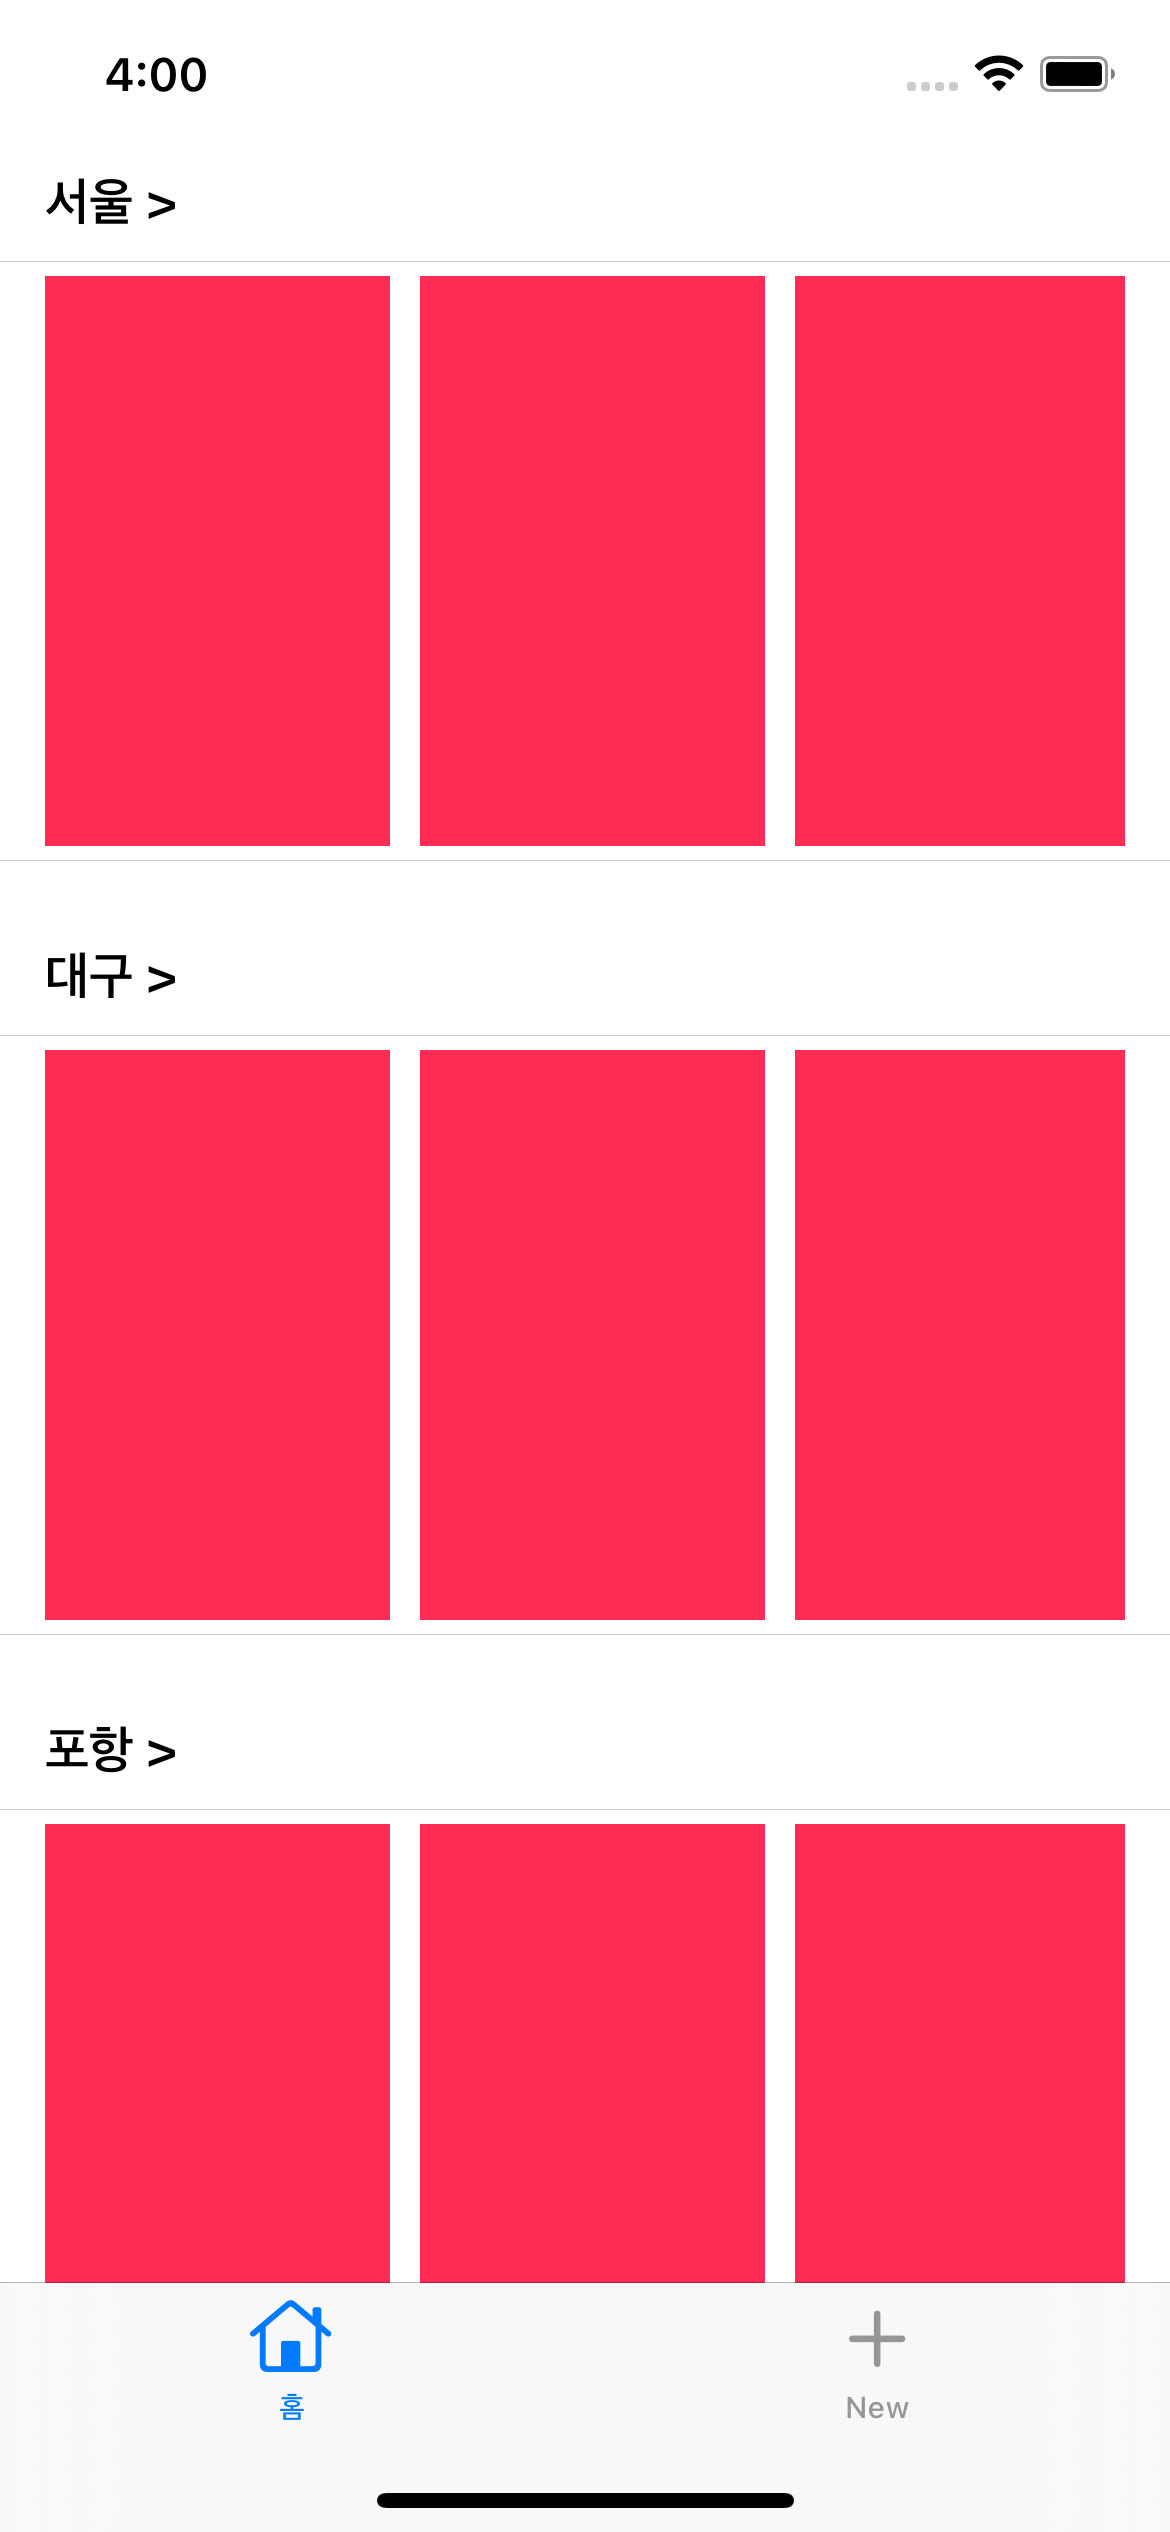
📌 1. Section 별로 Header View에 UIButton을 넣기
ViewController 파일에 extension으로 UITableViewDelegate을 추가하고 Header 관련 코드를 작성한다.
extension HomeViewController: UITableViewDelegate, UITableViewDataSource {

    // set section header title
    func tableView(_ tableView: UITableView, viewForHeaderInSection section: Int) -> UIView?{
        let headerView = UIView()
        let titleButton = UIButton(frame: CGRect(x: 15, y: 0, width: 200, height: 40))
        headerView.addSubview(titleButton)
        titleButton.setTitle("\(self.categories[section]) > ", for: .normal)
        titleButton.setTitleColor(.black, for: .normal)
        titleButton.contentHorizontalAlignment = .left
        titleButton.titleLabel?.font = UIFont.boldSystemFont(ofSize: 17)

        return headerView
    }
}
📌 2. UIButton 터치 Action 추가
⓵ 1번에서 작성한 header view를 디자인한 함수에 아래 코드를 추가한다.
titleButton.tag에는 버튼 터치 Action에서 사용할 parameter를 지정하면 된다.
이 예시에서는 TableView의 section index를 넘겨주고 있다.
titleButton.addTarget(self, action: #selector(headButtonTapped), for: .touchUpInside)
titleButton.tag = section
② extension 내에 또다른 함수를 추가한다.
tag를 통해 전달받은 parameter를 print 하는 예시이다.
@objc func headButtonTapped(_ sender: UIButton) {
	print("---> Button Clicked: \(self.categories[sender.tag])")
}
👩🏻💻 iOS Developer