0. Abstract
nextjs 로 만든 static 웹페이지를 gh-pages 로 배포하고, namecheap 에서 구입한 커스텀 도메인을 적용시키자.
1. 준비물
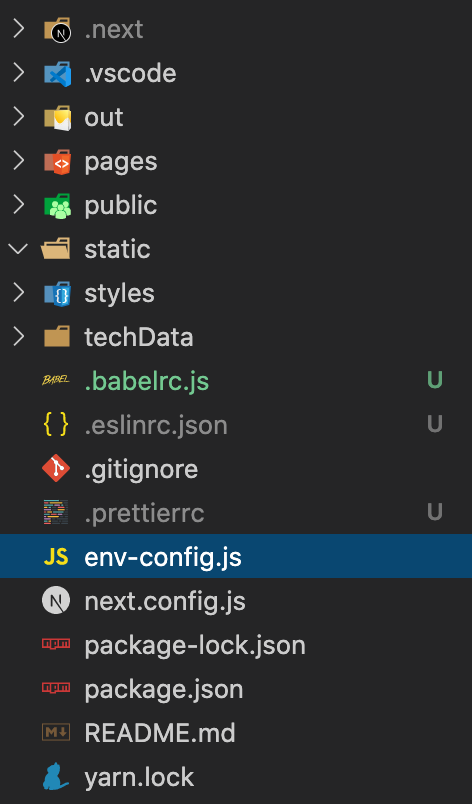
깃허브 repo 를 만들어 놓고, 로컬에서 remote 연결해 둔다. env-config.js 와 next-config.js 파일을 프로젝트 루트 디렉토리에 생성한다.
2. 배포를 위한 코드 작성
env-config.js
const prod = process.env.NODE_ENV === 'production';

module.exports = {
  'process.env.BACKEND_URL': prod ? '' : '',
};
next.config.js
// This file is not going through babel transformation.
// So, we write it in vanilla JS
// (But you could use ES2015 features supported by your Node.js version)
const withCSS = require('@zeit/next-css');
const debug = process.env.NODE_ENV !== 'production';

module.exports = withCSS({
  exportPathMap: function () {
    return {
      '/': { page: '/' },
      '/about': { page: '/about' },
      '/techtree/physics': { page: '/techtree/physics' },
      '/techtree/math': { page: '/techtree/math' },
      '/techtree/economy': { page: '/techtree/economy' },
      '/techtree/electricalengineering': {
        page: '/techtree/electricalengineering',
      },
    };
  },
  assetPrefix: !debug ? '' : '',
  webpack: (config, { dev }) => {
    // Perform customizations to webpack config
    // console.log('webpack');
    // console.log(config.module.rules, dev);
    config.module.rules = config.module.rules.map((rule) => {
      if (rule.loader === 'babel-loader') {
        rule.options.cacheDirectory = false;
      }
      return rule;
    });
    // Important: return the modified config
    return config;
  },
});
return export 맵 부분에서, 배포할 웹 어플리케이션의 url 을 전부 적어줬다.
일반적인 배포 예제에서는 assetPrefix 부분에 github repo 이름을 적어놓는데, 그런경우 커스텀 도메인 적용시 오류가 생길 수 있다.
커스텀 도메인을 적용할 것이기에 assetPrefix 부분은 '' 으로 둔다.
package.json
"deploy": "rm -rf node_modules/.cache && next build && next export && touch out/.nojekyll && git add out/ && git commit -m \"Deploy Next.js to gh-pages\" && git subtree push --prefix out origin gh-pages"실행 스크립트에 deploy 명령어를 추가해준다.
1. 노드 모듈의 캐시파일을 삭제하고
2. nextjs 에서 제공하는 build 와 export 명령을 실행하고
3. export 명령으로 생성된 out 디렉토리에 .nojekyll 이라는 파일을 생성한다. gh-pages 로 배포할때 jekyll 이 아니라는것을 깃허브에 알려주기 위함이다.
4. 원격저장소에 gh-pages 라는 브런치로 배포가 된다.
3. 커스텀 도메인 연결하기
커스텀 도메인 판매업체마다 방법이 다를텐데, 난 namecheap 를 이용했다.
namecheap 에 로그인하여 도메인 구입후, 대시보드로 들어간다.
매니지 항목을 클릭하고, advanced DNS 탭으로 이동한다.
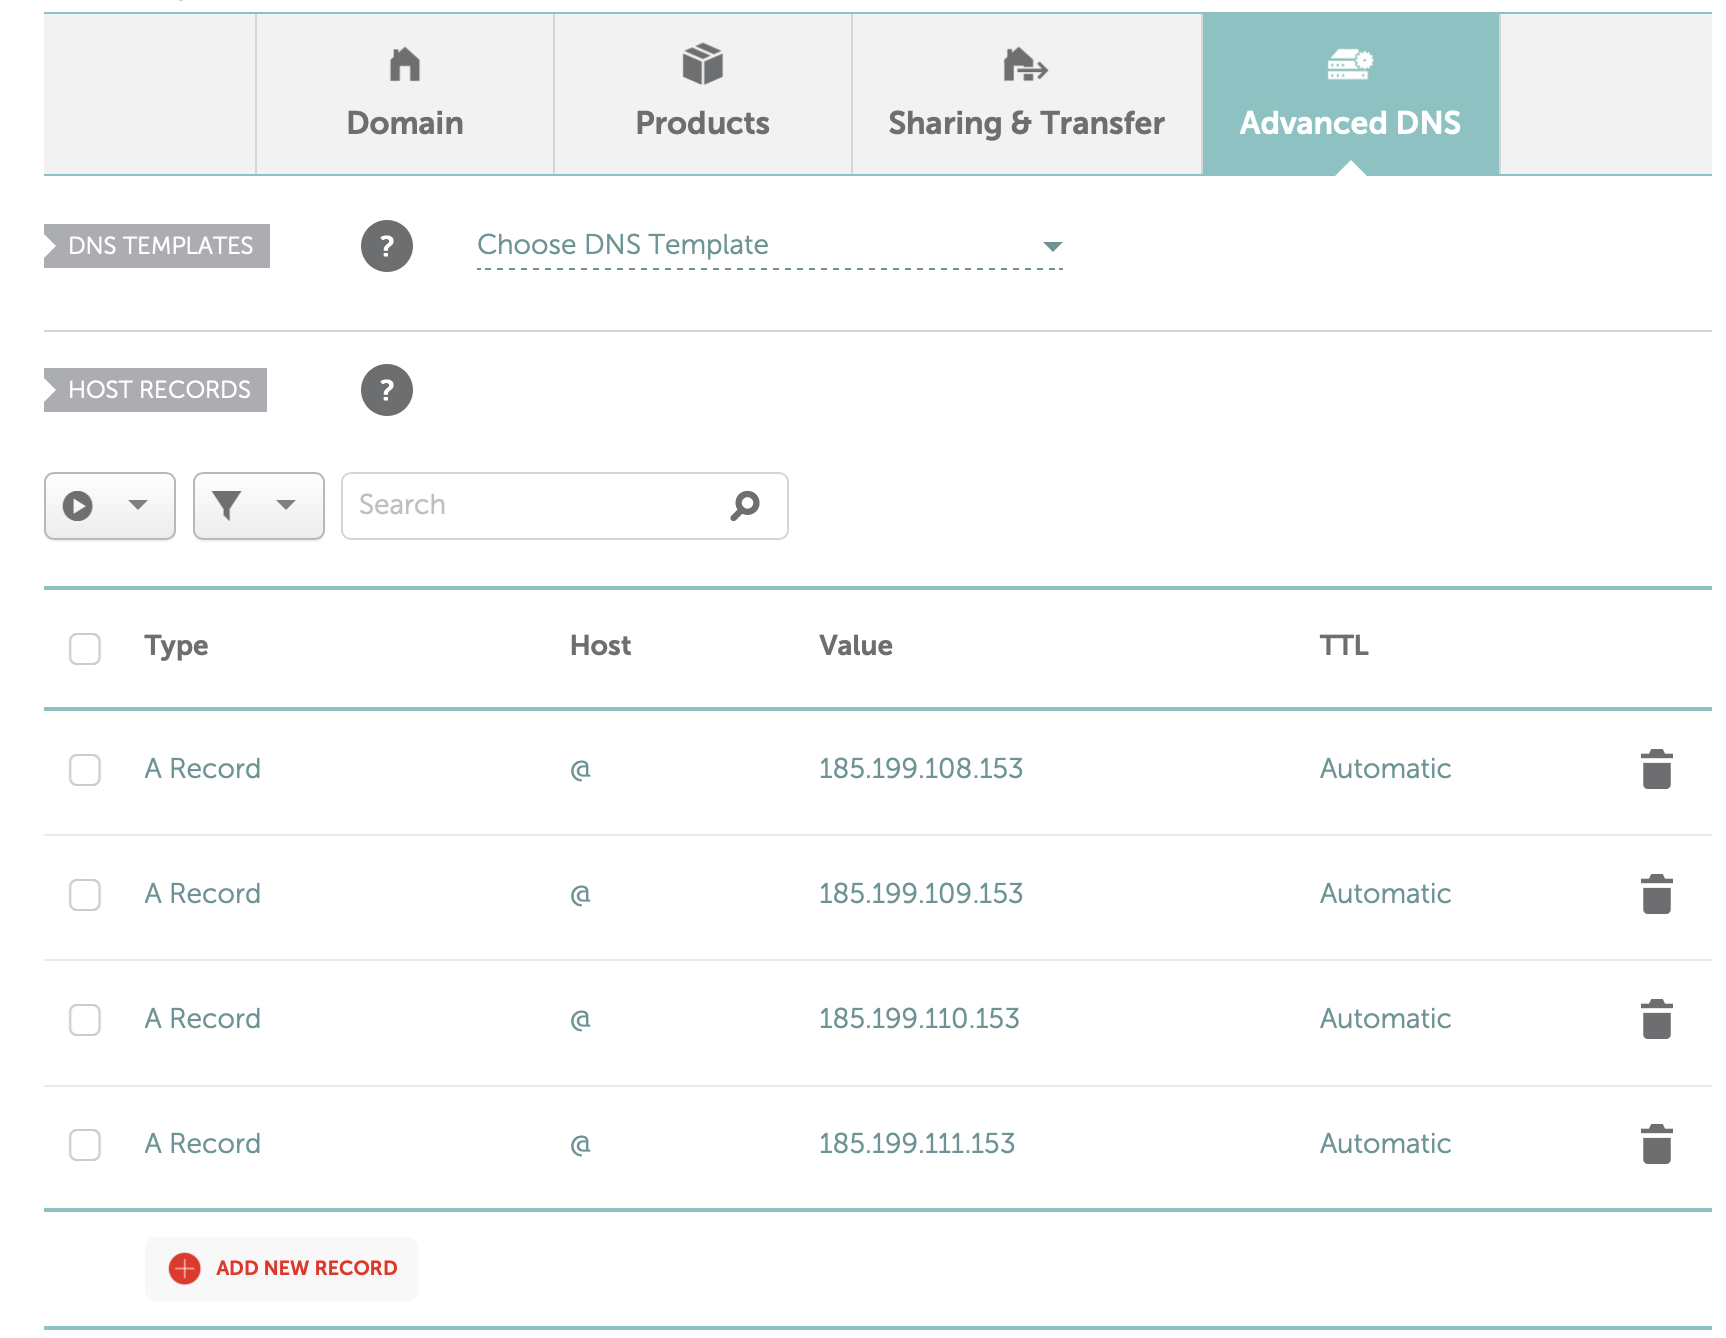
host records 부분에서 기존에 입력되어있던건 다 날려버리고, 위 사진처럼 입력한다.
4. 커스텀 도메인 연결 마무리
자신이 배포할 웹페이지의 깃허브 repo 로 가서, settings에 들어간다.
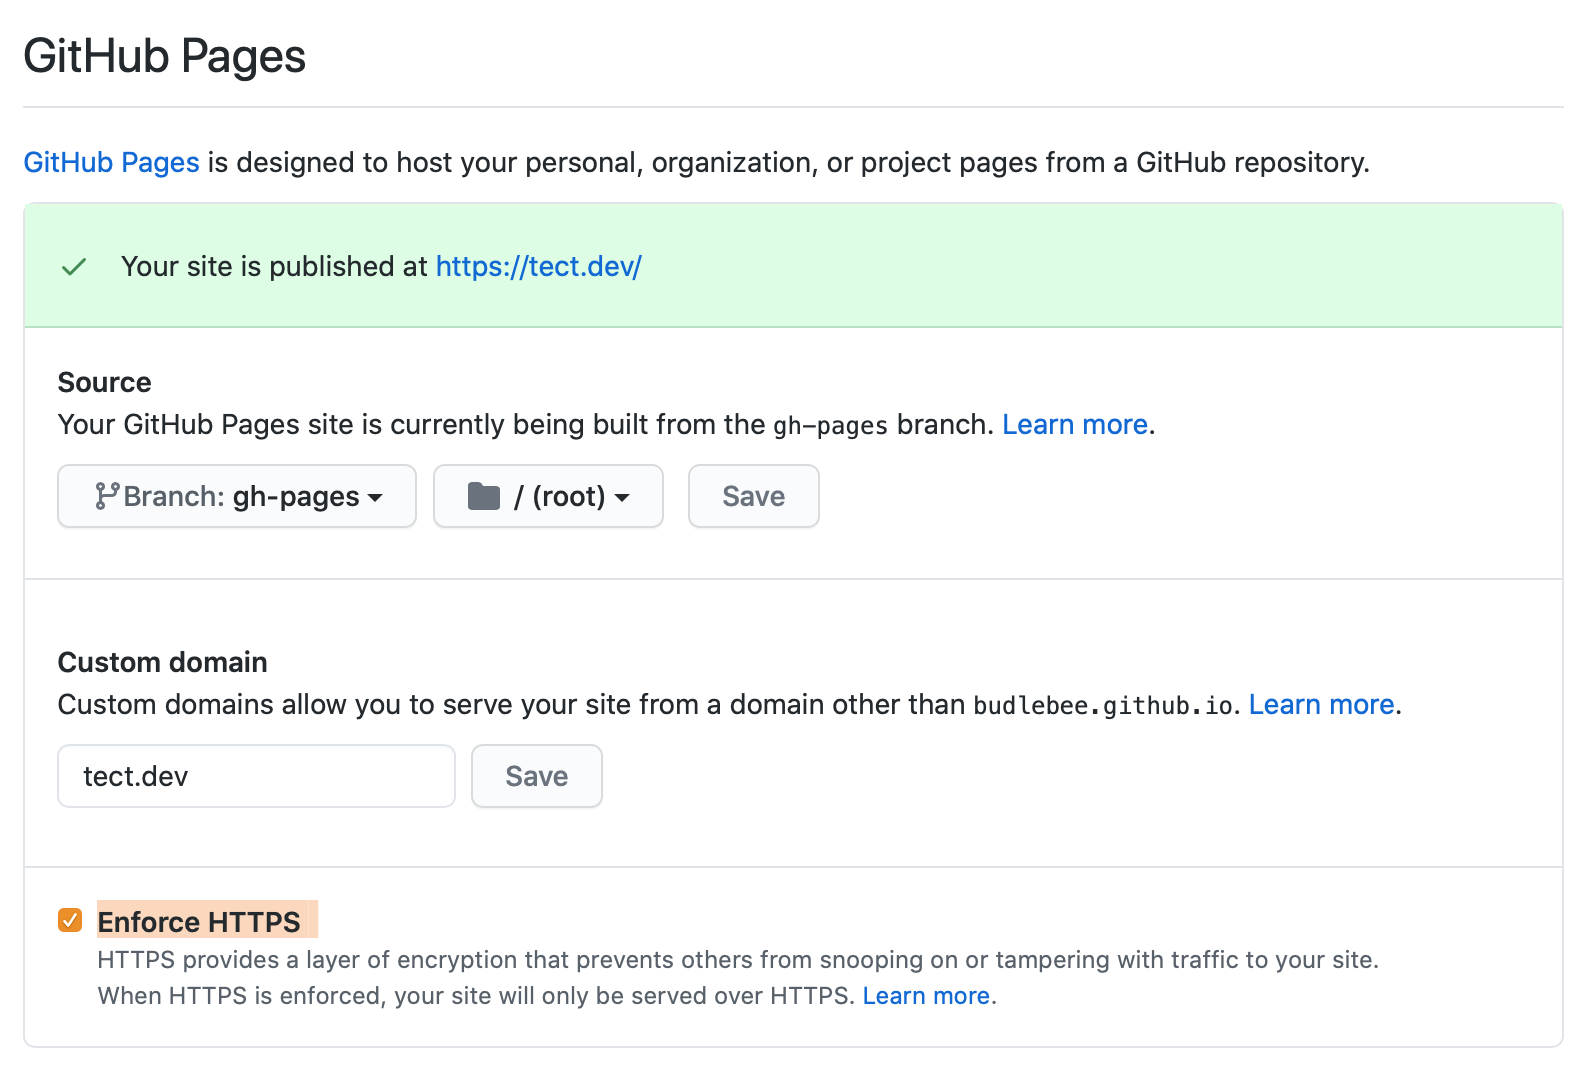
custom domain 항목에, namecheap에서 구입한 도메인을 입력한후 save를 누르면 된다.
이 경우 github repo 에 있는 gh-pages 브랜치에 CNAME이라는 파일이 생성된다.
내가 입력한 도메인명(나의 경우 tect.dev)가 입력된 파일이다.
이때 CNAME 이라는 파일이 생성되어 버렸기에, 로컬이랑 리모트랑 git history 가 달라져서 추후에 배포하거나 수정할때 번거로워 진다.
배포 스크립트를 좀 더 수정해주자.
"deploy": "rm -rf node_modules/.cache && next build && next export && touch out/.nojekyll && echo tect.dev > out/CNAME && git push origin --delete gh-pages && git add out/ && git commit -m \"Deploy Next.js to gh-pages\" && git subtree push --prefix out origin gh-pages"echo tect.dev > out/CNAME 부분과 git push origin --delete gh-pages 부분이 추가되었다.
echo tect.dev > out/CNAME 명령어를 통해 out 폴더에 tect.dev 라고 적힌 CNAME 파일이 만들어진다.
그리고 remote repo 에 올라간 gh-pages 브랜치를 지워주고 새로 배포될 gh-pages 를 올려주는 방식이다.
(remote branch 를 매번 삭제하는것보다 더 좋은 방법이 있었으면 하는데, git 사용에 능숙치 않아 지금으로썬 이렇게 하고 있다)
자신이 구입한 커스텀 도메인으로 접속해 잘 되는지 확인한다. Ta-Da!