Three.js 개발 세팅
NPM으로 Three 설치하기
1. node.js에서 npm 먼저 설치하기
- node -v, npm -v 커맨드로 버전 확인, npm ls로 리스트 확인 (extraneous means a package is installed but is not listed in your project's package.json.)
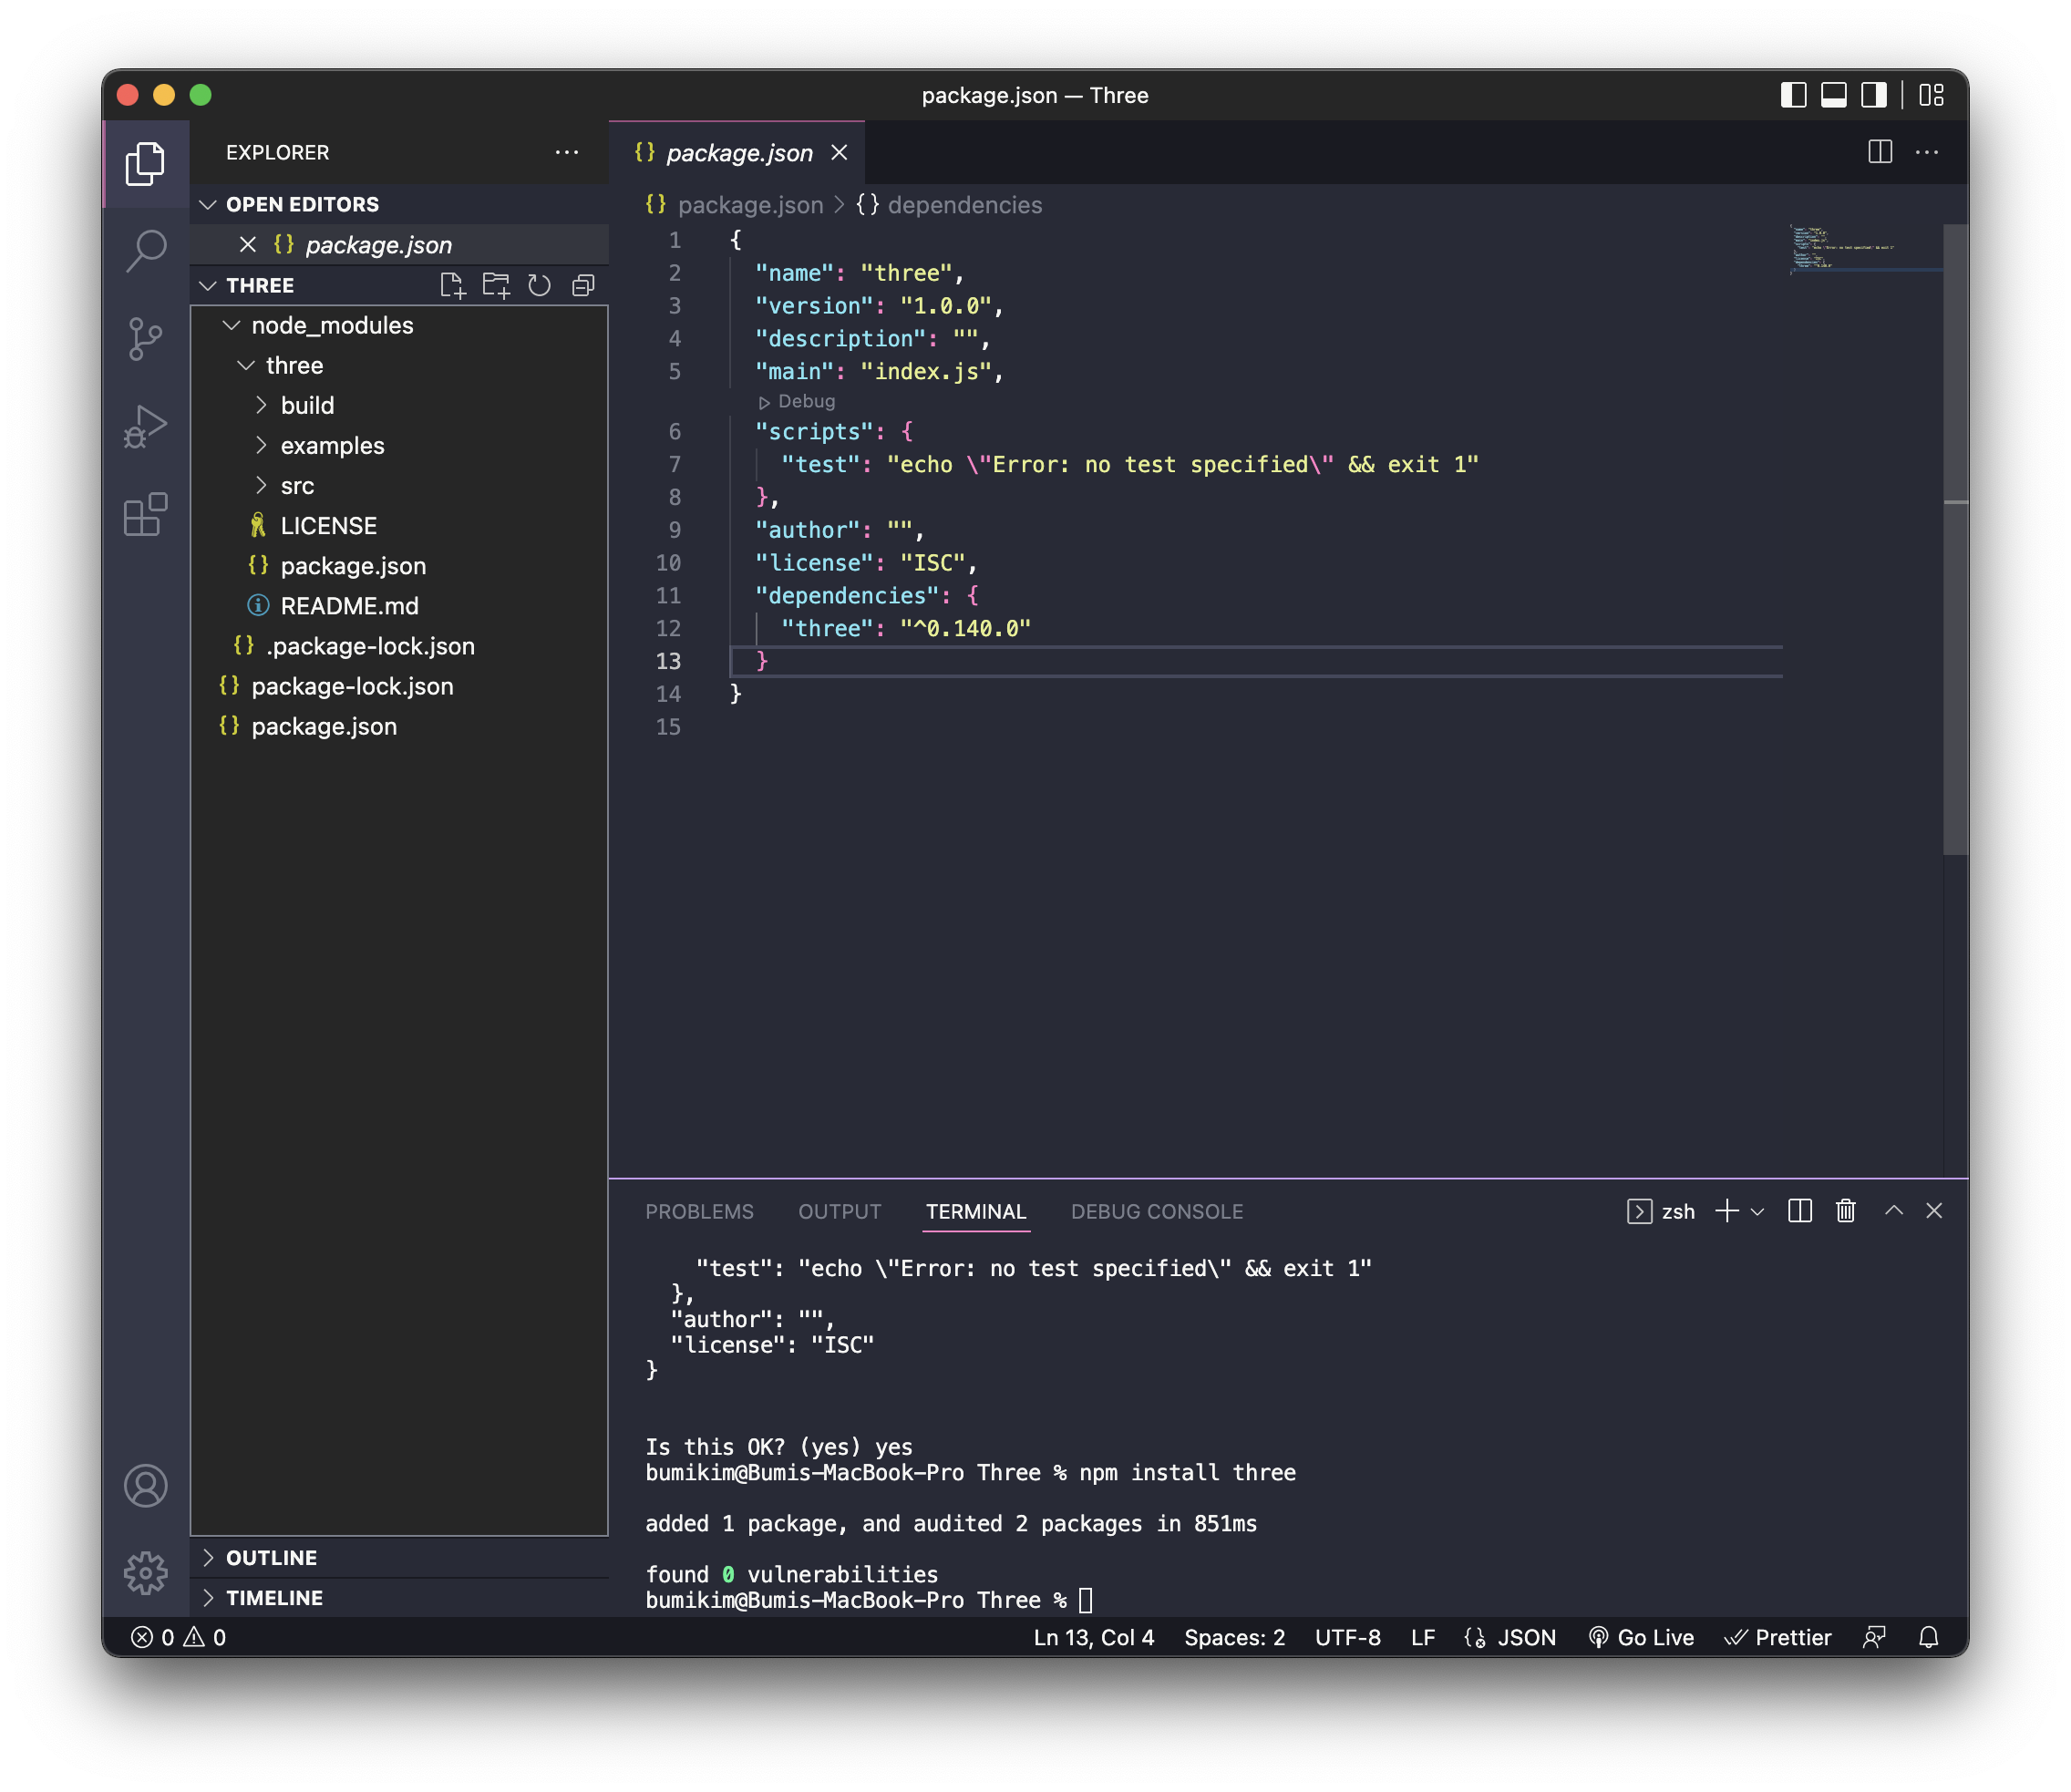
2. Three 라이브러리 설치
npm install three여기서 또 npm 지랄나서 1시간 날림ㅋㅋ 다행히 스터디 멤버중에 한분이 도와줘서 겨우 했는데....일단 npm 으로 three 설치해도 계속 모듈이 안깔림ㅠ 그래서 어찌저찌 했는데 결국 터미널로 mkdir 으로 디렉토리 만들고 거기서 npm init 해주고 package.json 파일 만들어준 뒤에, npm install three 깔아주었다...!
노드 모듈 설치 완료
3. app.js와 index.html 파일 생성
모듈타입으로 메인 js파일인 app.js 로드
<!DOCTYPE html>
<html lang="en">
<head>
    <meta charset="UTF-8">
    <meta http-equiv="X-UA-Compatible" content="IE=edge">
    <meta name="viewport" content="width=device-width, initial-scale=1.0">
    <title>Document</title>
</head>
<body>
    <script src="js/app.js" type="module" defer></script>
</body>
</html>
4. Three 모듈을 임포트 해옵니다.
import * as THREE from 'three';
5. live server로 띄우기
console로 THREE 찍어서 live server로 띄워보면...안나옵니다~!
❗️경로를 잘 지정해줍시다.
import * as THREE from '../node_modules/three/build/three.module.js';
console.log(THREE)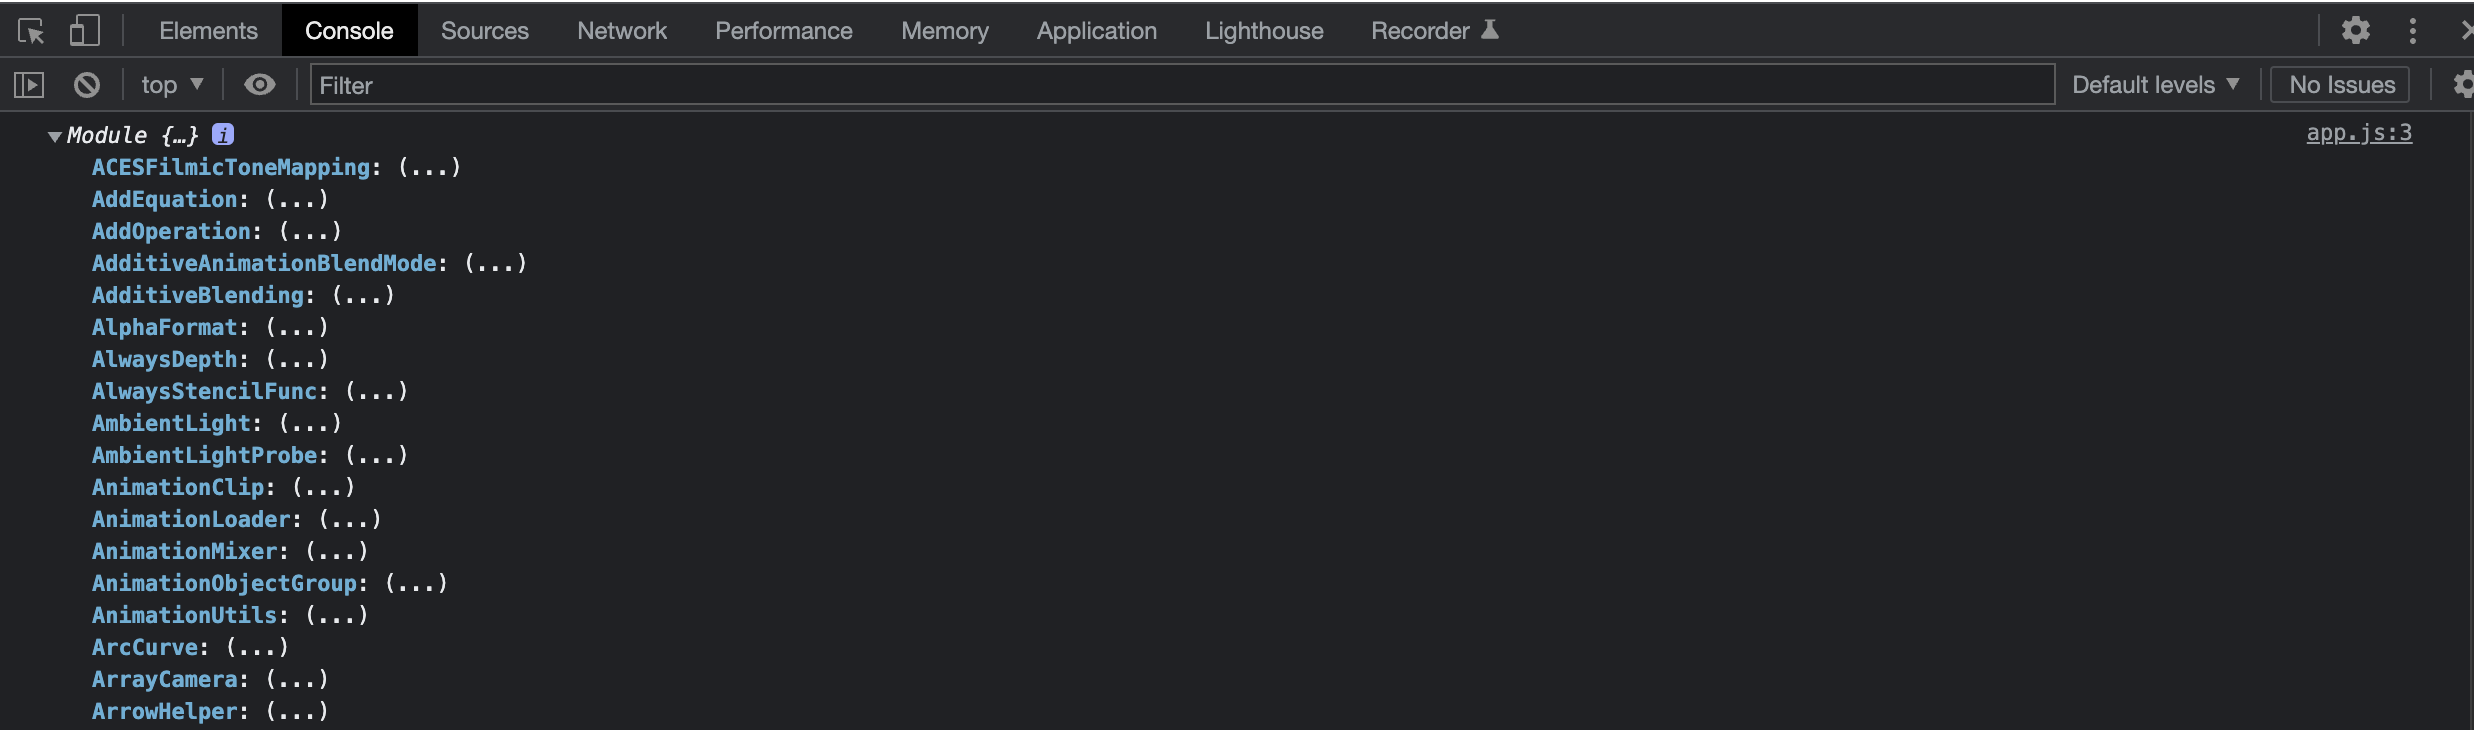
드디어 THREE 모듈이 잘 뜨네요 휴 여기까지 1시간이 걸렸다는게 말이 됩니까?

6. App class 만들어주기
import * as THREE from '../node_modules/three/build/three.module.js';
import { OrbitControls } from "../node_modules/three/examples/jsm/controls/OrbitControls.js";

class App{
    constructor(){
        this.initialize()
        this.render()
        window.addEventListener('resize', () => {
            this.resize()
        })
    }
    initialize(){
        // 렌더러 생성, 캔버스 생성
        this.renderer = new THREE.WebGLRenderer({antialias:true})
        document.body.appendChild( this.renderer.domElement )

        // 씬 생성
        this.scene = new THREE.Scene();

        // 카메라 생성
        this.camera = new THREE.PerspectiveCamera(
            75,
            window.innerWidth/window.innerHeight,
            0.1,
            100
        )
        this.camera.position.z = 3


        // 테스트 오브젝트 생성
        this.cube = new THREE.Mesh(
            new THREE.BoxGeometry(1,1,1),
            new THREE.MeshBasicMaterial()
        )

        // 카메라, 테스트 오브젝트 Scene에 추가
        this.scene.add(this.cube)
        this.scene.add(this.camera)

        // 컨트롤러 추가
        this.control = new OrbitControls(this.camera, this.renderer.domElement)
        this.control.enableDamping = true
    }
    // 애니메이션, 업데이트
    update(){
        this.control.autoRotate = true
        this.control.update()
    }
    // 렌더, 리퀘스트애니메이션프레임으로 재귀호출
    render(){
        this.update()
        this.renderer.setSize(window.innerWidth, window.innerHeight)
        this.renderer.setPixelRatio(Math.min(window.devicePixelRatio, 2))
        this.renderer.render(this.scene,this.camera)
        // 화살표 함수로 this 문제 해결
        requestAnimationFrame(()=>{
            this.render()
        })
    }
    resize(){
        this.camera.aspect = window.innerWidth / window.innerHeight
        this.camera.updateProjectionMatrix()
        this.renderer.setSize(window.innerHeight,window.innerHeight)
        this.renderer.setPixelRatio(Math.min(window.devicePixelRatio, 2))
    }
}

window.addEventListener('load',()=>{
    const app = new App()
    console.log(app)
})
중간에 오빗컨트롤러 임포팅이 안돼서 뭐야 왜 안돼 하면서 찾아보니 경로가 달랐다.
OrbitControls.js 파일을 까보면
import {
	EventDispatcher,
	MOUSE,
	Quaternion,
	Spherical,
	TOUCH,
	Vector2,
	Vector3
} from "three";
요렇게 되어있는데 이걸 아래처럼 변경해주었다.
import {
	EventDispatcher,
	MOUSE,
	Quaternion,
	Spherical,
	TOUCH,
	Vector2,
	Vector3
} from "../../../build/three.module.js";
import { OrbitControls } from "../node_modules/three/examples/jsm/controls/OrbitControls.js";
// OrbitControl 업데이트 해줘야함7. 배포 방법
참조
1. 쓰리 셋업 방법

처음 접하는 라이브러리 삽질하다가 봤습니다... 덕분에 바로 해결되었네요 감사합니다 🥲