
1. 오늘배운거
ㄱ. 파이어베이스 셋업
1. 파이어베이스 프로젝트 만들고
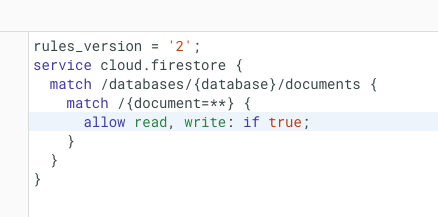
2. 파이어베이스 스토어 만들고 규칙설정
3. 터미널 키고 파이어베이스 설치
npm install firebase4. fireBase.js 만들기
import { initializeApp } from "firebase/app"; import { getFirestore } from "firebase/firestore"; // 아래 데이터는 본인의 Firebase 프로젝트 설정에서 확인할 수 있습니다. const firebaseConfig = { apiKey: "", authDomain: "", projectId: "", storageBucket: "", messagingSenderId: "", appId: "", }; // Initialize Firebase export const app = initializeApp(firebaseConfig); export const dbService = getFirestore(app)5.붙여넣기 하고 안에 빈값은 파이어베이스에서 복사해서 채워넣기
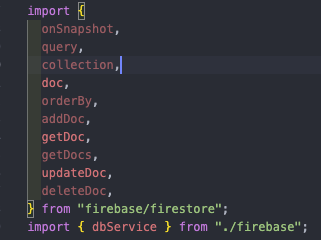
6. 파이어베이스 사용할 js에 import도 해줌
import { onSnapshot, query, collection, doc, orderBy, addDoc, getDoc, getDocs, updateDoc, deleteDoc, } from "firebase/firestore";7. 카테고리 파이어베이스로 연결하기
8. 파이어베이스로 연결해서 화면에 띄우기
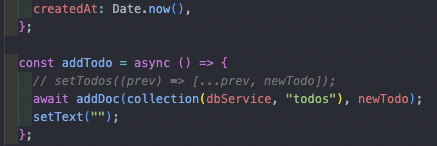
9. 추가하기
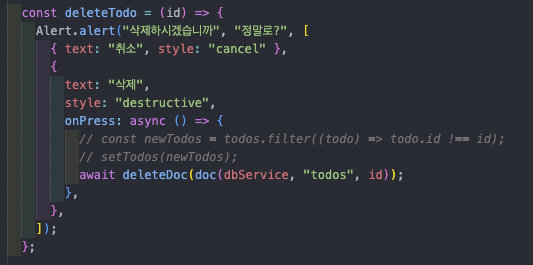
10. 삭제하기
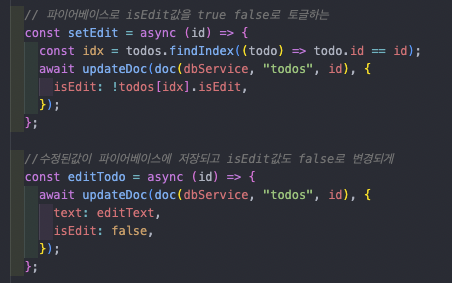
11. 수정하기
12. 전체코드


2. 아쉬운거
3. 회고

개발작