LifeCycle
React Component 객체가 DOM에 실제로 삽입되기 전까지의 과정을 소개. 이런 일련의 과정을 Mounting이라고 부른다.
- constructor
- componentWillMount()
- render()
- componentDidMount()
constructor을 이용해 특정 Component에 대한 초기화를 해준다.
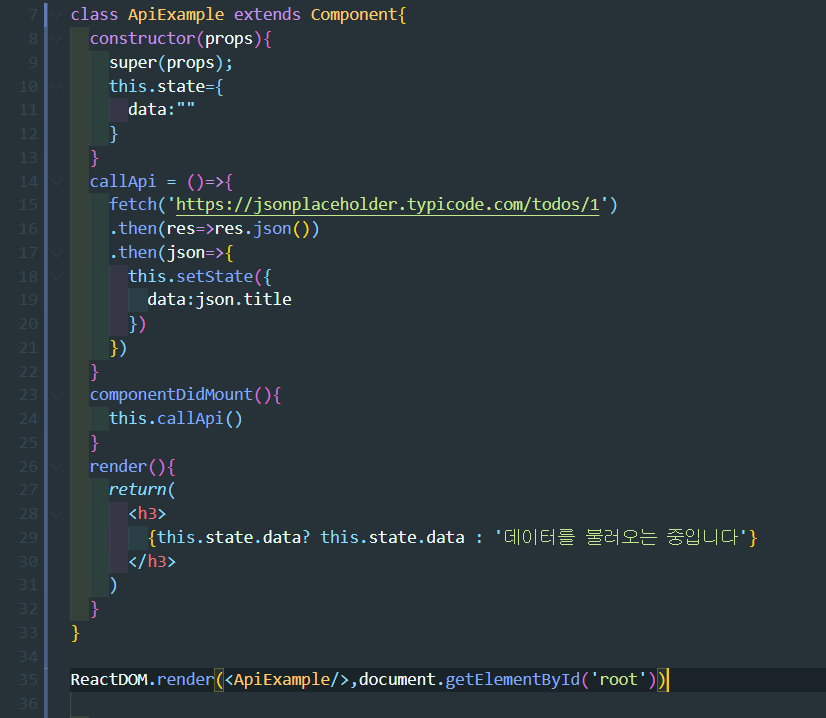
컴포넌트가 모두 구성된 직후인 componentDidMount() 단계에서 Api를 호출해야 효과적이다.
props || state의 값이 변할 경우 shouldComponentUpdate() 함수가 호출돼서 render() 함수를 호출해서 다시 화면을 그려준다.
props & state
- shouldComponentUpdate()
- componentWillUpdate()
- render()
- componentDidUpdate()
Api 통신
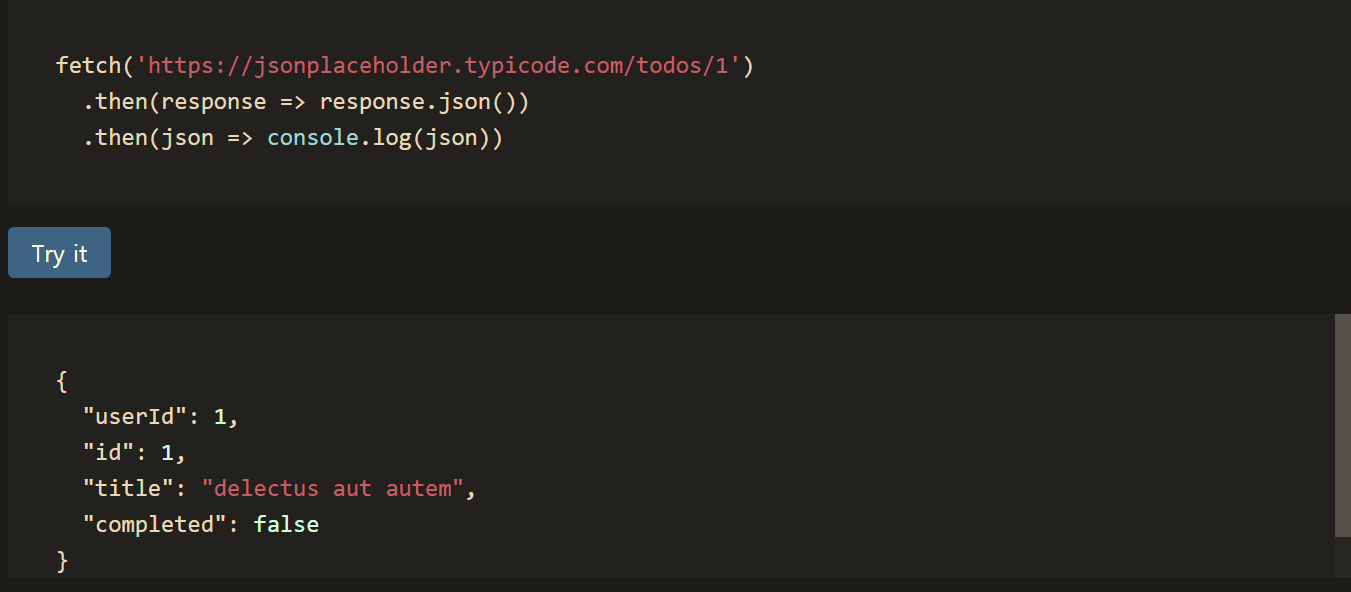
이 사이트에서 간단하게 Api 통신을 test해볼 수 있다.
https://jsonplaceholder.typicode.com/
JSONPlaceholder is a free online REST API that you can use whenever you need some fake data.
It's great for tutorials, testing new libraries, sharing code examples

예제코드

fetch 함수는 뒤에 then으로 받을 수 있다. fetch후에 받는 data를 res에 담고, res data를 다음 then으로 res.json()으로 넘기겠다.
특정 api를 호출할 때는
componentDidMount()에서 호출한다. 또한 이 함수는 클래스 내부에서 처리하기 때문에 this 키워드를 붙여주어야 한다.
class component는 render함수를 갖고 있다.
LifeCycle에 의해 render함수가
componentDidMount()가 먼저 호출된다. 그래서 값이 없을 땐 데이터를 불러오는 중 입니다 라는 값을 화면에 출력하게 둔다.
코드
class ApiExample extends Component{
  constructor(props){
    super(props);
    this.state={
      data:""
    }
  }
  callApi = ()=>{
    fetch('https://jsonplaceholder.typicode.com/todos/1')
    .then(res=>res.json())
    .then(json=>{
      this.setState({
        data:json.title
      })
    })
  }
  componentDidMount(){
    this.callApi()
  }
  render(){
    return(
      <h3>
        {this.state.data? this.state.data : '데이터를 불러오는 중입니다'}
      </h3>
    )
  }
}

ReactDOM.render(<ApiExample/>,document.getElementById('root'))