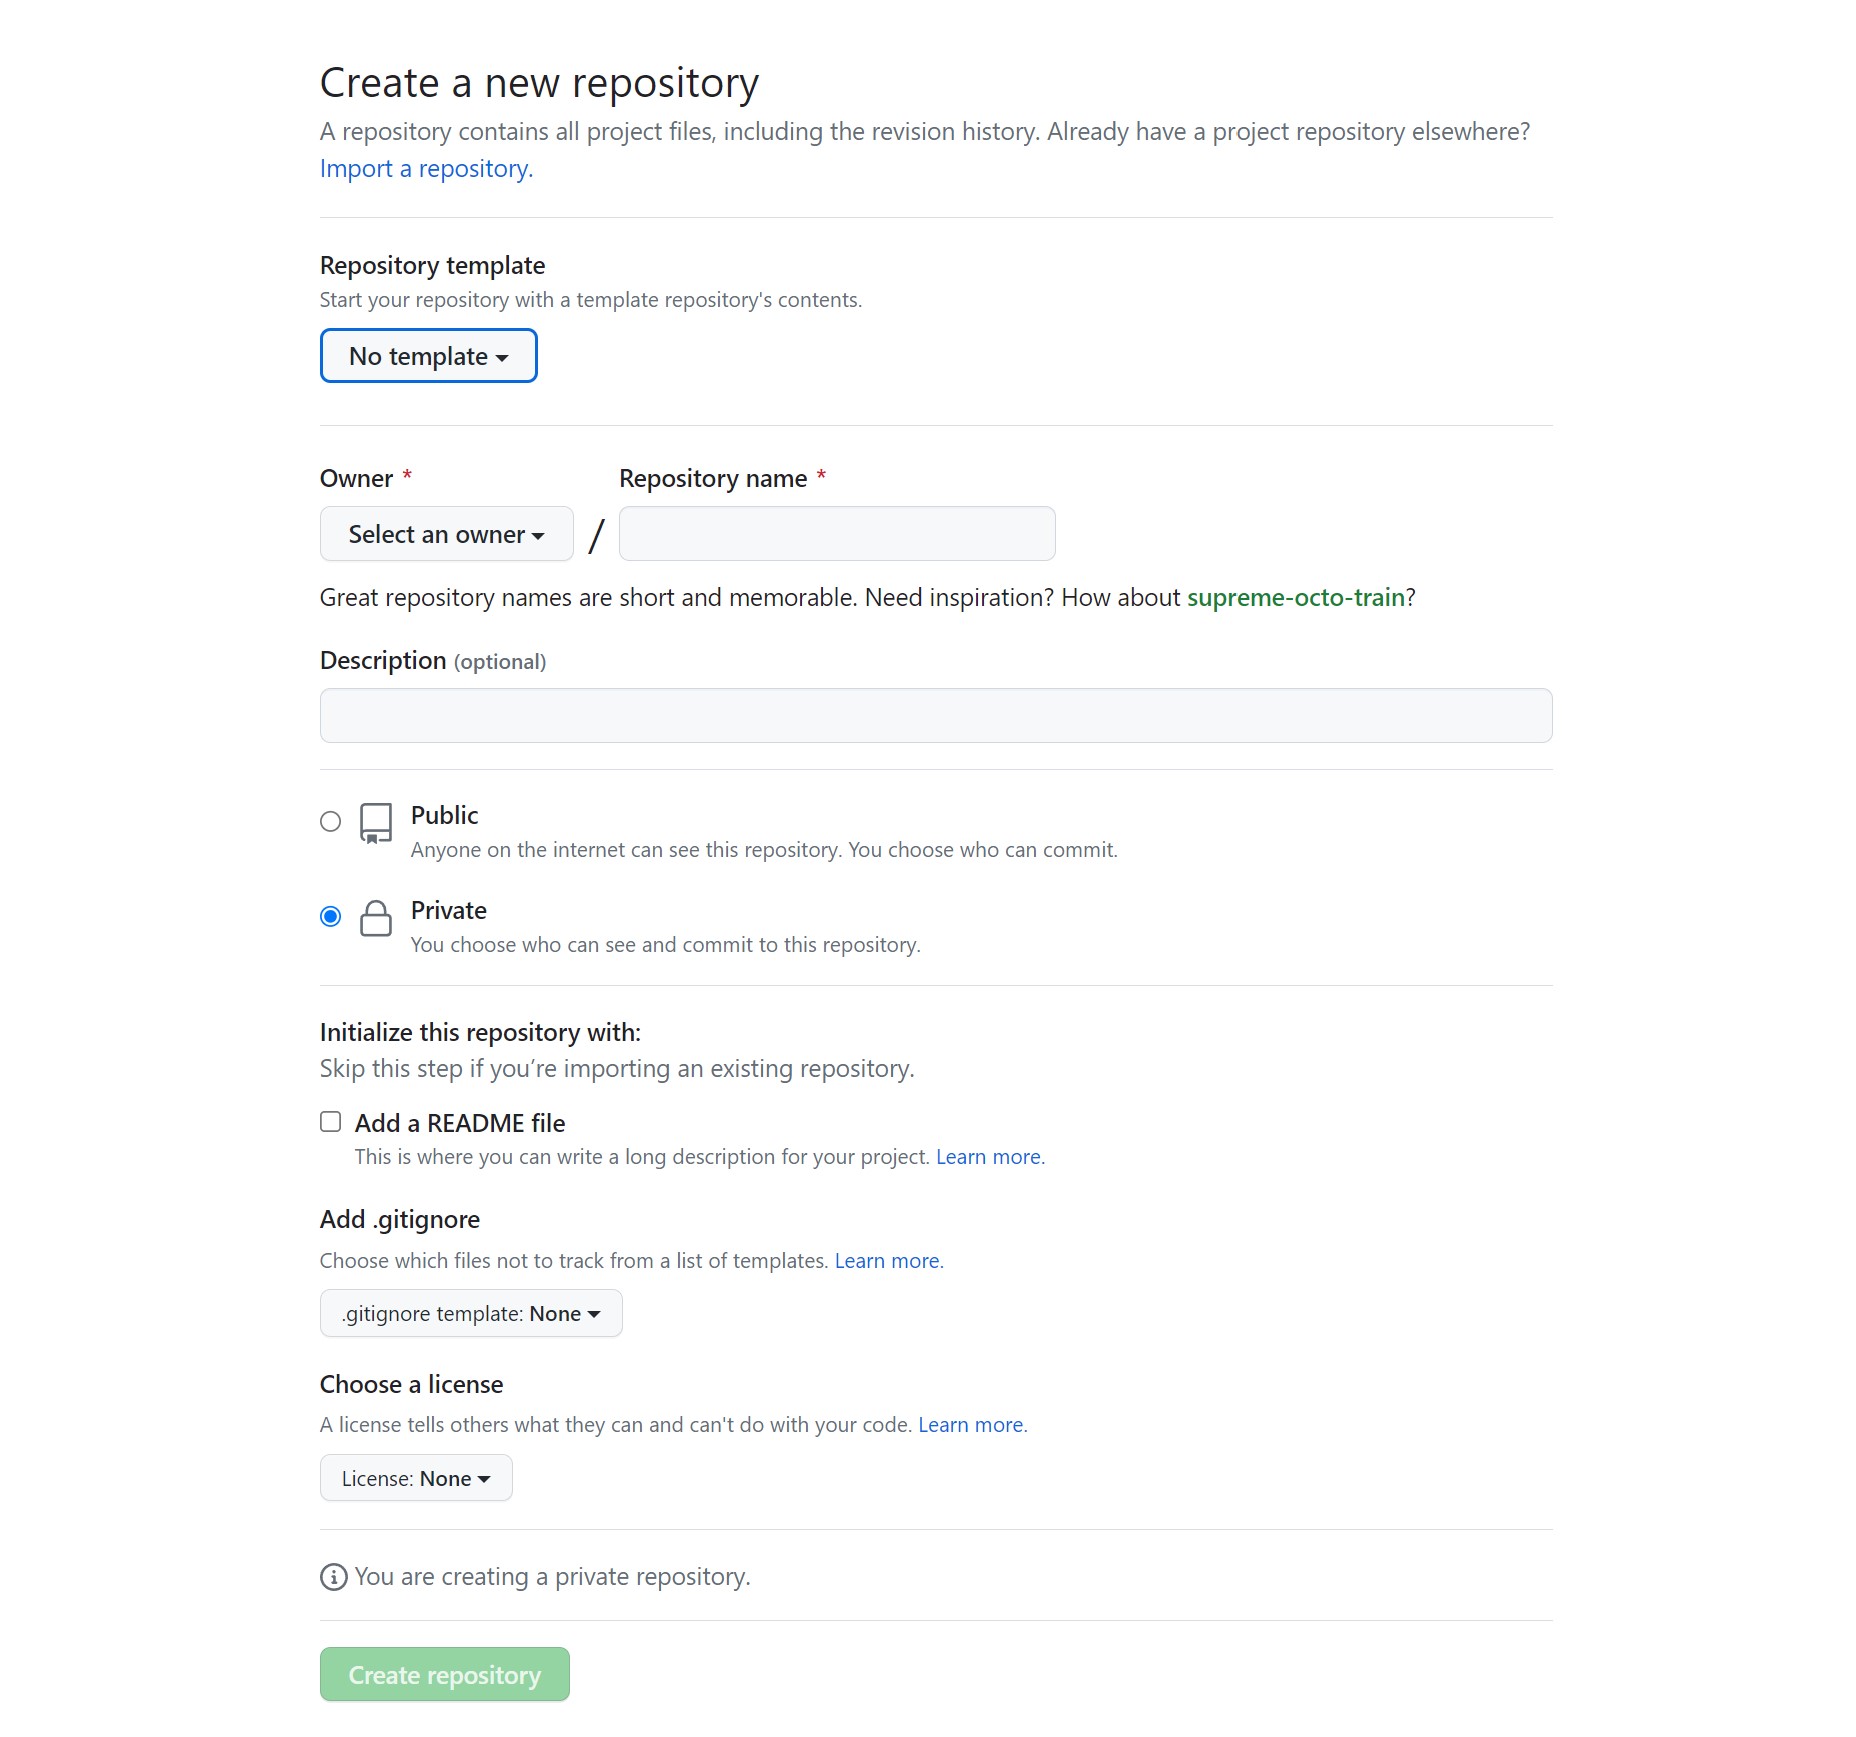
내 깃허브 계정에 새로운 레포지토리를만든다
이 레포지토리에 준비된 코드를 push한다.
git clone git@github.com:codestates-seb/fe-sprint-my-agora-states-server-reference.git
###  디렉터리 이동
cd fe-sprint-my-agora-states-server-reference
###  새로운 리포지토리를 원격 리포지토리로 등록
git remote add myRepo git@github.com:{여러분의 아이디}/{새로운 리포지토리 이름}.git
###  기존 레퍼런스 코드를 새로운 리포지토리로 push
git push myRepo reference
Github Actions를 통해 배포한다.
배포 3단계
Source: Github reference 브랜치에 코드가 커밋되면
Build: github acitons의 YAML 파일에 적힌 명령어를 토대로 Webpack을 이용해 빌드를 하고
Deploy: github acitons의 YAML 파일에 적힌 명령어를 토대로 s3로 빌드 결과를 업로드합니다.
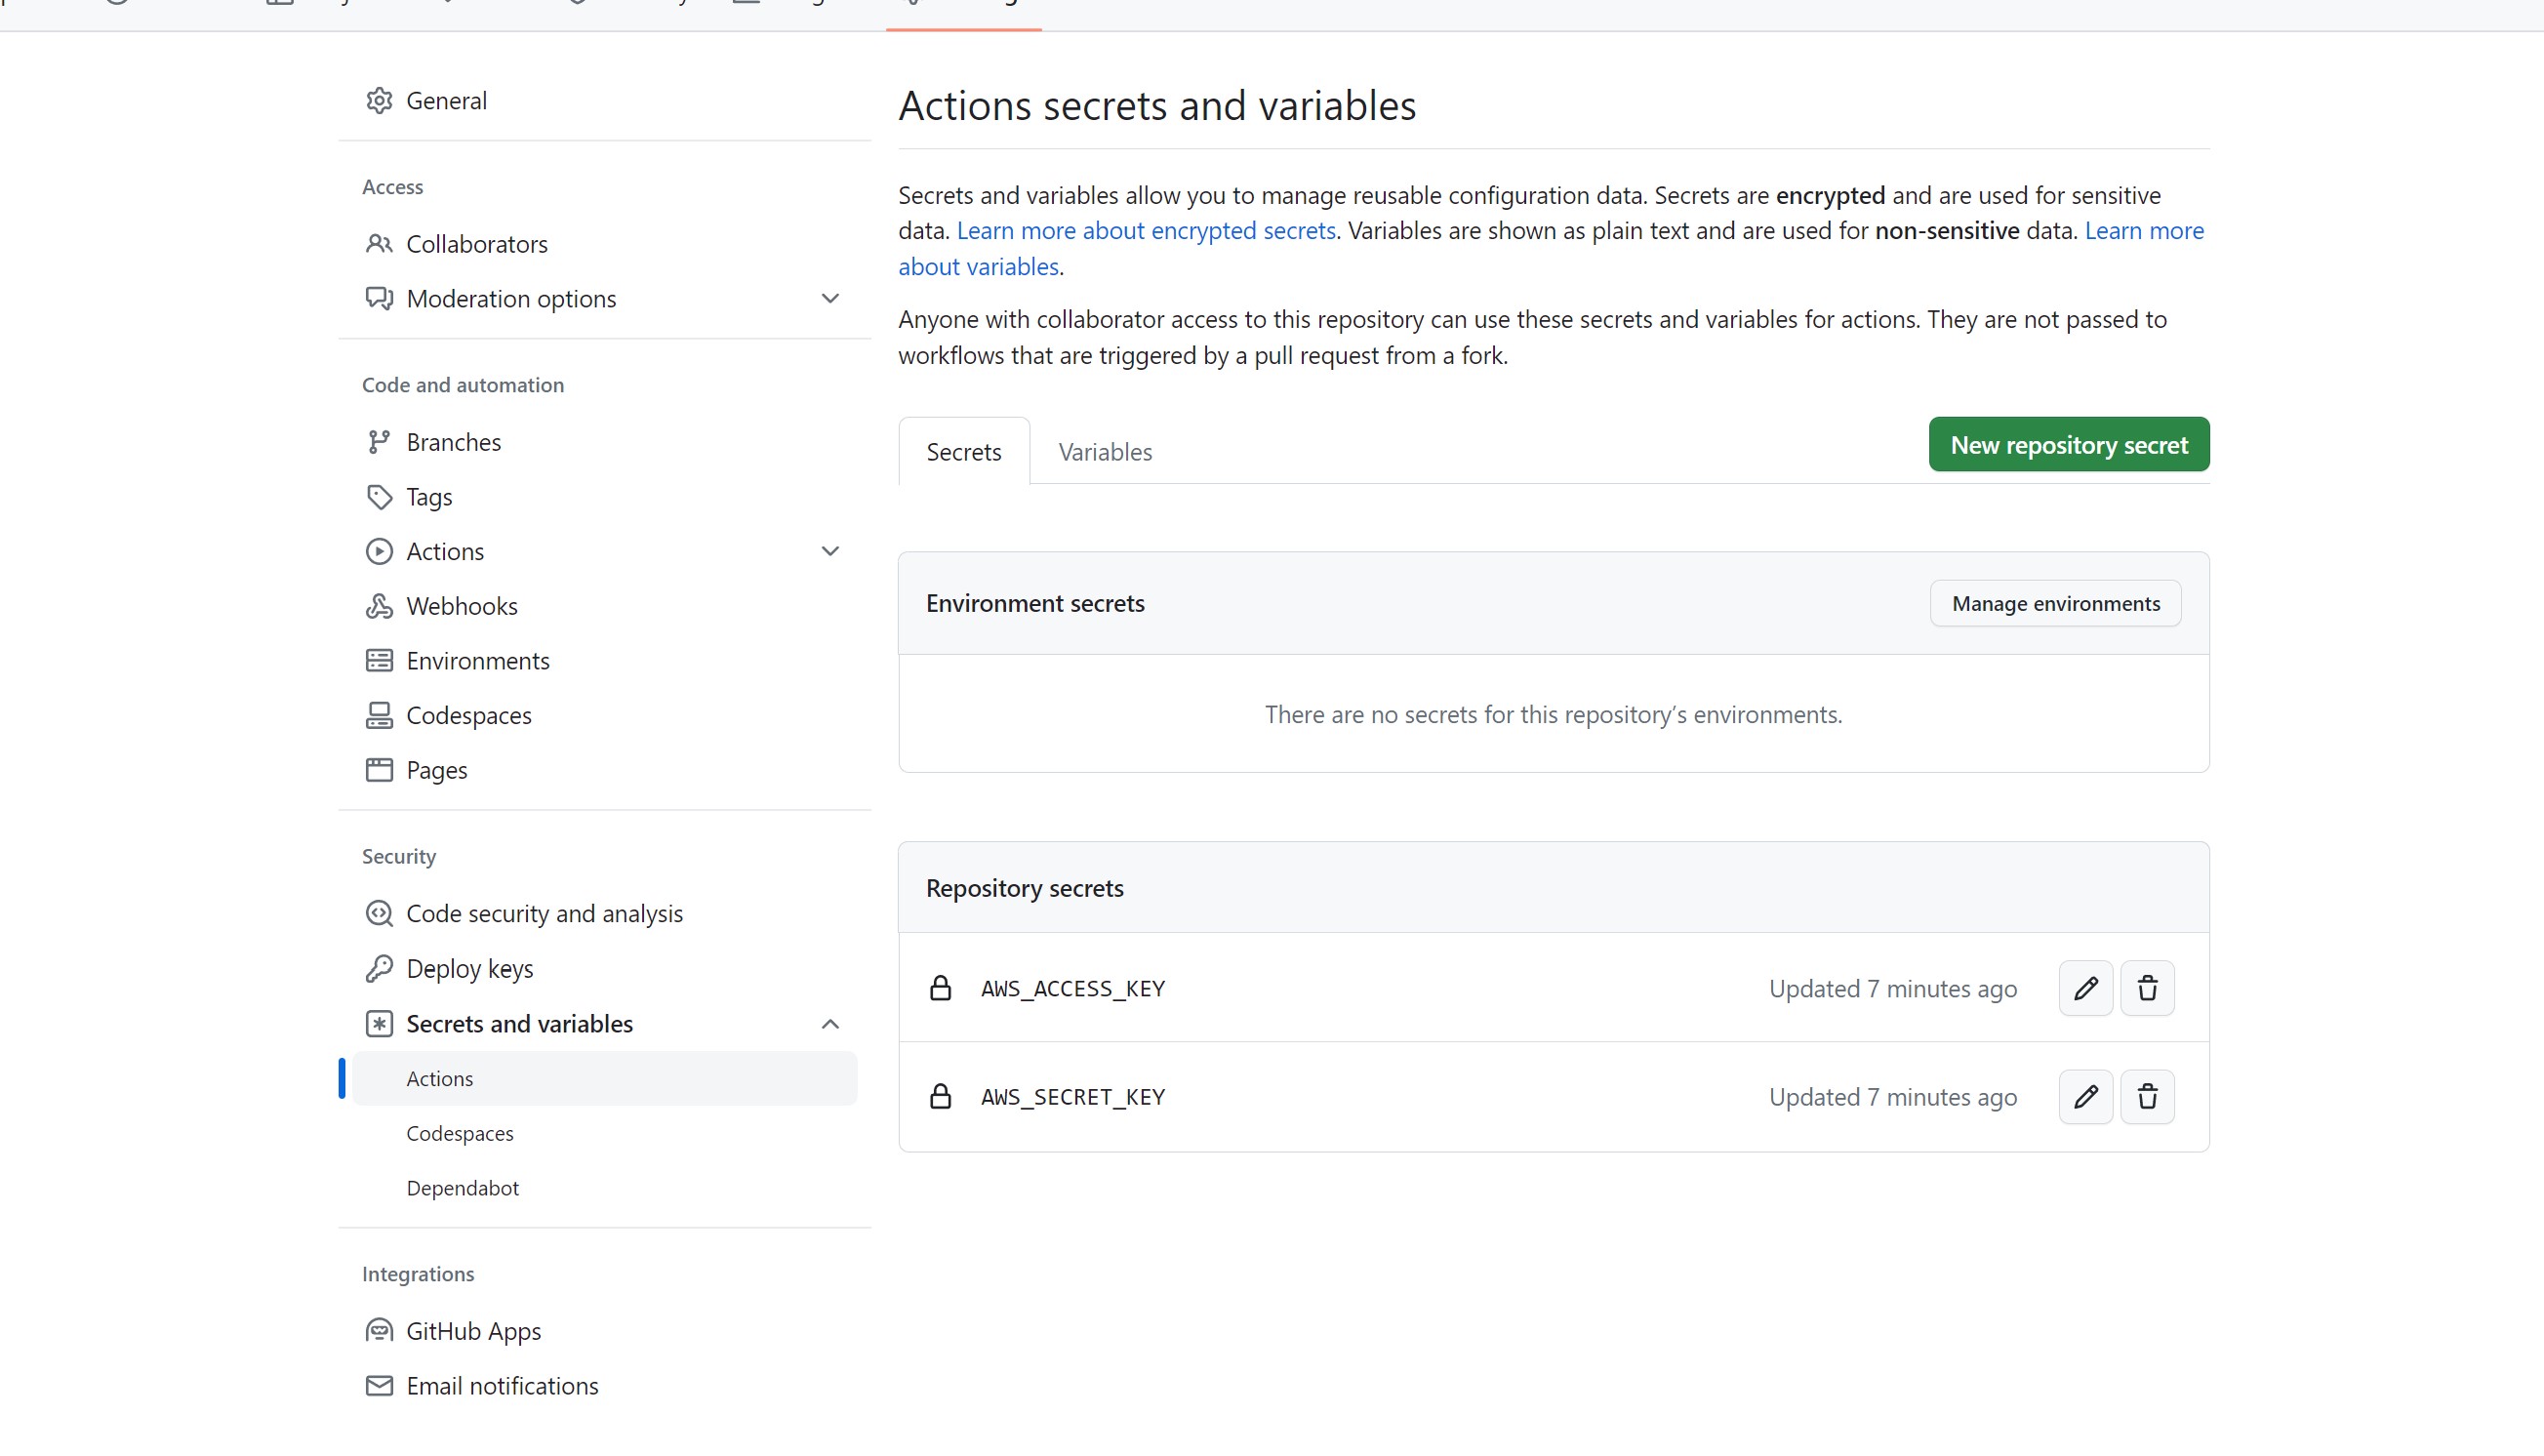
액션 시크릿을 만들어준다.
이를 종합하여 client.yml을 작성한다.
client.yml
name: client
on:
  push:
    branches:
      - <reference>
jobs:
  build:
    runs-on: ubuntu-20.04
    steps:
      - name: Checkout source code.
        uses: actions/checkout@v2
      - name: Install dependencies
        run: <npm install>
        working-directory: ./my-agora-states-client
      - name: Build
        run: <npm run build>
        working-directory: ./my-agora-states-client
      - name: SHOW AWS CLI VERSION
        run: |
          <aws --version>
      - name: Sync Bucket
        env:
          AWS_ACCESS_KEY_ID: ${{ secrets.AWS_ACCESS_KEY }}
          AWS_SECRET_ACCESS_KEY: ${{ secrets.AWS_SECRET_KEY}}
          AWS_EC2_METADATA_DISABLED: true
        run: |
          aws s3 <sync> \
            --region ap-northeast-2 \
            build s3://fe-4-kbg012-s3 \
            --delete
        working-directory: ./my-agora-states-client>
ㅇㅅㅇ