참고 블로그
S3 생성
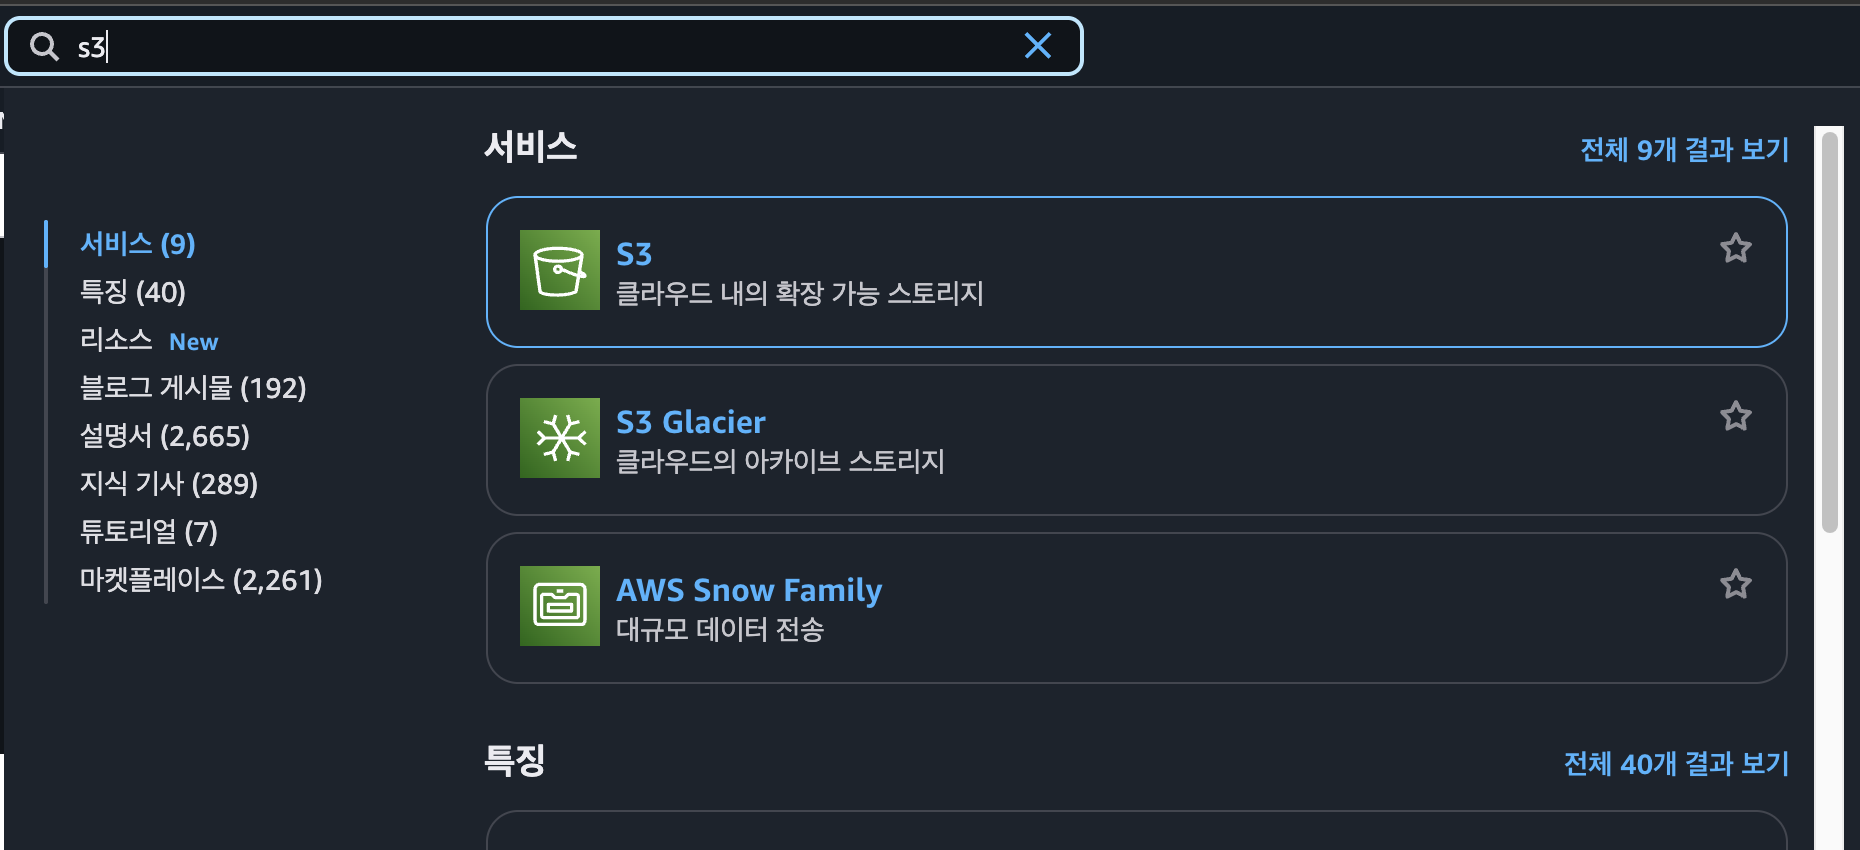
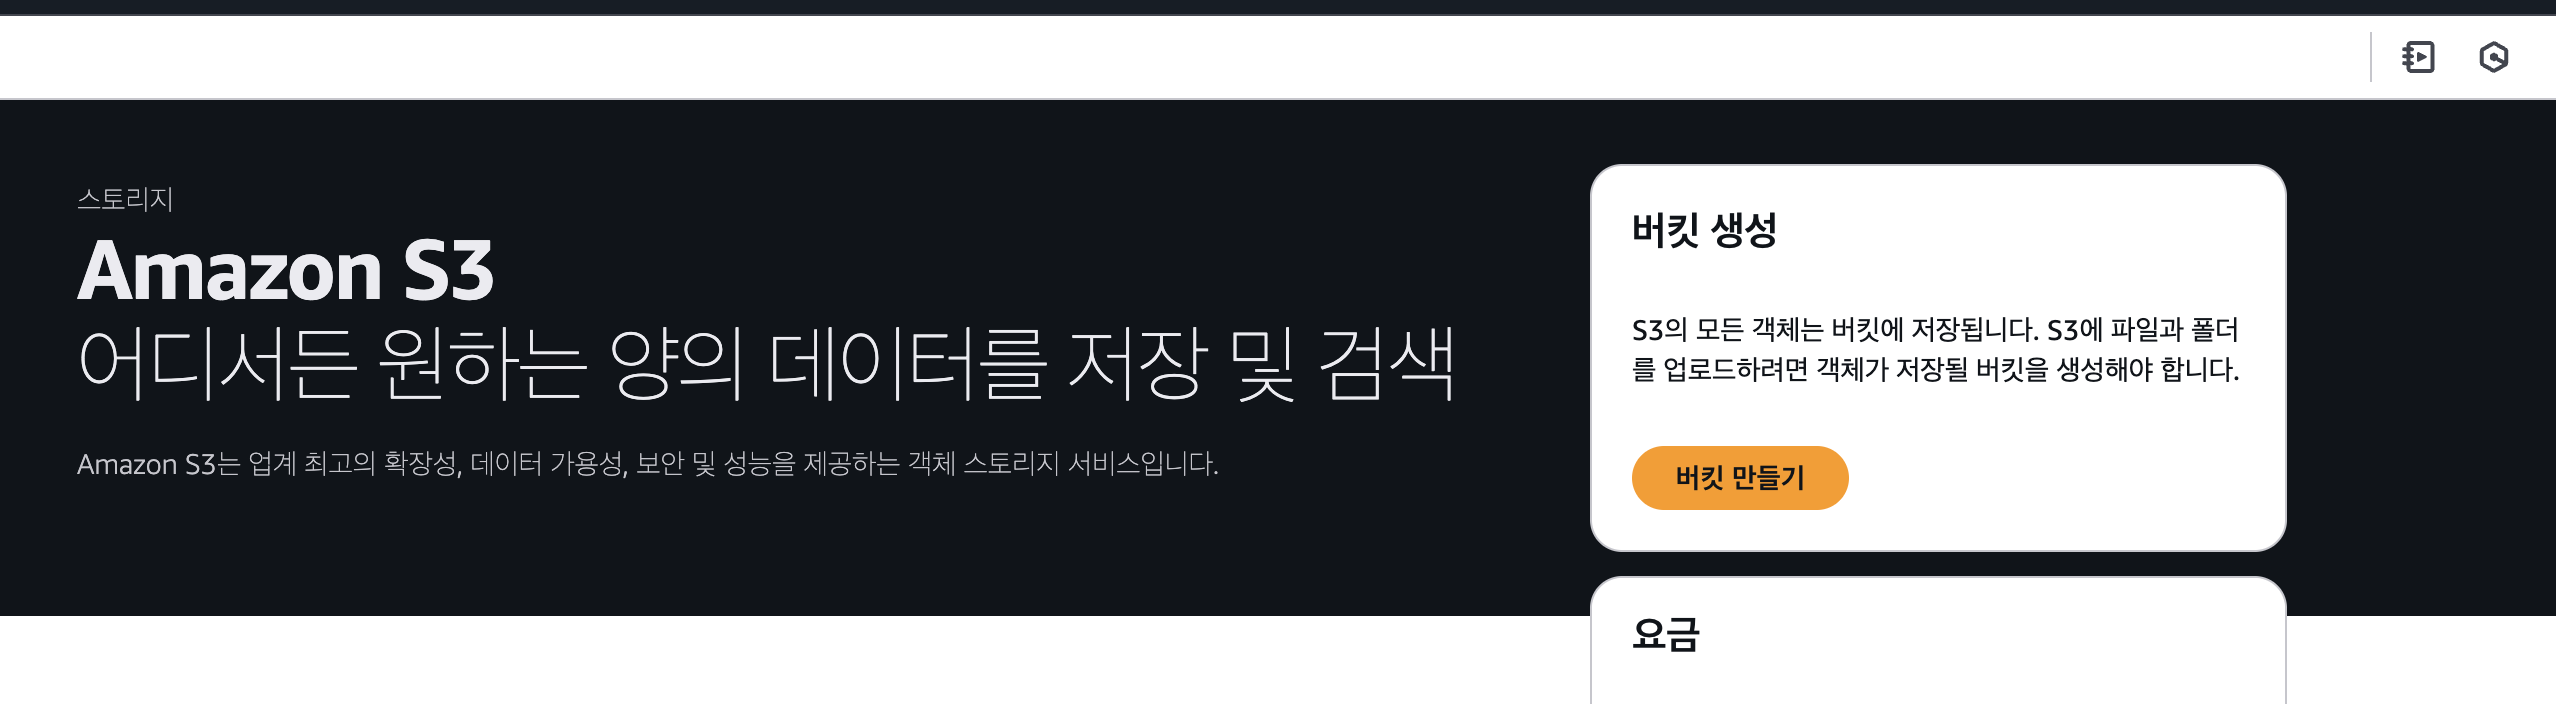
- S3 검색 후 버킷 만들기 클릭
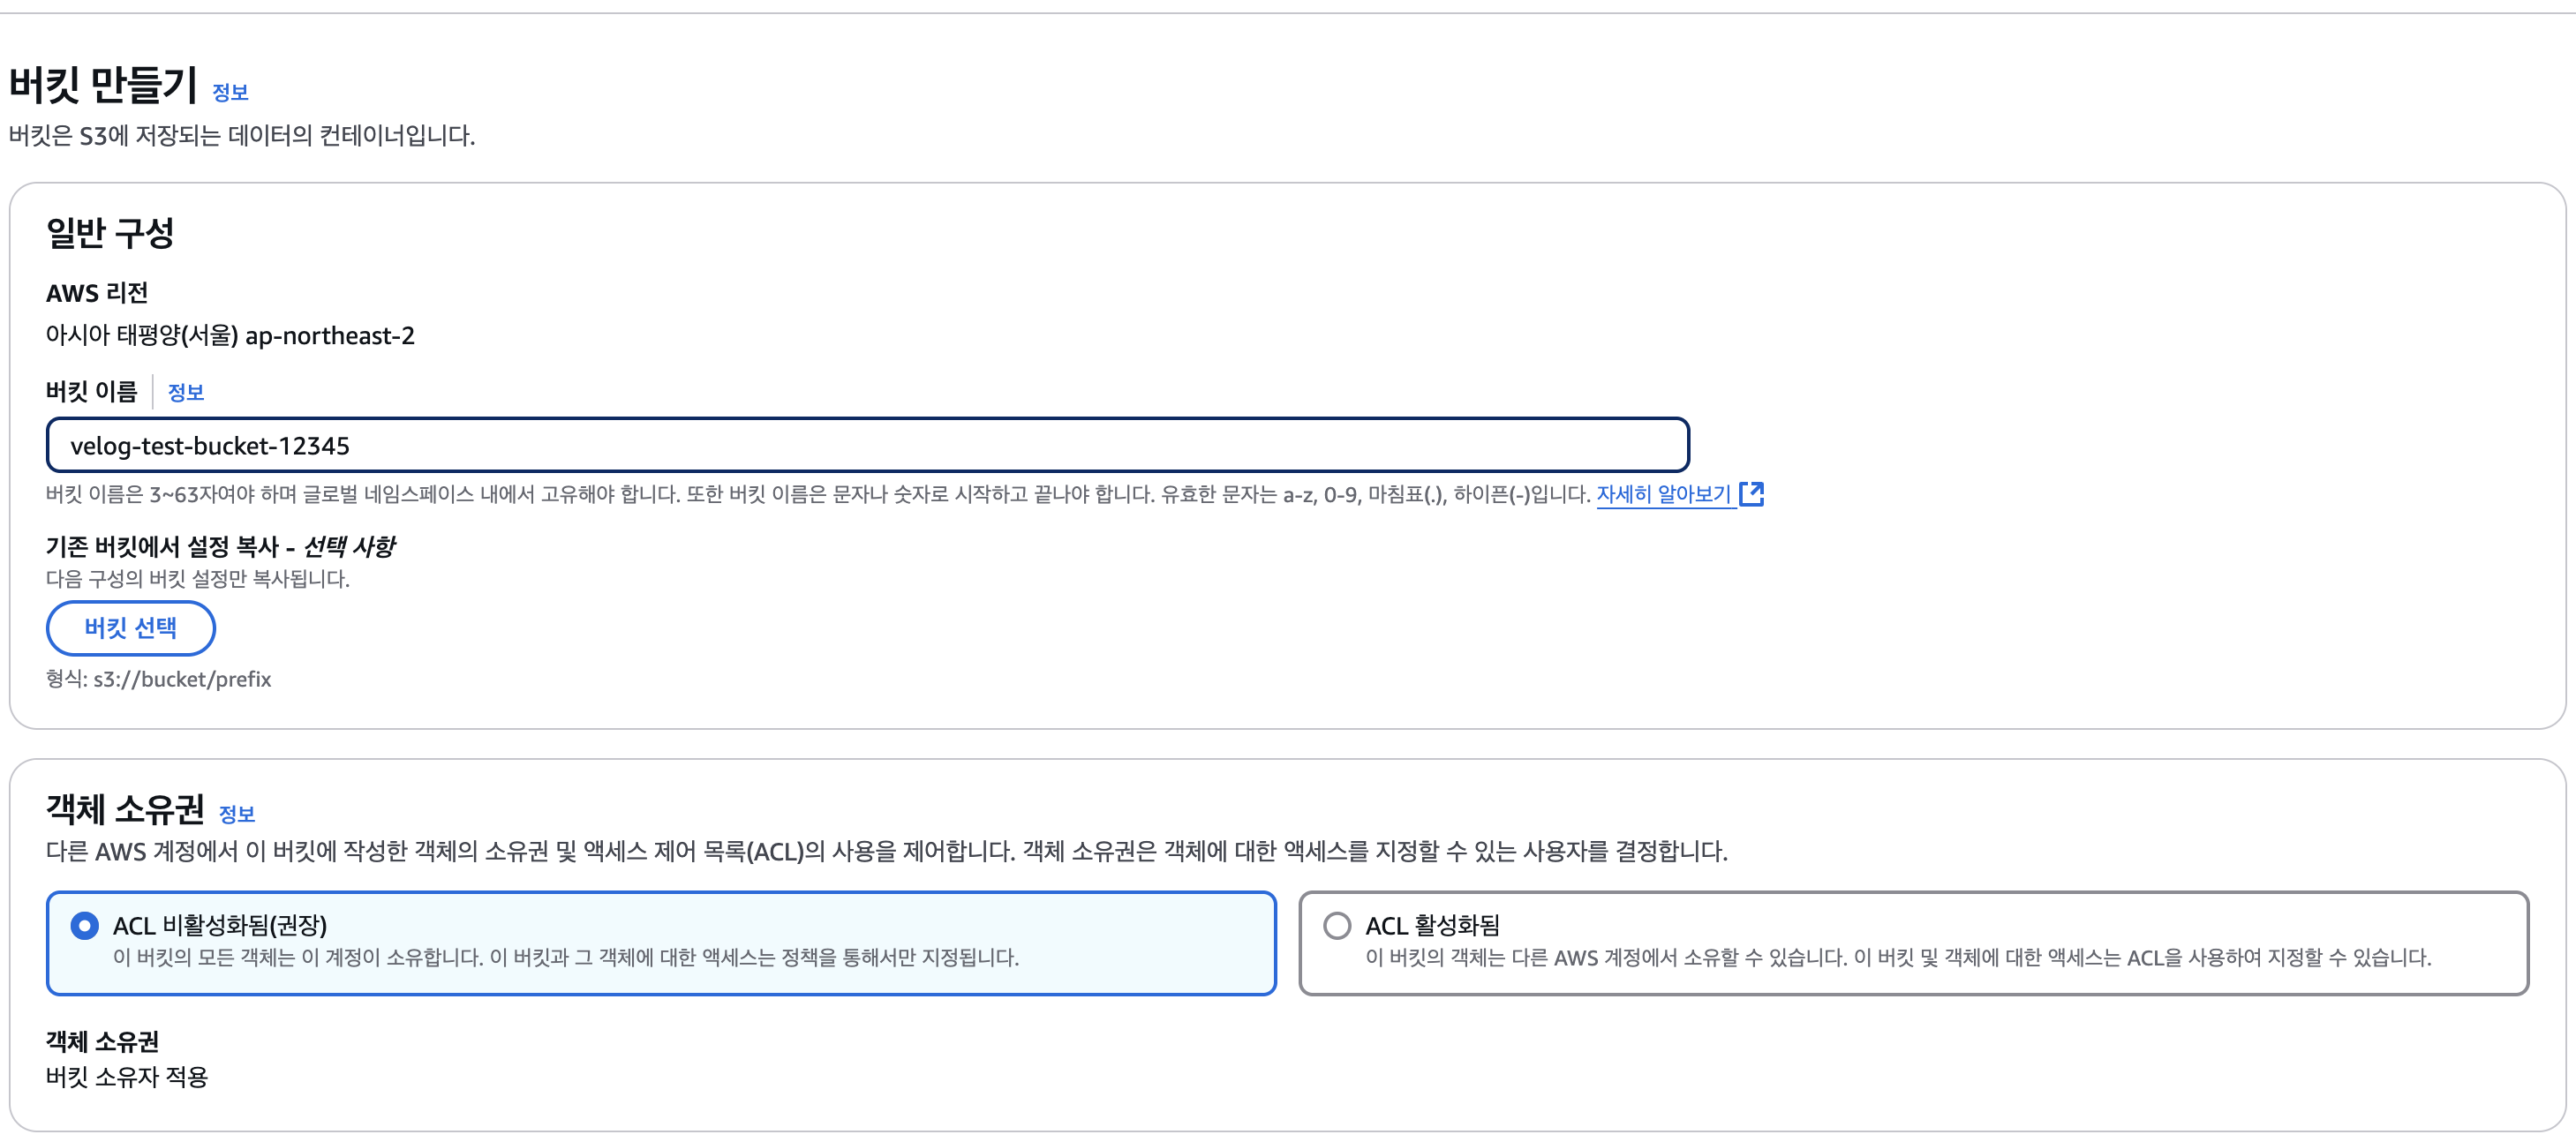
- 버킷 이름 짓기 및 객체 소유권 설정 -> 비활성화를 선택해서 내가 접속한 계정에서만 소유하도록 함
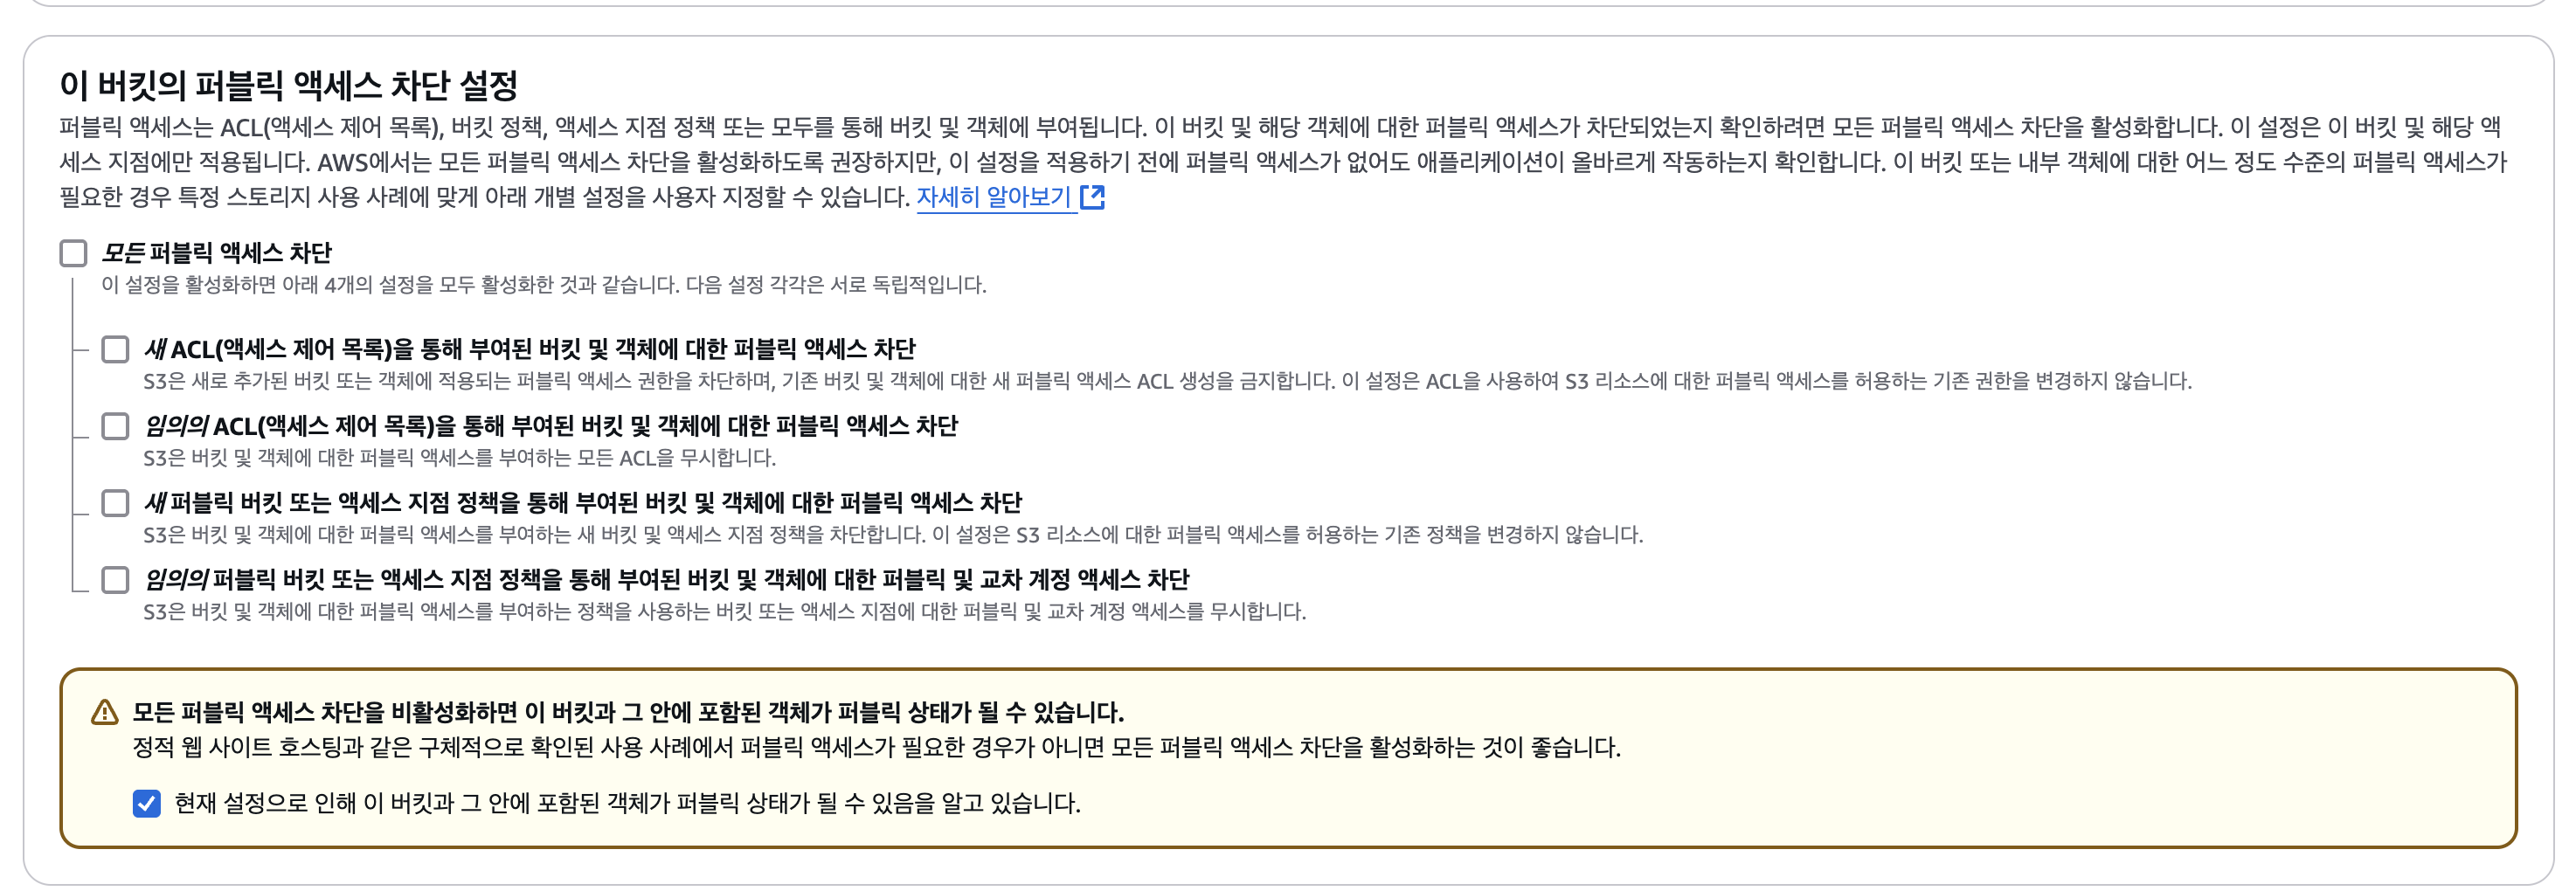
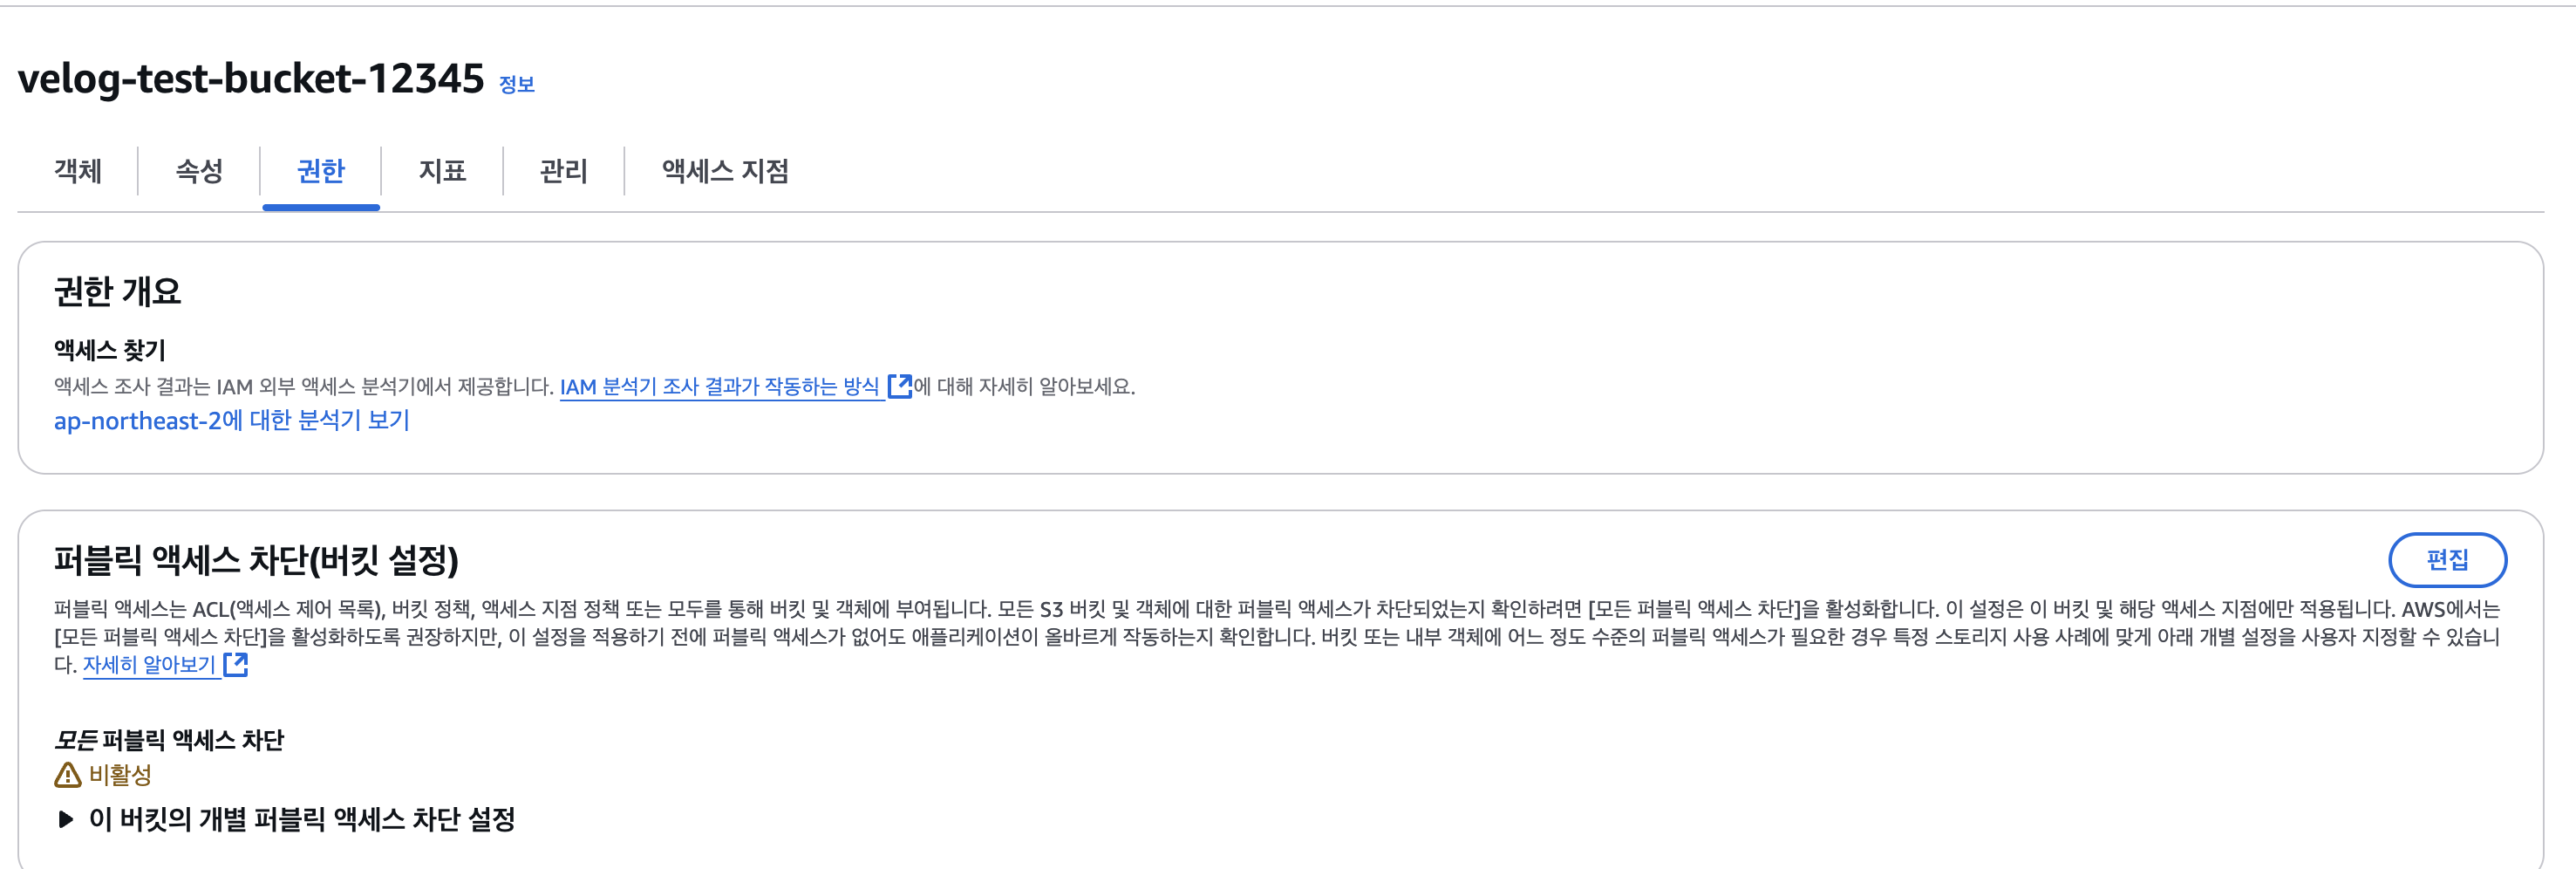
- 모든 퍼블릭 액세스 차단 풀기 -> 외부에서 파일을 읽게 하기 위해 (URL을 통해)
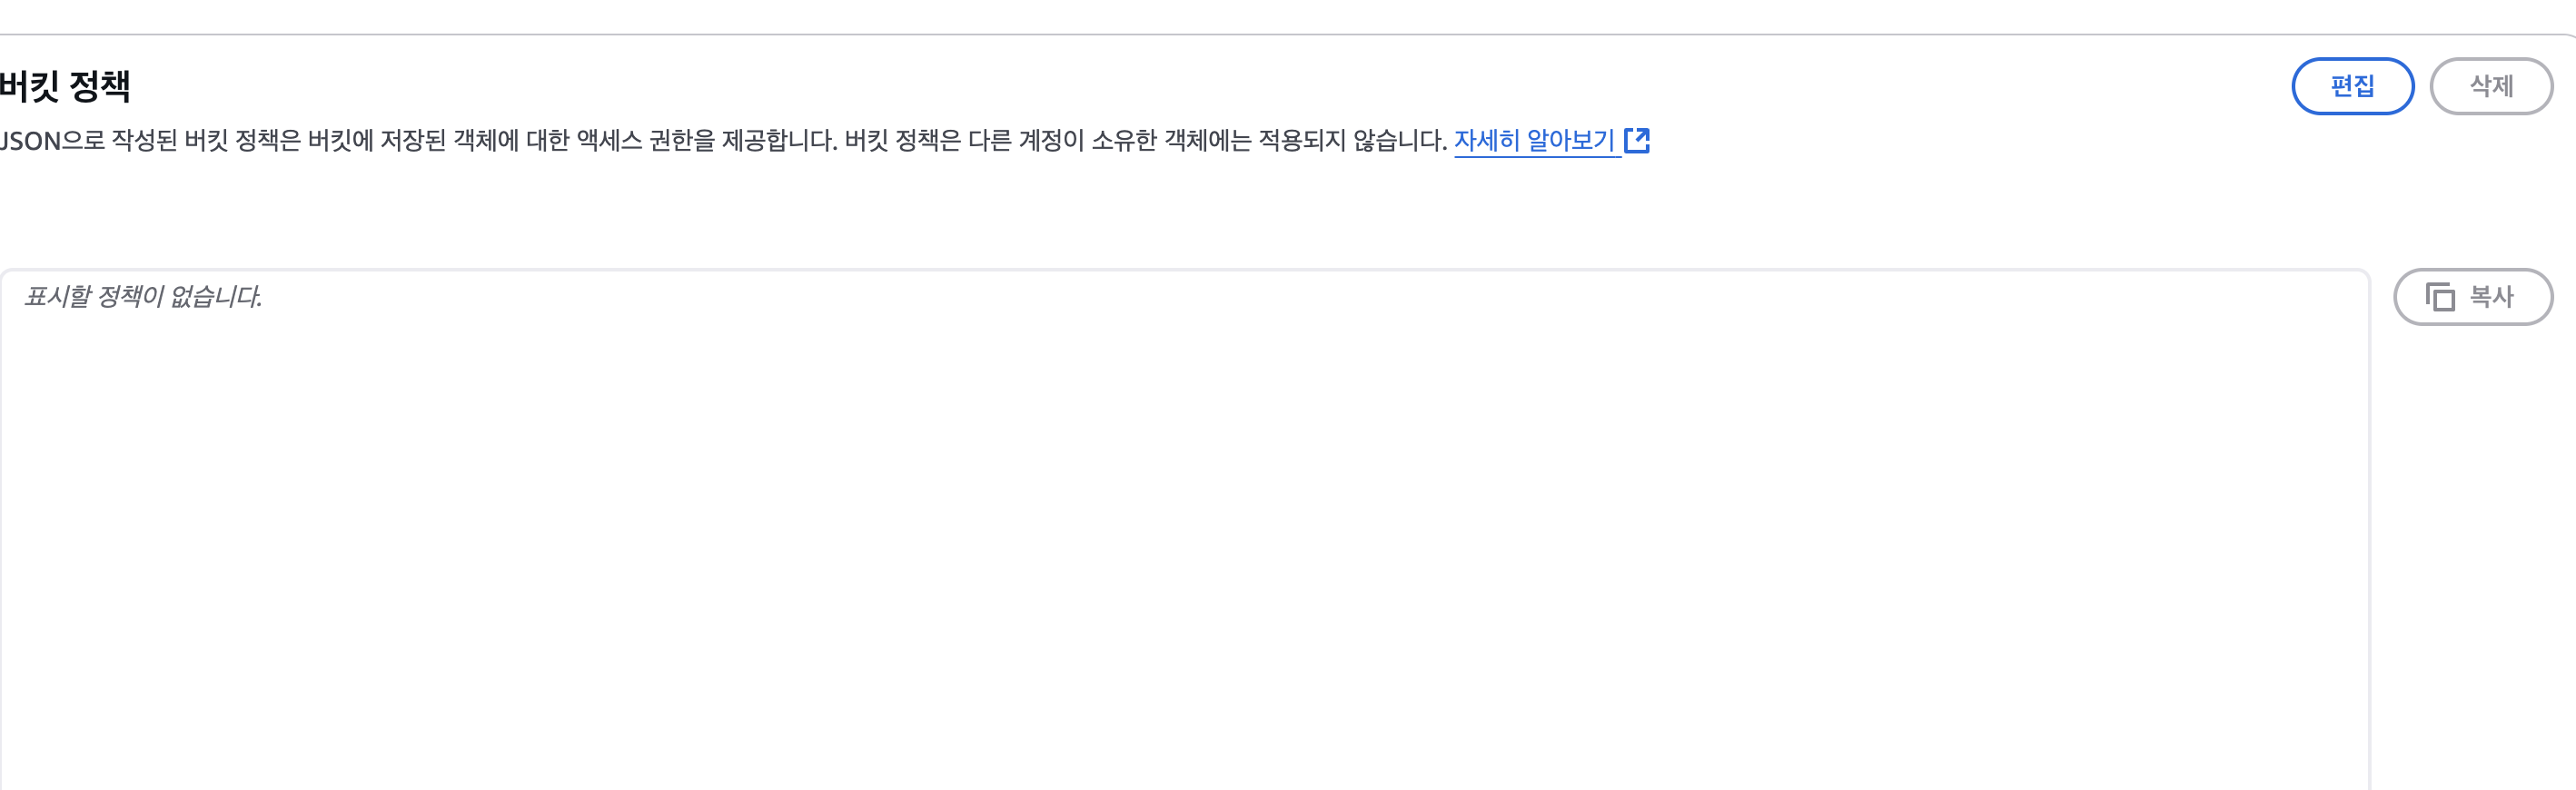
- 버킷 생성 완료 후 생성된 버킷으로 다시 들어가서 권한 클릭

- 버킷 정책 편집하기 : https://awspolicygen.s3.amazonaws.com/policygen.html
- Select Type of Policy: 정책 타입 선택 (버킷 정책으로)
Effect: 정책 적용 허용
Principal: 버킷 정책이 적용될 대상 -> 전체(*)
Actions: 버킷에 수행할 액션 (GetObject, PutObejct) 선택
ARN: 버킷에 어떤 리소스에 적용할지 -> 버킷 이름 선택, 리소스 전체
arn:aws:s3:::버킷이름/* 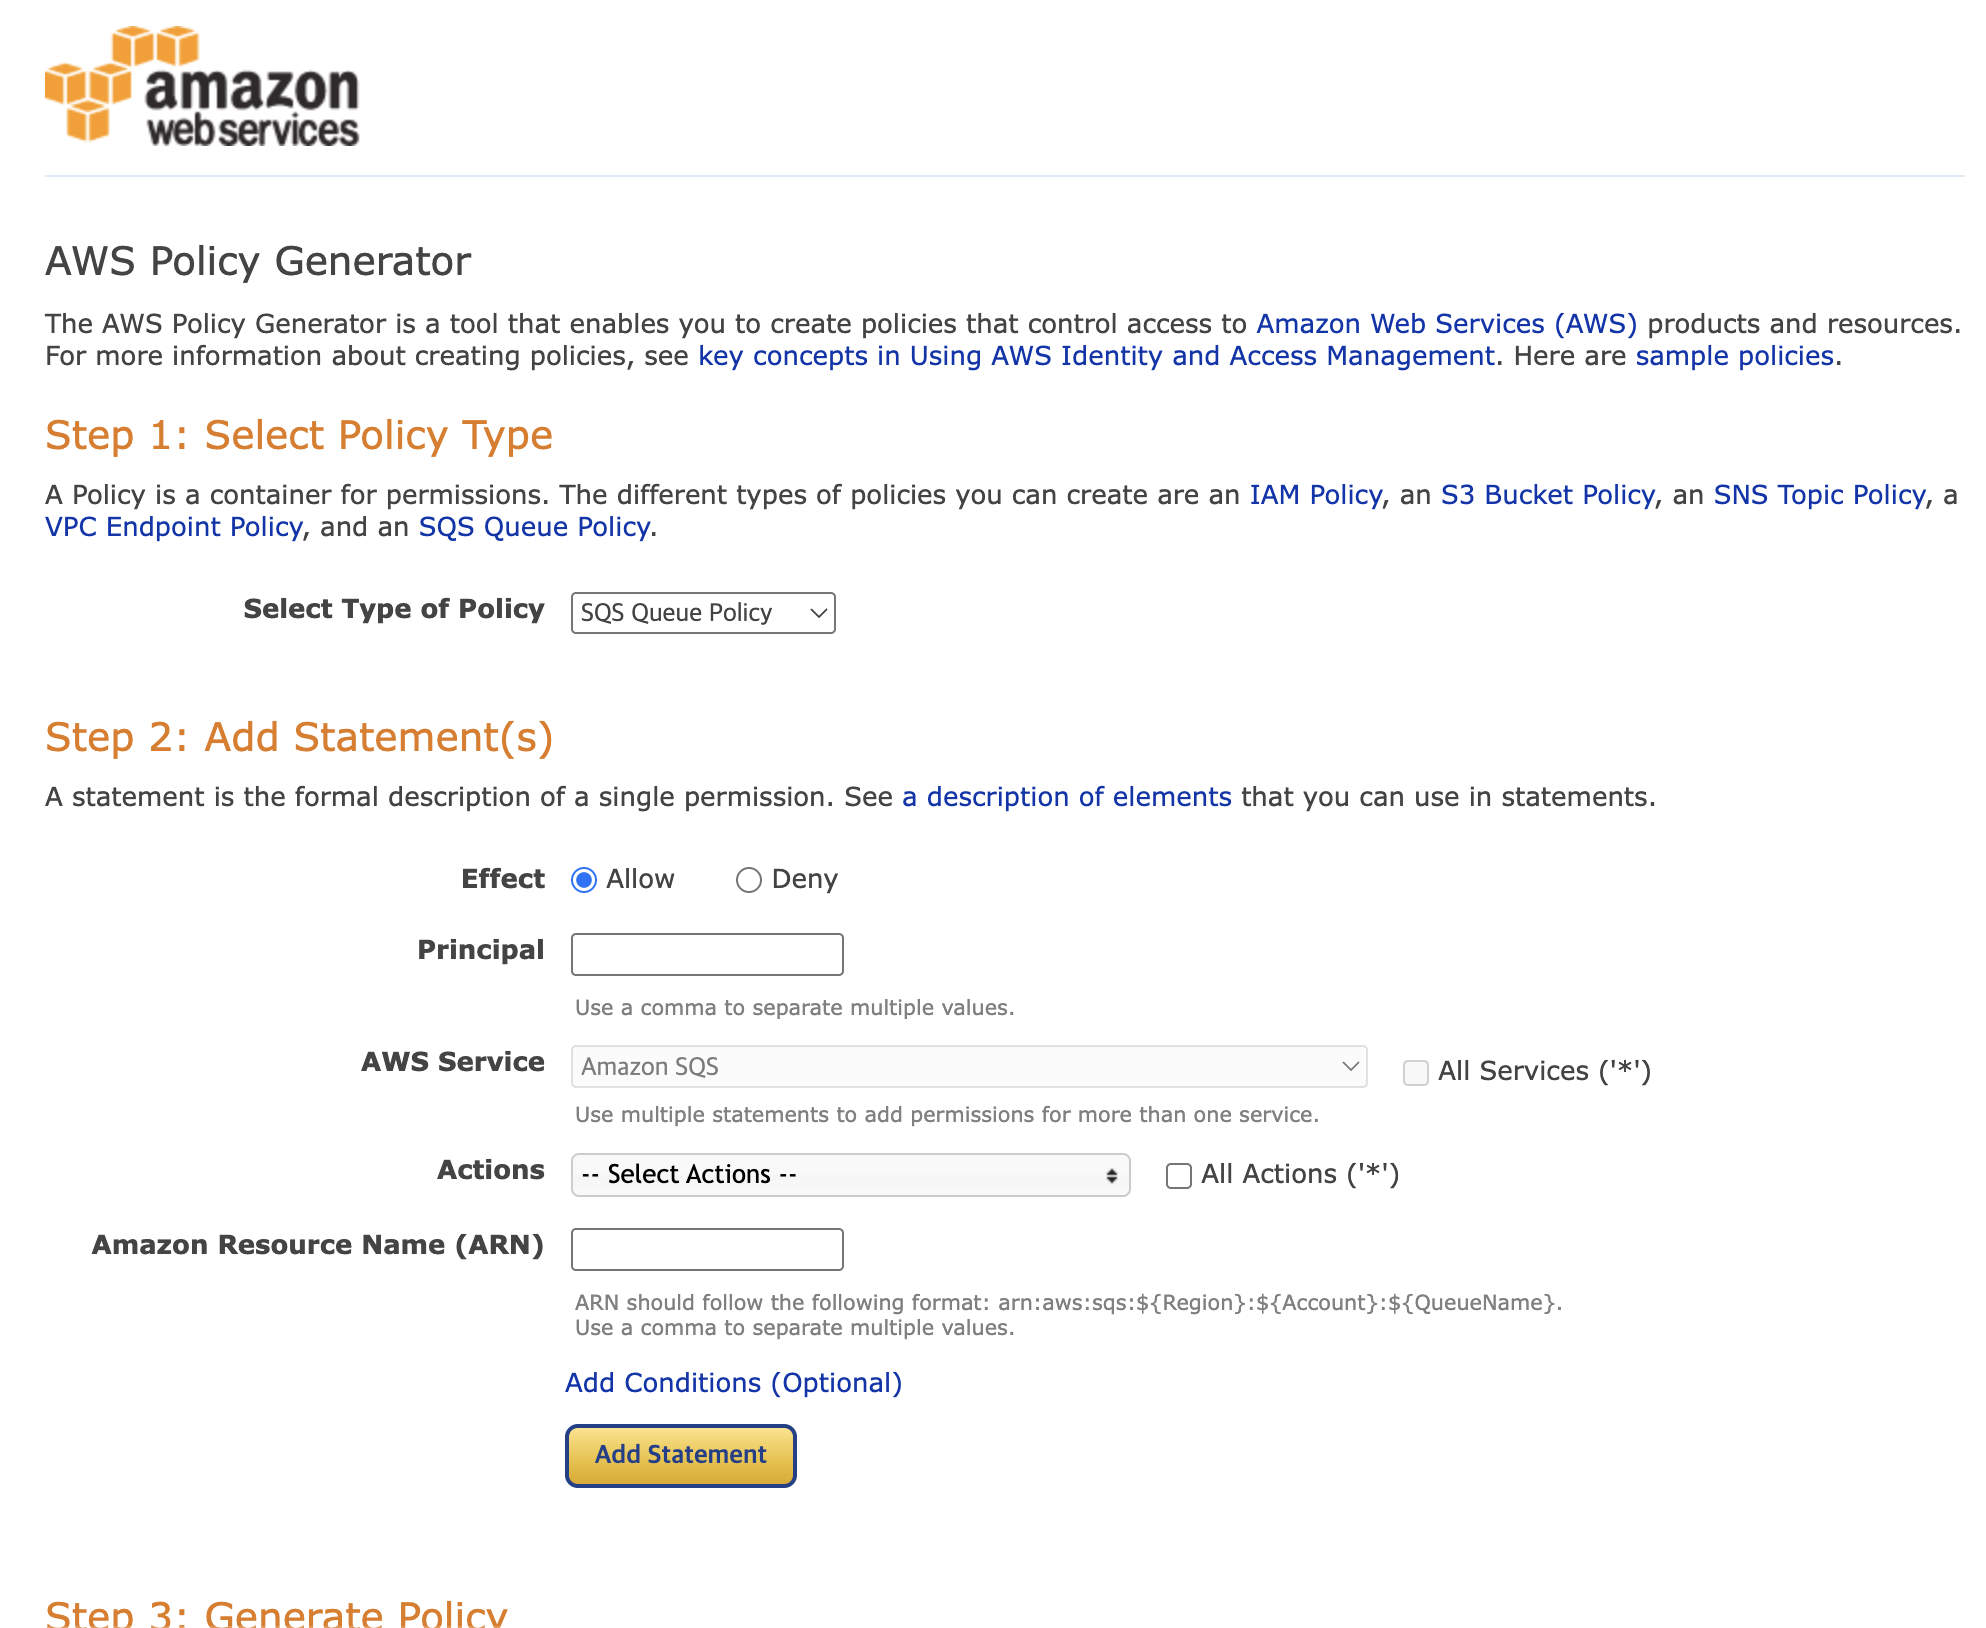
{
"Id": "Policy1649421058532", // 정책 ID
"Version": "2012-10-17",
"Statement": [
{
"Sid": "Stmt1649420985040",
"Action": [ // 버킷에 수행할 액션(행동)
"s3:GetObject", // 객체 가져오기
"s3:PutObject" // 객체 업로드하기
],
"Effect": "Allow", // 정책 적용
"Resource": "arn:aws:s3:::버킷명/*", // 어떤 버킷에 어떤 리소스에 적용? tistory-test-bucket-01 버킷에 있는 모든 리소스(객체)
"Principal": "*" // 정책 적용 대상 모두
}
]
}
출처: https://inpa.tistory.com/entry/AWS-📚-S3-버킷-생성-사용법-실전-구축 [Inpa Dev 👨💻:티스토리]- 편집 완료버튼 클릭하기.
s3 권한만 갖은 사용자 생성하기
- 버킷만 생성해도 파일을 올리거나 삭제할 수 있지만 코드에서 접근하기 위해서는 사용자 권한이 필요하다.
- root 권한을 갖은 사용자를 사용하면 위험하기 때문에 s3 권한만 갖은 사용자를 생성해서 사용하는 것이 좋다.
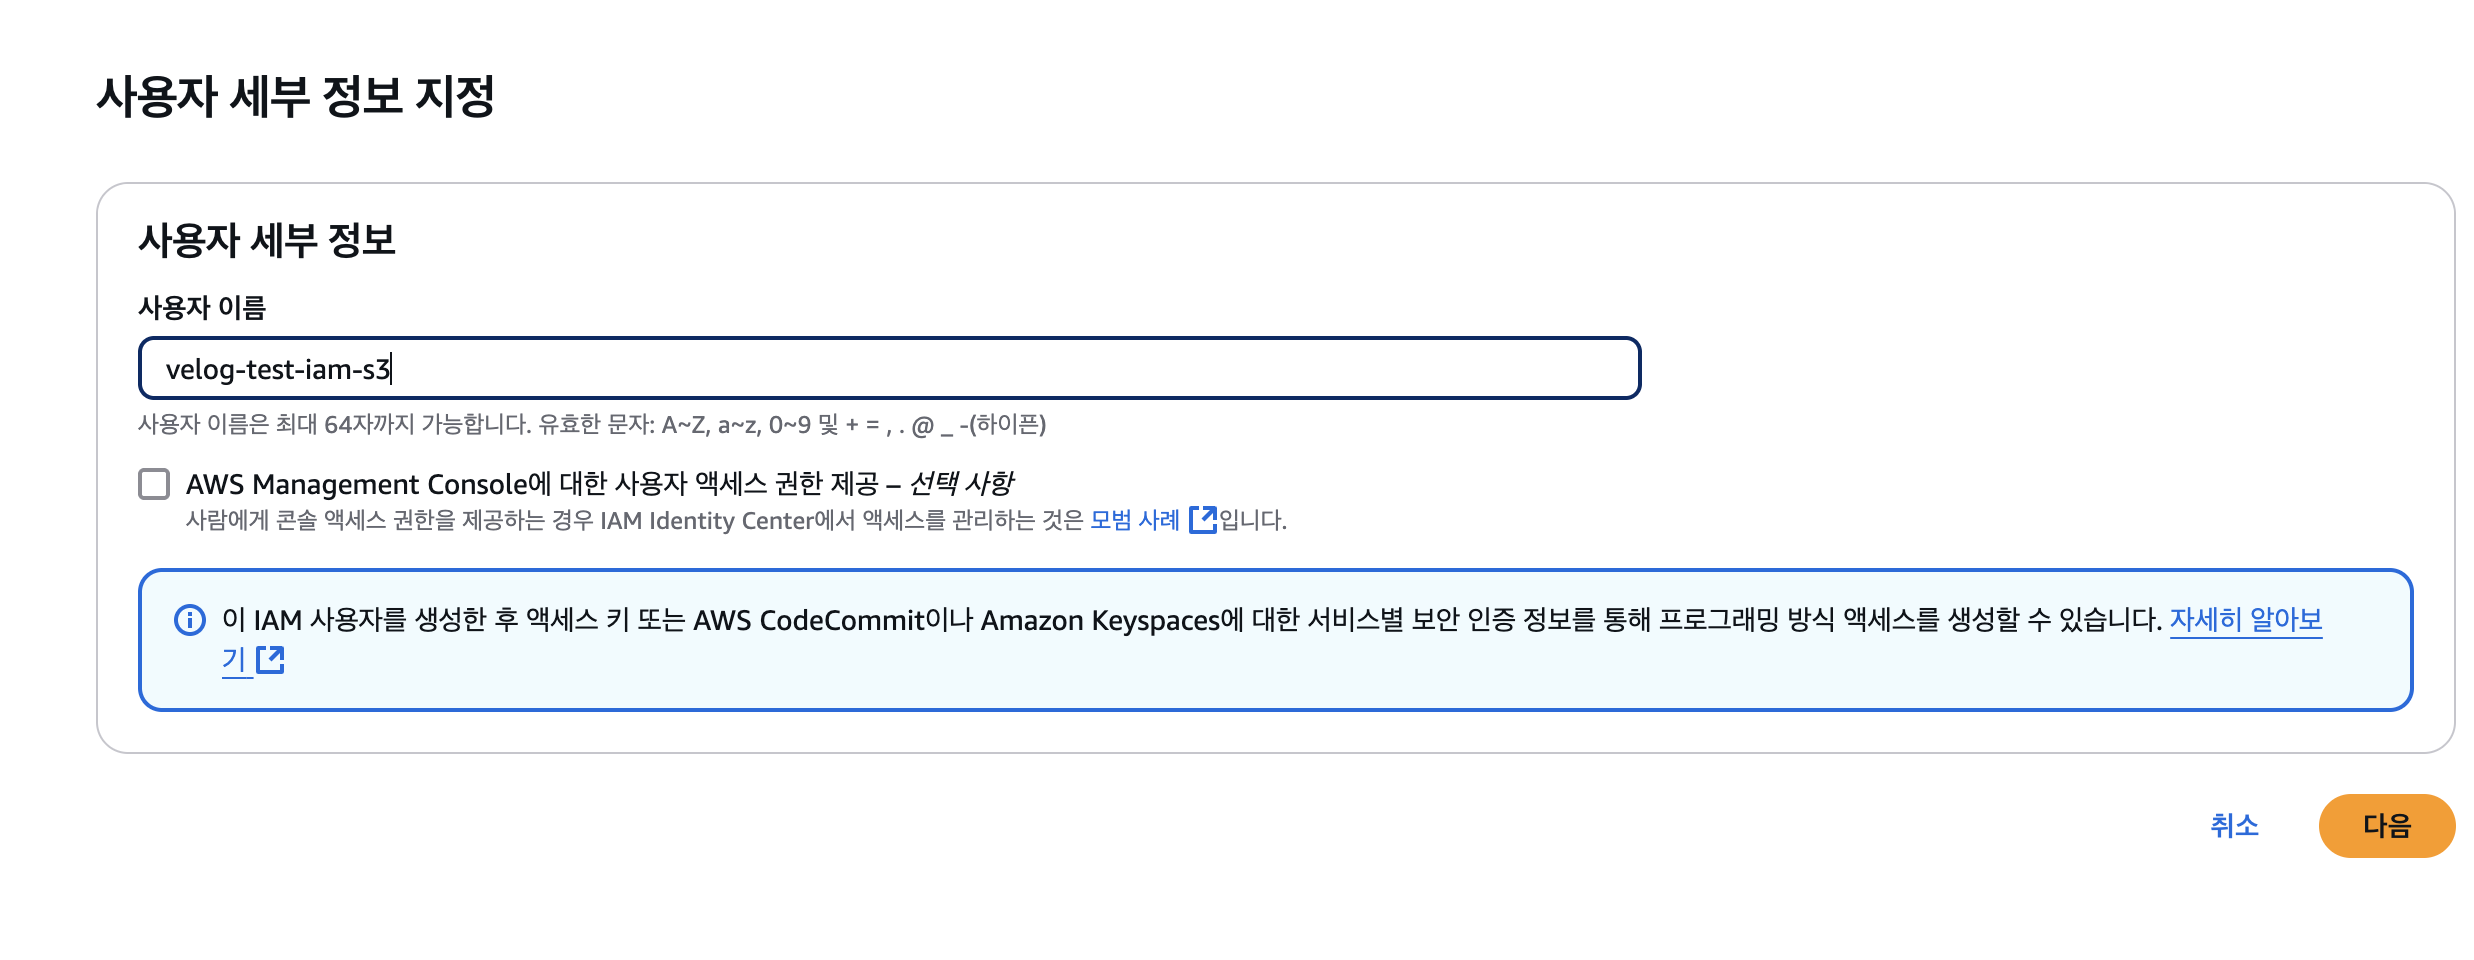
- IAM 접속
- 사용자 > 사용자 생성 클릭

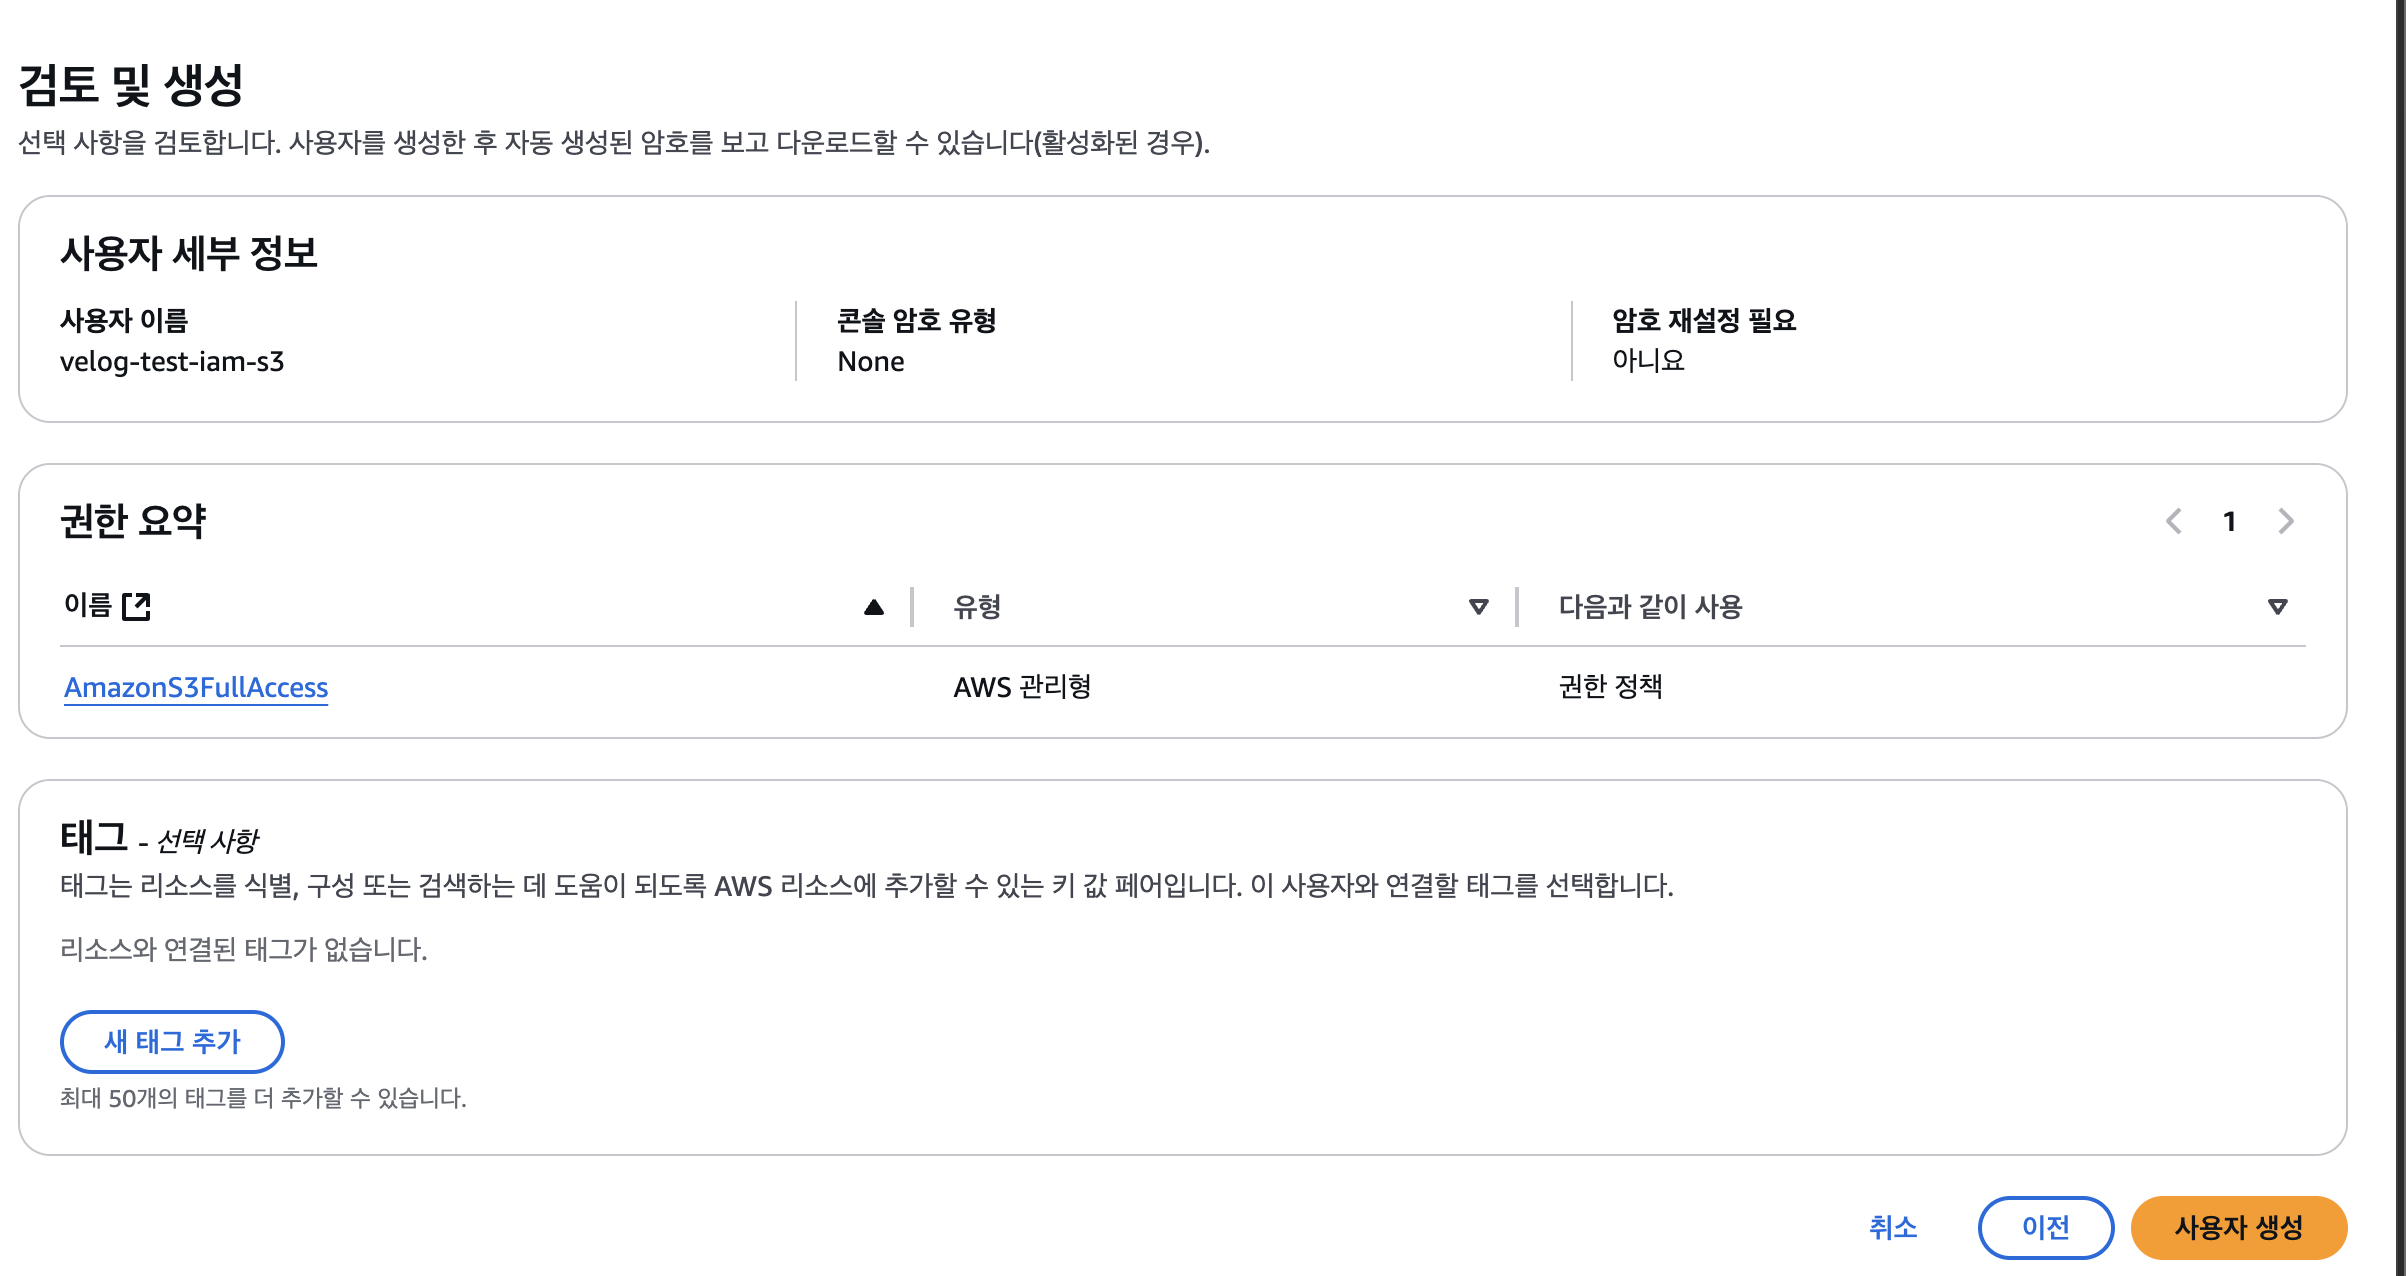
- 사용자 이름 작성
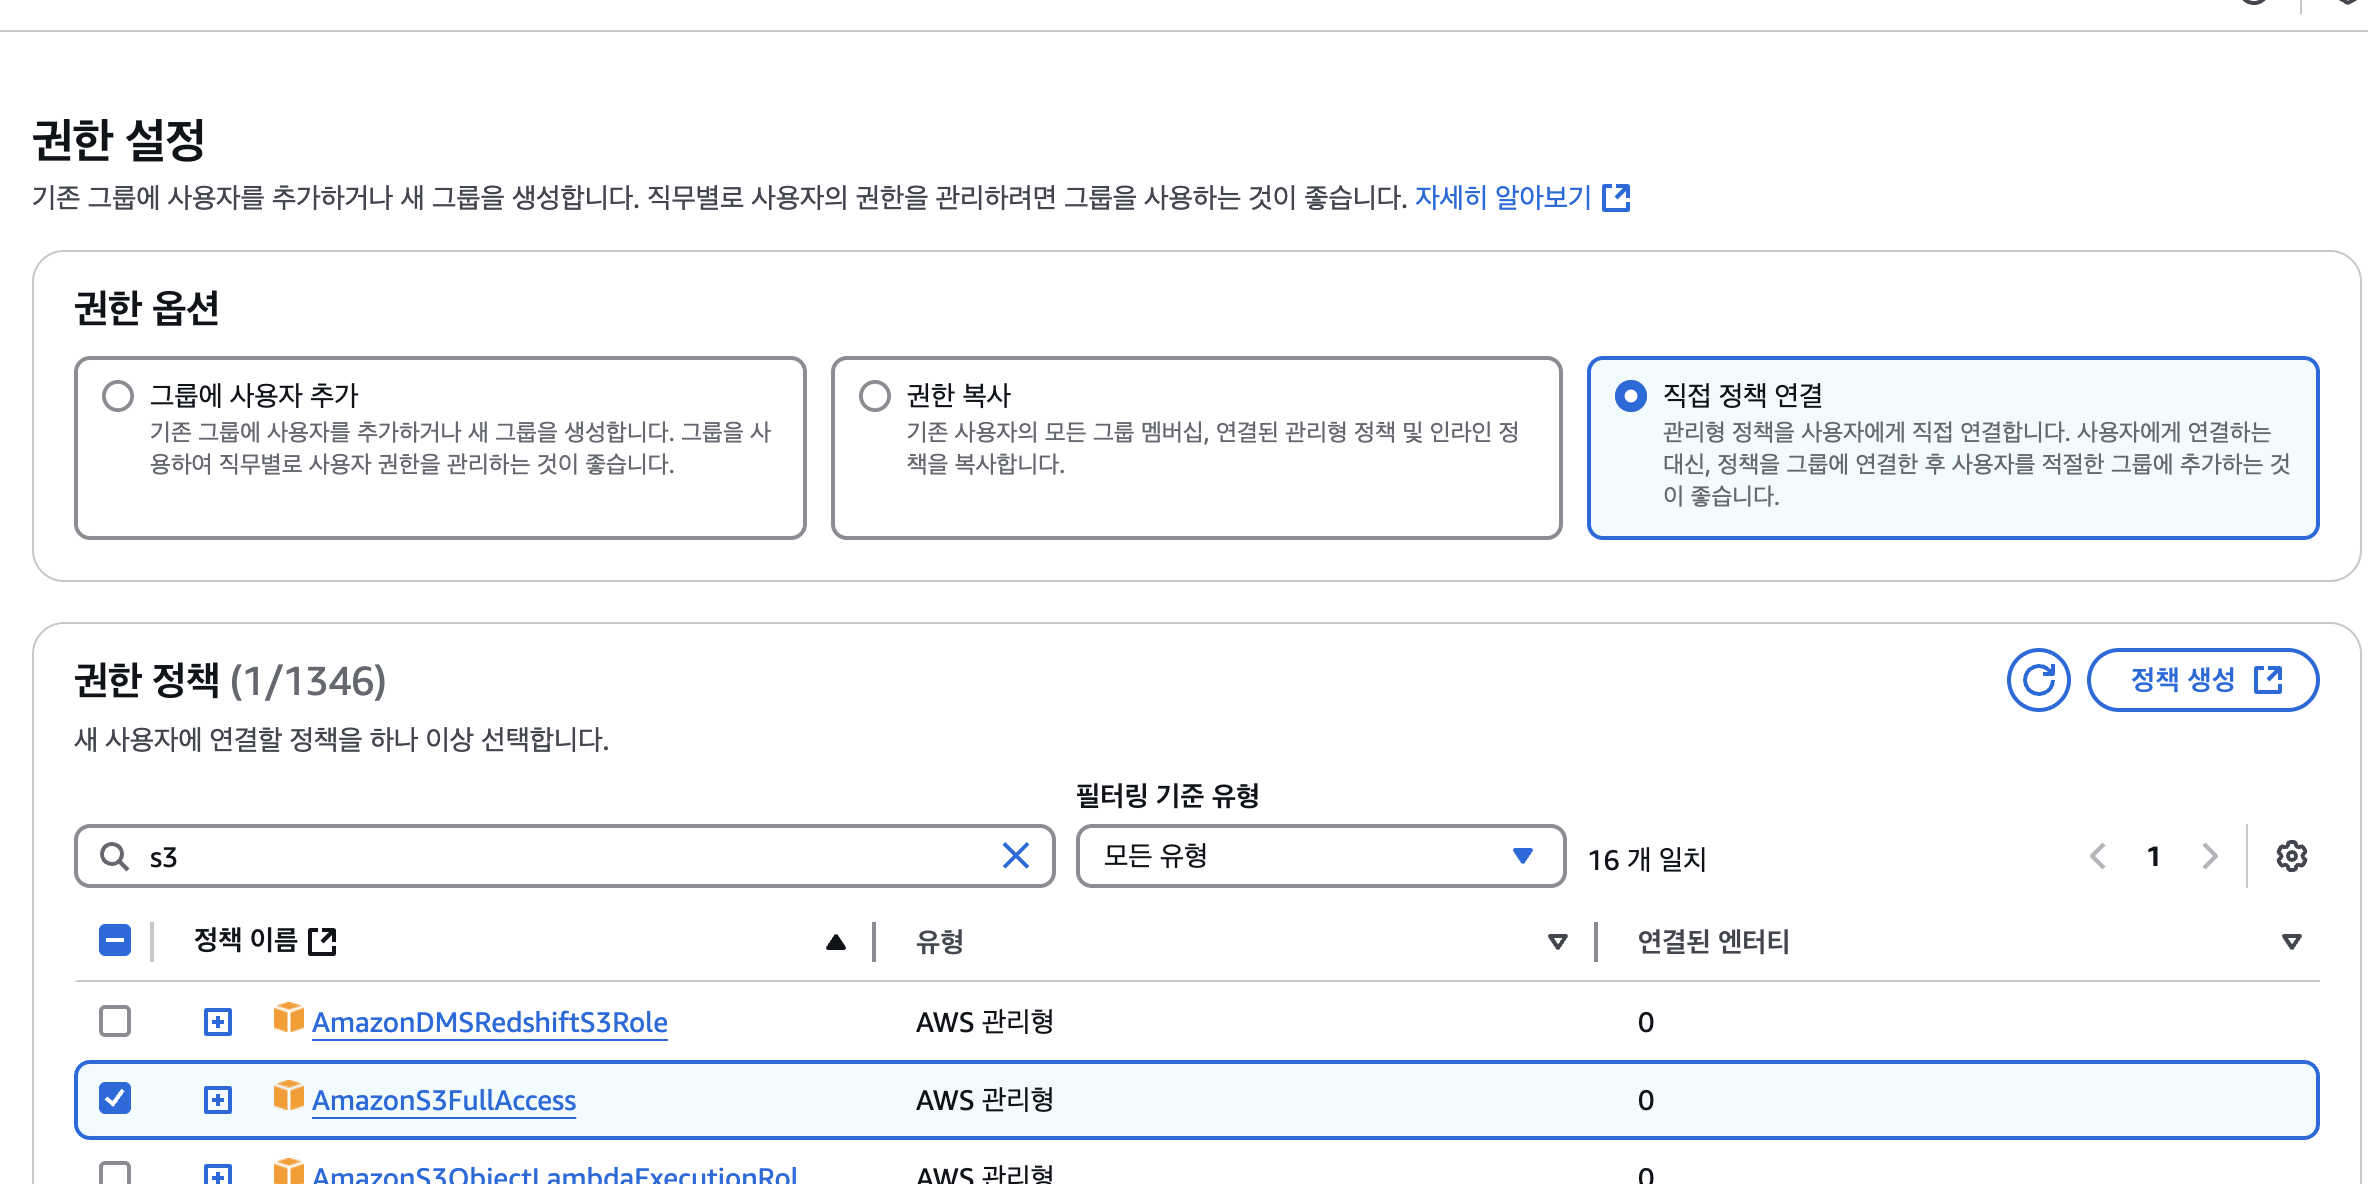
- 권한 옵션 -> 직접 정책 연결 선택 후 AmazonS3FullAccess 선택
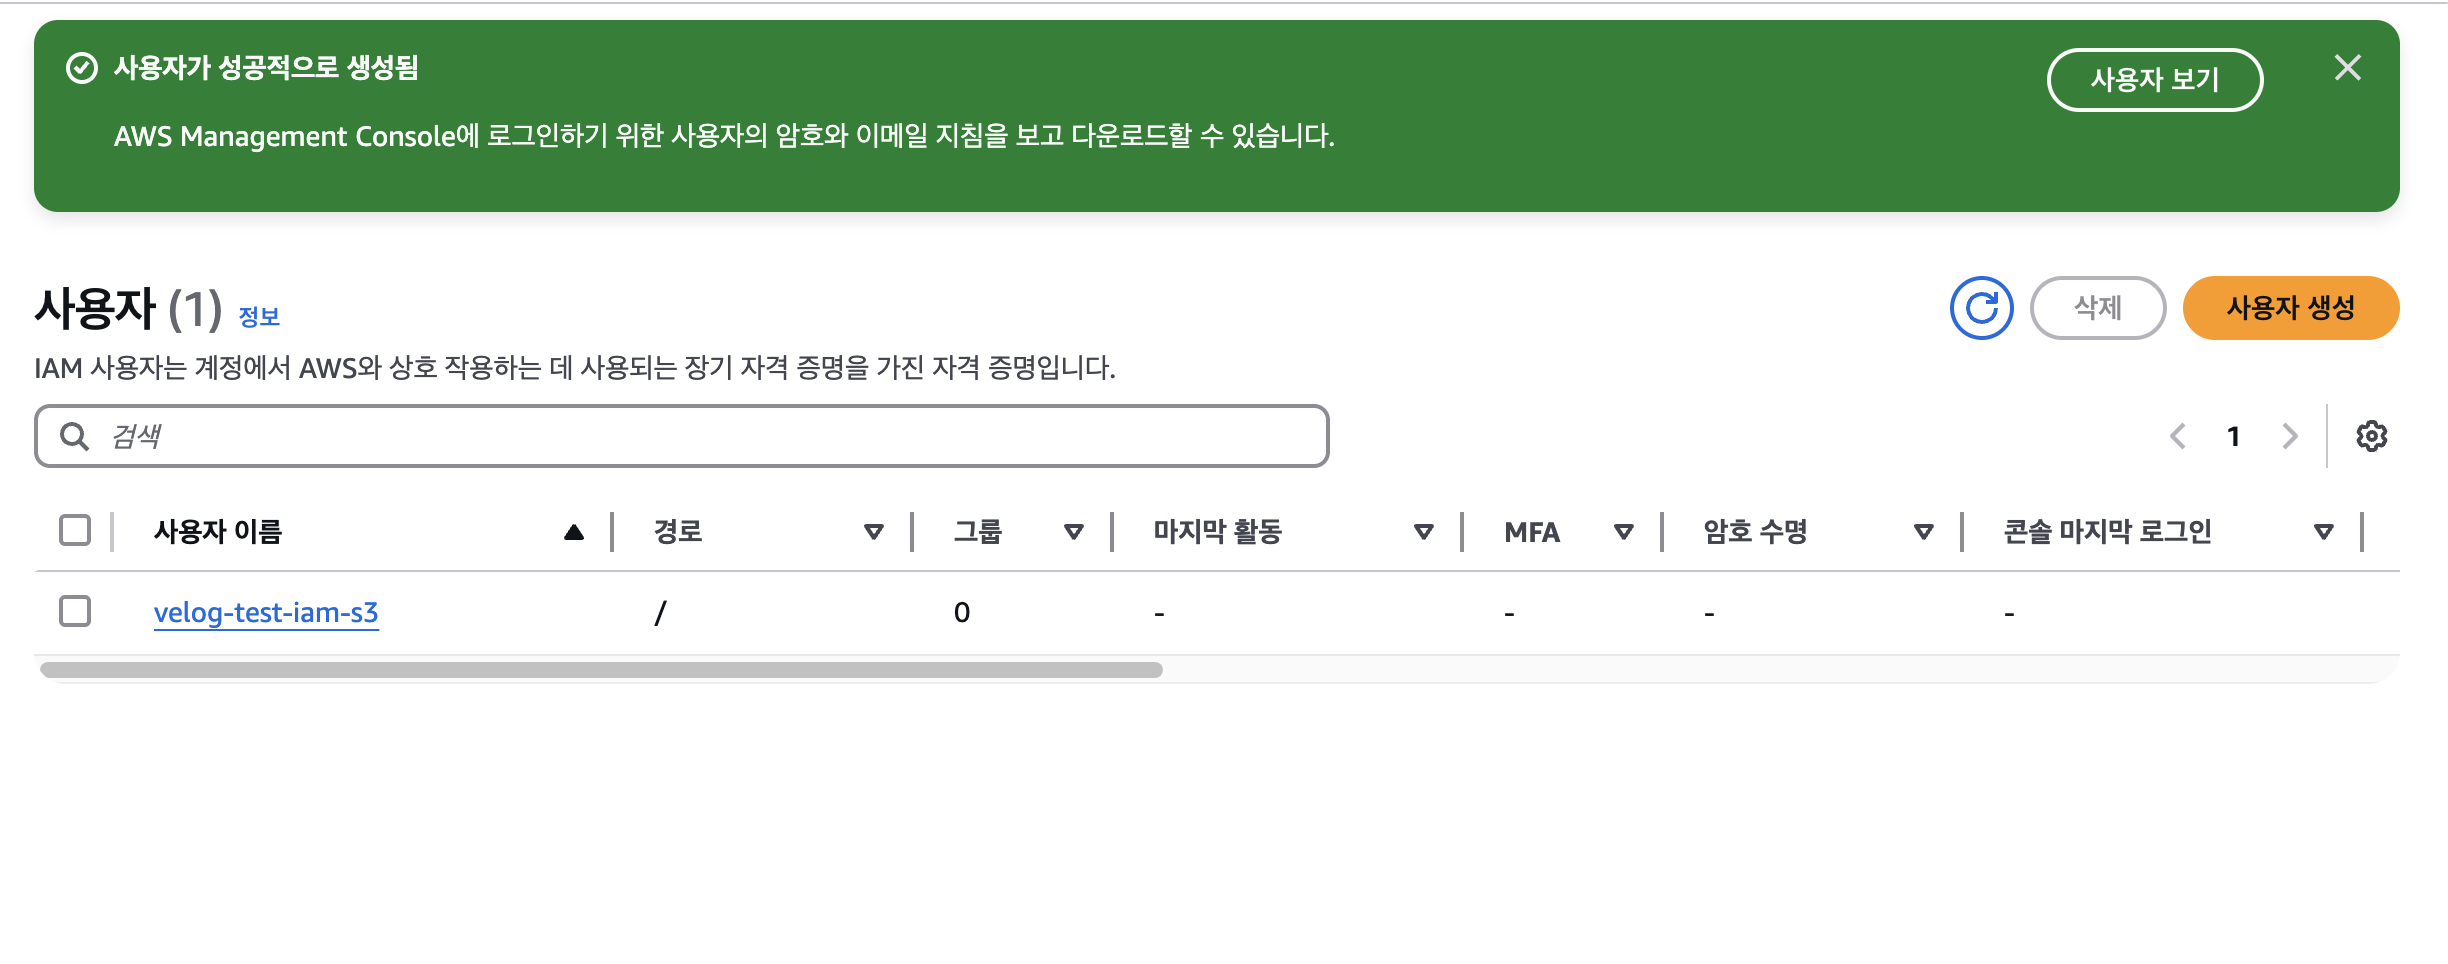
- 사용자 생성
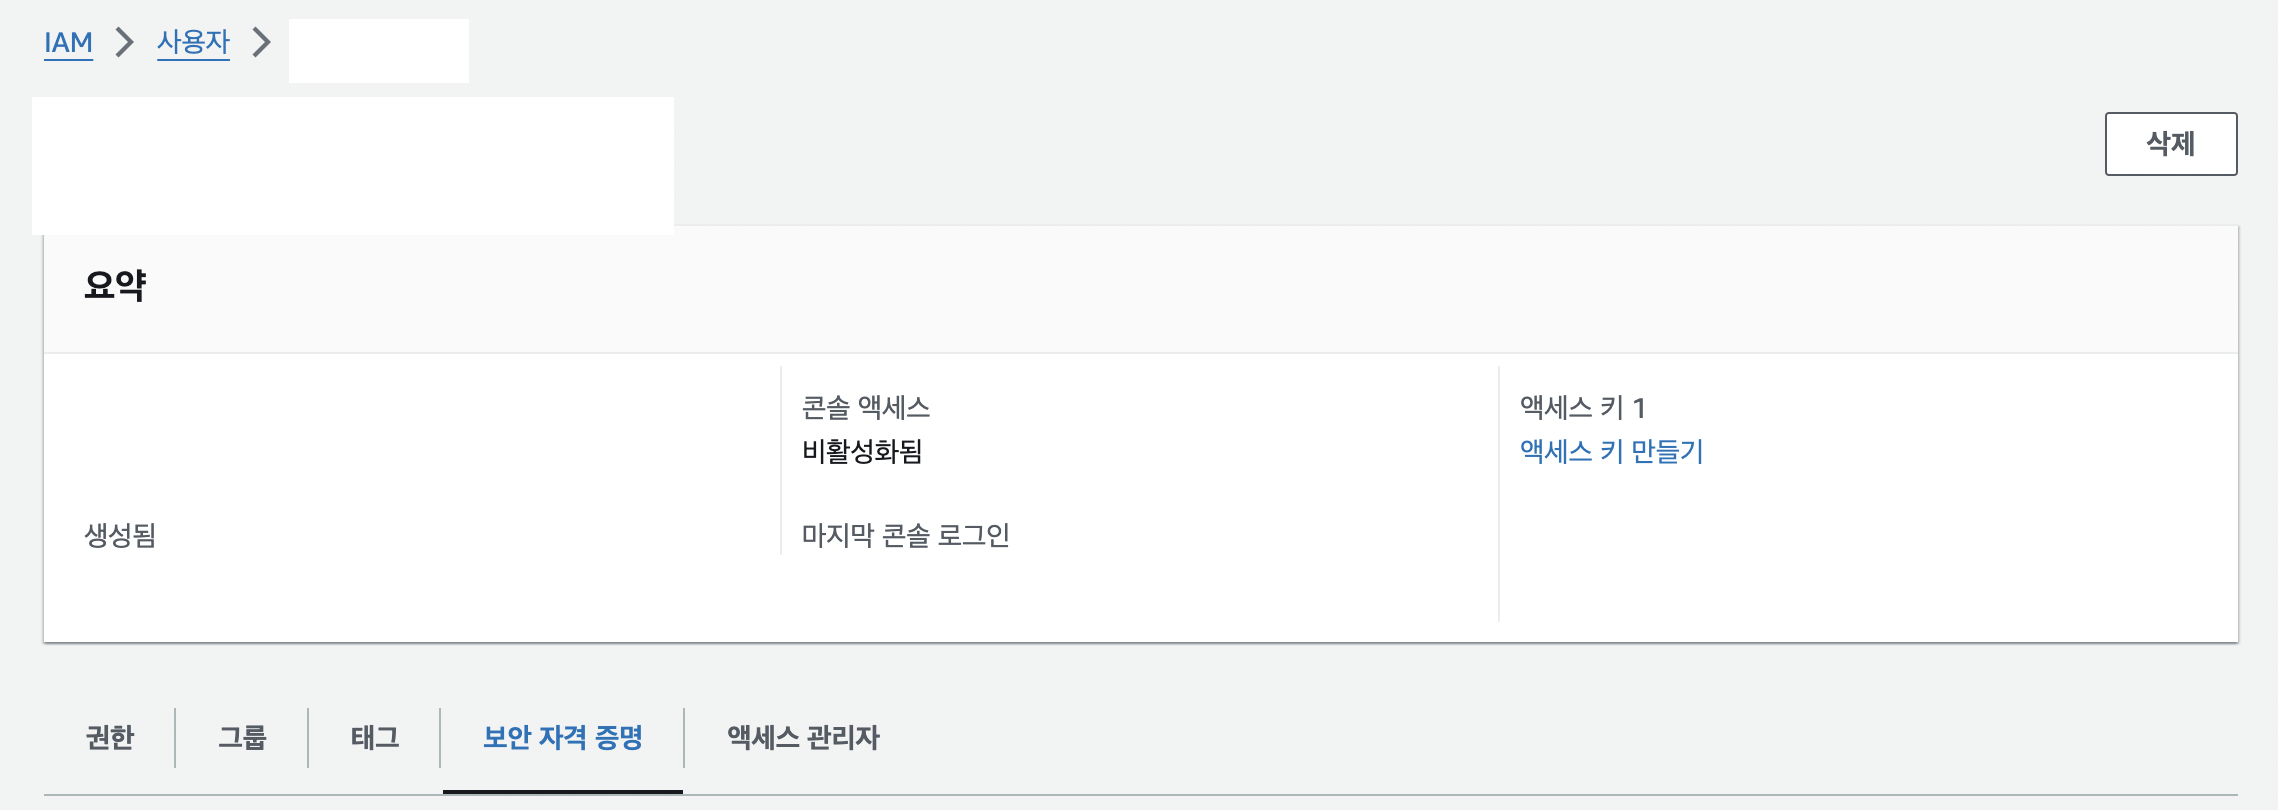
- 사용자 이름 클릭 -> 보안 자격 증명 클릭 후 엑세스 키 만들기 클릭

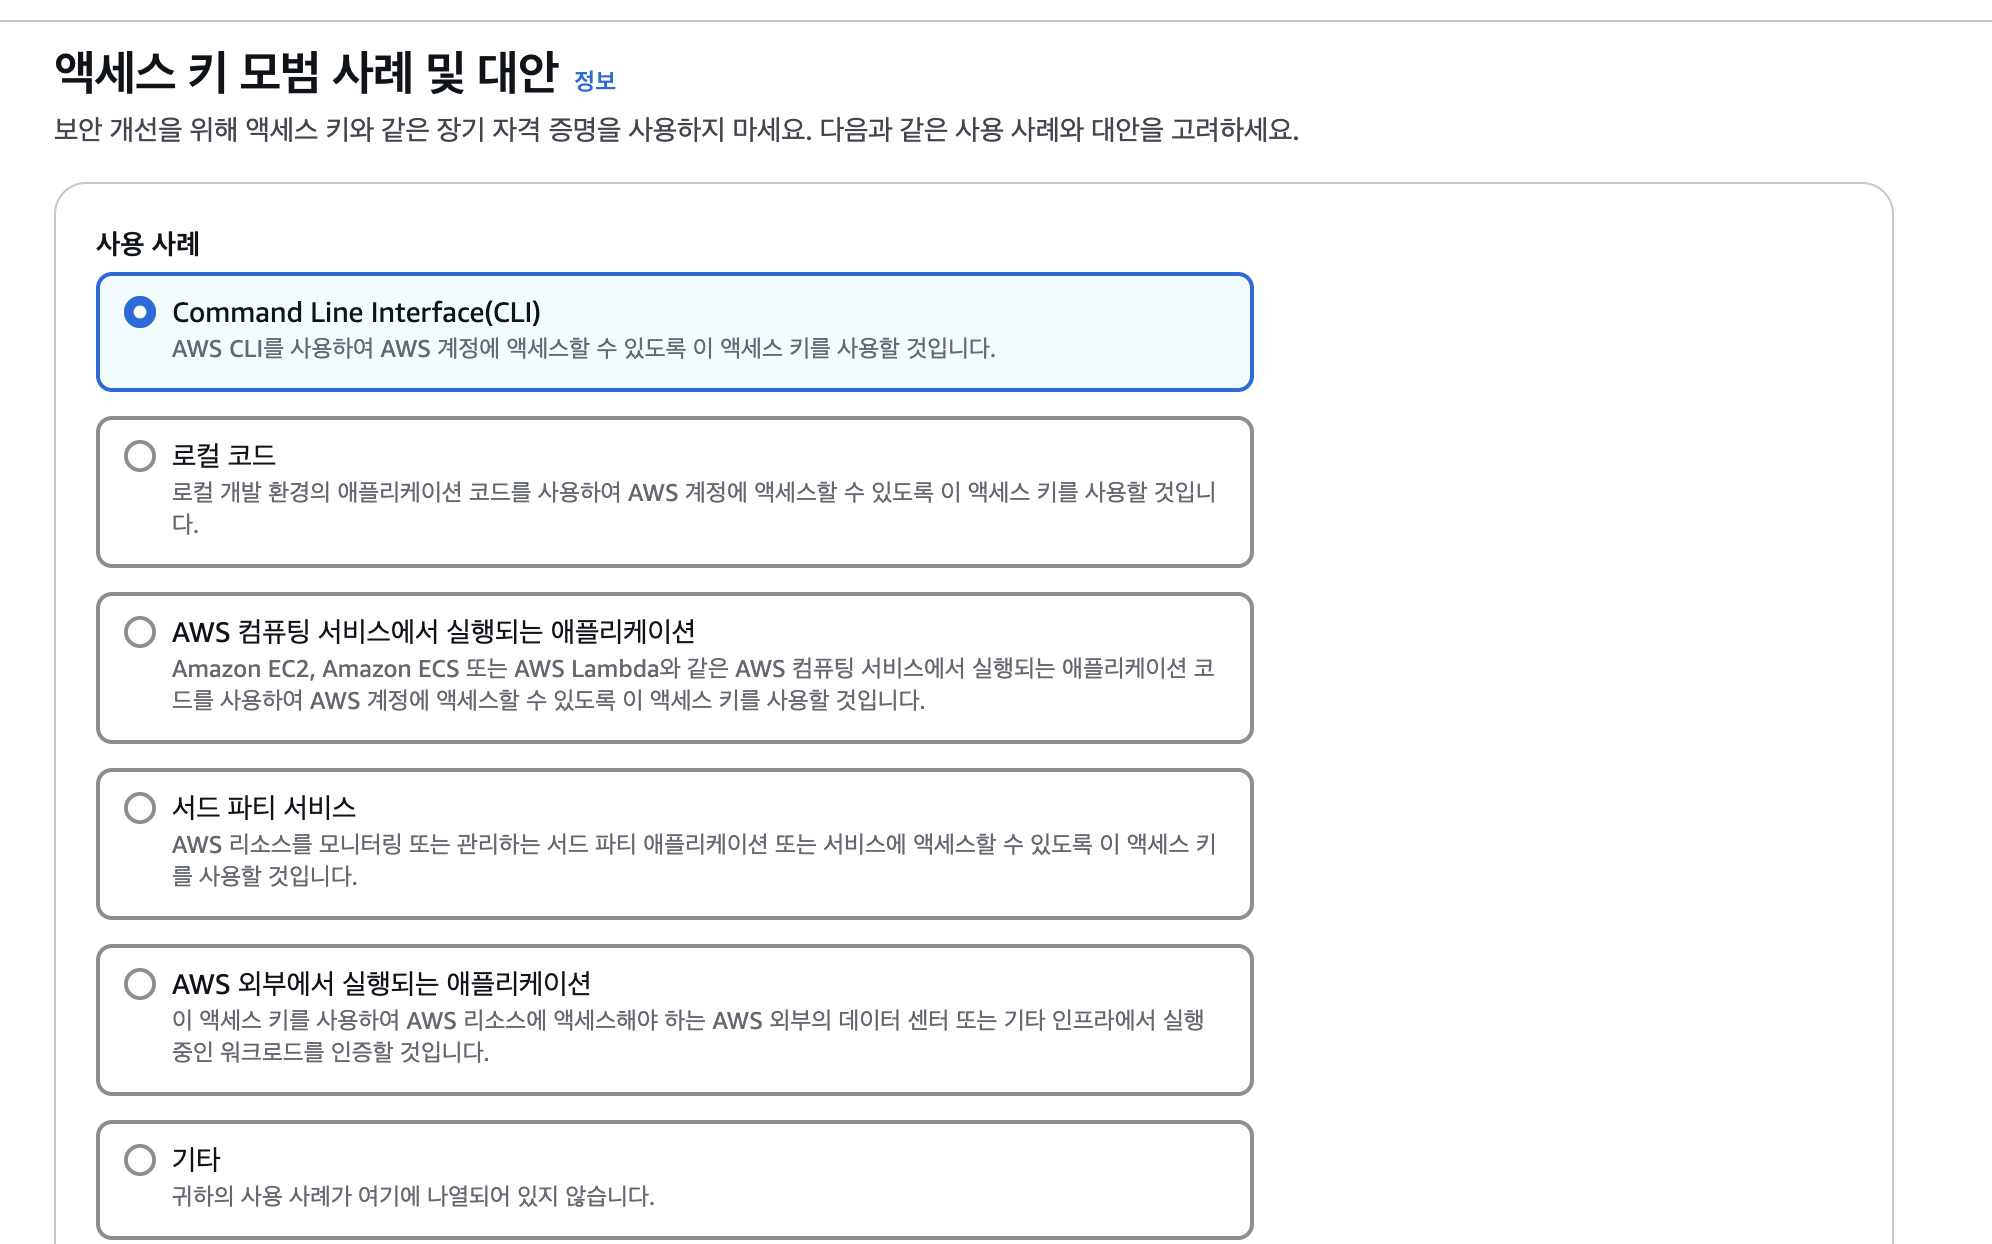
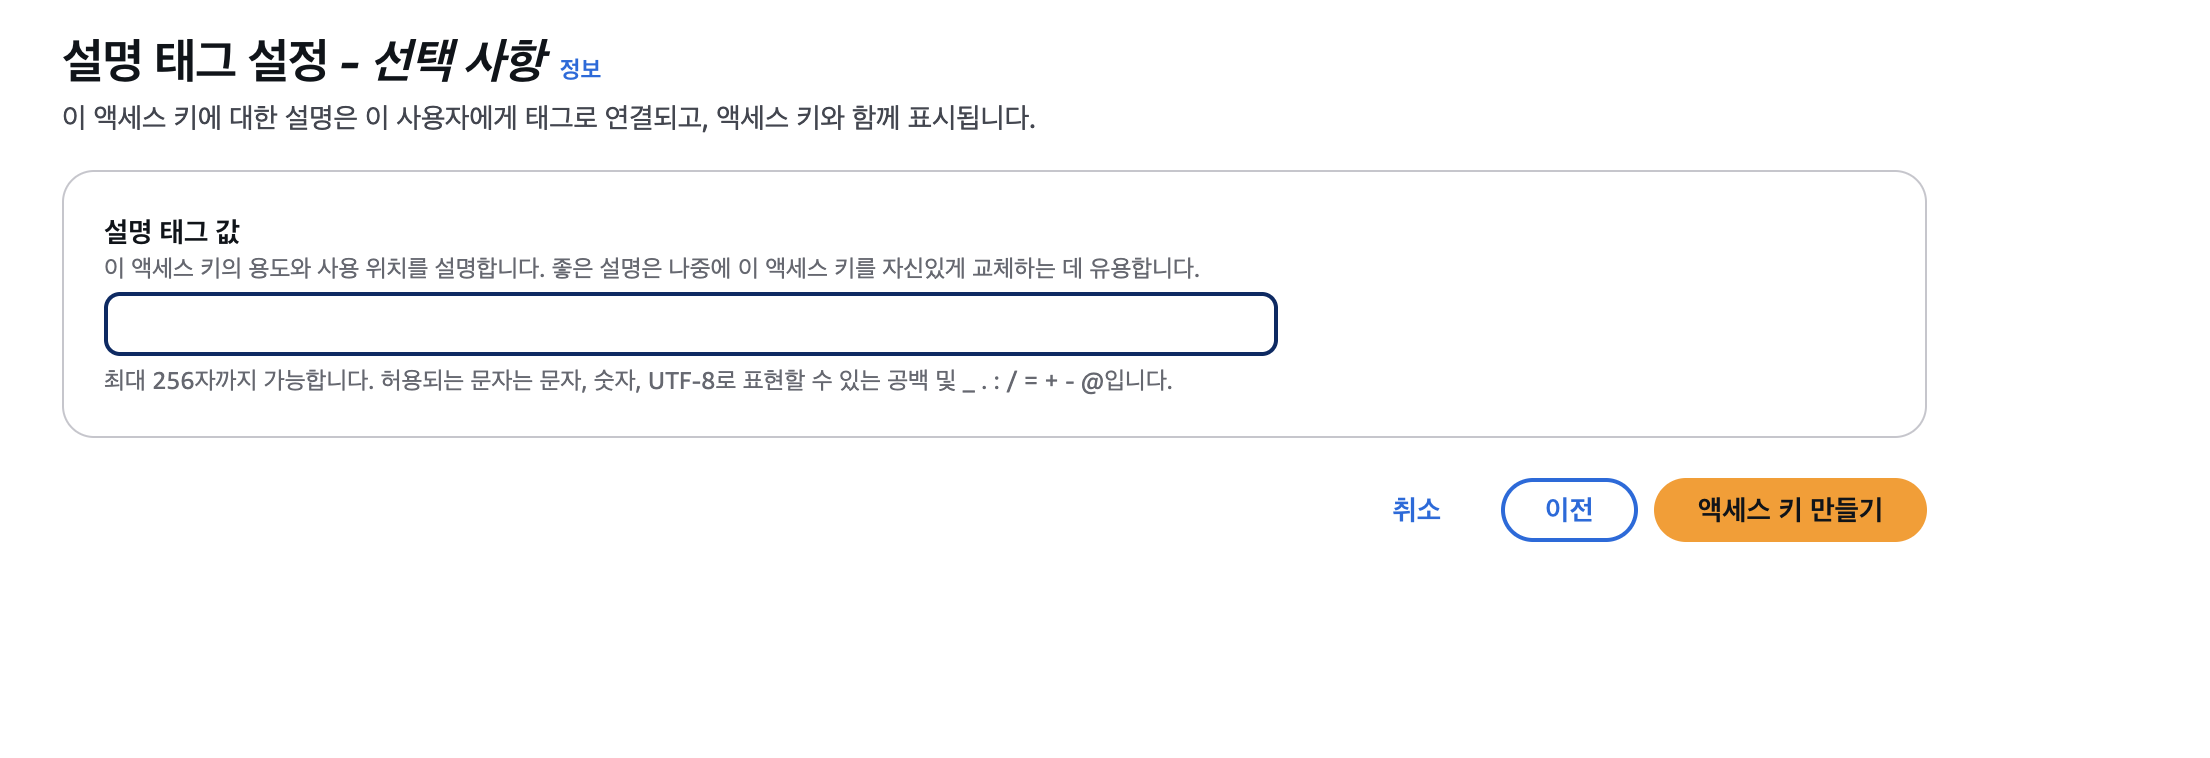
- 사용 사례 CLI 선택 후 태그 값 작성
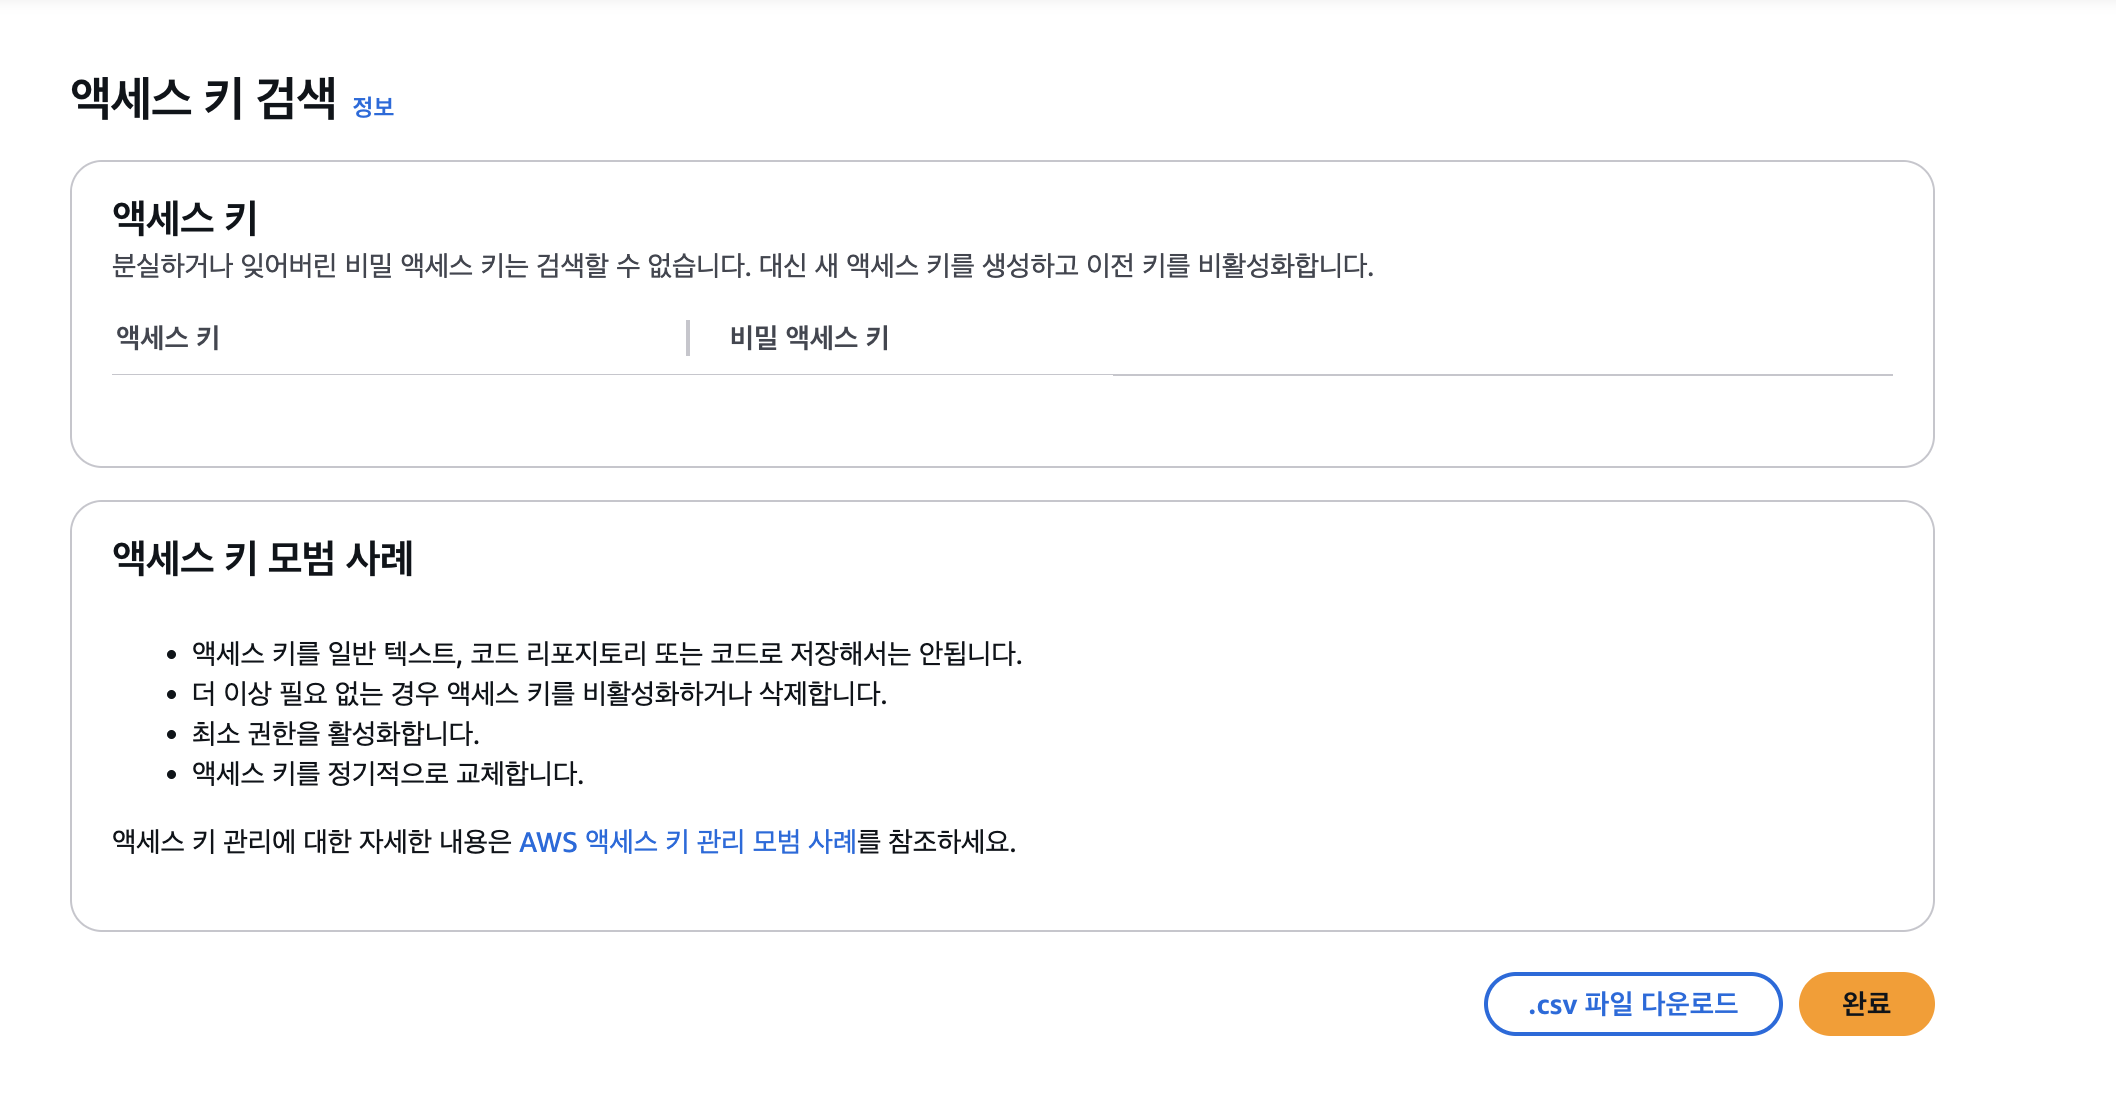
- 액세스키 .csv 파일로 다운 받기 후 완료
Node Js 코드
import { S3Client } from '@aws-sdk/client-s3';
import multer from 'multer';
import multerS3 from 'multer-s3';
import dotenv from 'dotenv';

dotenv.config();

const s3 = new S3Client({
    credentials: {
        accessKeyId: process.env.AWS_ACCESS_KEY_ID,
        secretAccessKey: process.env.AWS_SECRET_ACCESS_KEY,
    },
    region: process.env.AWS_REGION,
})

const upload = multer({
    storage: multerS3({
        s3,
        bucket: process.env.AWS_S3_BUCKET_NAME,
        metadata: (req, file, cb) => {
            cb(null, { fieldName: file.fieldname });
        },
        key: (req, file, cb) => {
            cb(null, `image/${Date.now().toString()}-${file.originalname}`);
        }
    }),
    limits: {fileSize: 5 * 1024 * 1024},
});

export default upload;
// myprofile.js
import express from 'express';
import { MyprofileSaveLogic } from '../domains/myprofile/myprofile.controller.js';
import upload from '../config/s3.config.js';
export const MyprofileRouter = express.Router();
MyprofileRouter.post('/',upload.single('imgage'),MyprofileSaveLogic);NestJs 코드
import { Injectable, InternalServerErrorException } from '@nestjs/common';
import { DeleteObjectCommand, PutObjectCommand, S3Client } from '@aws-sdk/client-s3';
import { ConfigService } from '@nestjs/config';
import { LoggerService } from '../logger/logger.service';

@Injectable()
export class AwsService {
  s3Client: S3Client;
  private readonly bucketName: string;
  private readonly region: string;

  constructor(
    private readonly loggerService: LoggerService,
    private readonly configService: ConfigService,
  ) {
    try {
      this.region = this.configService.get<string>('AWS_REGION');
      this.bucketName = this.configService.get<string>('AWS_BUCKET_NAME');

      this.s3Client = new S3Client({
        region: this.region,
        credentials: {
          accessKeyId: this.configService.get<string>('AWS_ACCESS_KEY'),
          secretAccessKey: this.configService.get<string>('AWS_SECRET_ACCESS_KEY'),
        },
      });
    } catch (err) {
      this.loggerService.warn(`S3/ 초기화 에러: ${err}`);
    }
  }

  async uploadImagesToS3(files: Express.Multer.File[] | Express.Multer.File | undefined, ext: string): Promise<string[]> {
    try {
      if (!files) return [];

      const fileArray = Array.isArray(files) ? files : [files];

      const uploadPromises = fileArray.map(async (file) => {
        const fileName = `review/${Date.now()}-${file.originalname}`;

        const command = new PutObjectCommand({
          Bucket: this.bucketName,
          Key: fileName,
          Body: file.buffer,
          ContentType: `image/${ext}`,
        });

        await this.s3Client.send(command);

        return `https://${this.bucketName}.s3.${this.region}.amazonaws.com/${fileName}`;
      });

      return Promise.all(uploadPromises);
    } catch (err) {
      this.loggerService.warn(`S3/ 업로드 에러: ${err}`);
      throw new InternalServerErrorException();
    }
  }

  async deleteImageFromS3(imageUrl: string) {
    const fileName = imageUrl.split('/').pop();
    const command = new DeleteObjectCommand({
      Bucket: this.bucketName,
      Key: fileName,
    });

    await this.s3Client.send(command);
  }
}
개발이 즐거운 백엔드 개발자