사진첩 홈페이지 만들기 1
WEB기초
사진첩 홈페이지 만들기 1
사진첩에 사용할 임시 사진
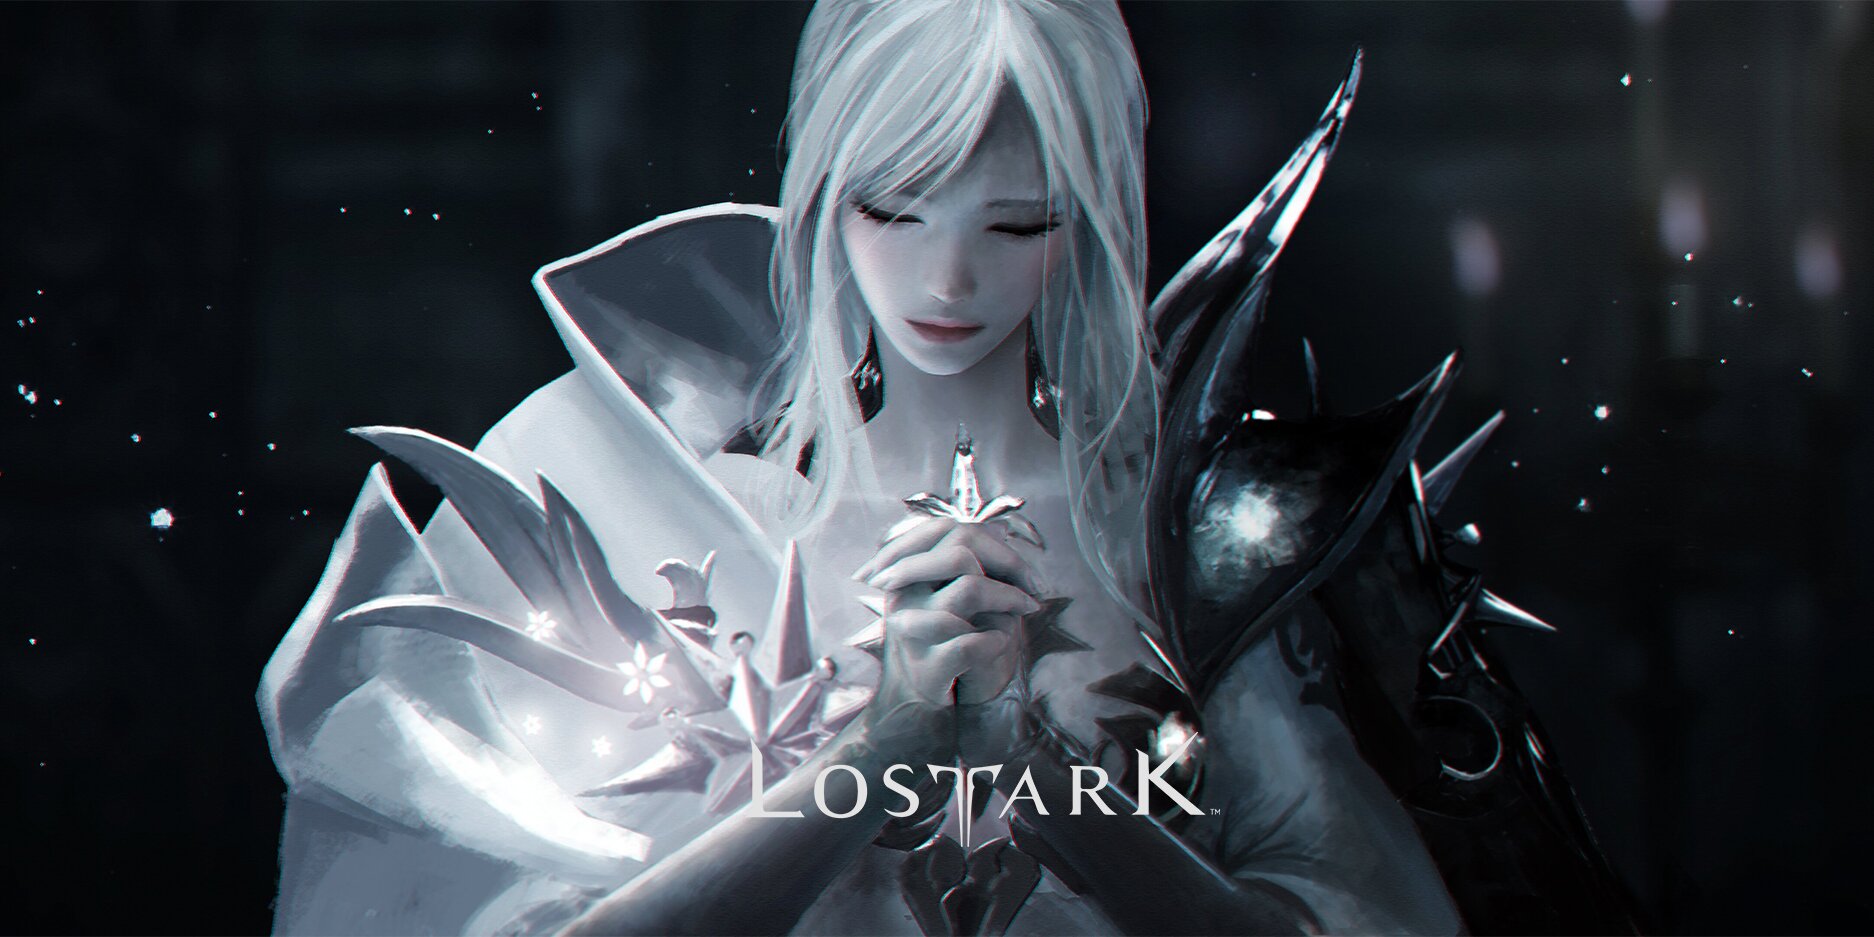
(출처: 스마일게이트 로스트아크)
1. 기본 세팅
우선 이전에 학습한 부트스트랩 기본세팅과 구글폰트를 미리 세팅한다.
<!DOCTYPE html>
<html lang="en">
  <head>
    <meta charset="UTF-8" />
    <meta name="viewport" content="width=device-width, initial-scale=1.0" />
    <title>사진첩</title>
    <link
      href="https://cdn.jsdelivr.net/npm/bootstrap@5.0.2/dist/css/bootstrap.min.css"
      rel="stylesheet"
      integrity="sha384-EVSTQN3/azprG1Anm3QDgpJLIm9Nao0Yz1ztcQTwFspd3yD65VohhpuuCOmLASjC"
      crossorigin="anonymous"
    />

    <style>
      @import url("https://fonts.googleapis.com/css2?family=Nanum+Pen+Script&display=swap");

      * {
        font-family: "Nanum Pen Script", cursive;
        font-weight: 400;
        font-style: normal;
      }

      .mytitle {
        background-color: green;
      }
    </style>
  </head>

  <body>
    <div class="mytitle">
      <h1>사진첩</h1>
      <button>사진 저장하기</button>
    </div>
  </body>
</html><style>에 있는 * 부분은 '모든'을 의미한다. 따라서 저 부분은 이 페이지의 모든 class에 구글 폰트를 적용하겠다는 뜻이 된다.
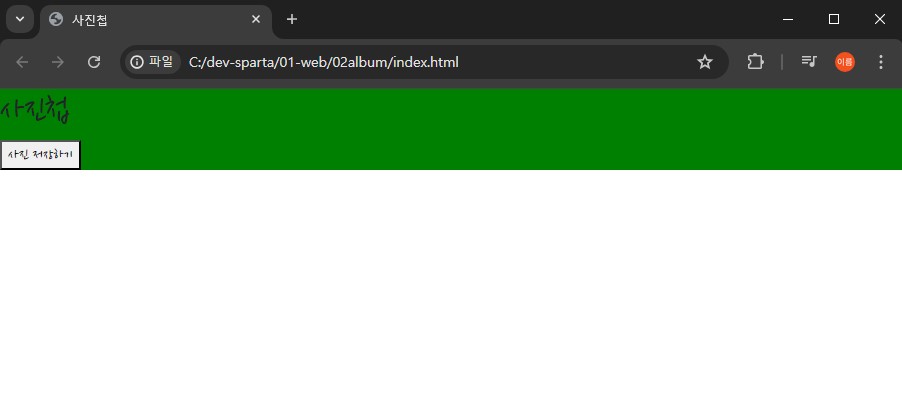
작업하고있는 부분을 저렇게 background-color설정을 통해 특정 색(위 사진에서는 green)으로 해두면, 작업하는 동안 그 구역 범위를 계속 확인할 수 있어서 편리하다. 해당 구역에 대한 작업이 모두 끝난 이후 저 배경색상 코드를 삭제하기만 하면 된다.
2. 사진첩 상단 부분
2.1. 배경 이미지 적용 및 가운데 정렬
<!DOCTYPE html>
<html lang="en">
  <head>
    <meta charset="UTF-8" />
    <meta name="viewport" content="width=device-width, initial-scale=1.0" />
    <title>사진첩</title>
    <link
      href="https://cdn.jsdelivr.net/npm/bootstrap@5.0.2/dist/css/bootstrap.min.css"
      rel="stylesheet"
      integrity="sha384-EVSTQN3/azprG1Anm3QDgpJLIm9Nao0Yz1ztcQTwFspd3yD65VohhpuuCOmLASjC"
      crossorigin="anonymous"
    />

    <style>
      @import url("https://fonts.googleapis.com/css2?family=Nanum+Pen+Script&display=swap");

      * {
        font-family: "Nanum Pen Script", cursive;
        font-weight: 400;
        font-style: normal;
      }

      .mytitle {
        height: 250px;
        color: wheat;

        display: flex;
        flex-direction: column;
        align-items: center;
        justify-content: center;

        background-image: url(https://velog.velcdn.com/images/cdr4733/post/d8bb811d-7824-4b62-a5ef-0f8e83c76690/image.jpg);
        background-position: center;
        background-size: cover;
      }

      .mytitle > button {
        width: 150px;
        height: 50px;
        background-color: transparent;

        color: wheat;
        border: 1px solid wheat;
        border-radius: 5px;

        margin-top: 20px;
      }
    </style>
  </head>

  <body>
    <div class="mytitle">
      <h1>사진첩</h1>
      <button>사진 저장하기</button>
    </div>
  </body>
</html>
2.2. 코드 분석
.mytitle > button {} : .mytitle class 안에 있는 button 들에 대한 속성을 지정할 수 있다.
display : flex : flex 속성이 적용된 요소는 flex container가 되고, flex containter의 자식 요소는 자동적으로 flex item이 된다. flex item들은 '주축(main axis)' 을 기준으로 정렬되는데, 주축의 방향은 flex container의 flex-direction 속성으로 결정된다. 기본값은 row로 되어있다.
flex-direction : column : flex container의 주축 방향을 column으로 한다.
align-items : center : 요소들을 '세로축' 기준으로 가운데(center)로 정렬한다.
justify-content : center : 요소들을 '가로축' 기준으로 가운데(center)로 정렬한다.
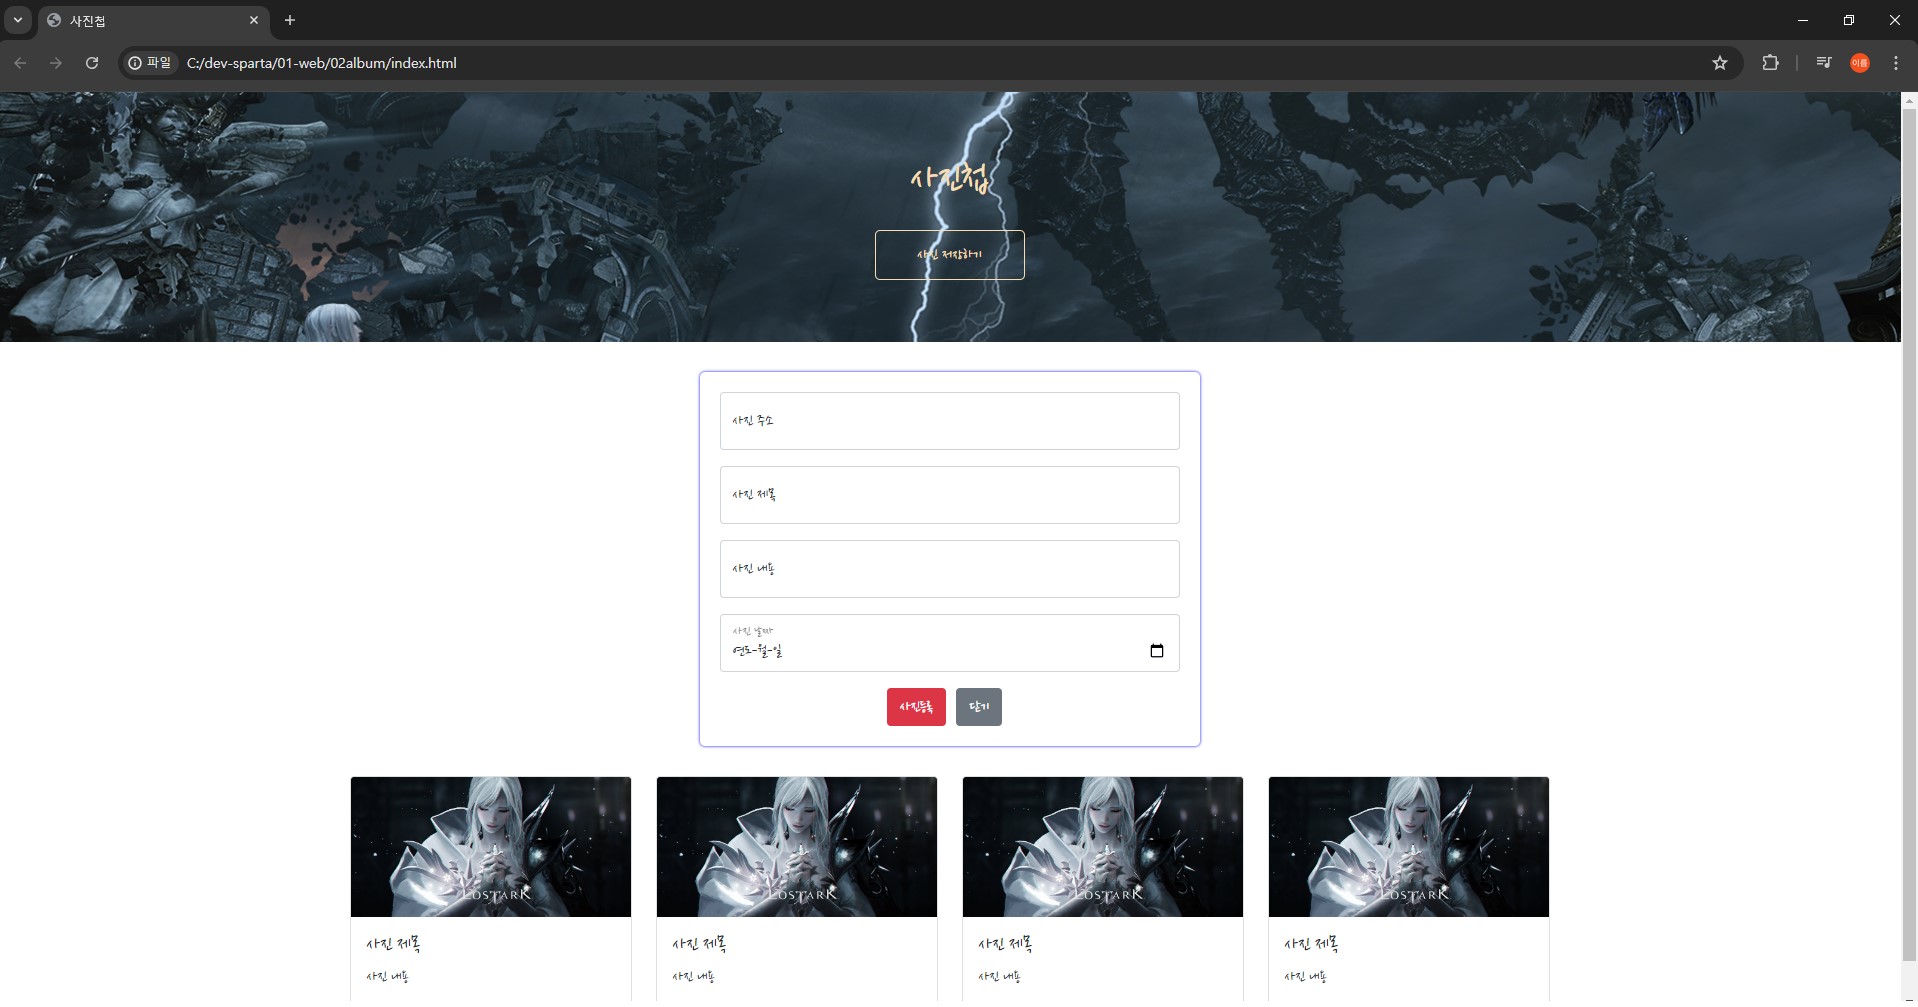
3. 사진첩 하단 부분
3.1. 사진첩 카드 추가하기
  <body>
    <div class="mytitle">
      <h1>사진첩</h1>
      <button>사진 저장하기</button>
    </div>

    <div class="mycards">
      <div class="row row-cols-1 row-cols-md-4 g-4">
        <div class="col">
          <div class="card h-100">
            <img
              src="https://velog.velcdn.com/images/cdr4733/post/4de03eb3-fa90-4d59-9d73-3fd9a168a31d/image.jpg"
              class="card-img-top"
              alt="..."
            />
            <div class="card-body">
              <h5 class="card-title">사진 제목</h5>
              <p class="card-text">사진 내용</p>
            </div>
            <div class="card-footer">
              <small class="text-body-secondary">사진 날짜</small>
            </div>
          </div>
        </div>
      </div>
    </div>
  </body>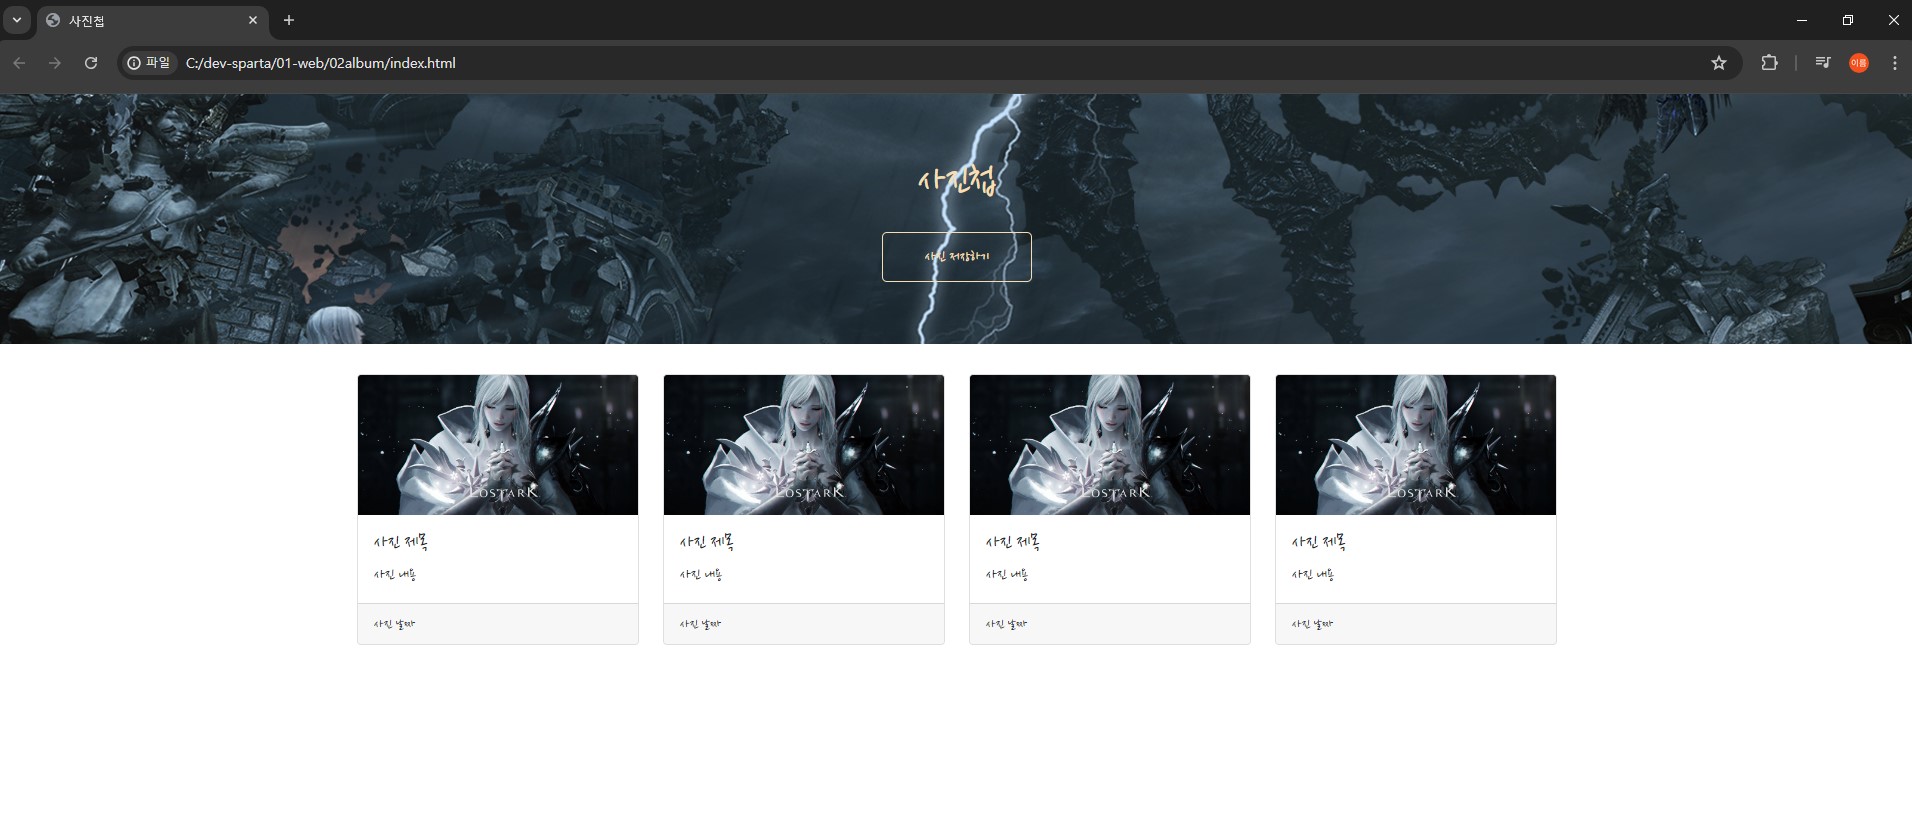
3.2. 코드 분석
<div class="row row-cols-1 row-cols-md-4 g-4"> 1줄에 4개의 카드를 배치한다.
// 카드 1장 코드
  <div class="col">
    <div class="card h-100">
      <img
        src="https://velog.velcdn.com/images/cdr4733/post/4de03eb3-fa90-4d59-9d73-3fd9a168a31d/image.jpg"
        class="card-img-top"
        alt="..."
      />
      <div class="card-body">
        <h5 class="card-title">사진 제목</h5>
        <p class="card-text">사진 내용</p>
      </div>
      <div class="card-footer">
        <small class="text-body-secondary">사진 날짜</small>
      </div>
    </div>
  </div>
4. 포스팅 박스 만들기
4.1. 포스팅 박스 추가하기
  <head>
    <style>

      {...생략...}

      .mypostingbox {
        width: 500px;
        margin: 30px auto 0px auto;
        padding: 20px;
        box-shadow: 0px 0px 3px 0px blue;
        border-radius: 5px;
      }

      .mybtn {
        display: flex;
        flex-direction: row;
        align-items: center;
        justify-content: center;
      }

      .mybtn > button {
        margin-right: 10px;
      }
    </style>
  </head>

  <body>
    <div class="mytitle">
      <h1>사진첩</h1>
      <button>사진 저장하기</button>
    </div>

    <div class="mypostingbox">
      <div class="form-floating mb-3">
        <input
          type="url"
          class="form-control"
          id="floatingInput"
          placeholder="사진 주소"
        />
        <label for="floatingInput">사진 주소</label>
      </div>
      <div class="form-floating mb-3">
        <input
          type="text"
          class="form-control"
          id="floatingInput"
          placeholder="사진 제목"
        />
        <label for="floatingInput">사진 제목</label>
      </div>
      <div class="form-floating mb-3">
        <input
          type="text"
          class="form-control"
          id="floatingInput"
          placeholder="사진 내용"
        />
        <label for="floatingInput">사진 내용</label>
      </div>
      <div class="form-floating mb-3">
        <input
          type="date"
          class="form-control"
          id="floatingInput"
          placeholder="사진 날짜"
        />
        <label for="floatingInput">사진 날짜</label>
      </div>
      <div class="mybtn">
        <button type="button" class="btn btn-danger">사진등록</button>
        <button type="button" class="btn btn-secondary">닫기</button>
      </div>
    </div>
(...생략...)
4.2. 코드 분석
// input 1개 코드
  <div class="form-floating mb-3">
    <input
      type="text"
      class="form-control"
      id="floatingInput"
      placeholder="사진 내용"
    />
    <label for="floatingInput">사진 내용</label>
  </div>