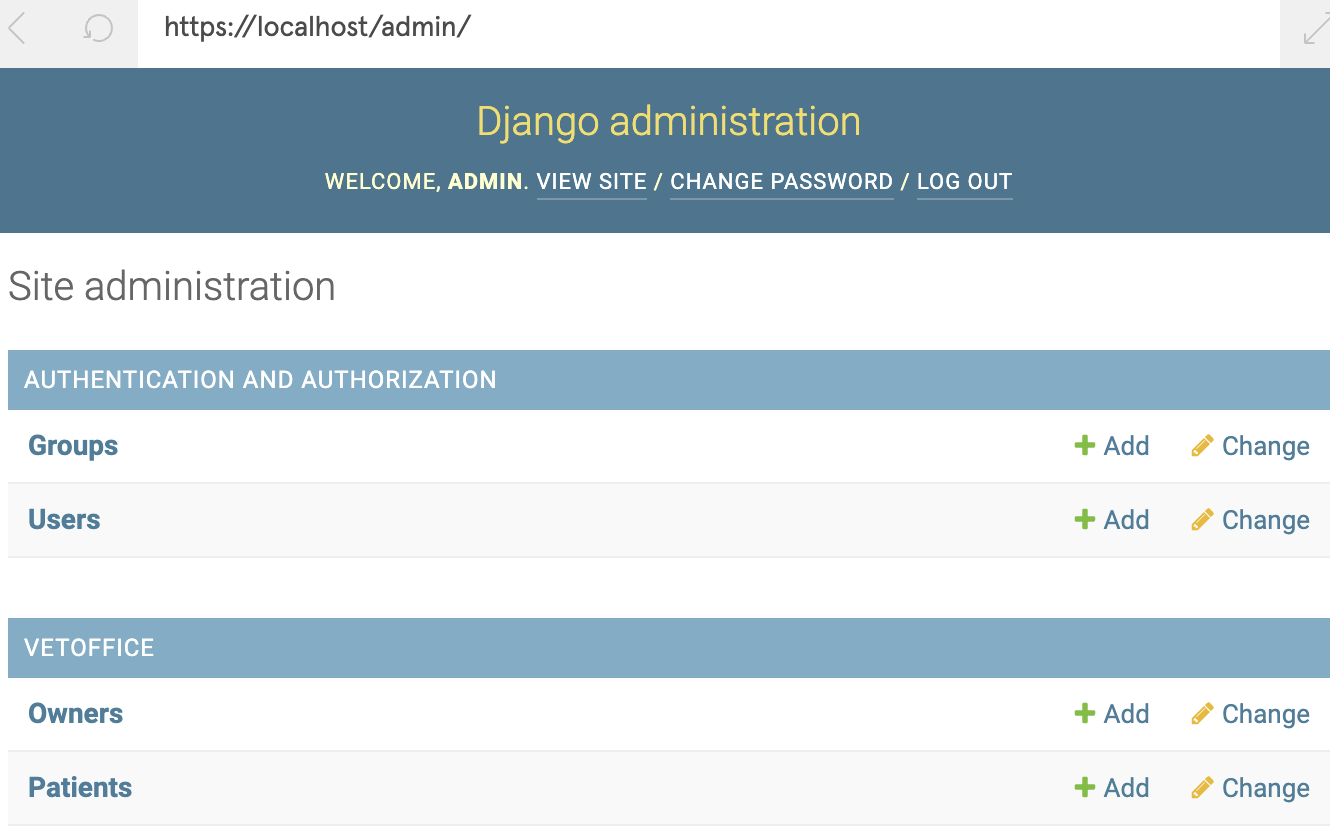
Admin Account
In order to access the Admin interface, we must create a superuser
- superuser has the permissions to freely control data
python3 manage.py createsuperuser- shell will prompt us to type in a username, email, and password
- once completed, we can navigate to the
/adminroute and log in with the credentials we just used to create our superuser - If we get redirected to the index page, that means our login was successful
Registering Tables in Admin
In order to interact with a database table through the admin interface, we first need to register the model.
1. Registering and configuring a model is done by adding the models into the app’s admin.py file
# myapp_root/book_catalog/admin.py

from .models import Book

admin.site.register(Book)- then use the
register()method to register our models
admin.site.register(Book)- we will be directed to a table that shows us all the information and records held in this database table
User Objects
- Import User Object from Django's system
from django.contrib.auth.models import User - Use method to create users
.create_user()
user = User.objects.create_user(username="myusername", email="myemail@crazymail.com", password="mypassword")- automatically creates and saves the user to the database
- hashes the password - not a plain string anymore, so security ↑
- can call the
.save()method in order to save the user object back to the database if we make any further changes.
user = User.objects.create_user(username="myusername", email="myemail@crazymail.com", password="mypassword")** shell에서 빠져나오려면 Ctrl+D or exit()
Authenticating Users
View Function 안에다가 user authenticate 하는 로직을 넣고, authenticate() function을 실행한다.
user = authenticate(request, username=username, password=password)- 이 함수는 credentials(username, password)를 파라미터로 받는다.
- credential이 server data랑 맞으면,
User object가 리턴된다.django.shortcuts에서 온redirect()이 allows us to redirect a user to a specific view by passing in the name of a view.
- 맞지않으면
PermissionDenied exception이 발생하고,None리턴된다. request.POST형식을 통해서 들인 데이터를 분석한다- if/else를 사용해서 예외처리
from django.contrib.auth import authenticate

def login_view(request):
  # Both username and password are captured from the submitted log in form
  username = request.POST["username"]
  password = request.POST["password"]

  # Both username and password are passed into the authenticate() method to verify the user
  user = authenticate(request, username=username, password=password)

  # If the user is valid, then a user object is returned.
  if user is not None:
    # Log in user and redirect them
    return redirect("home.html")
  else:
    return HttpResponse("Invalid credentials!")
Log In
user object가 만들어졌으면, 그 credential을 사용해서 사이트에 로그인을 할 수 있다.
Django에서 제공하는 login()함수를 사용하면 된다!
# views.py
From django.contrib.auth import login

def login_view(request):
  # ... Other code
login(request, user)django.contrib.auth에서 importlogin()함수는request,user두가지 받아드린다- 로그인이 성공하면, session이 만들어진다.
session이란?
유저가 login 하고 logout할때 까지의 시간.
- session에서는 특별한 cookie를 사용한다. 그 쿠키에는 session id가 지정되어 있는데, 브라우저를 정보를 확인하고, 사이트를 돌아다닐때마다 로그인하지 않아도 되도록 로그인정보를 유지시켜준다.
from django.contrib.auth import authenticate, login
from django.shortcuts import redirect

def login_view(request):
  username = request.POST["username"]
  password = request.POST["password"]

  user =  authenticate(request, username=username, password=password)

  # Check if a user is verified and authenticated
  if user is not None:
    # Use the returned user object in login()
    login(request, user)

    # Redirect to home page after logging in
    return redirect("home.html")
  else:
    render(request, "registration/login.html", context)
이제 우리의 ifstatement 안에,
(request + 우리가 만든 user object를 넣은)
login()을 통해서 session을 만들 수 있다.
# Other login_view code...
  if user is not None:
    login(request, user)
    return redirect("dashboard.html")
  else:
    render(request, "registration/login.html", context)
Login Mixin and Decorator
Login Mixin
mixins= a type of class that is used to “mix in” extra properties and methods into another class.
import LoginRequiredMixin from django mixins
# views.py
from django.contrib.auth.mixins import LoginRequiredMixin
Mixins can be passed as argument
We want to add login mixin before view (left: mixin, right: view)
# views.py
class SomeView(LoginRequiredMixin, ListView):
  model = ModelExample
Decorators
# views.py
from django.contrib.auth.decorators import login_required

@login_required
def profile(request):
  return render(request, "app/profile.html", name="profile")
Decorator을 사용함으로써, 로그인하지 않은 유저에게는 deny access 할 수 있다.
- With just one line, Django is able to take care of all the logic required to deny/allow access to specific pages!
Both the login mixin and decorator do roughly the same thing. The main difference lies in the syntax and implementation — mixins are used for classes, while decorators are used for functions.
Log-out
logout()function takes in arequestand returnsNone:
# views.py

from django.contrib.auth import logout

def logout_view(request):
  # ... Other logic
  logout(request)
return redirect("home")- By calling the
logout()function we completely delete the session data that was associated with the logged in user. - It is important to note that calling
thelogout()function doesn’t throw any errors if the user is not logged in. Once the logout function is called, we can then redirect the user to a different view page by usingredirect().
- access the logout view within our home page :
add a new path to logout our users in our app’s urls.py:
urlpatterns = [
  path("/logout", logout, name="logout")
]
이 루트로 가면 세션 끝나고 로그아웃 된다.
Login Template
<!-- registration/login.html -->
{% block title %}Login{% endblock %}
{% block content %}
<h2>Login</h2>
<form method="post">
{% csrf_token %}
<table>
{{ form.as_p }}
<tr>
<td> </td>
<td><input type="submit" value="Submit"></td>
</tr>
</table>
</form>
{% endblock %}Signup Template and View
UserCreationForm & CreateView class-based view 사용
# views.py
from django.contrib.auth.forms import UserCreationForm
from django.urls import reverse_lazy

class SignUp(CreateView):
  form_class = UserCreationForm
  success_url = reverse_lazy("login")
  template_name = "registration/signup.html"
Our SignUp class is using a CreateView class, in which we can specify what information to include.
- The first thing we’ll set is the
form_classas aUserCreationFormwhich will generate the necessary fields for us (username and password).- The
UserCreationFormwas imported fromdjango.contrib.auth.forms
- The
- Afterward, we use the
success_urlattribute to assign a URL to redirect the signed up user- We use the
reverse_lazy()method to generate a full URL from a name. - We set the successful redirect to go to
"login"path since we still want a user to login.
- We use the
- Lastly, we’ll assign
"registration/signup.html"totemplate_nameso we can render that specific template.
urls.py에 만든 views.py 추가해주기
# urls.py

path("signup/", views.SignUp.as_view(), name="signup"),