기초적인 문법은 지난 포스팅에서 끝내고 이제 브라우저 위에서 Javascript가 어떻게 작동하는지 알아보자.
📖Javascript를 사용하는 이유?
Javascript를 사용하는 이유는 html과 상호작용하기 위해서이다.
html의 element들은 Javascript를 통해서 변경하고 읽을 수 있다.
1. document
document는 이미 브라우저에 존재하는 객체. 즉, 우리가 접근할 수 있는 html을 가리키는 객체이다.document는 html을 Javascript의 관점에서 보여줌.- Javascript에서
document객체로부터 title과 같은 element를 가지고 올 수 있음.
✍ example
// html 코드
<!DOCTYPE html>
<html lang="en">
<head>
    <meta charset="UTF-8">
    <meta http-equiv="X-UA-Compatible" content="IE=edge">
    <meta name="viewport" content="width=device-width, initial-scale=1.0">
    <link rel="stylesheet" href="style.css">
    <title>Momentum</title>
</head>
<body>
    <div class="hello">
        <h1>Grab me!</h1>
    </div>
    <script src="app.js"></script>
</body>
</html>
// Javascirpt 코드
console.log(document.title);
✔ 결과 확인
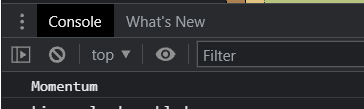
document를 이용하여 html의 title태그를 콘솔 창에서 확인 가능.
// Javascirpt 코드
document.title="Hi";
✔ 결과 확인
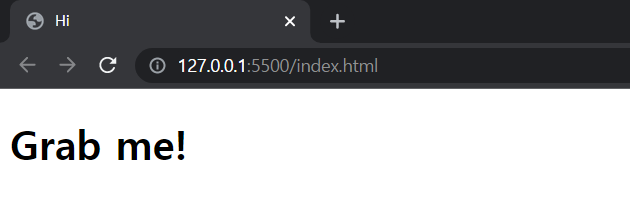
document를 이용하여 html의 title태그를 Momentum에서 Hi로 변경.
👉Javascript와 html을 연결하기 위해 작업을 수행할 필요 없이 이미 브라우저가 document라는 객체를 제공하기 때문에 html에서 값을 가져오고 바꿀수도 있음!!
2. Searching For Elements
document.getElementById()함수는 html에서 id를 통해 element를 찾아줌.document.getElementsByClassName()을 이용하면 class를 통해 element를 찾아줌.document.getElementsByTagName()을 이용하면 태그를 통해 element를 찾아줌.
👉 위의 세 함수는 모두 array를 반환!!!
querySelector()를 이용하여 html의 element를 css방식으로 검색할 수 있음.querySelector()는 단 하나의 element를 return.querySelectorAll()은 selector 안의 조건에 부합하는 모든 element를 가져다 줌.
👉 querySelector는 해당 element의 첫번째 element만 반환!!!
✍ example
// html 코드
<!DOCTYPE html>
<html lang="en">
<head>
    <meta charset="UTF-8">
    <meta http-equiv="X-UA-Compatible" content="IE=edge">
    <meta name="viewport" content="width=device-width, initial-scale=1.0">
    <link rel="stylesheet" href="style.css">
    <title>Momentum</title>
</head>
<body>
    <div class="hello">
        <h1 id="title">Grab me!</h1>
    </div>
    <script src="app.js"></script>
</body>
</html>
//Javascript 코드
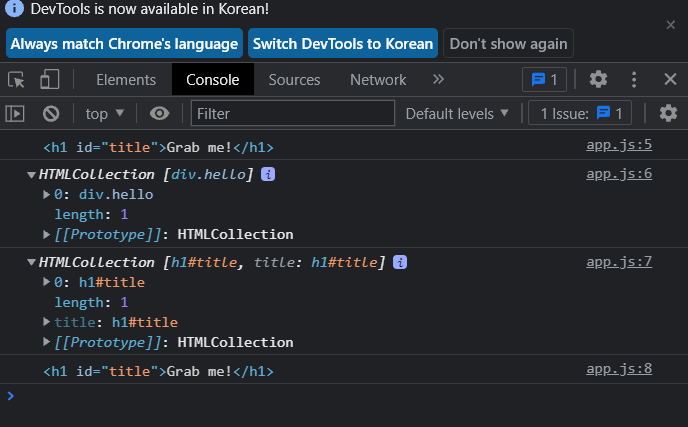
const titleOne =document.getElementById("title");// <h1 id="title">Grab me!</h1>
const titleTwo=document.getElementsByClassName("hello"); // <div class="hello">
const titleThree=document.getElementsByTagName("h1");// <h1 id="title">Grab me!</h1>
const titleFour=document.querySelector("h1");// <h1 id="title">Grab me!</h1>
console.log(titleOne);
console.log(titleTwo);
console.log(titleThree);
console.log(titleFour);✔ 결과 확인
3. Event
- Javascript는 event를 listen할 수 있음.
addEventListener()는 말그대로 event를 listen하는 함수.addEventListener()를 사용할 때에는 어떤 이벤트를 listen할 것이고 유저가 이 element에 해당 event를 했을 때 어떤 함수를 실행할 것인지도 argument에 적어주어야 함.
✍ example
// js로 html element를 가져오고 가져온 element에 listener를 추가하는 것.
const title=document.querySelector("div.hello:first-child h1");
function handleTitleClick(){
console.log("title was clicked");
}
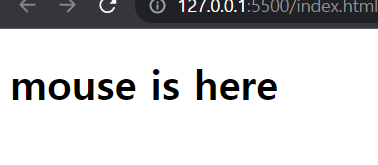
function handleMouseEnter(){
title.innerText= "mouse is here";
}
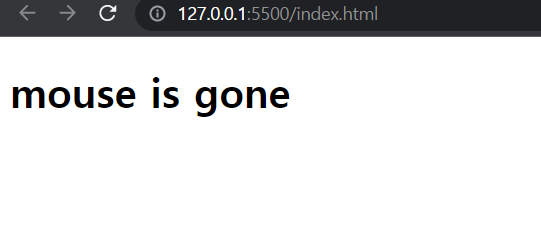
function handleNouseLeave(){
title.innerText="mouse is gone";
}
title.addEventListener("click", handleTitleClick);
title.addEventListener("mouseenter", handleMouseEnter);
title.addEventListener("mouseleave", handleNouseLeave );✔ 결과 확인
👉title.addEventListener("click", handleTitleClick); 유저가 title을 click할 때 Javascript가 handleTitleClick함수의 실행버튼을 대신 눌러줄것. 따라서 함수를 argument로 전달할 때 handleTitleClick()과 같이 괄호를 붙이지 않도록 주의!!
✔ 마치며
다음 포스팅에서는 로그인 기능을 만드는 방법을 공부해보고, 직접 구현까지 해보겠습니다. 😊