Keycloak
- ID 및 액세스 관리 솔루션을 제공하는 오픈소스
- 인증, 인가, SSO를 상숑할 수 있음
- 인증 서버를 제공
SSO?
- Single-Sign-On
- 한번 로그인을 통해 그와 연결된 여러가지 다른 사이트를 이용가능
- 통합 인증 솔루션
Client Credentials
- Client 자격 증명
- 가장 간단한 증명 타입
- 시스템 간의 인증에 적합
Keycloak 사용하기
Dokcerfile 구성하기
FROM quay.io/keycloak/keycloak:latest

ENV KEYCLOAK_ADMIN=admin
ENV KEYCLOAK_ADMIN_PASSWORD=admin

CMD ["start-dev"]
빌드 및 실행하기
docker build -t my-keycloak .
docker run -p 9080:8080 my-keycloak
- 8080은 스프링부트와 포트가 겹치기 때문에 9080을 사용하였다.
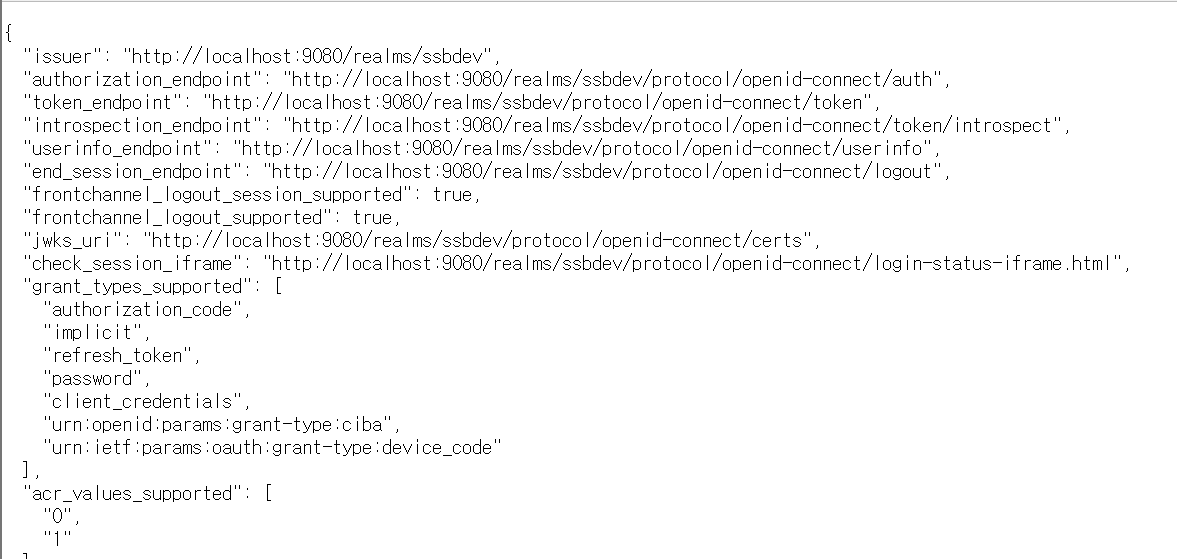
접속해보기
- localhost:9080에 접속해보자
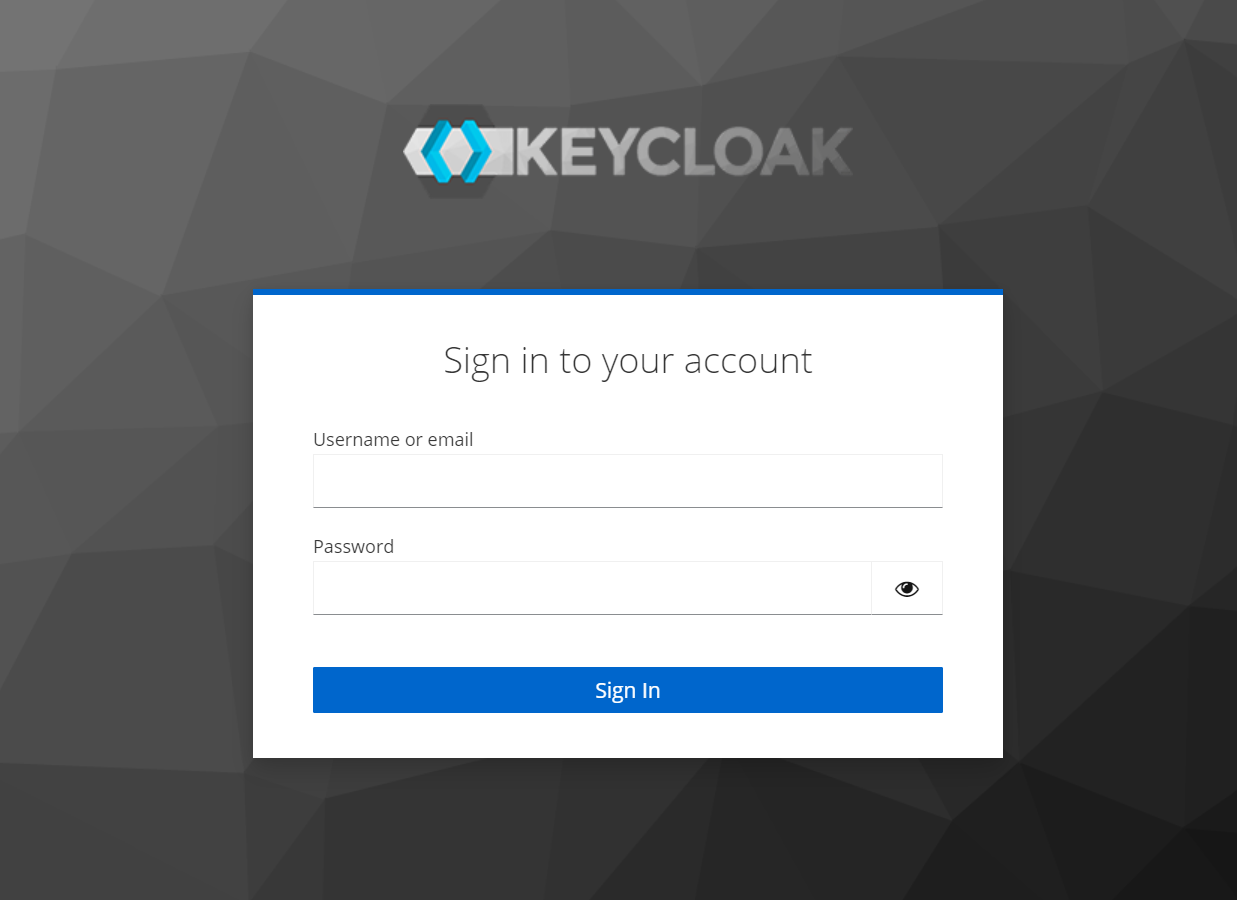
- 다음과 같은 페이지를 볼 수 있다.
- Dockerfile에서 설정한 id, password를 통해서 로그인하자
Realm?
- 인증, 인가가 적용되는 범위의 단위
- SSO를 적용한다고 하면 적용되는 범위가 하나의 Realm
Realm 생성하기
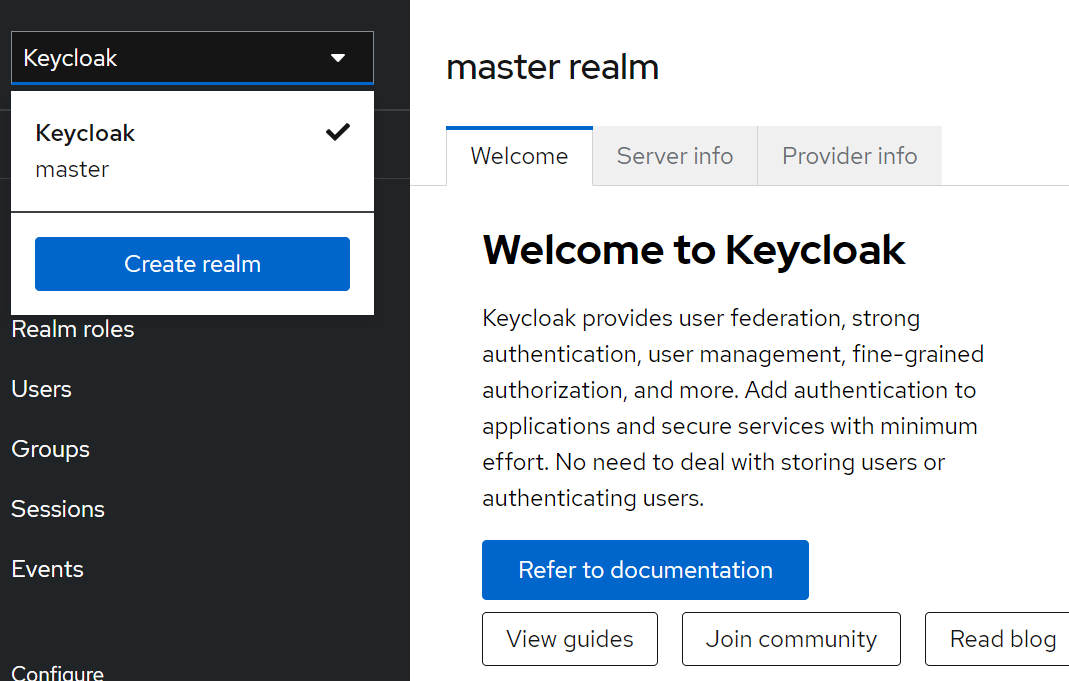
- 다음의 Create realm을 클릭해서 생성할 수 있다.
- Realm name을 ssvdev로 설정하고 생성해보자!
Client?
- 인증, 인가를 수행할 어플리케이션을 나타내는 단위
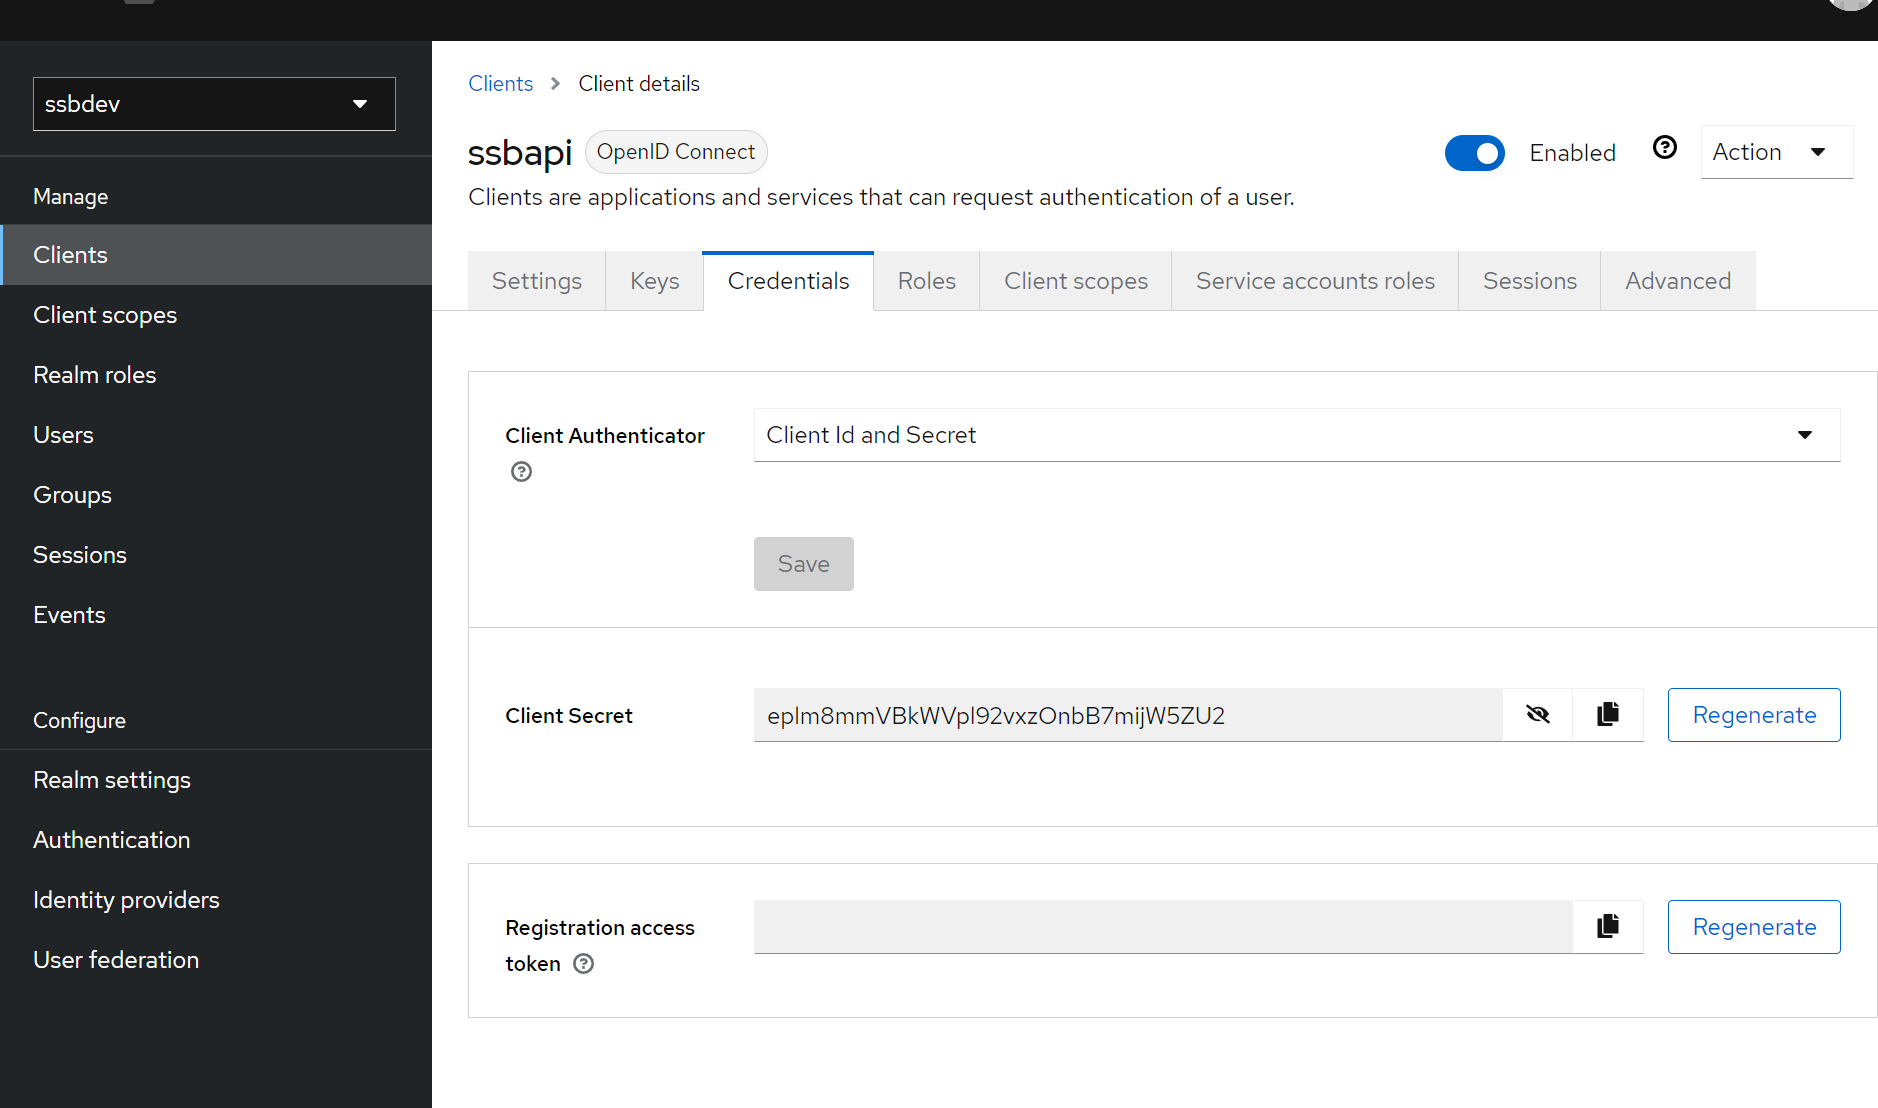
리소스 서버의 인증을 위한 Client 생성하기
- 메뉴의 Clients를 클릭하면 Create client를 통해서 생성 가능하다.
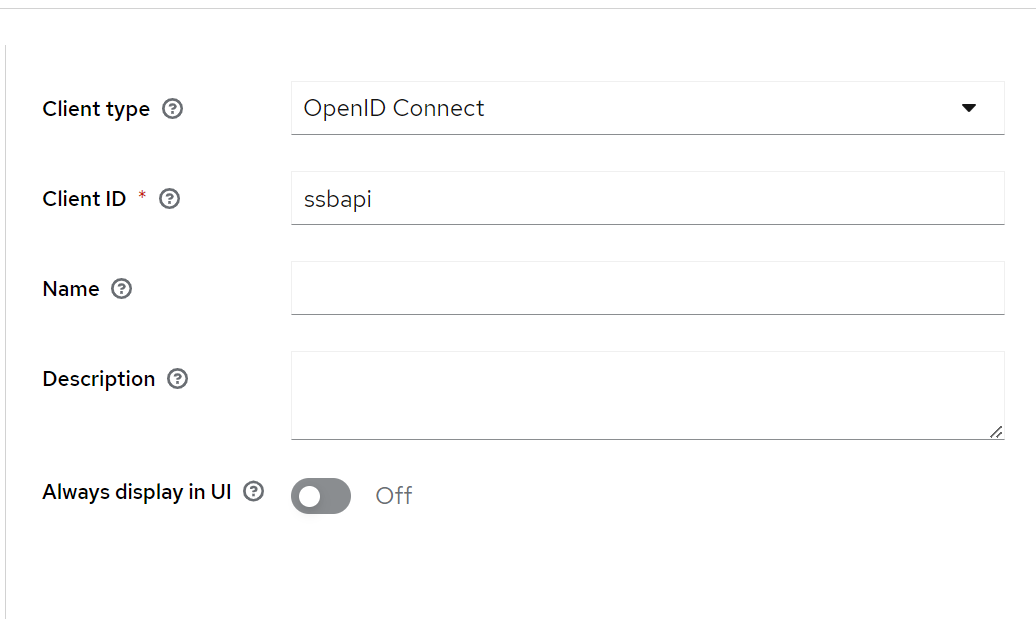

- 다음과 같이 설정해서 생성하자!
- Service accounts roles는 클라인언트 자격 증명 flow이다.
Resource server
- Oauth2 인증을 이용할 것이 때문에 우리의 서비스를 Resource Server로 전환해보자
dependencies
dependencies {
	implementation 'org.springframework.boot:spring-boot-starter-oauth2-resource-server'
}
필요없는 파일 제거하기
- 자세한 내용은 가장 상단의 git링크를 확인하자!
- jwt 필터 삭제
- 인증 provider 삭제
- passwordEncoder 삭제
- 보안 상수 삭제
KeycloakRoleConverter
- JWT를 받아와 역할로 변환하는 클래스
- KeycloakRoleConverter.java
package com.chan.ssb.config;

import org.springframework.core.convert.converter.Converter;
import org.springframework.security.core.GrantedAuthority;
import org.springframework.security.core.authority.SimpleGrantedAuthority;
import org.springframework.security.oauth2.jwt.Jwt;

import java.util.ArrayList;
import java.util.Collection;
import java.util.List;
import java.util.Map;
import java.util.stream.Collectors;

public class KeycloakRoleConverter implements Converter<Jwt, Collection<GrantedAuthority>> {

    @Override
    public Collection<GrantedAuthority> convert(Jwt jwt) {
        Map<String, Object> realmAccess = (Map<String, Object>) jwt.getClaims().get("realm_access");

        if (realmAccess == null || realmAccess.isEmpty()) {
            return new ArrayList<>();
        }

        Collection<GrantedAuthority> returnValue = ((List<String>) realmAccess.get("roles"))
                .stream().map(roleName -> "ROLE_" + roleName)
                .map(SimpleGrantedAuthority::new)
                .collect(Collectors.toList());

        return returnValue;
    }

}
Security config
- SpringSecurityConfiguration.java
package com.chan.ssb.config;
import com.chan.ssb.filter.CsrfCookieFilter;
import org.springframework.context.annotation.Bean;
import org.springframework.context.annotation.Configuration;
import org.springframework.security.config.Customizer;
import org.springframework.security.config.annotation.web.builders.HttpSecurity;
import org.springframework.security.config.annotation.web.configurers.HeadersConfigurer;
import org.springframework.security.config.http.SessionCreationPolicy;
import org.springframework.security.crypto.bcrypt.BCryptPasswordEncoder;
import org.springframework.security.crypto.password.PasswordEncoder;
import org.springframework.security.oauth2.server.resource.authentication.JwtAuthenticationConverter;
import org.springframework.security.web.SecurityFilterChain;
import org.springframework.security.web.authentication.www.BasicAuthenticationFilter;
import org.springframework.security.web.csrf.CookieCsrfTokenRepository;
import org.springframework.security.web.csrf.CsrfTokenRequestAttributeHandler;
import org.springframework.web.cors.CorsConfiguration;
import java.util.List;
@Configuration
public class SpringSecurityConfiguration {
@Bean
public SecurityFilterChain filterChain(HttpSecurity http) throws Exception {
CsrfTokenRequestAttributeHandler requestHandler = new CsrfTokenRequestAttributeHandler();
requestHandler.setCsrfRequestAttributeName("_csrf");
JwtAuthenticationConverter jwtAuthenticationConverter = new JwtAuthenticationConverter();
jwtAuthenticationConverter.setJwtGrantedAuthoritiesConverter(new KeycloakRoleConverter());
http.csrf(csrf-> csrf.csrfTokenRequestHandler(requestHandler).ignoringRequestMatchers("/user/**", "/authority", "/h2-console/**")
.csrfTokenRepository(CookieCsrfTokenRepository.withHttpOnlyFalse()))
.addFilterAfter(new CsrfCookieFilter(), BasicAuthenticationFilter.class);
// .addFilterBefore(new JWTTokenValidatorFilter(), BasicAuthenticationFilter.class);
http.authorizeHttpRequests(requests -> requests
.requestMatchers("/authority").hasRole("ADMIN")
.requestMatchers("/api/**").hasAnyRole("USER", "ADMIN")
.requestMatchers("/user/**", "/api-docs","/swagger-ui/**", "/swagger-resources/**", "/v3/api-docs/**", "/h2-console/**").permitAll()
.anyRequest().authenticated());
// .httpBasic(Customizer.withDefaults());
http.oauth2ResourceServer(oauth2 -> oauth2.jwt(jwt -> jwt.jwtAuthenticationConverter(jwtAuthenticationConverter)));
http.headers(headers -> headers.frameOptions(
HeadersConfigurer.FrameOptionsConfig::sameOrigin
));
return http.build();
}
}
- JwtAuthenticationConverter: JWT 토큰을 Authentication 객체로 변환 시키는 함수.
- 위에서 구현한 KeycloakRoleConverter을 이용해서 변환한다.
- oauth2ResourceServer()을 이용해서 oauth2 로그인을 활성화한다.
applicaion.properties
# Keycloak Oauth2
spring.security.oauth2.resourceserver.jwt.jwk-set-uri = http://localhost:8080/realms/ssbdev/protocol/openid-connect/certs
실행하고 토큰 받아보기
- postman을 이용해서 토큰을 발급받고 사용할 것이다.
토큰 발급받기
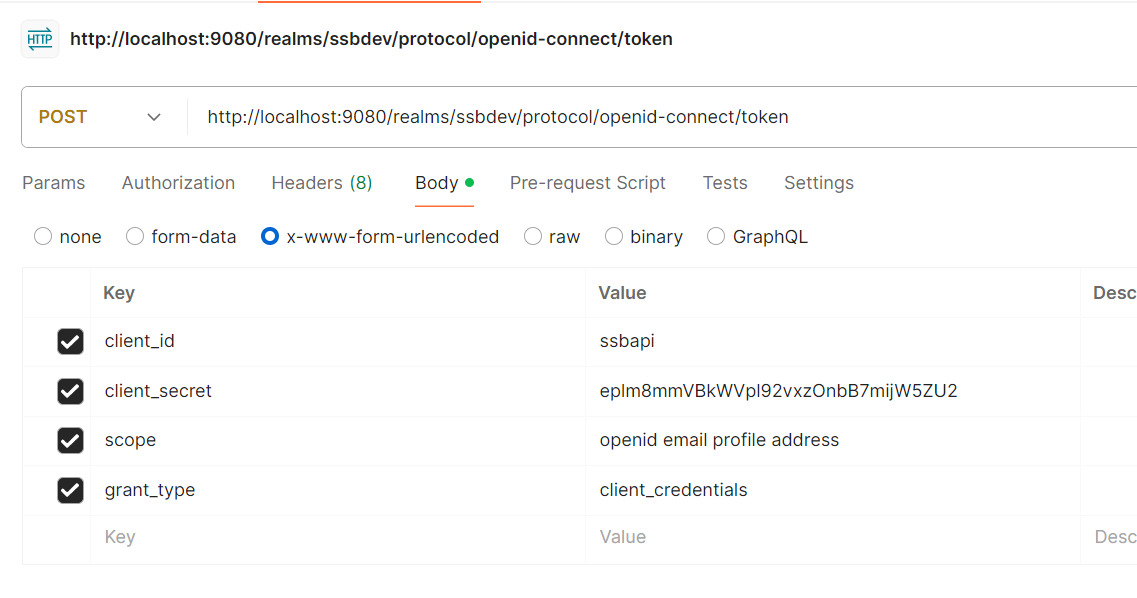
- 다음과 같이 설정해서 요청을 보내면 받을 수 있다.
- client_secret는 다음과 같이 확인이 가능하다.
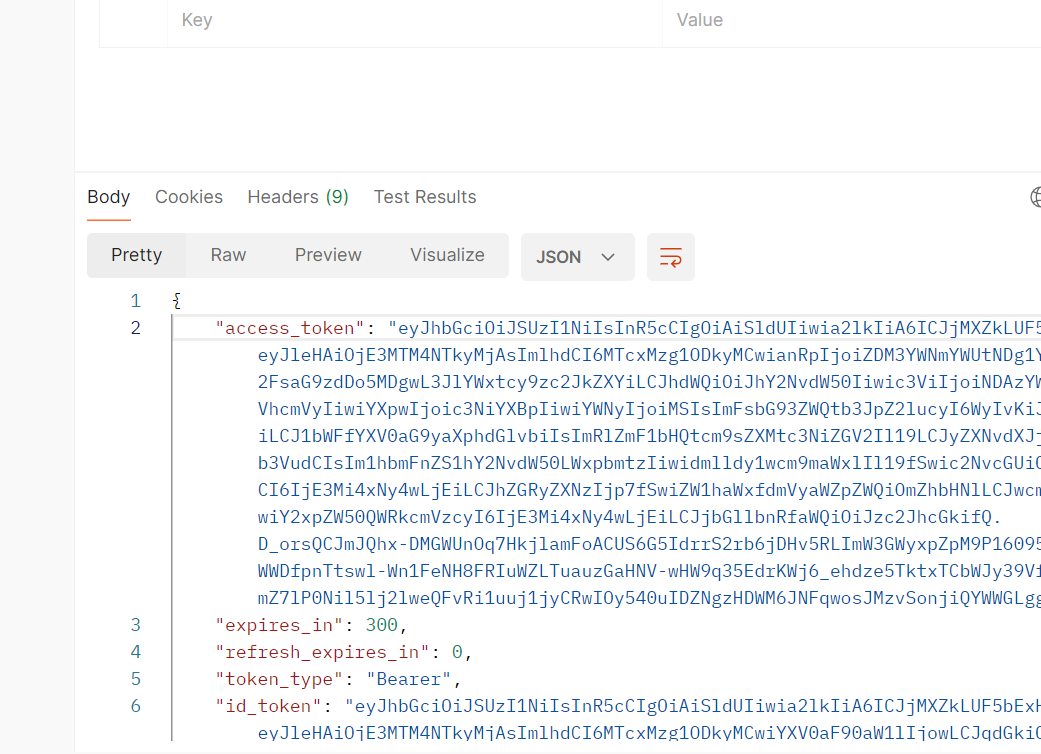
- 다음과 같이 토큰을 받을 수 있다.
토큰으로 API 호출하기
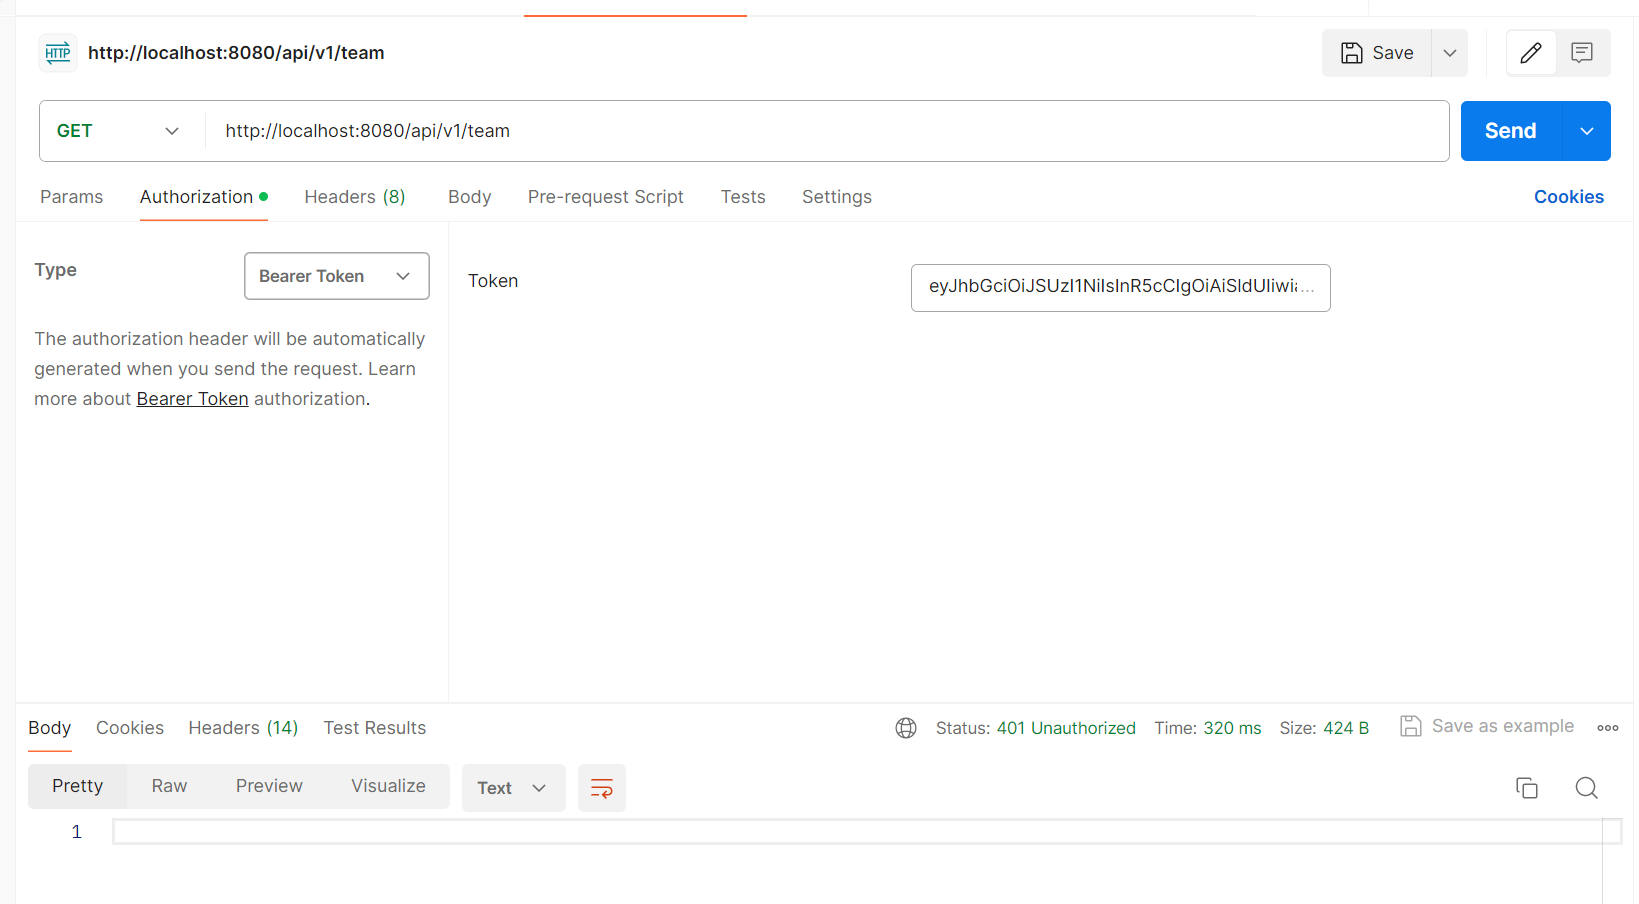
- 다음과 같이 요청을 보내면 401 오류가 발생한다.
401?
- 토큰을 분석해보자
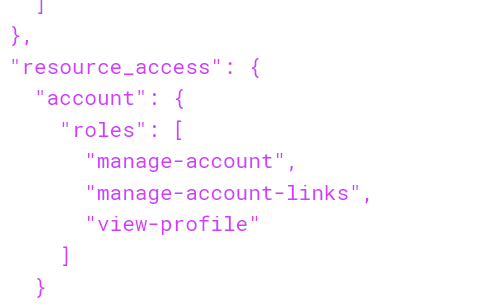
- 토큰이 보유한 역할은 우리가 설정한 ADMIN, USER가 존재하지 않는다.
- 따라서, 역할을 추가해야한다.
역할 추가하기

- 다음의 Create role을 통해서 추가가 가능하다.
- ADMIN과 USER을 추가하자!
역할 부여하기
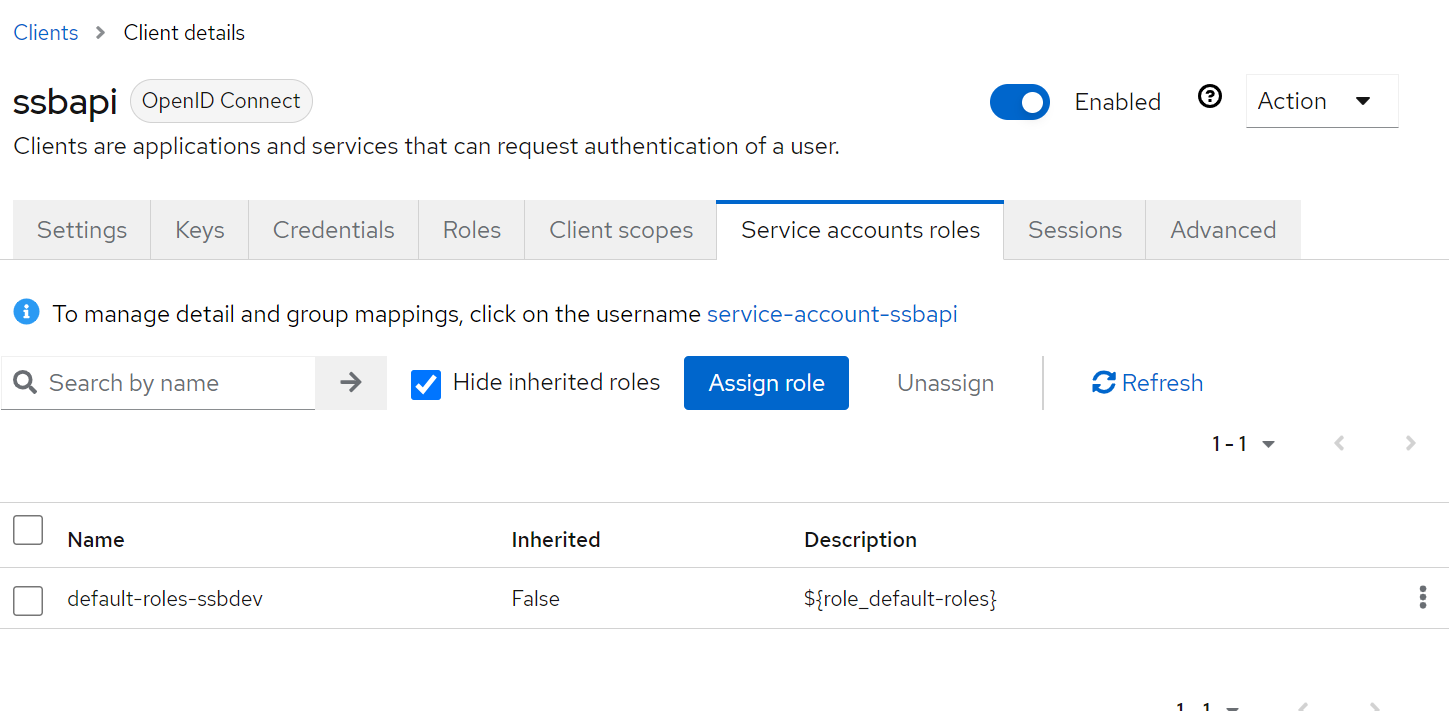
- 다음의 Assign role을 통해서 추가가 가능하다.
다시 호출하기
- 토큰을 다시 받아서 호출해보자
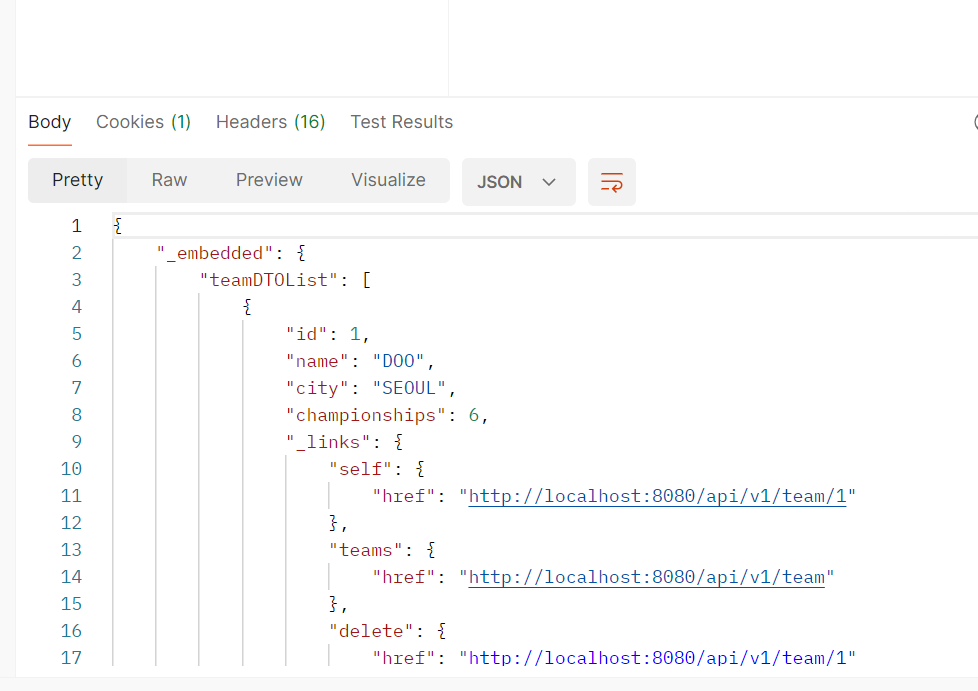
- 다음과 같이 출력하는 것을 볼 수 있다.