👨💻 개발일지 (7) : Nordic SDK로 DWM1001 I2C 통신하기 -2-
이제 저번시간에 이어 I2c 이용해 LIS2DH12TR의 WHO_AM_I 레지스터 내용을 수신하는 코드를 작성해 보도록 하겠습니다. 저번 SPI와 마찬가지로 공식 Nordic SDK의 nrf_drv_twi.c 와 nrf_drv_twi.h 파일을 수정해야 합니다.
1. 프로젝트 생성 및 환경설정
늘 그렇듯 프로젝트 부터 생성하도록 하겠습니다. 🔗 개발일지 (3) 에서 참고 하겠습니다. ✌
프로젝트 이름은 DWM1001_I2C 이며, nrfx_twi.c, drv_nrf_twi.c 두 드라이버 소스 파일을 추가하도록 하겠습니다. 다들 아실 꺼라고 생각하지만.. 혹시나 해서 아래에 👇 경로를 적어두겠습니다.
📁 $(SDK_PATH)\nRF5_SDK_17.0.2_d674dde\tmp_integration\nrfx\legacy\drv_nrf_twi.c
📁 $(SDK_PATH)\nRF5_SDK_17.0.2_d674dde\modules\nrfx\drivers\src\nrfx_twi.c
프로젝트를 생성하고 필요한 드라이버를 추가했으면 다음은 sdk_config.h 를 수정할 차례입니다. 몇번 말씀드렸지만.. sdk_config.h 편집은 개인 취향이고 선택사항이니 굳이 편집은 안하셔도 됩니다. 매번 sdk_config.h 파일을 편집하는게 아니라 모든 기능을 정의 해둔 파일을 만든 뒤, 프로젝트 마다 CMSIS Configuration Wizard 툴을 이용해 편집을 하는것도 좋은 방법입니다.😊
2. Simple I2C transmitting
LIS2DH12TR 내부의 WHO_AM_I 레지스터(0x0F)를 읽으면 0x33 (b00110011) 을 리턴하게 되어 있습니다. 이제 I2C 통신을 이용해 WHO_AM_I 레지스터를 접근하는 Application을 직접 작성해 보겠습니다. 🚗
2.1 main.c 작성
#include "nrf_drv_twi.h"
#include "boards.h"

#define TWI_INSTANCE_ID	0

uint8_t ret;

uint8_t who_am_i = 0x0F;

static volatile bool m_xfer_done = false;

static const nrf_drv_twi_t m_twi = NRF_DRV_TWI_INSTANCE(TWI_INSTANCE_ID);main.c의 상단에는 드라이버 파일 인클루드와 I2C 인스턴스 ID 송/수신의 종료를 알리는 flag 와 WHO_AM_I 레지스터의 주소를 저장하는 변수를 선언하였고 실제 I2C 인스턴스까지 생성합니다.
void twi_handler(nrf_drv_twi_evt_t const * p_event, void * p_context)
{
	m_xfer_done = true;
}

void twi_init (void)
{
	ret_code_t err_code;

	nrf_drv_twi_config_t twi_config = {
		.scl                = I2C_SCL,
		.sda                = I2C_SDA,
		.frequency          = NRF_DRV_TWI_FREQ_100K,
		.interrupt_priority = APP_IRQ_PRIORITY_HIGH,
		.clear_bus_init     = false
	};

	nrf_drv_twi_init(&m_twi, &twi_config, twi_handler, NULL);
	nrf_drv_twi_enable(&m_twi);
}
이벤트 핸들러와 초기화 코드 입니다. 이벤트는 여러 이벤트가 있겠지만 무슨 이벤트인지 따지지 않고 m_xfer_done 을 초기화 합니다. 아주아주~아아주 안좋은 예시 입니다.🤣🤣
초기화에서는 필요한 설정을 해준뒤 init함수에 파라미터로 넘겨주고 SPI편에 없던 enable함수에 인스턴스를 넣어 호출하네요. nrf_drv_twi_enable() 함수를 제외하고는 전반적으로 저번시간에 다뤘던 SPI, UART와 같은 맥락 입니다.
static void read_who_am_i()
{
	m_xfer_done = false;

	nrf_drv_twi_tx(&m_twi, LIS2DH12_ADDR, &who_am_i, 1, false);

	while (!m_xfer_done) ;

	m_xfer_done = false;

	nrf_drv_twi_rx(&m_twi, LIS2DH12_ADDR, &ret, 1);

	while(!m_xfer_done) ;
}


int main(void)
{
	twi_init();
	read_who_am_i();

	while(true)
		;
}
read_who_am_i() 함수 내부를 확인 하겠습니다. 처음 시작은 송신을 하지 않았다는 의미로 m_xfer에 false를 넣었습니다. 다음으로 LIS2DH12에게 변수 who_am_i의 주소와 읽을 바이트 수 등의 파라미터를 넣어 송신을 한 뒤, 송신 완료 이벤트가 발생될 때 까지 기다립니다.
⭐ I2C는 저속 통신이기 때문에 송신 완료 이벤트를 대기하지 않으면, 송신이 끝나기 전에 nrf_drv_twi_rx()를 실행하여 아무것도 못 읽을 수 있습니다. 송신 함수를 호출하고 충분한 delay를 이용하셔도 괜찮습니다.
2.2 Compile 및 Debugging
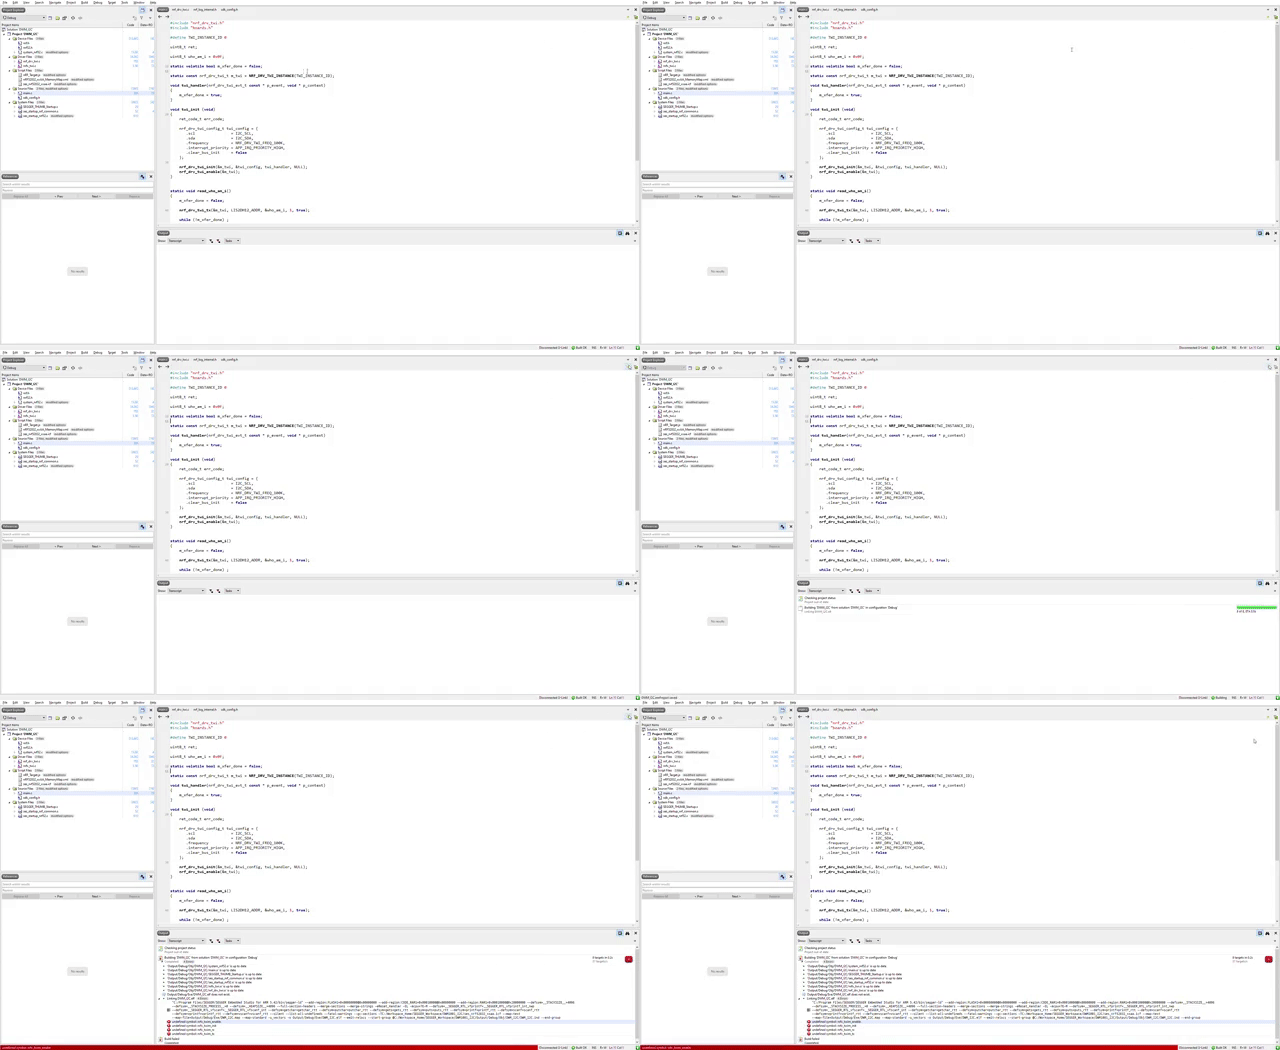
컴파일을 해보도록 하겠습니다. 🛠️🛠️

이번에도 역시 벌래를 잡으러 가겠습니다. 🐛🐛
그 전에 에러 로그부터 확인 하죠.
rhfl
❌ undefined symbol: nrfx_twim_enable
❌ undefined symbol: nrfx_twim_init
❌ undefined symbol: nrfx_twim_rx
❌ undefined symbol: nrfx_twim_tx
다양한 심볼들이 정의되어 있지 않나 보네요.. 위 에서 언급했듯 SDK의 수정이 필요한 작업 입니다. 🛠️
3. SDK Source file 수정
사실 SDK 수정은 SPI 통신 Application을 만들때와 같습니다. 아래 원본 nrf_drv_twi.c 및 nrf_drv_twi.h의 일부를 확인해 보겠습니다.🔍
/*---- nrf_drv_twi.c ----*/

#include "nrf_drv_twi.h"
#include <nrf_delay.h>
#include <hal/nrf_gpio.h>

#ifdef TWIM_PRESENT
#define INSTANCE_COUNT   TWIM_COUNT
#else
#define INSTANCE_COUNT   TWI_COUNT
#endif
/*---- nrf_drv_twi.h ----*/
#ifndef NRF_DRV_TWI_H__
#define NRF_DRV_TWI_H__
#include <nrfx.h>
#ifdef TWIM_PRESENT
#include <nrfx_twim.h>
#else
// Compilers (at least the smart ones) will remove the TWIM related code
// (blocks starting with "if (NRF_DRV_TWI_USE_TWIM)") when it is not used,
// but to perform the compilation they need the following definitions.
#define nrfx_twim_init(...) 0
#define nrfx_twim_uninit(...)
#define nrfx_twim_enable(...)
#define nrfx_twim_disable(...)
#define nrfx_twim_tx(...) 0
#define nrfx_twim_rx(...) 0
#define nrfx_twim_is_busy(...) 0
#define nrfx_twim_start_task_get(...) 0
#define nrfx_twim_stopped_event_get(...) 0
#endif
#ifdef TWI_PRESENT
#include <nrfx_twi.h>
#else
// Compilers (at least the smart ones) will remove the TWI related code
// (blocks starting with "if (NRF_DRV_TWI_USE_TWI)") when it is not used,
// but to perform the compilation they need the following definitions.
#define nrfx_twi_init(...) 0
#define nrfx_twi_uninit(...)
#define nrfx_twi_enable(...)
#define nrfx_twi_disable(...)
#define nrfx_twi_tx(...) 0
#define nrfx_twi_rx(...) 0
#define nrfx_twi_is_busy(...) 0
#define nrfx_twi_data_count_get(...) 0
#define nrfx_twi_stopped_event_get(...) 0
// This part is for old modules that use directly TWI HAL definitions
// (to make them compilable for chips that have only TWIM).
#define NRF_TWI_ERROR_ADDRESS_NACK NRF_TWIM_ERROR_ADDRESS_NACK
#define NRF_TWI_ERROR_DATA_NACK NRF_TWIM_ERROR_DATA_NACK
#define NRF_TWI_FREQ_100K NRF_TWIM_FREQ_100K
#define NRF_TWI_FREQ_250K NRF_TWIM_FREQ_250K
#define NRF_TWI_FREQ_400K NRF_TWIM_FREQ_400K
#endif여기서 우리가 주목해야할 부분은 #ifdef TWIM_PRESENT 이 부분 입니다. 원본 SPI 통신과 마찬가지로 이번에도 역시 I2C 혹은 I2C 의 DMA 방식 존재 유무만 확인후 바로 사용하는 방식으로 나타납니다.
TWIM_PRESENT 매크로를 NRF_DRV_TWI_WITH_TWIM 과 NRF_DRV_TWI_WITH_TWI 두 매크로로 나누겠습니다.🤟🤟
두 매크로의 정의는 아래와 같습니다.
#ifndef NRF_DRV_SPI_H__
#define NRF_DRV_SPI_H__

#include <nrfx.h>

#if defined(SPIM_PRESENT) && NRFX_CHECK(NRFX_SPIM_ENABLED)
    #define NRF_DRV_SPI_WITH_SPIM
#endif
#if defined(SPI_PRESENT) && NRFX_CHECK(NRFX_SPI_ENABLED)
    #define NRF_DRV_SPI_WITH_SPI
#endif

#if defined(NRF_DRV_SPI_WITH_SPIM)
    #include <nrfx_spim.h>
#else
    // Compilers (at least the smart ones) will remove the SPIM related code
    // (blocks starting with "if (NRF_DRV_SPI_USE_SPIM)") when it is not used,
    // but to perform the compilation they need the following definitions.
    #define nrfx_spim_init(...)             0
    #define nrfx_spim_uninit(...)
    #define nrfx_spim_start_task_get(...)   0
    #define nrfx_spim_end_event_get(...)    0
    #define nrfx_spim_abort(...)
#endif

#if defined(NRF_DRV_SPI_WITH_SPI)
    #include <nrfx_spi.h>
#else
    // Compilers (at least the smart ones) will remove the SPI related code
    // (blocks starting with "if (NRF_DRV_SPI_USE_SPI)") when it is not used,
    // but to perform the compilation they need the following definitions.
    #define nrfx_spi_init(...)              0
    #define nrfx_spi_uninit(...)
    #define nrfx_spi_start_task_get(...)    0
    #define nrfx_spi_end_event_get(...)     0
    #define nrfx_spi_abort(...)

    // This part is for old modules that use directly SPI HAL definitions
    // (to make them compilable for chips that have only SPIM).
    #define NRF_SPI_FREQ_125K           NRF_SPIM_FREQ_125K
    #define NRF_SPI_FREQ_250K           NRF_SPIM_FREQ_250K
    #define NRF_SPI_FREQ_500K           NRF_SPIM_FREQ_500K
    #define NRF_SPI_FREQ_1M             NRF_SPIM_FREQ_1M
    #define NRF_SPI_FREQ_2M             NRF_SPIM_FREQ_2M
    #define NRF_SPI_FREQ_4M             NRF_SPIM_FREQ_4M
    #define NRF_SPI_FREQ_8M             NRF_SPIM_FREQ_8M
    #define NRF_SPI_MODE_0              NRF_SPIM_MODE_0
    #define NRF_SPI_MODE_1              NRF_SPIM_MODE_1
    #define NRF_SPI_MODE_2              NRF_SPIM_MODE_2
    #define NRF_SPI_MODE_3              NRF_SPIM_MODE_3
    #define NRF_SPI_BIT_ORDER_MSB_FIRST NRF_SPIM_BIT_ORDER_MSB_FIRST
    #define NRF_SPI_BIT_ORDER_LSB_FIRST NRF_SPIM_BIT_ORDER_LSB_FIRST
#endif
SPI 통신할 때와 마찬가지로, nrf_drv_twi.c, nrf_drv_twi.h 두 부분 다 바꿔야 합니다.
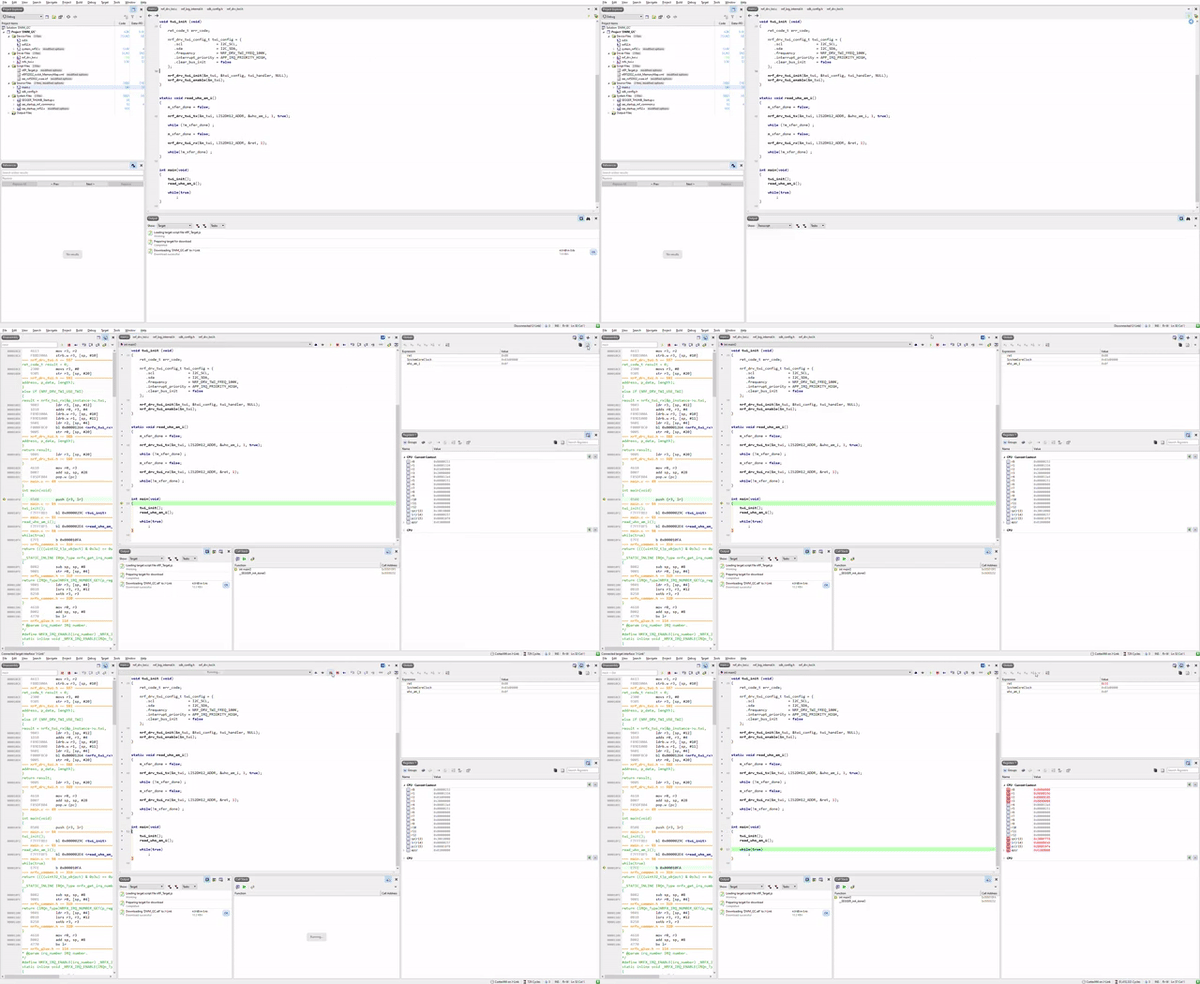
이제 다시 컴파일을 해보도록 하겠습니다. 🛠️

컴파일에 문제 없고 DataSheet내용처럼 0x33이 잘 반환되었습니다. 🙌🙌
Decawave에서도 LIS2DH12TR과의 통신하는 드라이브파일을 자체적으로 만들어 놨습니다. Decawave의 🔗 github에 올려져있으니 참고 해보세요.
🔗 Cheesam31 GitHub nRF52832_Basic Repository(I2C_basic)
이렇게 해서 기본 Wire Protocol을 모두 살펴보았습니다. 🙌🙌 (개발 일지가 끝난게 아닙니다.) 보편적으로 가장 많이 사용하는 프로토콜 위주로 살펴보았는데요. 어떤 MCU의 F/W 코드를 작성할때 기본적으로 다룰줄 알아야 한다고 생각하는 세 가지 였습니다.