
목표
- 아래 개발환경에 맞게 CRA 없이 프로젝트 세팅해보기
- yarn v1으로 프로젝트 생성 → yarn berry로 마이그레이션
개발환경
- Visual Studio Code - latest
- node - v18.14.0
- yarn berry - v3.6.1
- React - v18.2.0
- TypeScript - v5.1.6
- Webpack - v5.88.1
- styled-components - v6.0.3
- msw - v1.2.2
- storybook - v7.0.26
- prettier - v2.8.8 (v3.0.0은 X!!!)
패키지 매니저로 yarn berry를 사용하여 CRA 없이 React + Typescript 개발환경을 구축해보았습니다. yarn berry에 대해 알고싶은 분은 아래 참고 사이트를 확인해주세요~!
1. React 패키지 및 Typescript 설치
yarn add react react-dom
yarn add -D @types/react @types/react-dom
yarn add -D typescript
2. node_modules와 yarn.lock파일 삭제
rm -rf node_modules yarn.lockyarn 버전 세팅 전 생성된 node_modules와 yarn.lock 파일을 삭제합니다.
3. Yarn 버전 세팅
yarn set version berryyarn 버전을 berry로 세팅해줍니다. 명령어를 입력하면 .yarn 디렉터리와 .yarnrc.yml 파일이 생성됩니다.
4. 패키지 설치
yarn 혹은 yarn install설치를 하고 나면 기존과는 다르게 node_modules 디렉터리 대신 .yarn/cache 안에 zip파일 형식으로 패키지들이 설치된 것을 확인할 수 있습니다.
5. 타입스크립트 플러그인 설치
yarn plugin import typescript타입스크립트 플러그인을 import 해줍니다. 이 플러그인은 자체 types를 포함하지 않는 패키지를 추가할 때 @types/ 패키지를 package.json 에 자동으로 종속성을 추가해줍니다. 설치하지 않아도 상관없지만 설치해두면 편하기 때문에 설치했습니다.
6. VSCode 설정
패키지들이 zip 아카이브로 관리되기 때문에 기존의 방식으로는 정상적으로 타입이 불러와지지 않습니다.
따라서 zip파일로 설치된 종속성을 읽어올 수 있도록 VSCode Extension에서 ZipFS를 설치합니다.
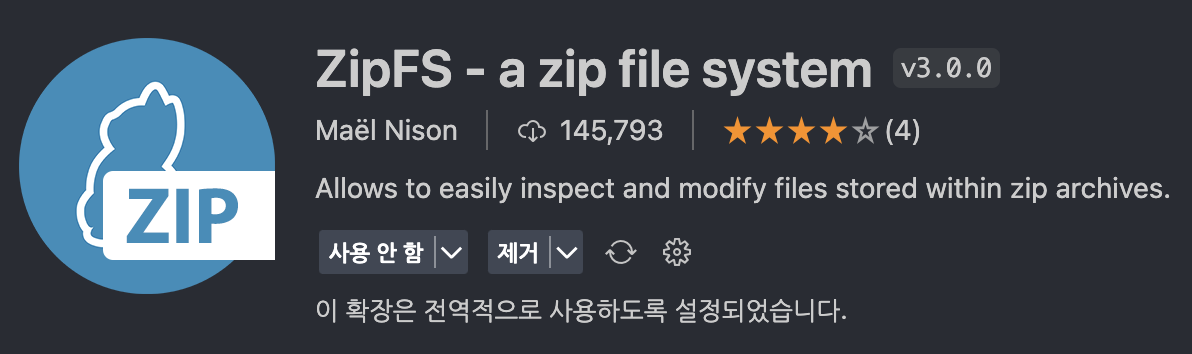
(이 extension을 설치하지 않으면 설치한 의존성 파일(ex. import된 React)을 열어볼 수 없습니다.)
rt된 React)을 열어볼 수 없습니다.)
// .pnp.cjs

["react", [\
        ["npm:18.2.0", {\
          "packageLocation": "./.yarn/cache/react-npm-18.2.0-1eae08fee2-88e38092da.zip/node_modules/react/",\
          "packageDependencies": [\
            ["react", "npm:18.2.0"],\
            ["loose-envify", "npm:1.4.0"]\
          ],\
          "linkType": "HARD"\
        }]\
]],\
Yarn berry의 PnP 기능을 사용할 때, TypeScript가 작동하도록 추가적인 구성이 필요하므로 아래 명령어를 입력하여 Editor SDK를 설정합니다. (yarn dlx 는 npx와 같습니다.)
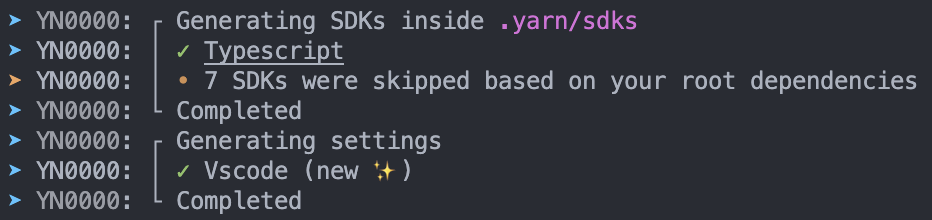
yarn dlx @yarnpkg/sdks vscode위 명령어를 입력하면 아래와 같이 현재 프로젝트에 필요한 Editor SDK가 설치됩니다.(TypeScript SDK 설치)
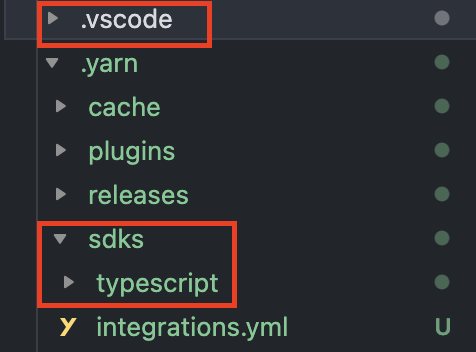
또한 .vscode 폴더와 .yarn/sdks에 추가된 SDK를 확인할 수 있습니다.
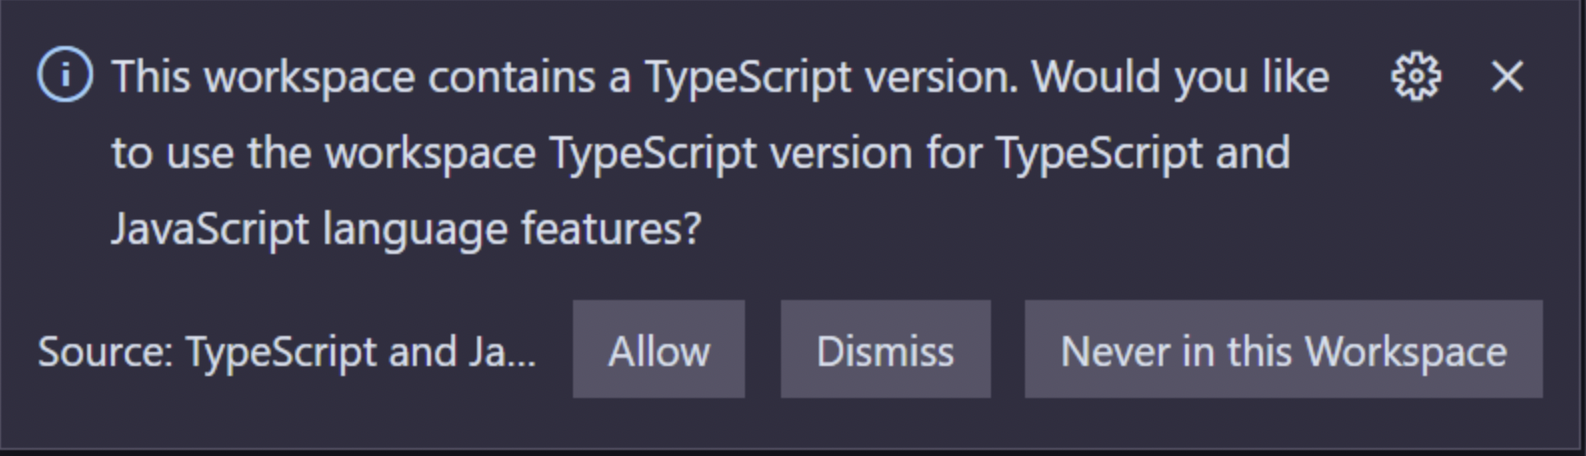
아래와 같은 메시지가 뜨면 Allow를 눌러줍니다.
❗️만약 위 메시지가 뜨지 않는다면?

아무 타입스크립트 파일이나 들어간 다음,
Command Pallette(cmd + shift + p)에서 찾아서 TypeScript: Select TypeScript Version... 클릭 후 Use Workspace Version을 선택합니다.
7. gitignore 세팅
yarn berry에서는 Zero-Installs라는 방법을 사용할 수 있습니다(선택사항). 이를 사용하면 반복적인 의존성 설치 작업이 이루어지는 CI 단계에서의 시간을 단축할 수 있습니다.
또한, Yarn berry의 PnP(Plug’n’Play)는 의존성을 압축 파일로 관리하기 때문에 용량이 작습니다. 따라서 의존성을 Git으로 관리할 수있습니다. 즉, 의존성 관련 파일들을 Github 레포지토리에 올려 관리할 수 있습니다.
모든 패키지들이 git에 포함 되기 때문에 git clone을 했을 때나 브랜치 이동 시 추가적인 설치가 필요 없다는 장점이 있습니다.
Which files should be gitignored?
- Zero-installs 사용 시
.yarn/* !.yarn/cache !.yarn/patches !.yarn/plugins !.yarn/releases !.yarn/sdks !.yarn/versions - Zero-installs 미사용 시
.pnp.*
.yarn/*
!.yarn/patches
!.yarn/plugins
!.yarn/releases
!.yarn/sdks
!.yarn/versions
8. Babel 설정
- 바벨은 ES6+ 버전 이상의 자바스크립트 코드를 하위 버전의 자바스크립트 문법으로 변환 시켜줍니다.
바벨 설치
yarn add -D @babel/core @babel/preset-env @babel/preset-react @babel/preset-typescript babel-loader - @babel/core : 기본적인 바벨로 최신 문법으로 변환해주는 역할을 합니다.
- @babel/preset-env : ES6+ 코드를 ES5코드로 트랜스파일링(+폴리필 자동화)해줍니다.
- @babel/preset-react : 리액트의 JSX코드를 createElement 함수를 이용한 코드로 변환해줍니다.
- @babel/preset-typescript: 타입스크립트를 자바스크립트로 컴파일 해주는 프리셋
- babel-loader: 웹팩에서 babel을 loader로 사용할 수 있도록 합니다.
babel.config.js 작성
@babel/preset-react 으로 jsx -> js 컴파일 할 수 있습니다.
React 17부터 JSX Transform 으로 인해서 import React from 'react' 를 모든 React 파일에 작성할 필요가 없어졌습니다. 그러나 Babel에서 이를 자동으로 변환해주지 않기 때문에 { "runtime": "automatic" } 부분을 작성해야 합니다.
// babel.config.js

module.exports = {
  presets: [
    ['@babel/preset-react', { runtime: 'automatic' }],
    '@babel/preset-env',
    '@babel/preset-typescript',
  ],
};
9. Webpack 설치 및 세팅
yarn add -D webpack webpack-cli webpack-dev-serveryarn add -D html-webpack-pluginwebpack.config.js파일 생성// webpack.config.js const HtmlWebpackPlugin = require('html-webpack-plugin'); const path = require('path'); module.exports = { module: { rules: [ { // Match js, jsx, ts & tsx files test: /\.[jt]sx?$/, // 해당 확장자로 끝나면 babel-loader가 처리 exclude: /node_modules/, use: { loader: 'babel-loader', options: { cacheDirectory: true, // 웹팩 rebuild 시, 캐시에서 읽기시도(babel의 리트랜스파일링 필요 없도록) }, }, }, ], }, mode: 'none', // none, production, development entry: './src/index.tsx', // webpack 최초 진입점 경로 설정 output: { path: path.resolve(__dirname, 'dist'), filename: 'bundle.js', }, plugins: [ new HtmlWebpackPlugin({ template: './public/index.html', // 번들링한 css, js 파일을 html 파일에 link태그, scripts태그로 추가 }), ], devServer: { host: 'localhost', port: 3000, static: path.resolve(__dirname, 'dist'), historyApiFallback: true, // 404페이지 대신 index.html로 이동 hot: true, // 모듈 전체를 다시 로드하지 않고 변경사항만 갱신 }, resolve: { // import 시 확장자 생략 가능, 번들링할 파일 설정 extensions: ['.js', '.jsx', '.ts', '.tsx'], }, };package.json에scripts추가{ "scripts": { "test": "echo \"Error: no test specified\" && exit 1", "start": "webpack serve --mode=development & open 'http://localhost:3000'", "build": "webpack --mode=production" }, "dependencies": { "react": "^18.2.0", "react-dom": "^18.2.0" }, "devDependencies": { "@types/react": "^18.2.14", "@types/react-dom": "^18.2.6", "html-webpack-plugin": "^5.5.3", "typescript": "^5.1.6", "webpack": "^5.88.1", "webpack-cli": "^5.1.4", "webpack-dev-server": "^4.15.1" }, "packageManager": "yarn@3.6.1" }
10. styled-components 설치
yarn add styled-componentsyarn add -D @types/styled-components
11. tsconfig.json 설정
tsc --init- tsconfig.json 파일 수정, (ts설정은 각각의 프로젝트에 맞게 설정해주시면 됩니다.)
{ "compilerOptions": { "target": "ESNext", "module": "ESNext", "lib": ["dom", "dom.iterable", "esnext"], "allowJs": true, "jsx": "react-jsx", "sourceMap": true, "outDir": "./dist", "isolatedModules": true, // 각각 소스코드 파일을 모듈화하며, Babel이 TS파일을 안전하게 트랜스파일 하는지 확인한다. "strict": true, "declaration": true, // .d.ts 파일을 출력물에 포함한다. "moduleResolution": "node", "allowSyntheticDefaultImports": true, "esModuleInterop": true, "forceConsistentCasingInFileNames": true, "noImplicitAny": false, "skipLibCheck": true, "resolveJsonModule": true, "noEmitOnError": true // 타입체크에 문제가 있을 때 결과물을 생성하지 않는다. }, "include": ["./src/**/*"], // src 디렉토리 하위 파일들을 대상으로 tsc가 실행된다. "exclude": ["node_modules", ".vscode"] // 해당 경로들은 제외한다. } - 참고사이트
12. ForkTsCheckerWebpackPlugin 설치
yarn add -D fork-ts-checker-webpack-plugin- tsconfig.json에
"noEmitOnError": true // 타입체크에 문제가 있을 때 결과물을 생성하지 않는다.추가 - babel-loader에는 ts-loader와 달리 자체 타입체킹 기능이 없으므로
ForkTsCheckerWebpackPlugin를 웹팩 플러그인에 추가합니다.// webpack.config.js const path = require('path'); const HtmlWebpackPlugin = require('html-webpack-plugin'); const ForkTsCheckerWebpackPlugin = require('fork-ts-checker-webpack-plugin'); // 추가한 부분 module.exports = { module: { rules: [ { // Match js, jsx, ts & tsx files test: /\.[jt]sx?$/, // 해당 확장자로 끝나면 babel-loader가 처리 exclude: /node_modules/, use: { loader: 'babel-loader', options: { cacheDirectory: true, // 웹팩 rebuild 시, 캐시에서 읽기시도(babel의 리트랜스파일링 필요 없도록) }, }, }, ], }, mode: 'none', // none, production, development entry: './src/index.tsx', // webpack 최초 진입점 경로 설정 output: { path: path.resolve(__dirname, 'dist'), filename: 'bundle.js', }, plugins: [ new HtmlWebpackPlugin({ template: './public/index.html', // 번들링한 css, js 파일을 html 파일에 link태그, scripts태그로 추가 }), new ForkTsCheckerWebpackPlugin(), // 추가한 부분 ], devServer: { host: 'localhost', port: 3000, static: path.resolve(__dirname, 'dist'), historyApiFallback: true, // 404페이지 대신 index.html로 이동 hot: true, // 모듈 전체를 다시 로드하지 않고 변경사항만 갱신 }, resolve: { // import 시 확장자 생략 가능, 번들링할 파일 설정 extensions: ['.js', '.jsx', '.ts', '.tsx'], }, }; tsc && webpack을 scripts에 추가하는 방법도 있으나 tsc는 위 방법/보다 웹팩 실행시간이 전체적으로 느려진다고 하여 사용하지 않았습니다.- 프론트엔드에서 TypeScript를 통해 개발할 경우, Lint stage에서 tsserver가 타입체크를 해주고 있기 때문에 요즘은 Babel을 통해 트랜스파일링만 하는 추세라고 합니다. 또한 tsserver는 TypeScript 패키지에 포함되어 있으며 LSP를 지원하는 편집기 및 IDE에서 자동으로 사용된다고 합니다.
- 참고사이트
- https://wonsss.github.io/webpack/webpack-all-in-one/
13. Storybook 설치
yarn dlx sb init --builder webpack5yarn add -D @storybook/addon-actions @storybook/addon-controls./storybook/main.ts수정import type { StorybookConfig } from '@storybook/react-webpack5'; const config: StorybookConfig = { stories: ['../src/**/*.mdx', '../src/**/*.stories.@(js|jsx|ts|tsx)'], addons: [ '@storybook/addon-links', '@storybook/addon-essentials', '@storybook/addon-interactions', '@storybook/addon-actions', // 이줄을 추가해줘야함 '@storybook/addon-controls', // 이줄을 추가해줘야함 ], framework: { name: '@storybook/react-webpack5', options: {}, }, docs: { autodocs: 'tag', }, staticDirs: ['../public'], }; export default config;
14. MSW 설치
yarn add -D mswmkdir src/mockstouch src/mocks/handlers.js// src/mocks/handlers.js import { rest } from 'msw'; export const handlers = [ // Handles a POST /login request rest.post('/login', null), // Handles a GET /user request rest.get('/user', null), ];yarn dlx msw init public/ -D

touch src/mocks/browser.js// src/mocks/browser.js import { setupWorker } from 'msw'; import { handlers } from './handlers'; // This configures a Service Worker with the given request handlers. export const worker = setupWorker(...handlers);src/index.tsx수정import React from 'react'; import ReactDOM from 'react-dom/client'; import App from './App'; if (process.env.NODE_ENV === 'development') { // 추가 const { worker } = require('./mocks/browser'); worker.start(); } const rootNode = document.getElementById('root') as HTMLElement; ReactDOM.createRoot(rootNode).render( <React.StrictMode> <App /> </React.StrictMode>, );- 그리고
yarn start를 해주면? 에러가 뜹니다 ㅎㅎ 이것은 경로문제!Uncaught (in promise) Error: [MSW] Failed to register a Service Worker for scope ('http://localhost:3000/') with script ('http://localhost:3000/mockServiceWorker.js'): Service Worker script does not exist at the given path. Did you forget to run "npx msw init <PUBLIC_DIR>"? Learn more about creating the Service Worker script: https://mswjs.io/docs/cli/init at getWorkerInstance (index.js:459:13) at async startWorkerInstance (index.js:1785:24) at async SetupWorkerApi.start (index.js:2210:12)copy-webpack-plugin을 설치(디렉토리를 복사해서 dist에 넣어줄 수 있습니다.)yarn add -D copy-webpack-plugin
webpack.config.js수정// webpack.config.js const HtmlWebpackPlugin = require('html-webpack-plugin'); const ForkTsCheckerWebpackPlugin = require('fork-ts-checker-webpack-plugin'); const CopyWebpackPlugin = require('copy-webpack-plugin'); // 추가 const path = require('path'); module.exports = { module: { rules: [ { // Match js, jsx, ts & tsx files test: /\.[jt]sx?$/, exclude: /node_modules/, use: { loader: 'babel-loader', options: { cacheDirectory: true, }, }, }, ], }, mode: 'none', entry: './src/index.tsx', output: { path: path.resolve(__dirname, 'dist'), filename: 'bundle.js', }, plugins: [ new HtmlWebpackPlugin({ template: './public/index.html', }), new ForkTsCheckerWebpackPlugin(), new CopyWebpackPlugin({ // mockServiceWorker.js파일을 dist폴더로 복사 patterns: [ { from: 'public/mockServiceWorker.js', to: '.' }, ], }), ], devServer: { host: 'localhost', port: 3000, static: path.resolve(__dirname, 'dist'), historyApiFallback: true, hot: true, }, resolve: { extensions: ['.js', '.jsx', '.ts', '.tsx'], }, };- 다시 실행하면
msw가 잘 실행되는 것을 볼 수 있습니다.

15. Prettier 설치
-
yarn add -D prettier/@2.8.8 -
prettier v2.8.8으로 설치해줍니다!!(v3.0.0은 XXX)
- v3.0.0버전을 설치 ->
yarn berry에서 호환이 잘 안돼서 아래와 같은 창이 뜨고 prettier 적용이 안되는 문제가 있었습니다.(그래서 v2.8.8으로 변경해서 해결) 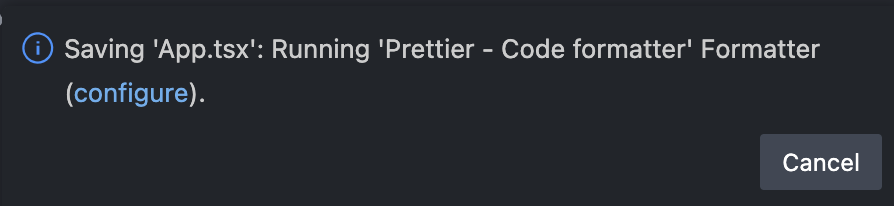
- v3.0.0버전을 설치 ->
prettier에 대한 sdk를 설치하기 위해 yarn dlx @yarnpkg/sdks vscode 명령어를 다시 실행해줍니다.
(공식문서 참고- 위 명령어를 실행하면 package.json에 있는 도구의 SDK만 설치되므로 prettier 설치 후 위 명령어를 다시 실행하는 것)
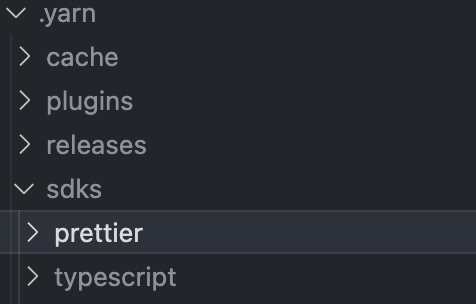
.yarn/sdks 폴더에 prettier폴더가 새로 생성된 것을 확인할 수 있습니다.
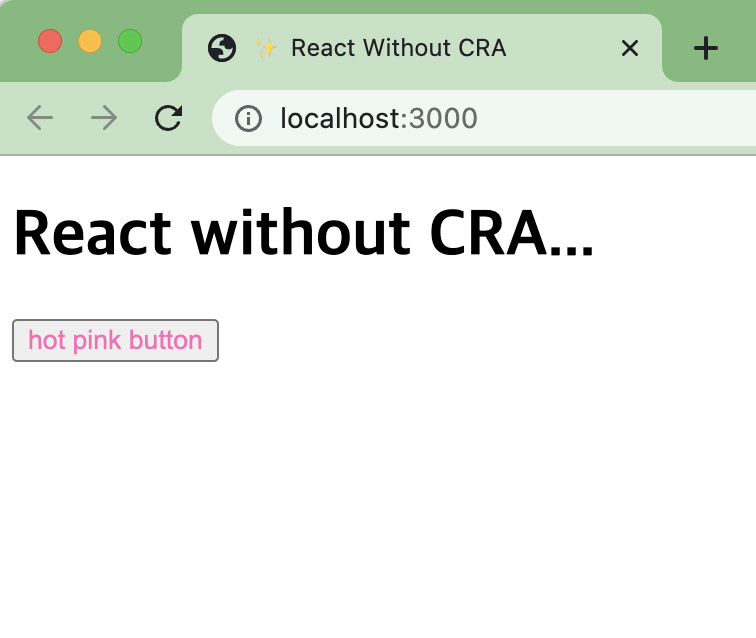
결과
작고 귀여운 결과화면을 확인해볼 수 있습니다 :3


yarn berry와 yarn의 차이점은 무엇인가요? 왜 yarn berry 선택하셨는지 궁금해요