[iOS] .gitignore 다루기
터미널에서 .gitignore 파일 생성하기
우선 터미널에서 프로젝트 파일 위치로 이동한 후 아래 명렁어를 입력한다. 입력하면 Password를 입력하라고 뜨는데 컴퓨터 비밀번호를 입력해주면 된다.
sudo touch .gitignoreFinder에서 프로젝트 파일을 찾아 Shift + Command + . 를 누르면 안 보이던 .gitignore 파일을 볼 수 있다. 생성된 것을 확인한 후, 원치 않는 파일들을 넣어주면 된다. 이때, Swift를 다루면서 .gitignore 파일에 넣으면 좋을 것들을 모아놓은 링크가 있으니 참고하면 좋을 것 같다.
https://github.com/github/gitignore/blob/main/Swift.gitignore
# Xcode
#
# gitignore contributors: remember to update Global/Xcode.gitignore, Objective-C.gitignore & Swift.gitignore
## User settings
xcuserdata/
## Obj-C/Swift specific
*.hmap
## App packaging
*.ipa
*.dSYM.zip
*.dSYM
## Playgrounds
timeline.xctimeline
playground.xcworkspace
# Swift Package Manager
#
# Add this line if you want to avoid checking in source code from Swift Package Manager dependencies.
# Packages/
# Package.pins
# Package.resolved
# *.xcodeproj
#
# Xcode automatically generates this directory with a .xcworkspacedata file and xcuserdata
# hence it is not needed unless you have added a package configuration file to your project
# .swiftpm
.build/
# CocoaPods
#
# We recommend against adding the Pods directory to your .gitignore. However
# you should judge for yourself, the pros and cons are mentioned at:
# https://guides.cocoapods.org/using/using-cocoapods.html#should-i-check-the-pods-directory-into-source-control
#
# Pods/
#
# Add this line if you want to avoid checking in source code from the Xcode workspace
# *.xcworkspace
# Carthage
#
# Add this line if you want to avoid checking in source code from Carthage dependencies.
# Carthage/Checkouts
Carthage/Build/
# fastlane
#
# It is recommended to not store the screenshots in the git repo.
# Instead, use fastlane to re-generate the screenshots whenever they are needed.
# For more information about the recommended setup visit:
# https://docs.fastlane.tools/best-practices/source-control/#source-control
fastlane/report.xml
fastlane/Preview.html
fastlane/screenshots/**/*.png
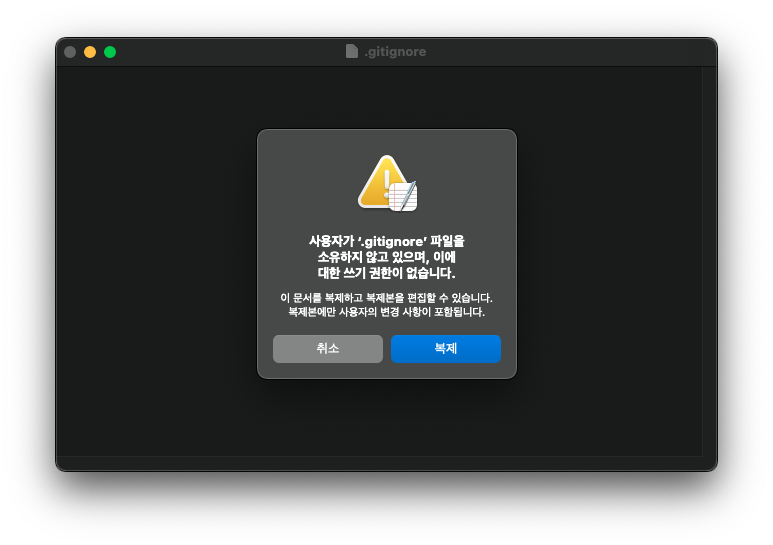
fastlane/test_output혹시 아래와 같이 쓰기 권한이 없다고 나오는 경우에는 Finder에서 .gitignore 파일을 우클릭한 후, 정보 가져오기를 눌러 공유 및 사용 권한에서 본인을 추가하고 읽기 및 쓰기 권한을 부여해주면 된다.
위 방법을 사용하면 개발을 진행하던 중에도 .gitignore 파일을 쉽게 추가할 수 있다.
터미널에서 unstage 하는 방법
git restore --staged
iOS developer