
바닐라 JS로 크롬 앱 만들기# [7-2] Weather API
API : 프로그램간의 통신을 이루어 주는 것(비유 : 키보드)
코드끼리 서로 소통할 수 있게 해준다.
사전 준비
가입 → API → **Current Weather Data(API Doc)**
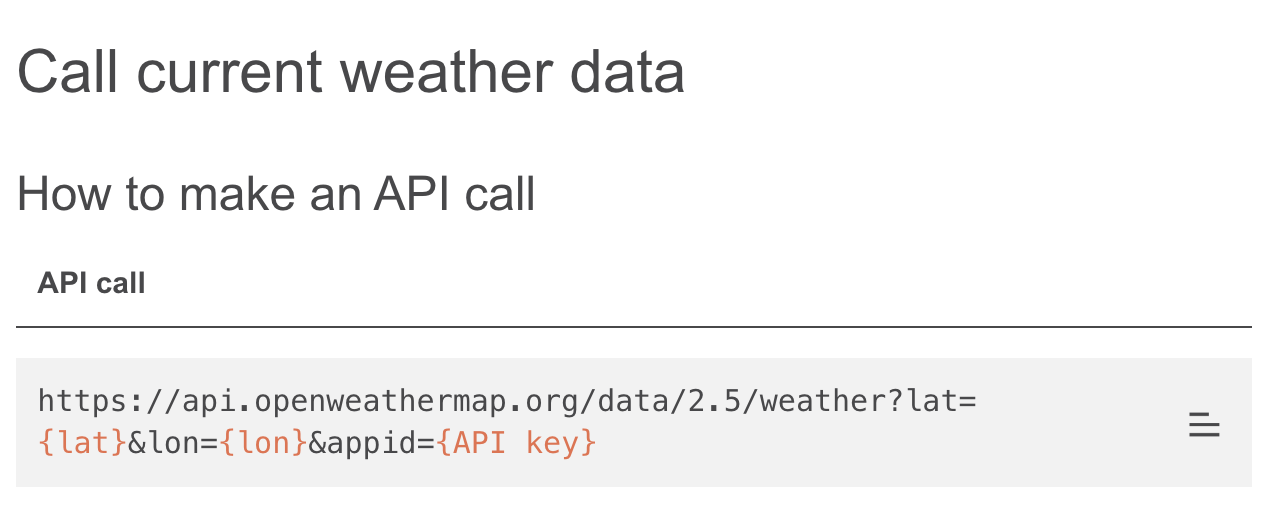
https://api.openweathermap.org/data/2.5/weather?lat={lat}&lon={lon}&appid=[{API key}](https://home.openweathermap.org/api_keys)
{lat}, {lon}, {API key} : 각각 위도, 경도, 내 API key 입력
활용
const API_KEY = "숫자 / 알파벳으로 구성된 본인 API key 입력";

function onGeoOk(position) {
    const lat = position.coords.latitude;
    const lon = position.coords.longitude;
    const url = `https://api.openweathermap.org/data/2.5/weather?lat=${lat}&lon=${lon}&appid=${API_KEY}&units=metric`
    fetch(url).then(response => response.json())
    .then(data => {console.log(data.name, data.weather[0].main);
    });
}

function onGeoError() {
    alert("Can't find you. No weather for you.");
}

navigator.geolocation.getCurrentPosition(onGeoOk, onGeoError);
결과 : Gwangju, Clouds
fetch() : JavaScript가 url 호출하게 함
response.json : url에 데이터(json)를 받음 json : 아래 사진에 있는 모든 정보가 JSON
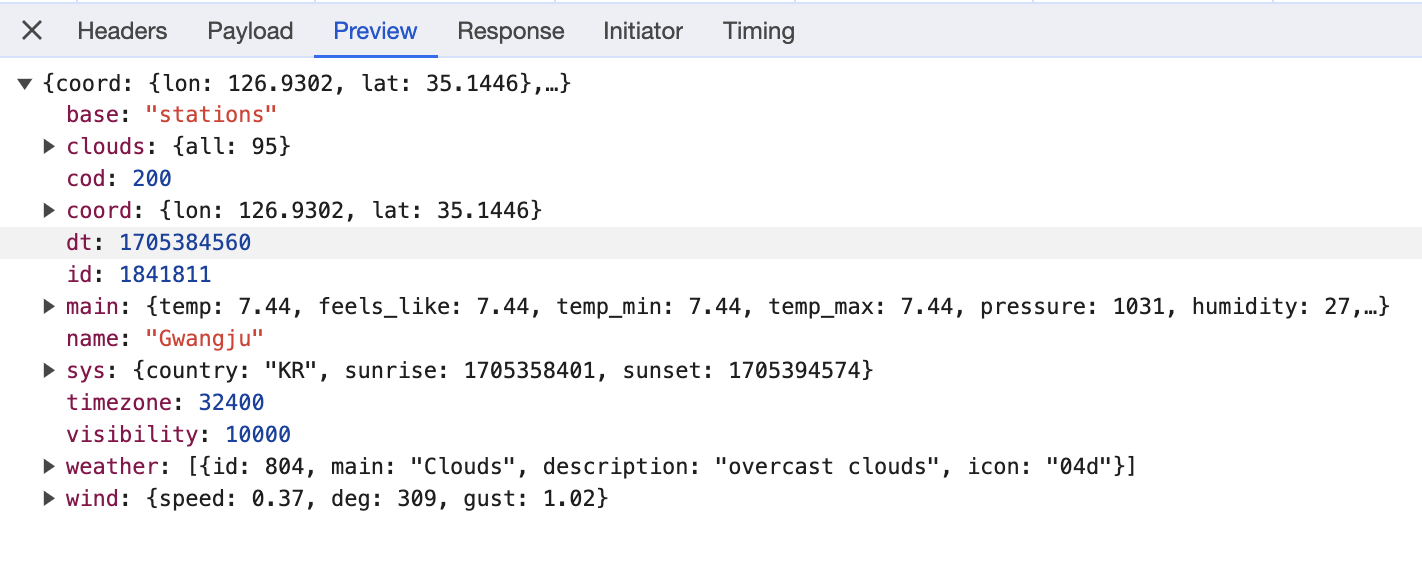
검사 → Network → Preview
불러온 데이터를 웹페이지에 추가하기
HTML
<div id="weather">
        <span></span>
        <span></span>
    </div>
JavaScript
fetch(url).then(response => response.json())
    .then(data => {
        const city = document.querySelector("#weather span:first-child");
        const weather = document.querySelector("#weather span:last-child");
        city.innerText = data.name
        weather.innerText = `${data.weather[0].main} / ${data.main.temp}`;
    });
프론트엔드 개발 일기