6주차 과제: 노마드코더 초보자를 위한 Redux 101 #1 PURE REDUX: COUNTER & #2 PURE REDUX: TO DO LIST 수강
Redux : 기본적으로 Javascript application들의 state(상태)를 관리하는 방법
- React와 많이 사용하면서 유명해졌으나, React에 의존하는 라이브러리는 아님.
- 이와는 별개로 Angular, Vue.js, Vanilla JS 등 JS 언어내의 여러곳에서 사용가능함.
일단 Vanilla JS로 프로그램을 짠 뒤 Redux를 사용할 것임~.~
간단한 JS 프로젝트
일단 우리 프로젝트는 이렇다.
JS를 이용한 간단한 counter 프로그램
const add = document.getElementById("add");
const minus = document.getElementById("minus");
const number = document.querySelector("span");

let count = 0;

number.innerText = count;

const updateText = ()=>{
  number.innerText=count;
}

const handleAdd = ()=>{
  count=count+1;
  updateText();
};

const handleMinus = ()=>{
  count=count-1;
  updateText();
};

add.addEventListener("click", handleAdd);
minus.addEventListener("click", handleMinus);
...
<body>
<button id="add">Add</button>
<span></span>
<button id="minus">Minus</button>
</body>
...이걸 이용해서 redux가 어떻게 문제를 해결하는지 배워보자🤓
Redux
위의 예시를 이용해 redux를 사용해보자.
설치 방법: 터미널에 yarn add redux 입력
설치 후 redux에서 legacy_createStore를 import하자!
(원래는 createStore인데 리덕스 최신버전에서는 바뀐듯? 취소선 쳐짐,, 근데 createStore로 써도 작동은 한다고 함)
store
store는 우리의 data를 넣는 공간(state)을 생성해준다.
여기서 state는 우리의 application에서 바뀌는 data를 말함
우리의 JS counter 코드는 count가 유일하게 우리 앱에서 가지고 있는 data이다!
리덕스는 이런 우리의 data 관리를 도와주기 위해 만들어졌다,,
const reducer = () => {};
const store = legacy_createStore(reducer);
store는 이렇게 만들어줄 수 있음
store에는 reducer라는 함수를 만들어서 넣어주어야 한다!
그리고 이 reducer는 우리의 data를 modify하는 역할을 한다.
import { legacy_createStore } from "redux";

const add = document.getElementById("add");
const minus = document.getElementById("minus");
const number = document.querySelector("span");

const countModifier = () => {
  return "hello";
};

const countStore = legacy_createStore(countModifier);

console.log(countStore);
코드를 좀 수정하고 콘솔에 찍힌걸 확인해보자
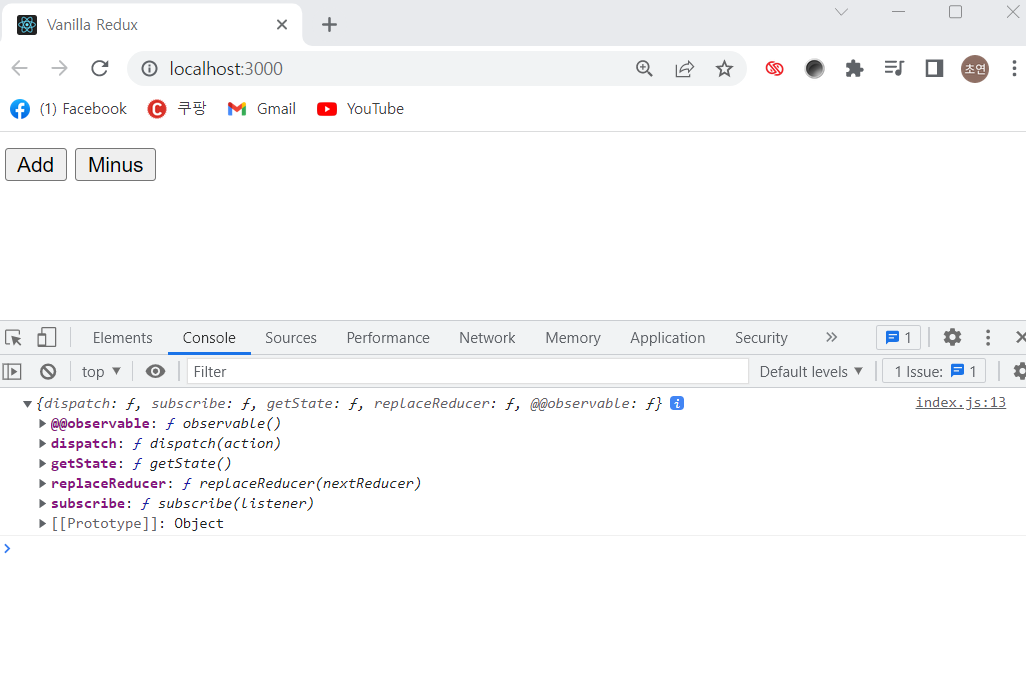
이렇게! 찍힌다.
만약 콘솔에 countStore.getState()를 찍어본다면
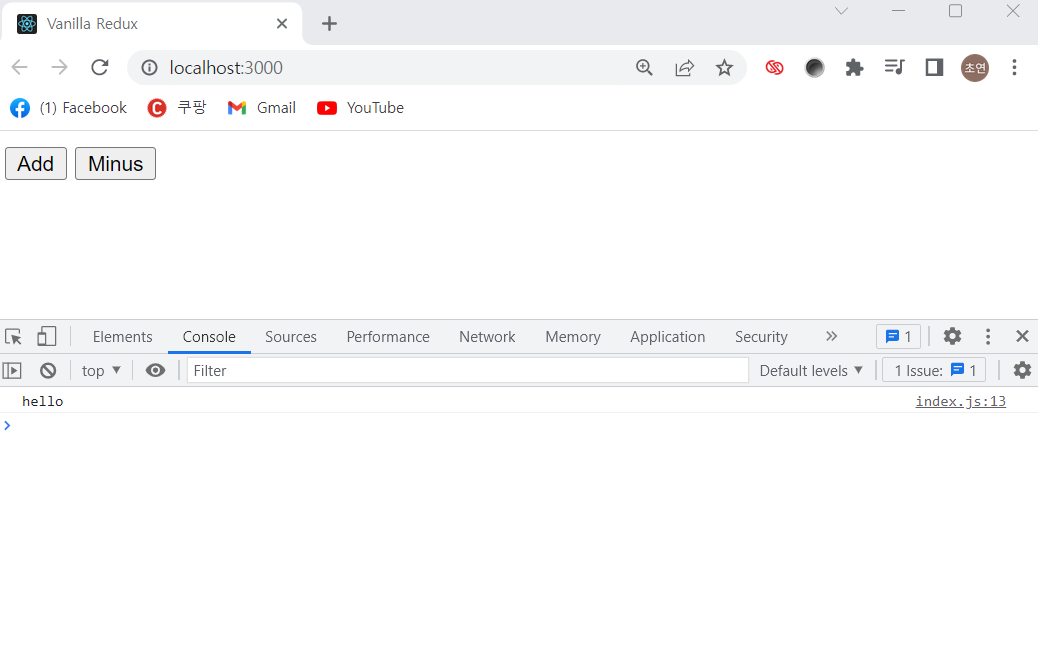
우리가 reducer에 리턴값으로 넣어줬던 hello가 찍힌다.
즉, data를 바꿔주는 reducer의 기능을 확인할 수 있다!
reducer가 리턴하는 것은 우리 어플리케이션의 데이터가 된다
const countModifier = (count=0) => {
  return count;
};
이렇게 해주면 state를 리턴해주게 된다.
count=0 해준 이유는 디폴트값을 설정해주기 위해서이고
만약 state가 따로 없는 상태라면 0으로 설정된다.
Actions
count를 수정해보자~ action을 이용하면 된당
action은 리덕스에서 함수를 부를 때 쓰는 두번째 argument이다.
const countModifier = (count=0, action) => {
  if (action.type==="ADD"){
    return count+1;
  } else if (action.type==="MINUS"){
    return count-1;
  } else {
    return count;
  }
};

const countStore = legacy_createStore(countModifier);
countStore.dispatch({type:"ADD"});
countStore.dispatch({type:"ADD"});
countStore.dispatch({type:"ADD"});
countStore.dispatch({type:"ADD"});
countStore.dispatch({type:"ADD"});
countStore.dispatch({type:"MINUS"});

console.log(countStore.getState());
이런 식으로 사용해주면 된다.
저런식으로 해주면 ADD 5번, MINUS 1번 실행되므로 콘솔창에 4가 찍힌다. (1*5-1)
매우매우 간단해진다. 리덕스를 사용하면!
Subscribe
Subscribe : store 안에 있는 변화를 감지해줌
const onChange = () => {
  console.log(countStore.getState());
}

countStore.subscribe(onChange);
이렇게 해주면 subscribe가 countStore의 변화를 감지해서 onChange 함수를 실행시킨다.
즉, 버튼을 클릭할 때마다 콘솔에 countStore 데이터가 찍히는 것이다.
const onChange = () => {
  number.innerText = countStore.getState();
}
이렇게 하면 이제 store에 변화가 있을 때마다 span에 숫자가 변화한다.
JS와 Redux를 이용한 counter가 완성되었다.~~~
[index.js 전체코드]
import { legacy_createStore } from "redux";

const add = document.getElementById("add");
const minus = document.getElementById("minus");
const number = document.querySelector("span");

number.innerText = 0;

const countModifier = (count=0, action) => {
  if (action.type==="ADD"){
    return count+1;
  } else if (action.type==="MINUS"){
    return count-1;
  } else {
    return count;
  }
};
const countStore = legacy_createStore(countModifier);

const onChange = () => {
  number.innerText = countStore.getState();
}

countStore.subscribe(onChange);

const handleAdd = () => {
  countStore.dispatch({type:"ADD"})
}

const handleMinus = () => {
  countStore.dispatch({type:"MINUS"})
}

add.addEventListener("click", handleAdd);
minus.addEventListener("click", handleMinus);
RECAP
✅reducer : 현재 상태의 application과 함께 불려지는 함수(+ with action) & 리턴하는 것은 application의 state가 됨
✅ action : reducer와 소통하는 방법으로 Object여야 하며 그 key 이름은 항상 type임 (바꿀 수 없음)
✅ dispatch : reducer에게 action을 보내는 방법
✅ subscribe : store의 변화를 감지하면 인자값으로 준 함수를 실행
✅ switch가 자주 쓰임
switch(action.type){
case ..blah..:
return smth
case ..blah2..:
return smth2
default:
return smth3
}
✅ string으로 바로 쓰는 대신에 const variable로 선언해서 사용하기 -> 에러 발견 용이
( 댓글에 정리가 잘 되어있어서 복사해왔다 ㅎㅎ,,)
[switch를 이용해서 조금 더 개선한 코드]
import { legacy_createStore } from "redux";

const add = document.getElementById("add");
const minus = document.getElementById("minus");
const number = document.querySelector("span");

number.innerText = 0;

const ADD = "ADD";
const MINUS = "MINUS";

const countModifier = (count=0, action) => {
  switch (action.type){
    case ADD:
      return count + 1;
    case MINUS:
      return count - 1;
    default:
      return count;
  }
};

const countStore = legacy_createStore(countModifier);

const onChange = () => {
  number.innerText = countStore.getState();
}

countStore.subscribe(onChange);

const handleAdd = () => {
  countStore.dispatch({type:ADD})
}

const handleMinus = () => {
  countStore.dispatch({type:MINUS})
}

add.addEventListener("click", handleAdd);
minus.addEventListener("click", handleMinus);