뒤늦은 프로젝트 회고..올려봅니다.
소개글은 길어서 따로 뺐습니다. ㅎㅎ
이 포스팅에는 제 역할과 트러블 슈팅 과정 등을 적을 예정입니다.

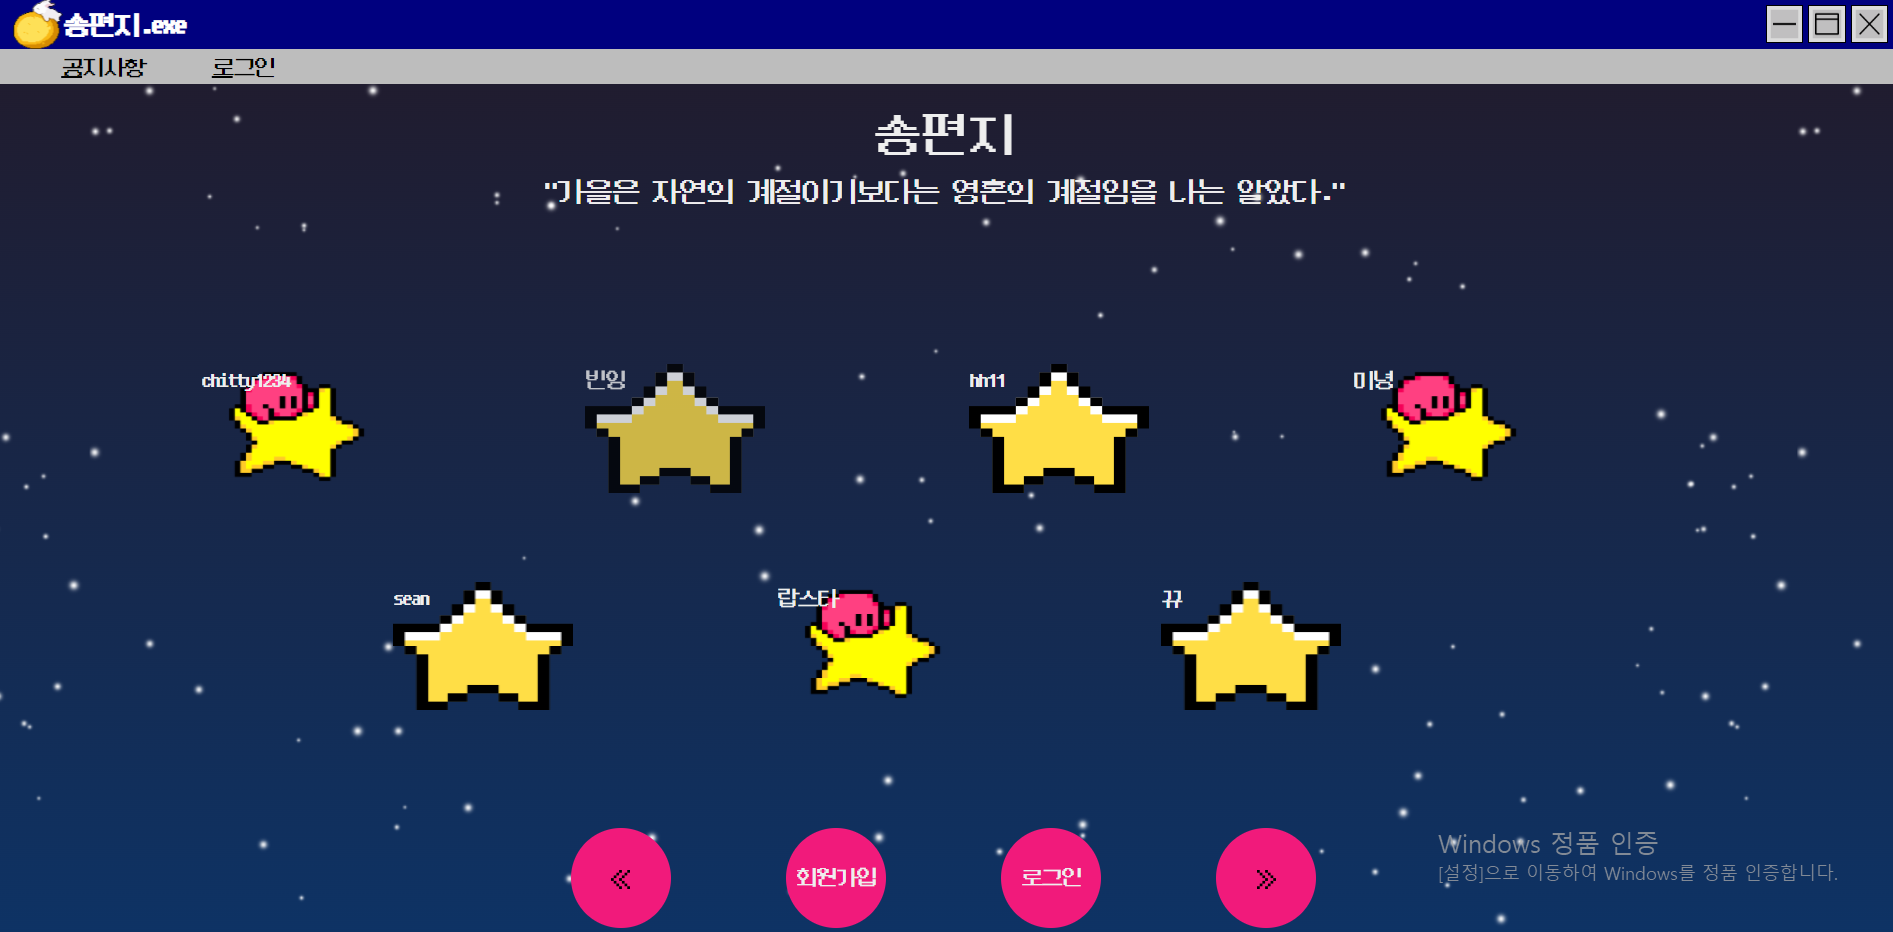
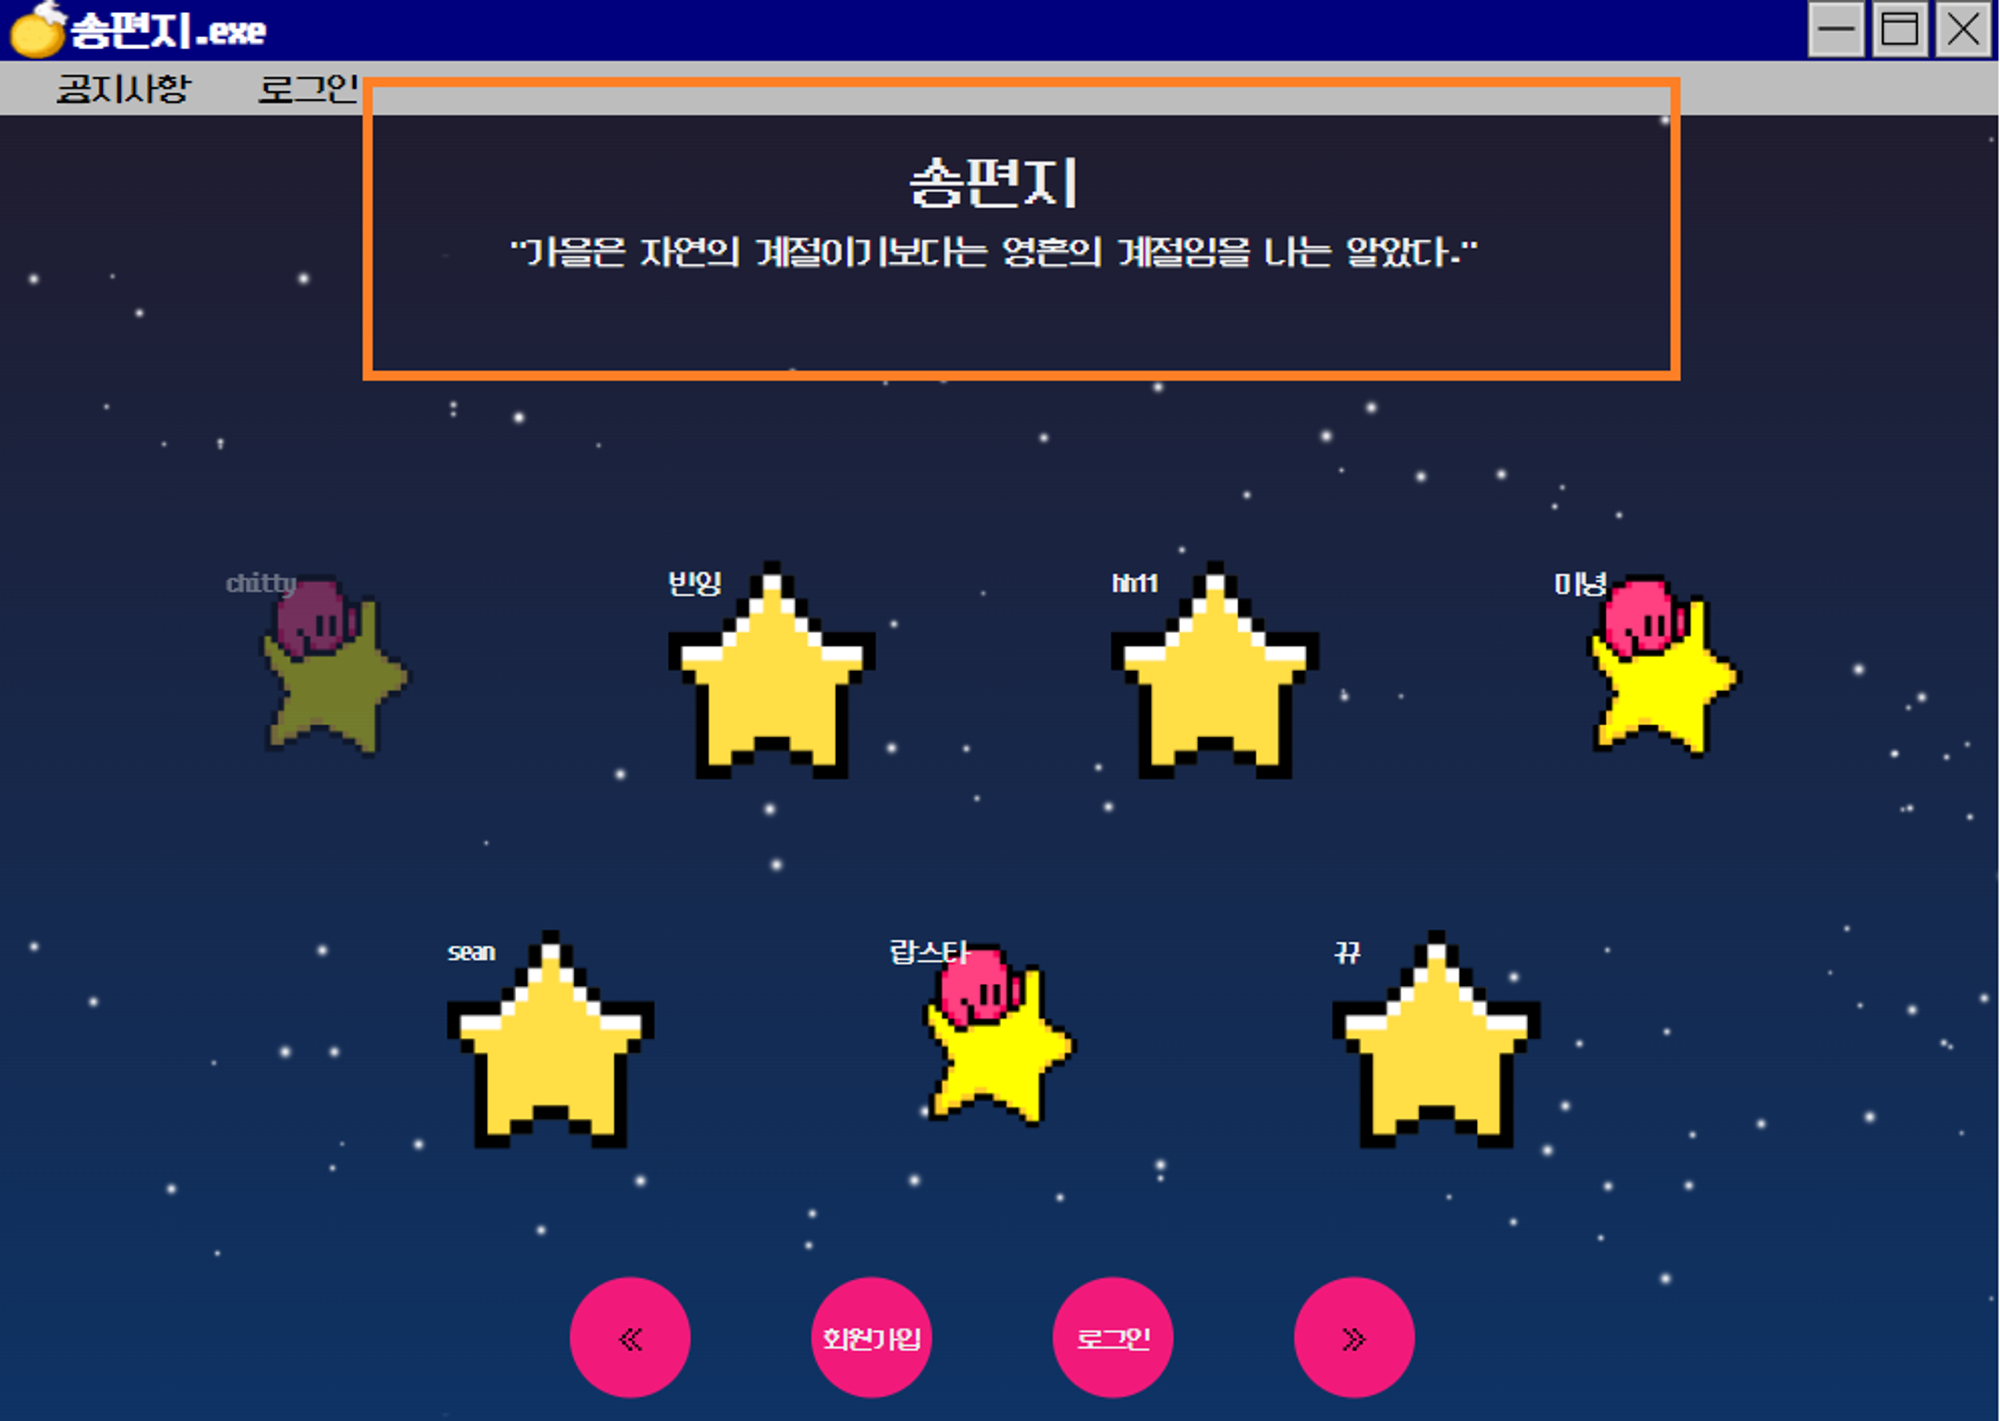
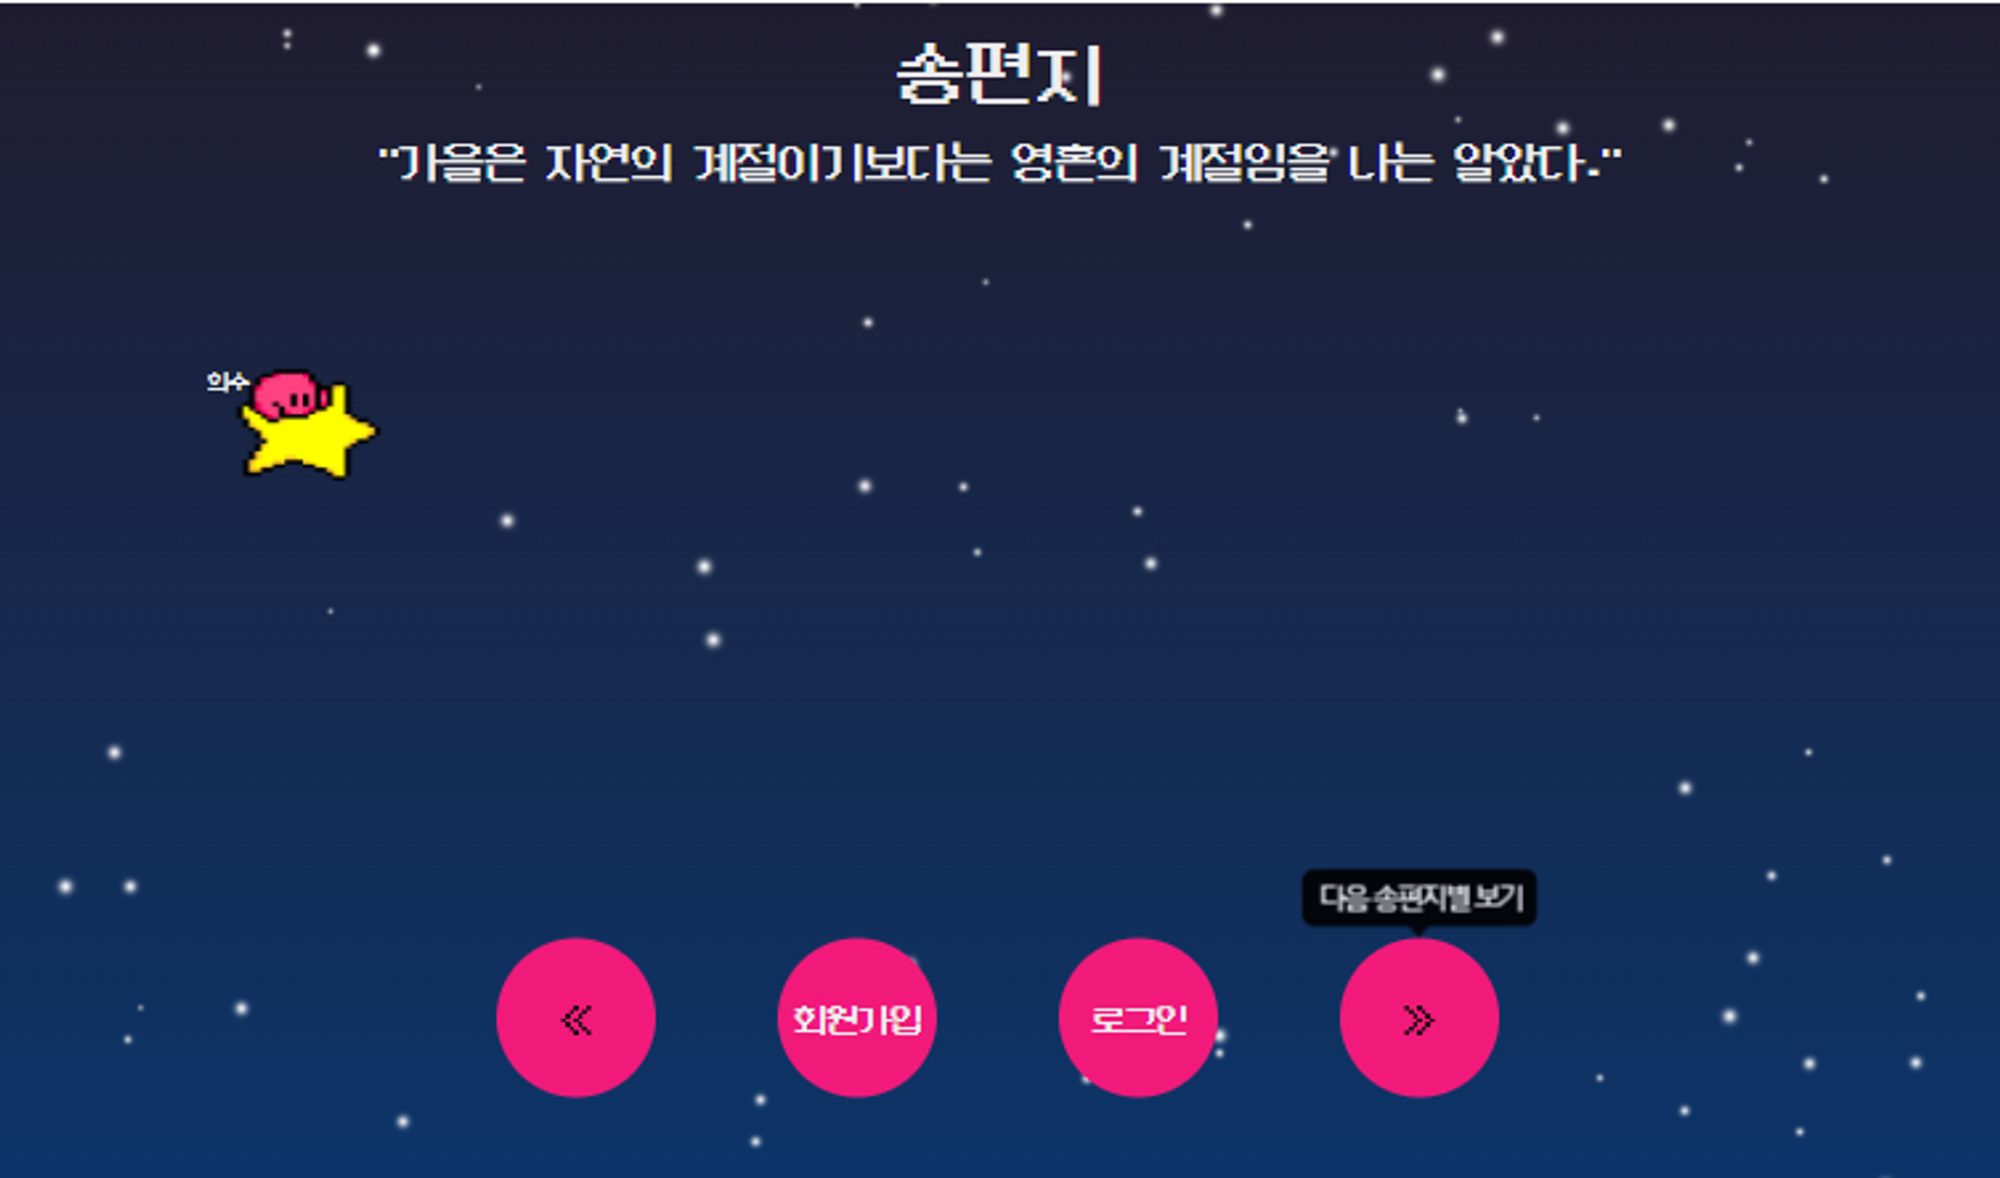
예쁜 메인화면... (자화자찬 맞습니다)
예전에 [내 트리를 꾸며줘] 서비스를 보고 나도 저런 서비스를 만들어보고 싶다고 생각했었다.
따라서 냅다 기획 회의 때 추석 시즌에 알맞다는 점을 어필하며 말씀드렸었고, 반응이 좋아 진행하게 되었다. ㅎㅎ
결과는 완전 만족!!!
마음에 드는 프로젝트이다.ㅎㅎ
프로젝트 소개글은 여기
내 역할
역할 : 프론트엔드
담당 페이지
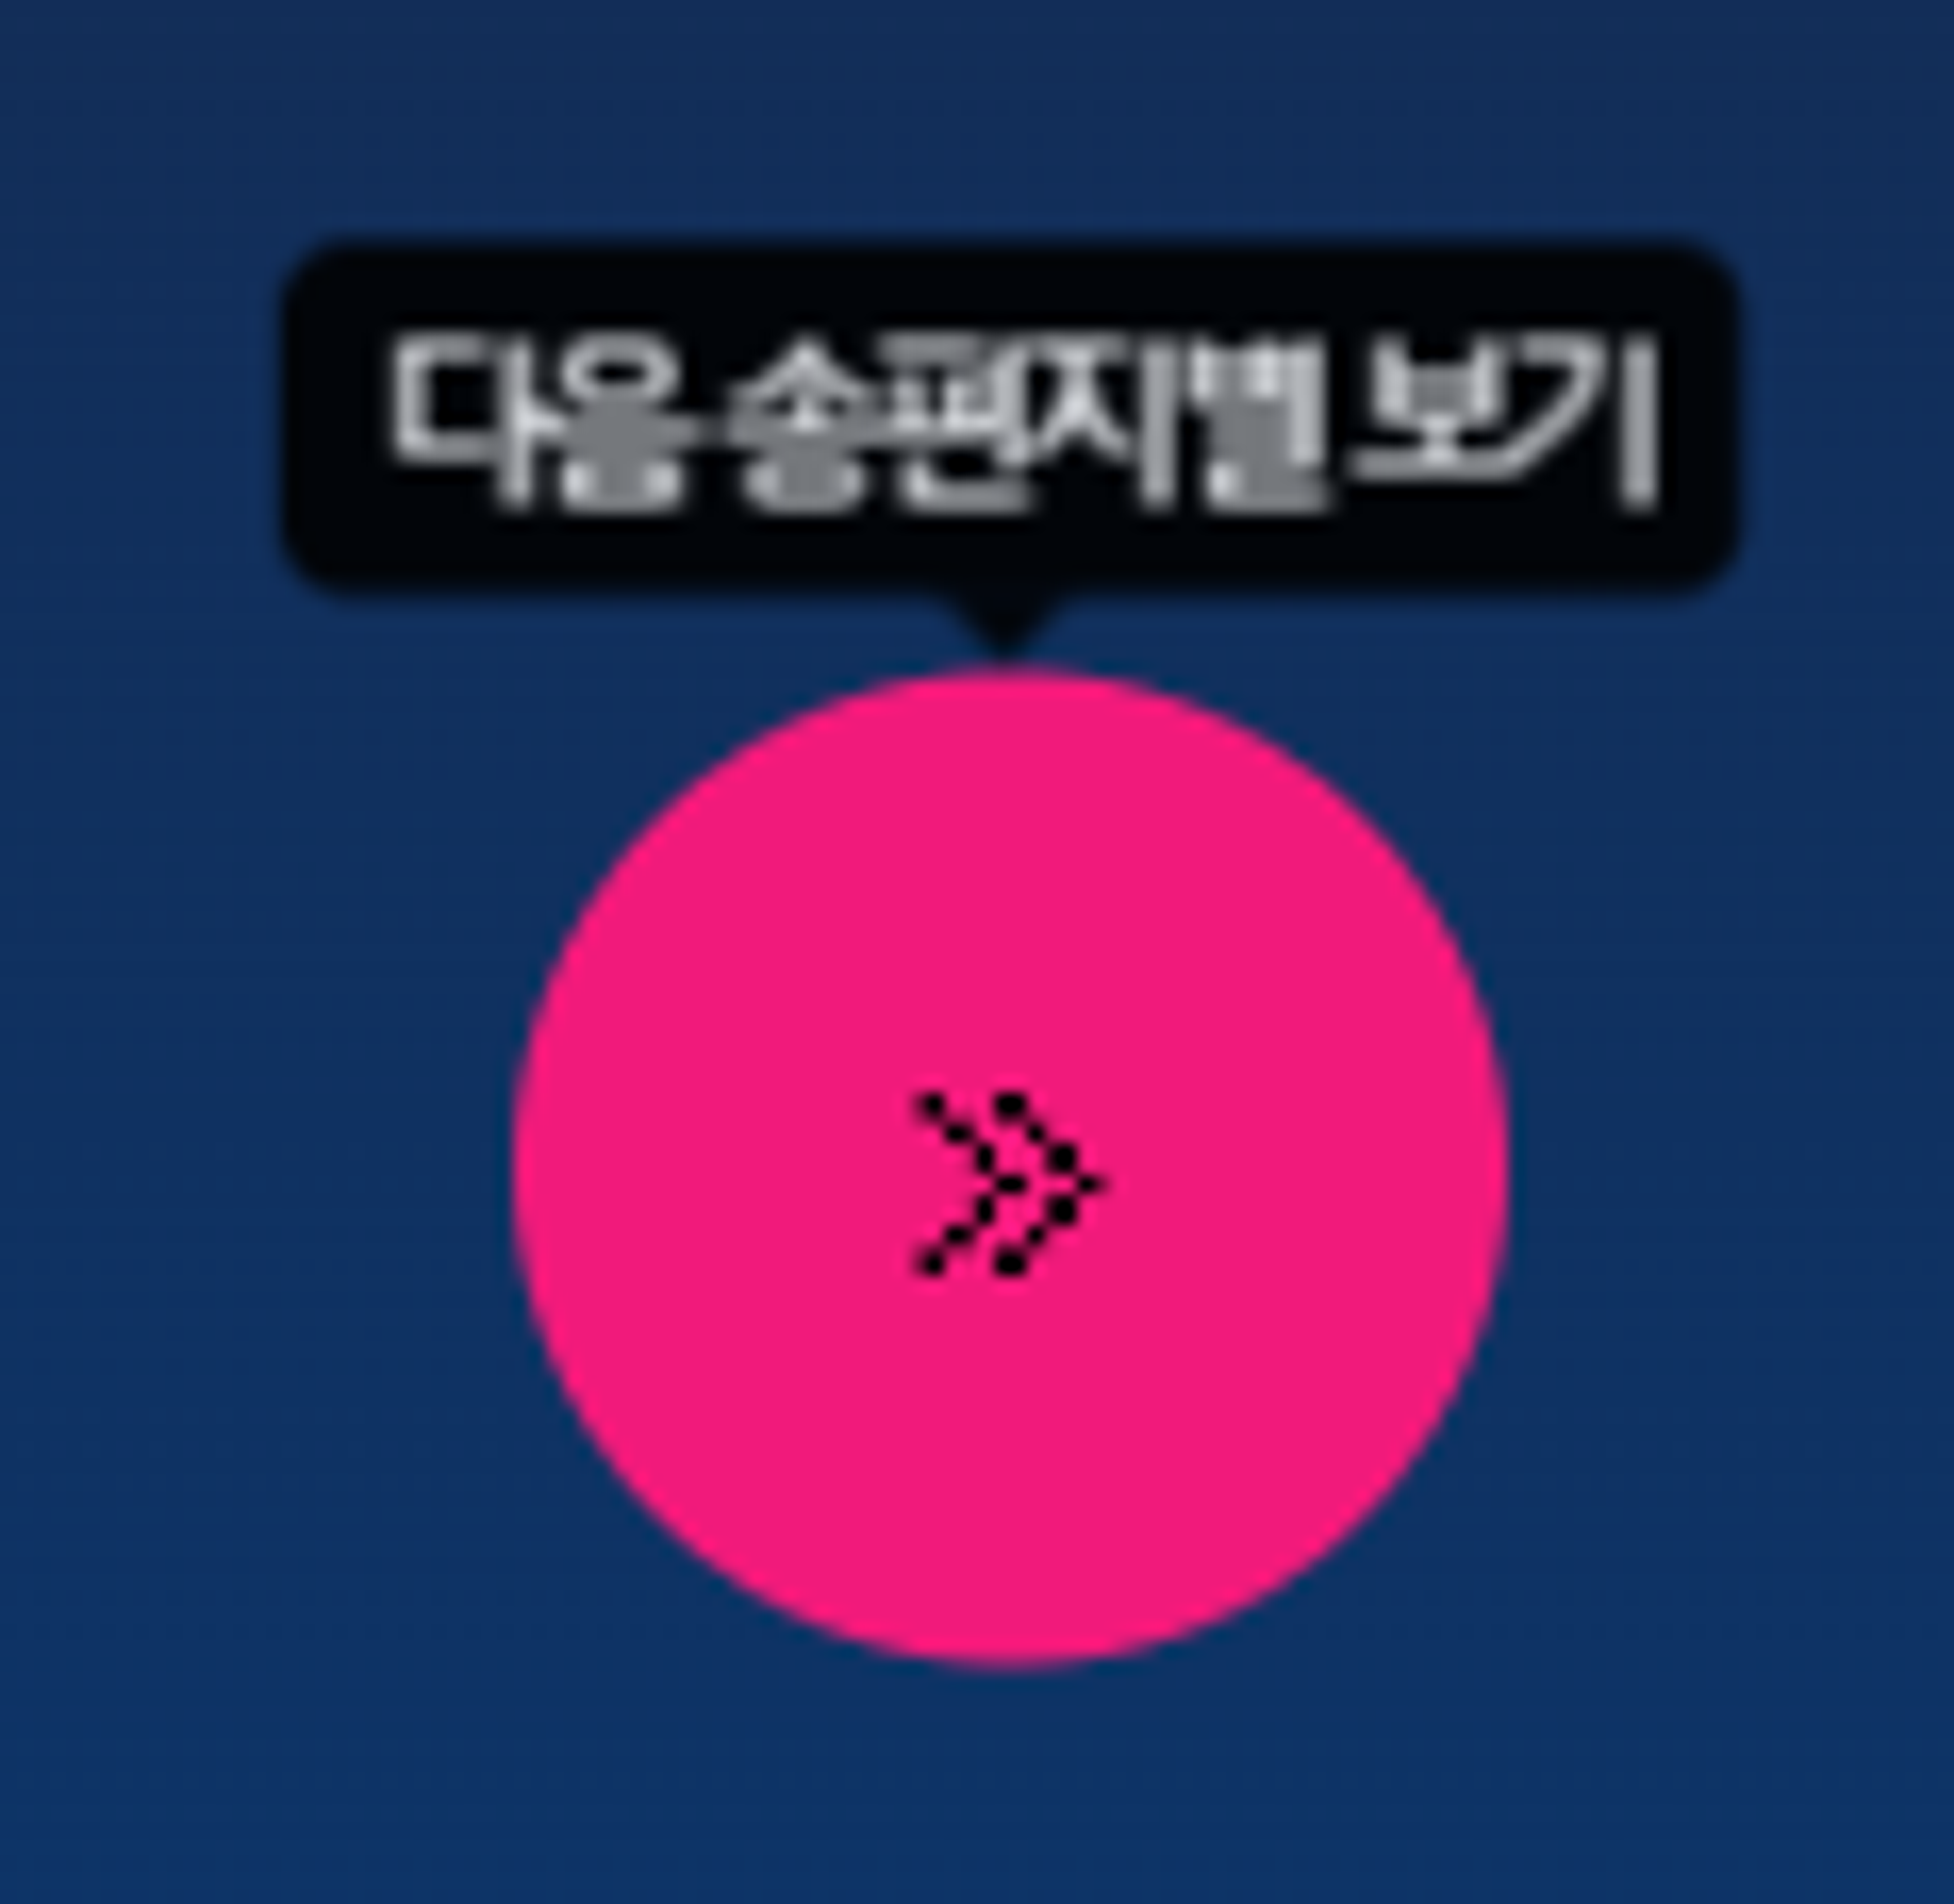
1. 가이드 화면
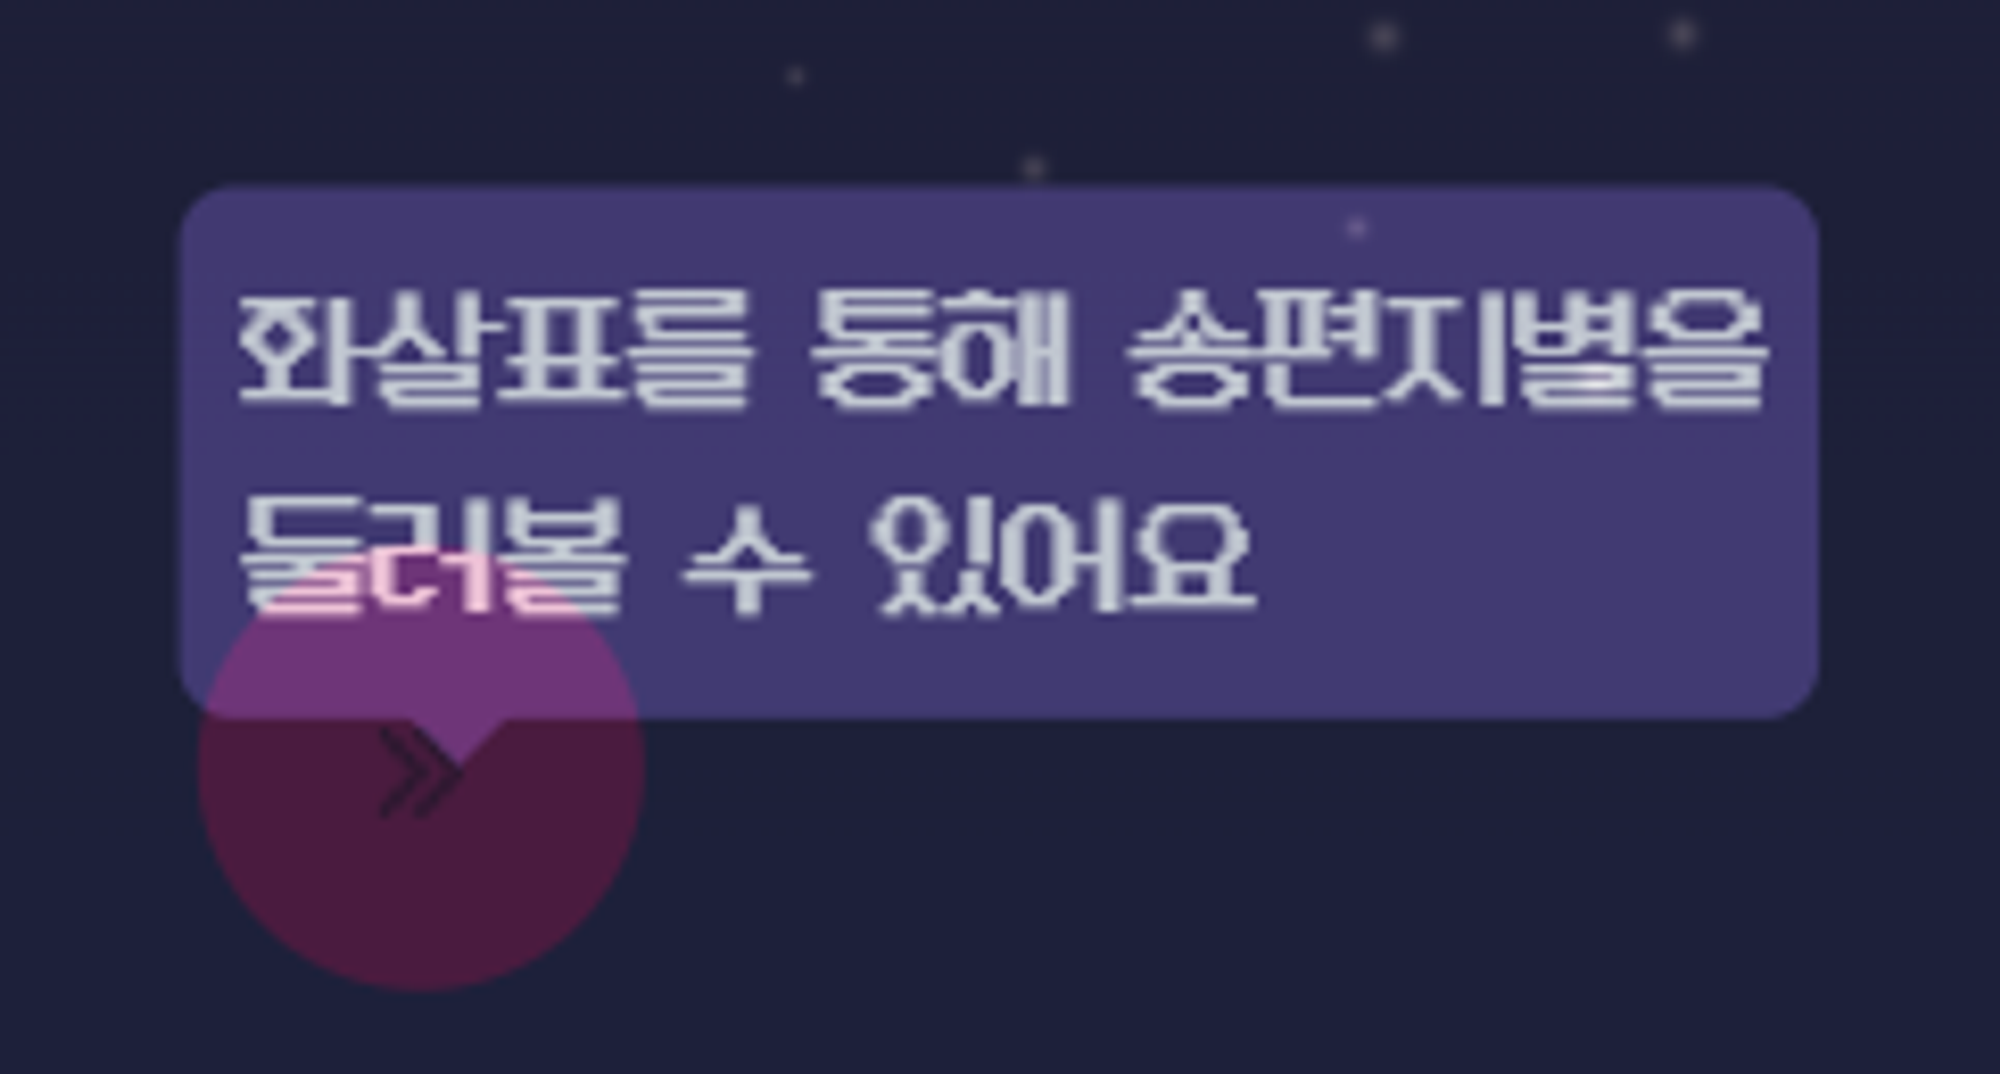
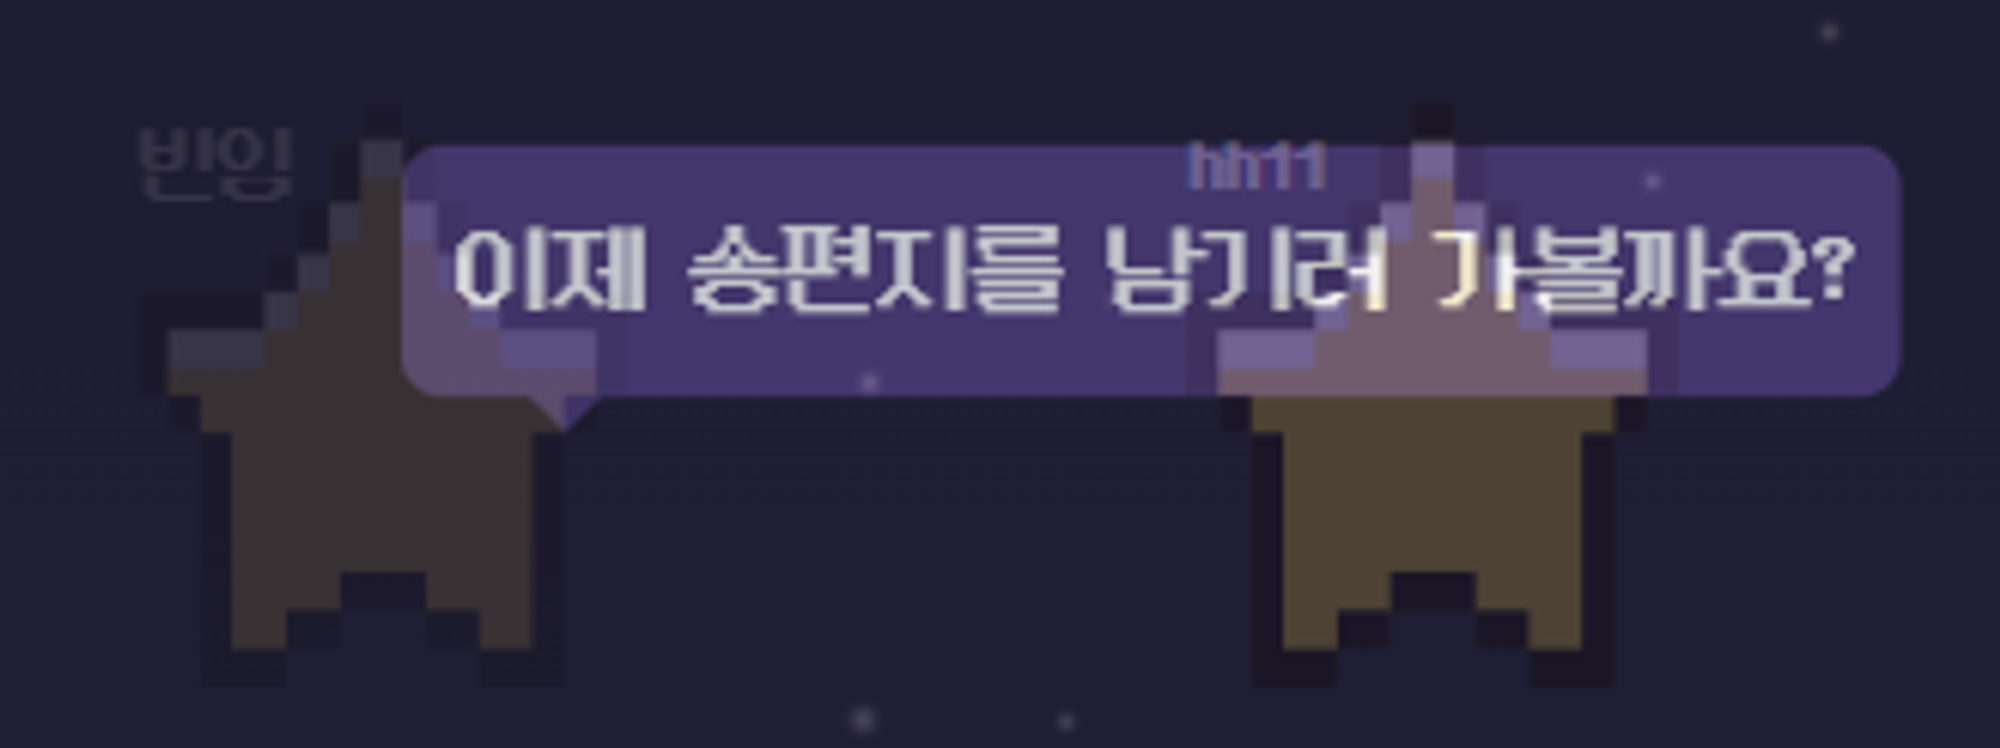
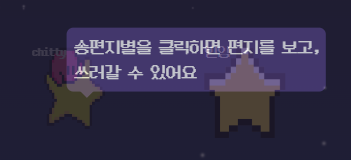
- 쿠키 사용
- 웹에 처음 접속 해 가이드 화면을 본 사용자에게는 30일 후 가이드 화면을 다시 띄우도록 쿠키 설정function bakeCookie(name, value, expDay) { let today = new Date(); today.setDate(today.getDate() + expDay); document.cookie = name + '=' + value + ';expires=' + today.toGMTString(); } function getCookie(name) { let cookie = document.cookie; if (document.cookie != '') { // 쿠키 있으면 let cookieArr = cookie.split('; '); for (let idx in cookieArr) { let cookieName = cookieArr[idx].split('='); if (cookieName[0] == 'bensCookie') { return cookieName[1]; } } } return; } let checkCookie = getCookie('bensCookie'); bakeCookie('bensCookie', 'guideCookie', 30); if (checkCookie == 'guideCookie') { guideDiv.style.display = 'none'; } - 툴팁 추가
- 부트스트랩 툴팁을 사용한 사용자 UX 개선
    // 툴팁 js
    let tooltipTriggerList = [].slice.call(
      document.querySelectorAll('[data-bs-toggle="tooltip"]')
    );

    let tooltipList = tooltipTriggerList.map(function (tooltipTriggerEl) {
      return new bootstrap.Tooltip(tooltipTriggerEl);
    });
2. 메인페이지
- 반응형 웹 구현
- 5개의 표준 breakpoint를 사용해 모바일, 아이패드, 랩탑 등 각 breakpoint별로 css 작성
- 동적 별 크기 & 위치 지정
- js를 통한 별 크기 & 위치 동적 지정
- js를 통해 화면 변경에 따른 resize 이벤트 추가// star position /size 정의 for (let i = 1; i <= starCnt; i++) { const star = document.querySelector(`.star${i}`); const p = document.querySelector(`#p${i}`); if (i % 2 == 0) { // 짝수 별이라면 if (myWidth <= 480) { // 모바일용 star.style.top = myHeight / 4 + 'px'; star.style.left = ((1 * myWidth) / 11) * i + 'px'; } else { star.style.top = myHeight / 3 + 'px'; star.style.left = ((1 * myWidth) / 10) * i + 'px'; } } else { //홀수 별이라면 if (myWidth <= 480) { // 모바일용 크기 star.style.top = myHeight / 20 + 'px'; star.style.left = (myWidth / 11) * i + 'px'; } else { star.style.top = myHeight / 10 + 'px'; star.style.left = (myWidth / 10) * i + 'px'; } } if (myWidth <= 480) { // 모바일용 크기 star.style.width = myWidth / 8 + 'px'; star.style.height = myHeight / 10 + 'px'; } else { star.style.width = myWidth / 8 + 'px'; star.style.height = myHeight / 8 + 'px'; } } function resizeStars() { for (let i = 1; i <= starCnt; i++) { const star = document.querySelector(`.star${i}`); const p = document.querySelector(`#p${i}`); if (i % 2 == 0) { // 짝수 별이라면 if (window.innerWidth <= 480) { // 모바일용 star.style.top = window.innerHeight / 4 + 'px'; star.style.left = ((1 * window.innerWidth) / 11) * i + 'px'; } else { star.style.top = window.innerHeight / 3 + 'px'; star.style.left = ((1 * window.innerWidth) / 10) * i + 'px'; } } else { //홀수 별이라면 if (window.innerWidth <= 480) { // 모바일용 크기 star.style.top = window.innerHeight / 20 + 'px'; star.style.left = (window.innerWidth / 11) * i + 'px'; } else { star.style.top = window.innerHeight / 10 + 'px'; star.style.left = (window.innerWidth / 10) * i + 'px'; } } if (myWidth <= 480) { // 모바일용 크기 star.style.width = window.innerWidth / 8 + 'px'; star.style.height = window.innerHeight / 10 + 'px'; } else { star.style.width = window.innerWidth / 8 + 'px'; star.style.height = window.innerHeight / 8 + 'px'; } } } - 상단 랜덤 멘트 출력: Math.random( )함수를 통해 배열 내 가을 관련 문장을 랜덤으로 출력
  const cmt = document.querySelector('#cmt');
  const cmtArr = [
    '"여름은 단번에 가을로 떨어진다."',
    '"가을은 자연의 계절이기보다는 영혼의 계절임을 나는 알았다."',
    '"추석은 야금야금 살찌는 날"',
    '"가지마 추석 연휴"',
    '"2023년도 벌써..."',
  ];
  let randCmtNum = Math.floor(Math.random() * cmtArr.length);
cmt.innerText = cmtArr[randCmtNum];- 페이징 : 하단 화살표 버튼을 통한 회원 목록 페이징 구현
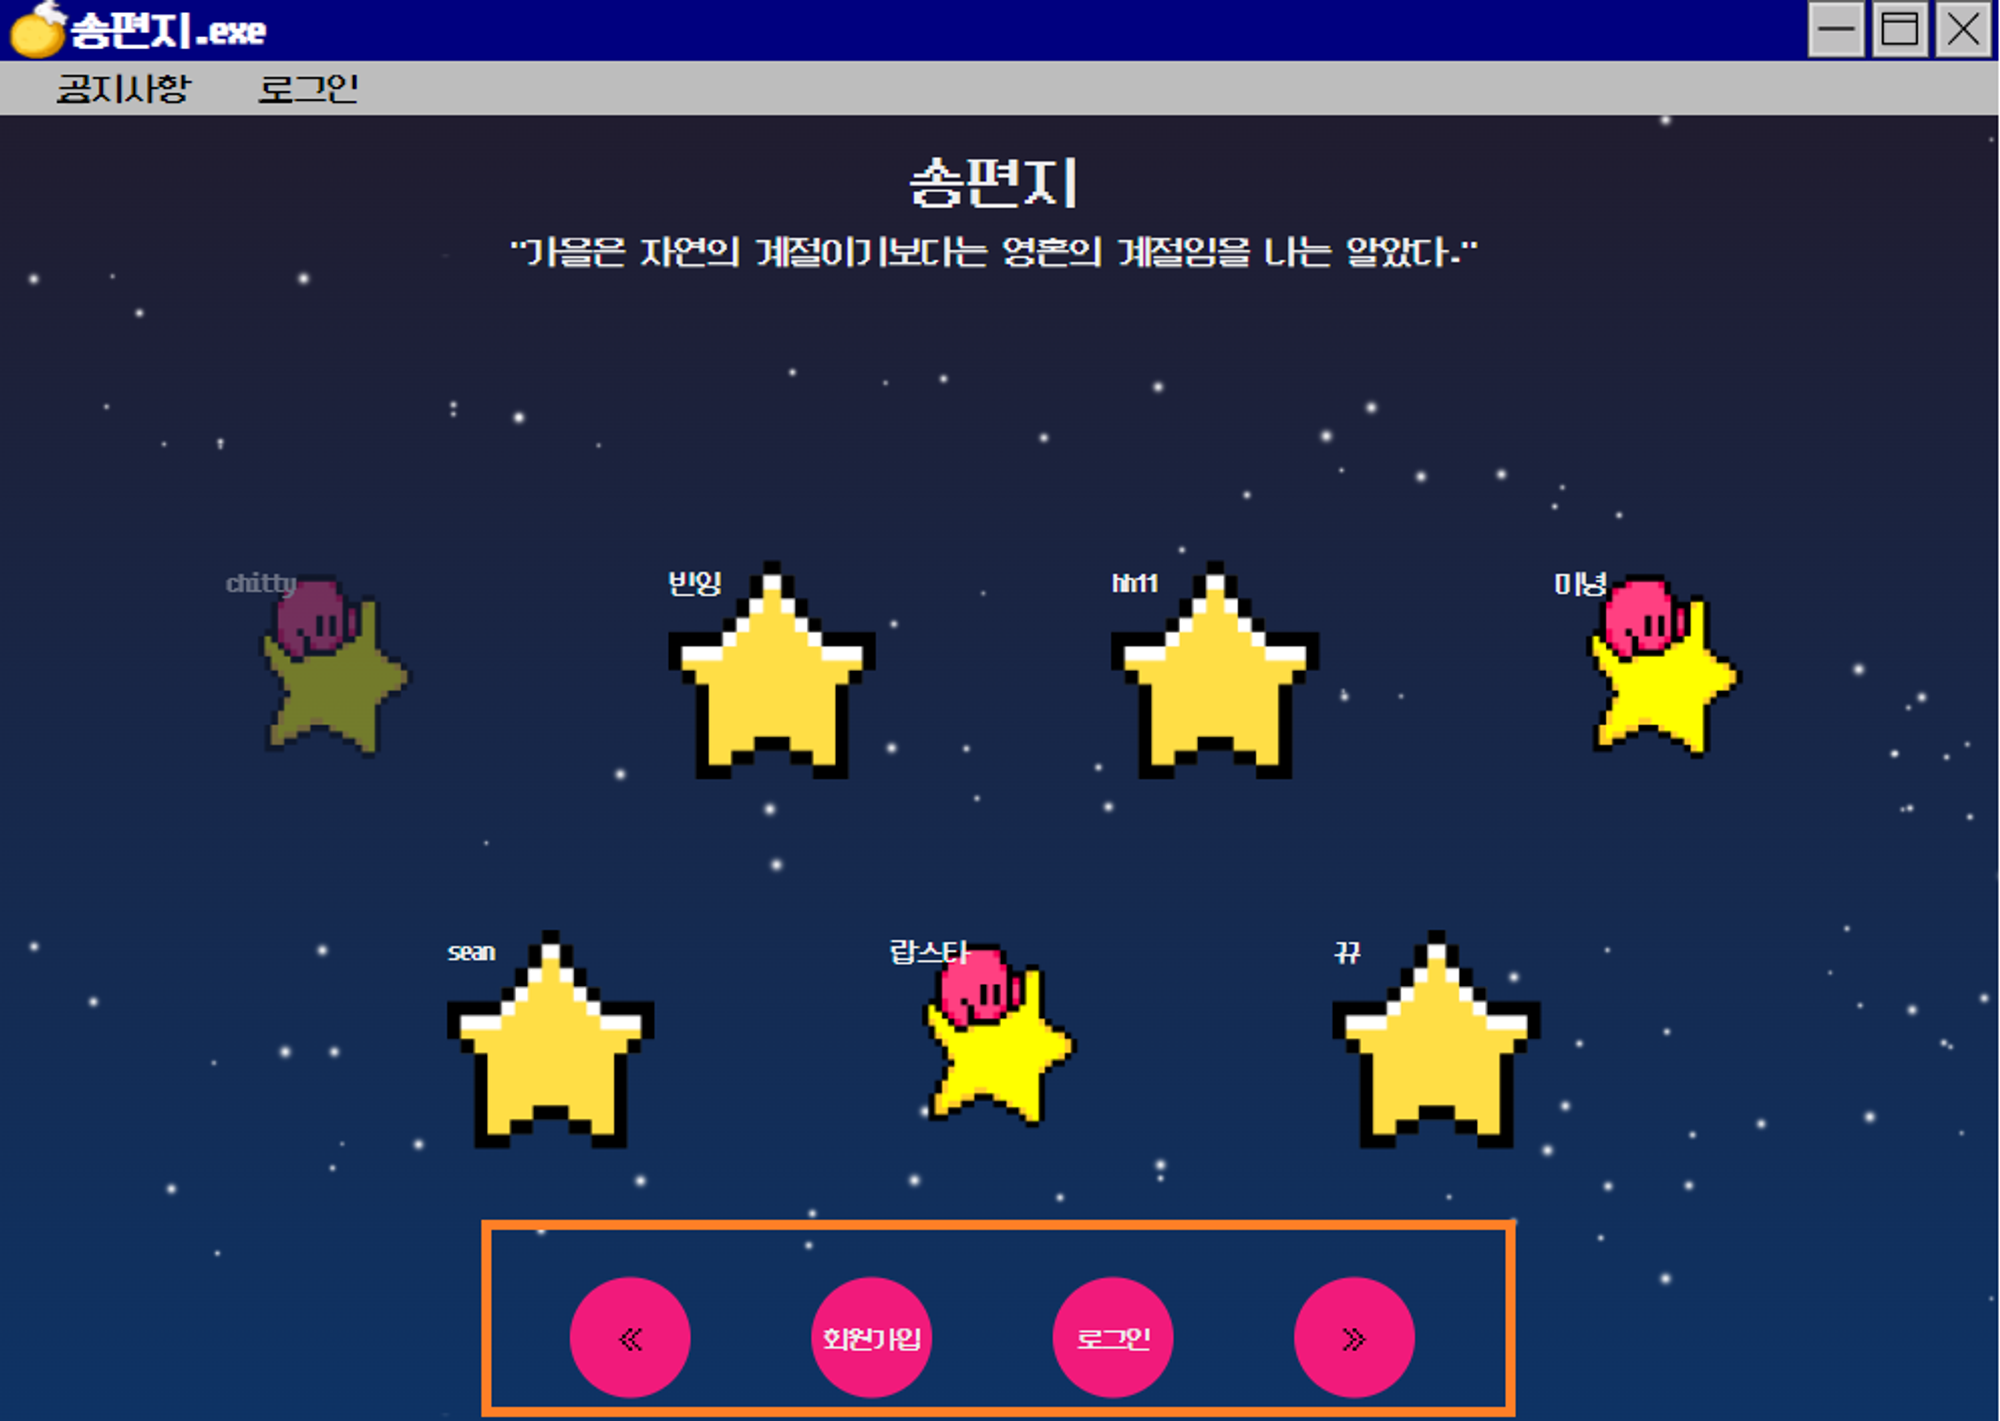
- 페이징에 따른 회원별 링크 / 닉네임 변경
function prevPage() {
if (curPage > 0) {
//현재 페이지가 1보다 큰 경우에만 이전 페이지로
// 데이터 -7(별 개수)
const p = document.querySelectorAll('p');
const a = document.querySelectorAll('.a');
const starImg = document.querySelectorAll('.starImg');
try {
axios({
method: 'GET',
url: `/prevPage?curPage=${curPage}`,
}).then((res) => {
curPage--; //앞에서 빼주어야 올바른 현재 페이지(이전 페이지)로 이동
const data = res.data.data;
const startIndex = (curPage - 1) * starCnt; //0
// step 1) a태그 내 링크 수정
for (let i = 0; i < a.length; i++) {
const dataIndex = startIndex + i + starCnt;
if (data[dataIndex]) {
a[i].setAttribute('href', `/letter/MyLetter/${data[dataIndex].id}`);
// a[i].href = `/letter/MyLetter/${data[dataIndex].id}`;
} else {
// a[i].href = '#';
a[i].removeAttribute('href');
}
}
// step 2) p태그 내 닉네임 수정
for (let i = 0; i < p.length; i++) {
//data.length는 8이라 p 인덱스에러 나니까 p.length로 수정
const dataIndex = startIndex + i;
if (data[dataIndex]) {
//데이터 있을 때 출력
p[i].innerText = data[dataIndex].nickname;
} else {
p[i].innerText = '';
}
}
// step 3) data 있을 때만 img 보이도록
for (let i = 0; i < starImg.length; i++) {
const dataIndex = startIndex + i + starCnt;
if (data[dataIndex]) {
starImg[i].style.display = 'block';
} else {
starImg[i].style.display = 'none';
}
}
// step 4) data 있을 때만 tooltip 보이도록
for (let i = 0; i < starImg.length; i++) {
const dataIndex = startIndex + i + starCnt;
if (data[dataIndex]) {
stars[i].setAttribute('data-bs-toggle', 'tooltip');
stars[i].setAttribute('data-bs-placement', 'top');
stars[i].setAttribute(
'data-bs-original-title',
'송편지별을 둘러보세요'
);
} else {
stars[i].removeAttribute('data-bs-toggle');
stars[i].removeAttribute('data-bs-placement');
stars[i].removeAttribute('data-bs-original-title');
}
}
});
} catch (err) {
console.error('Error', err);
}
}
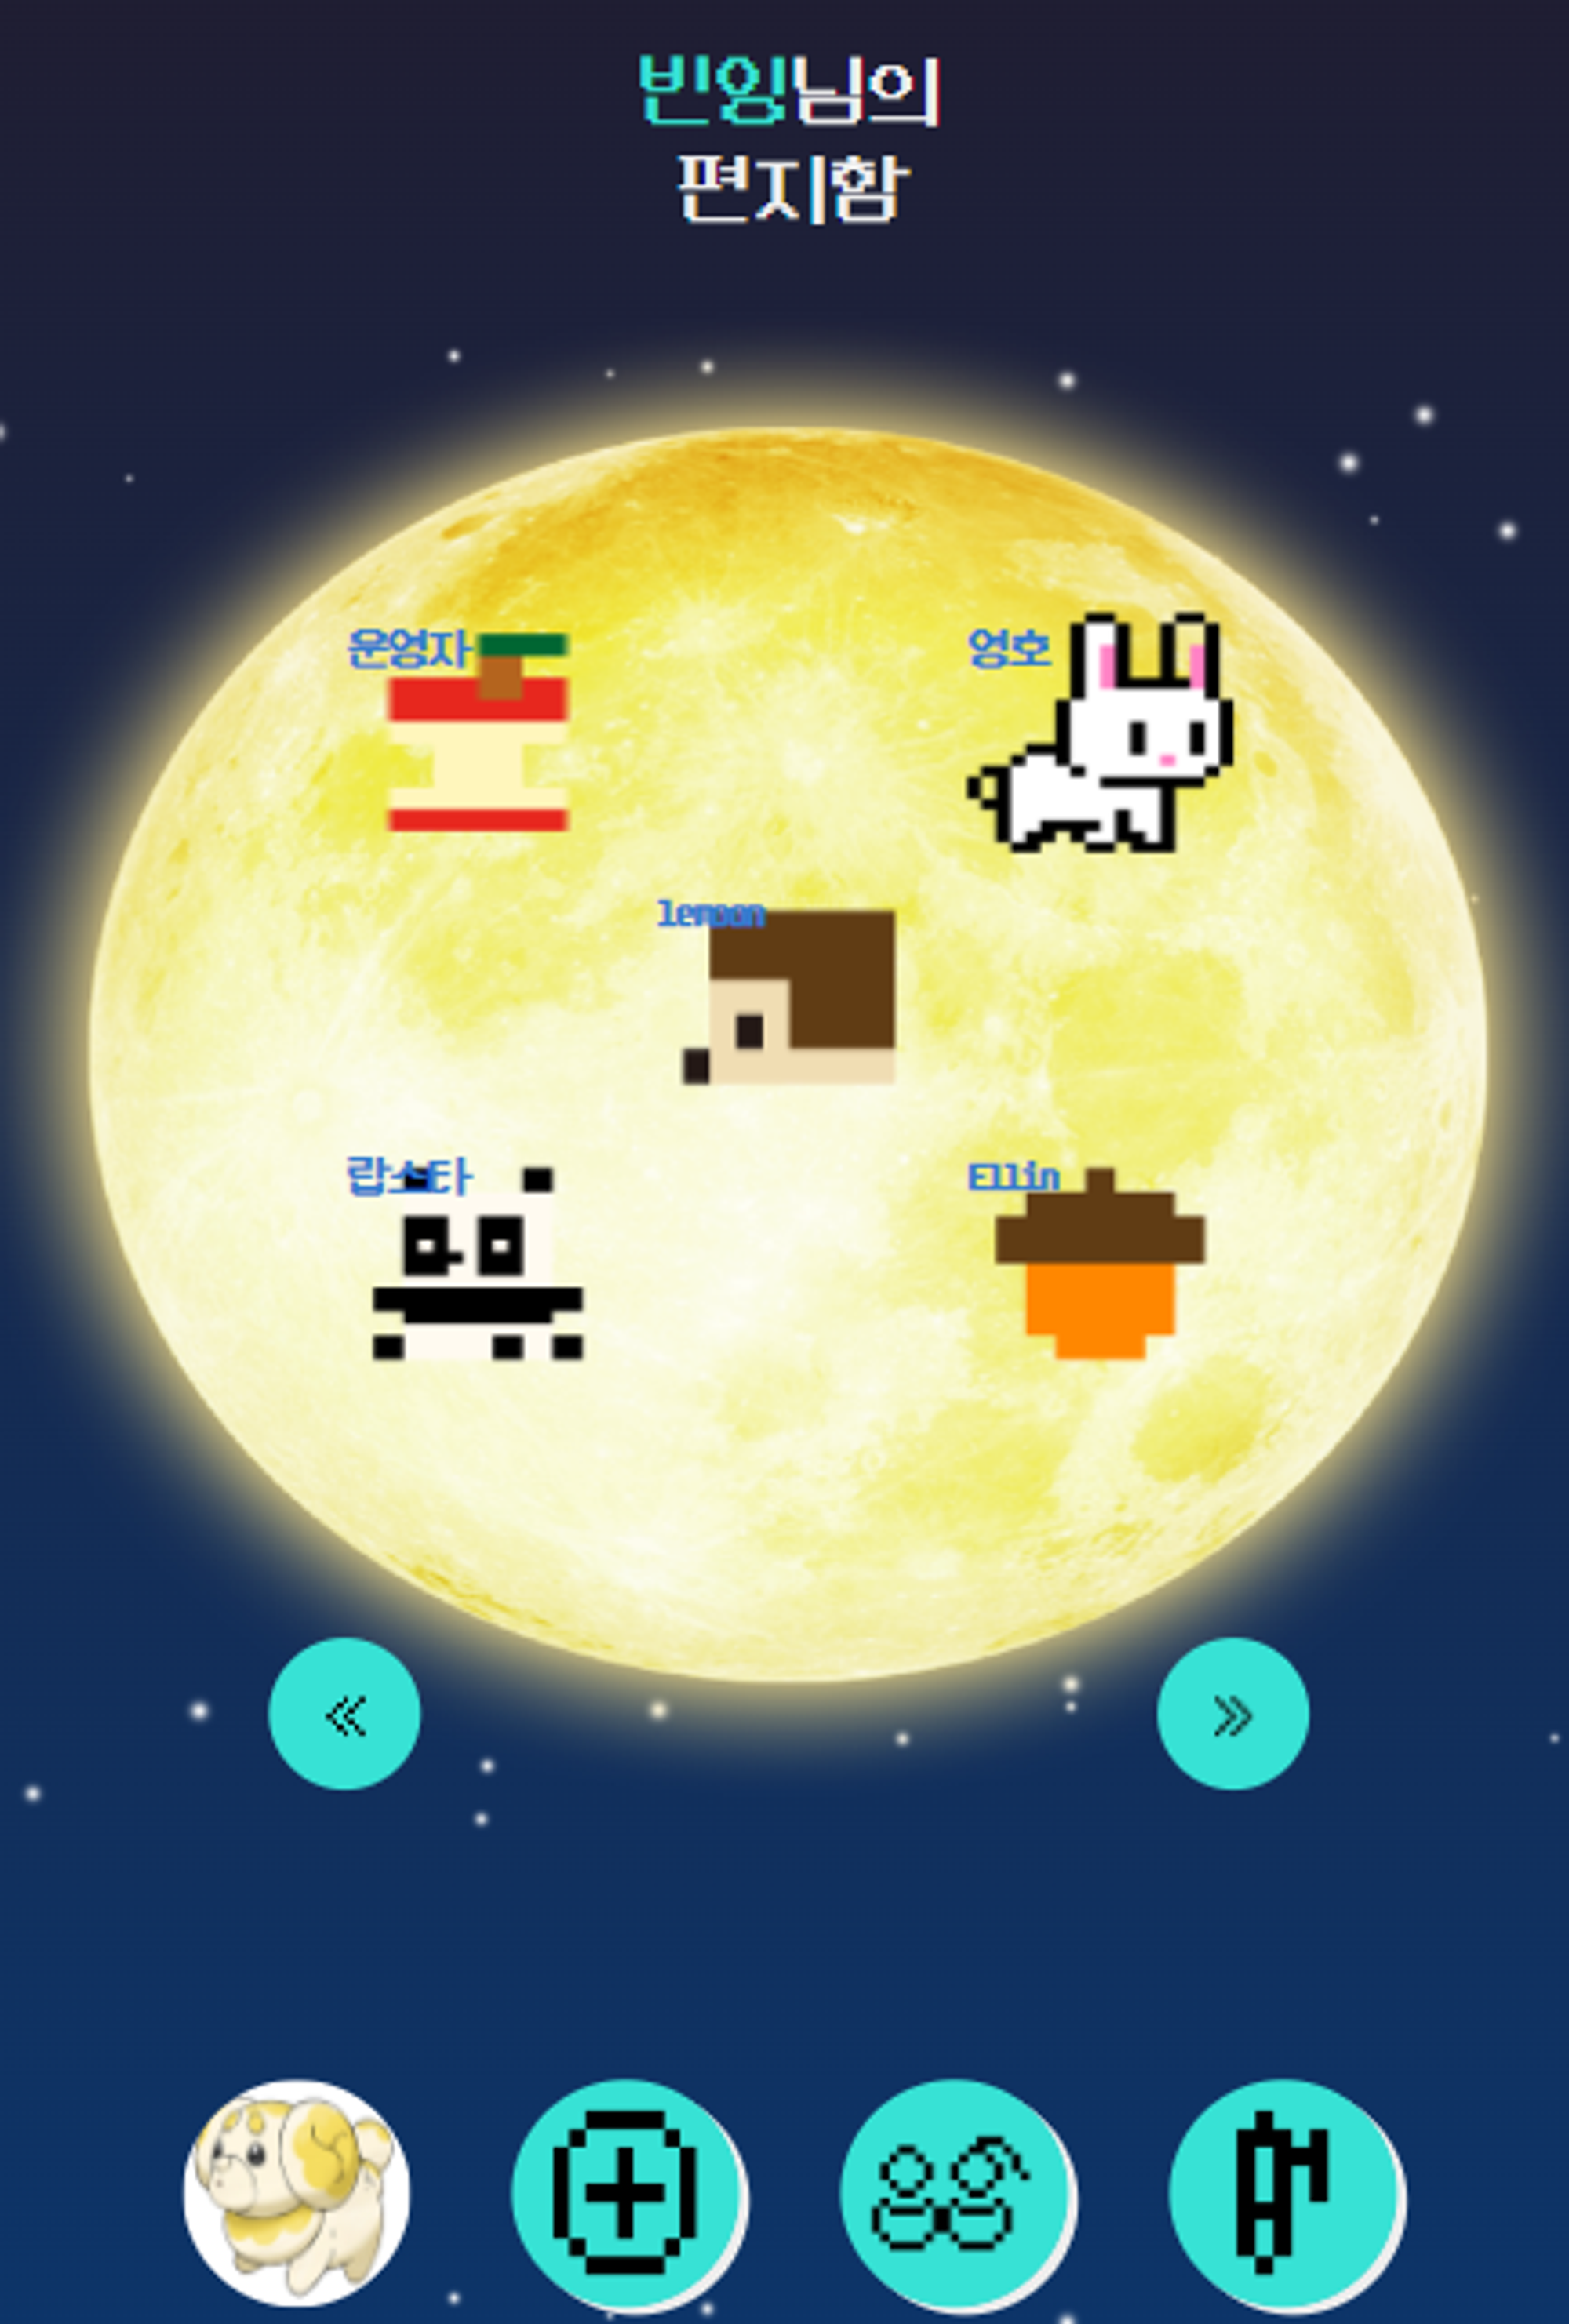
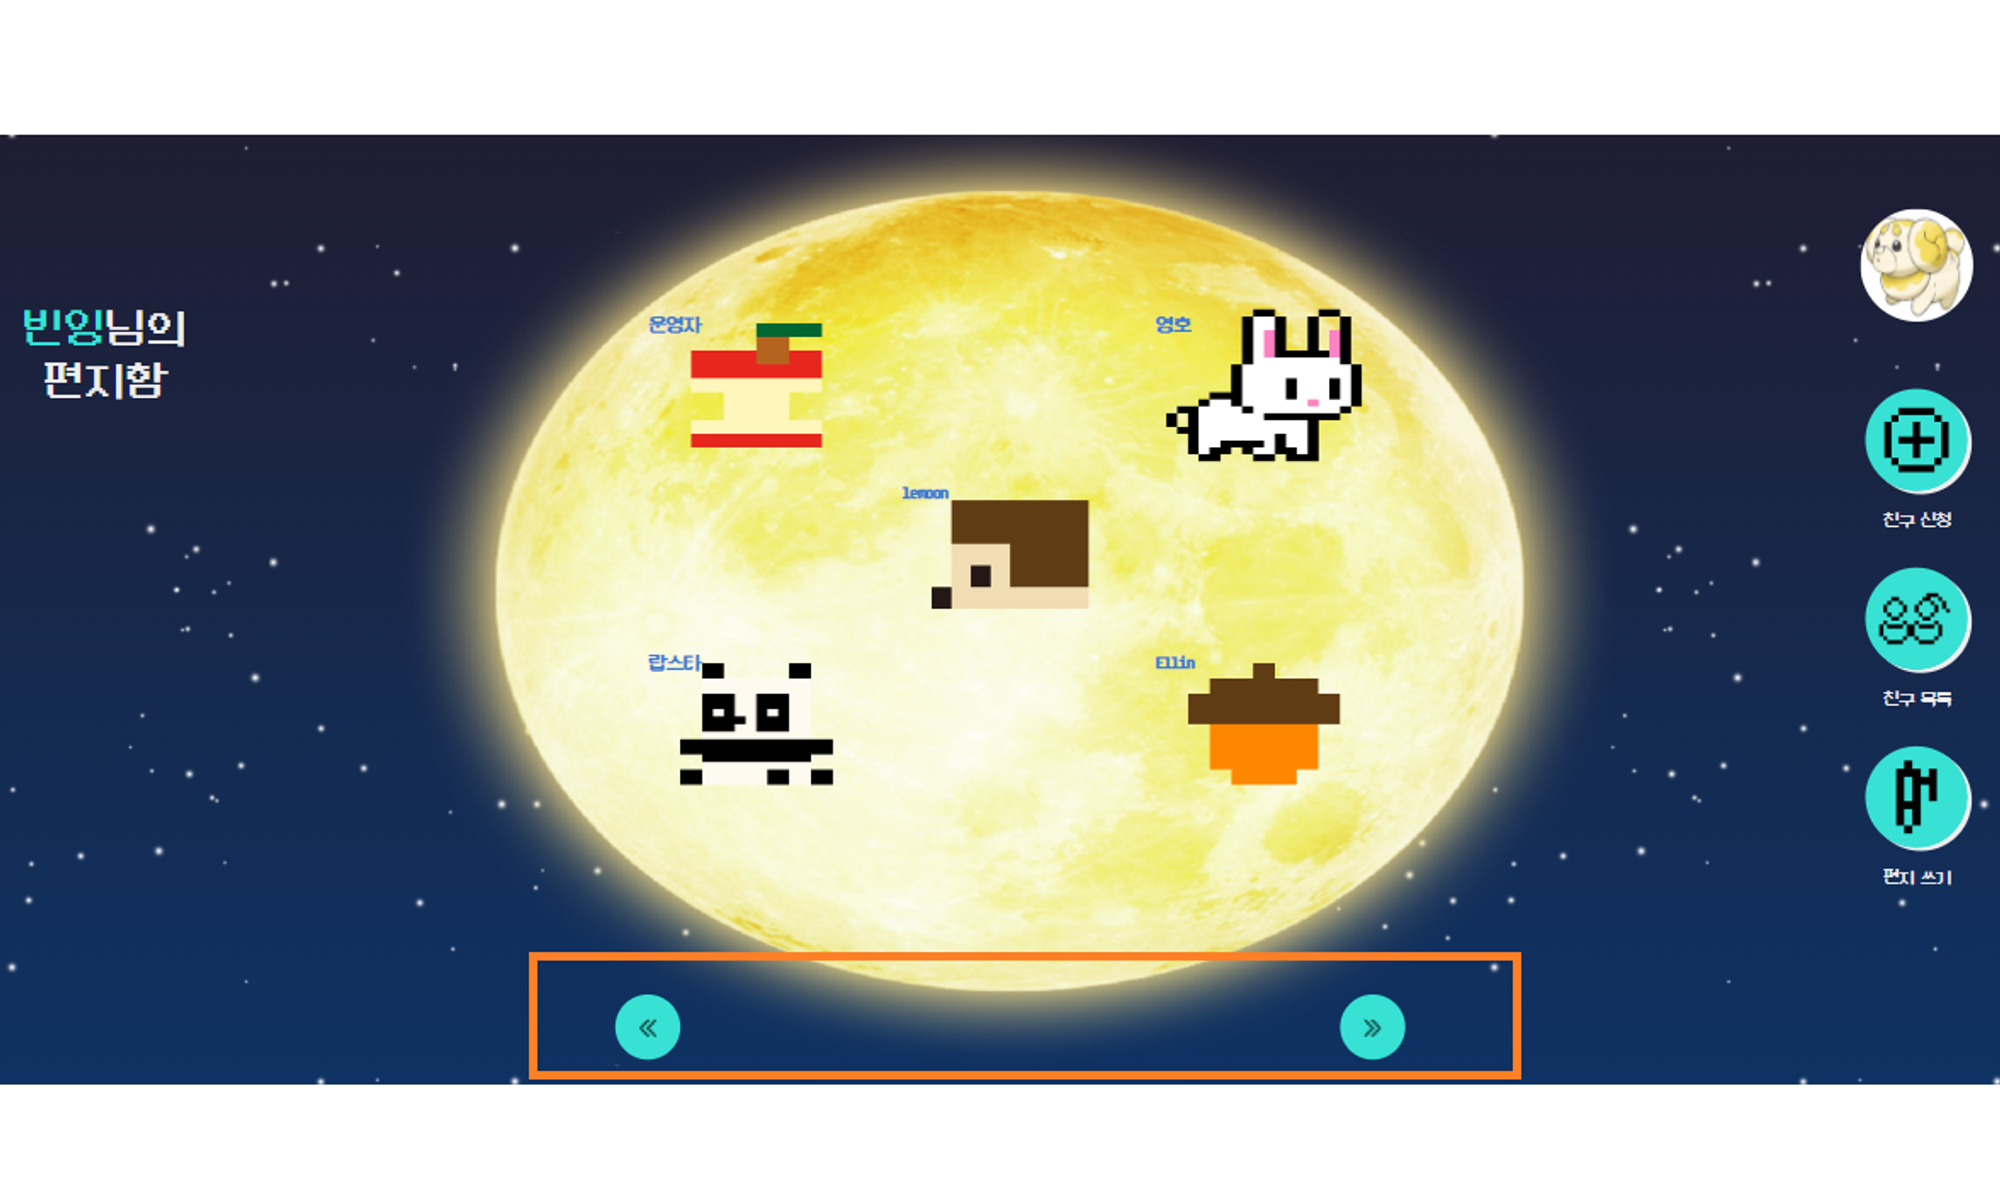
}3. 편지함 페이지
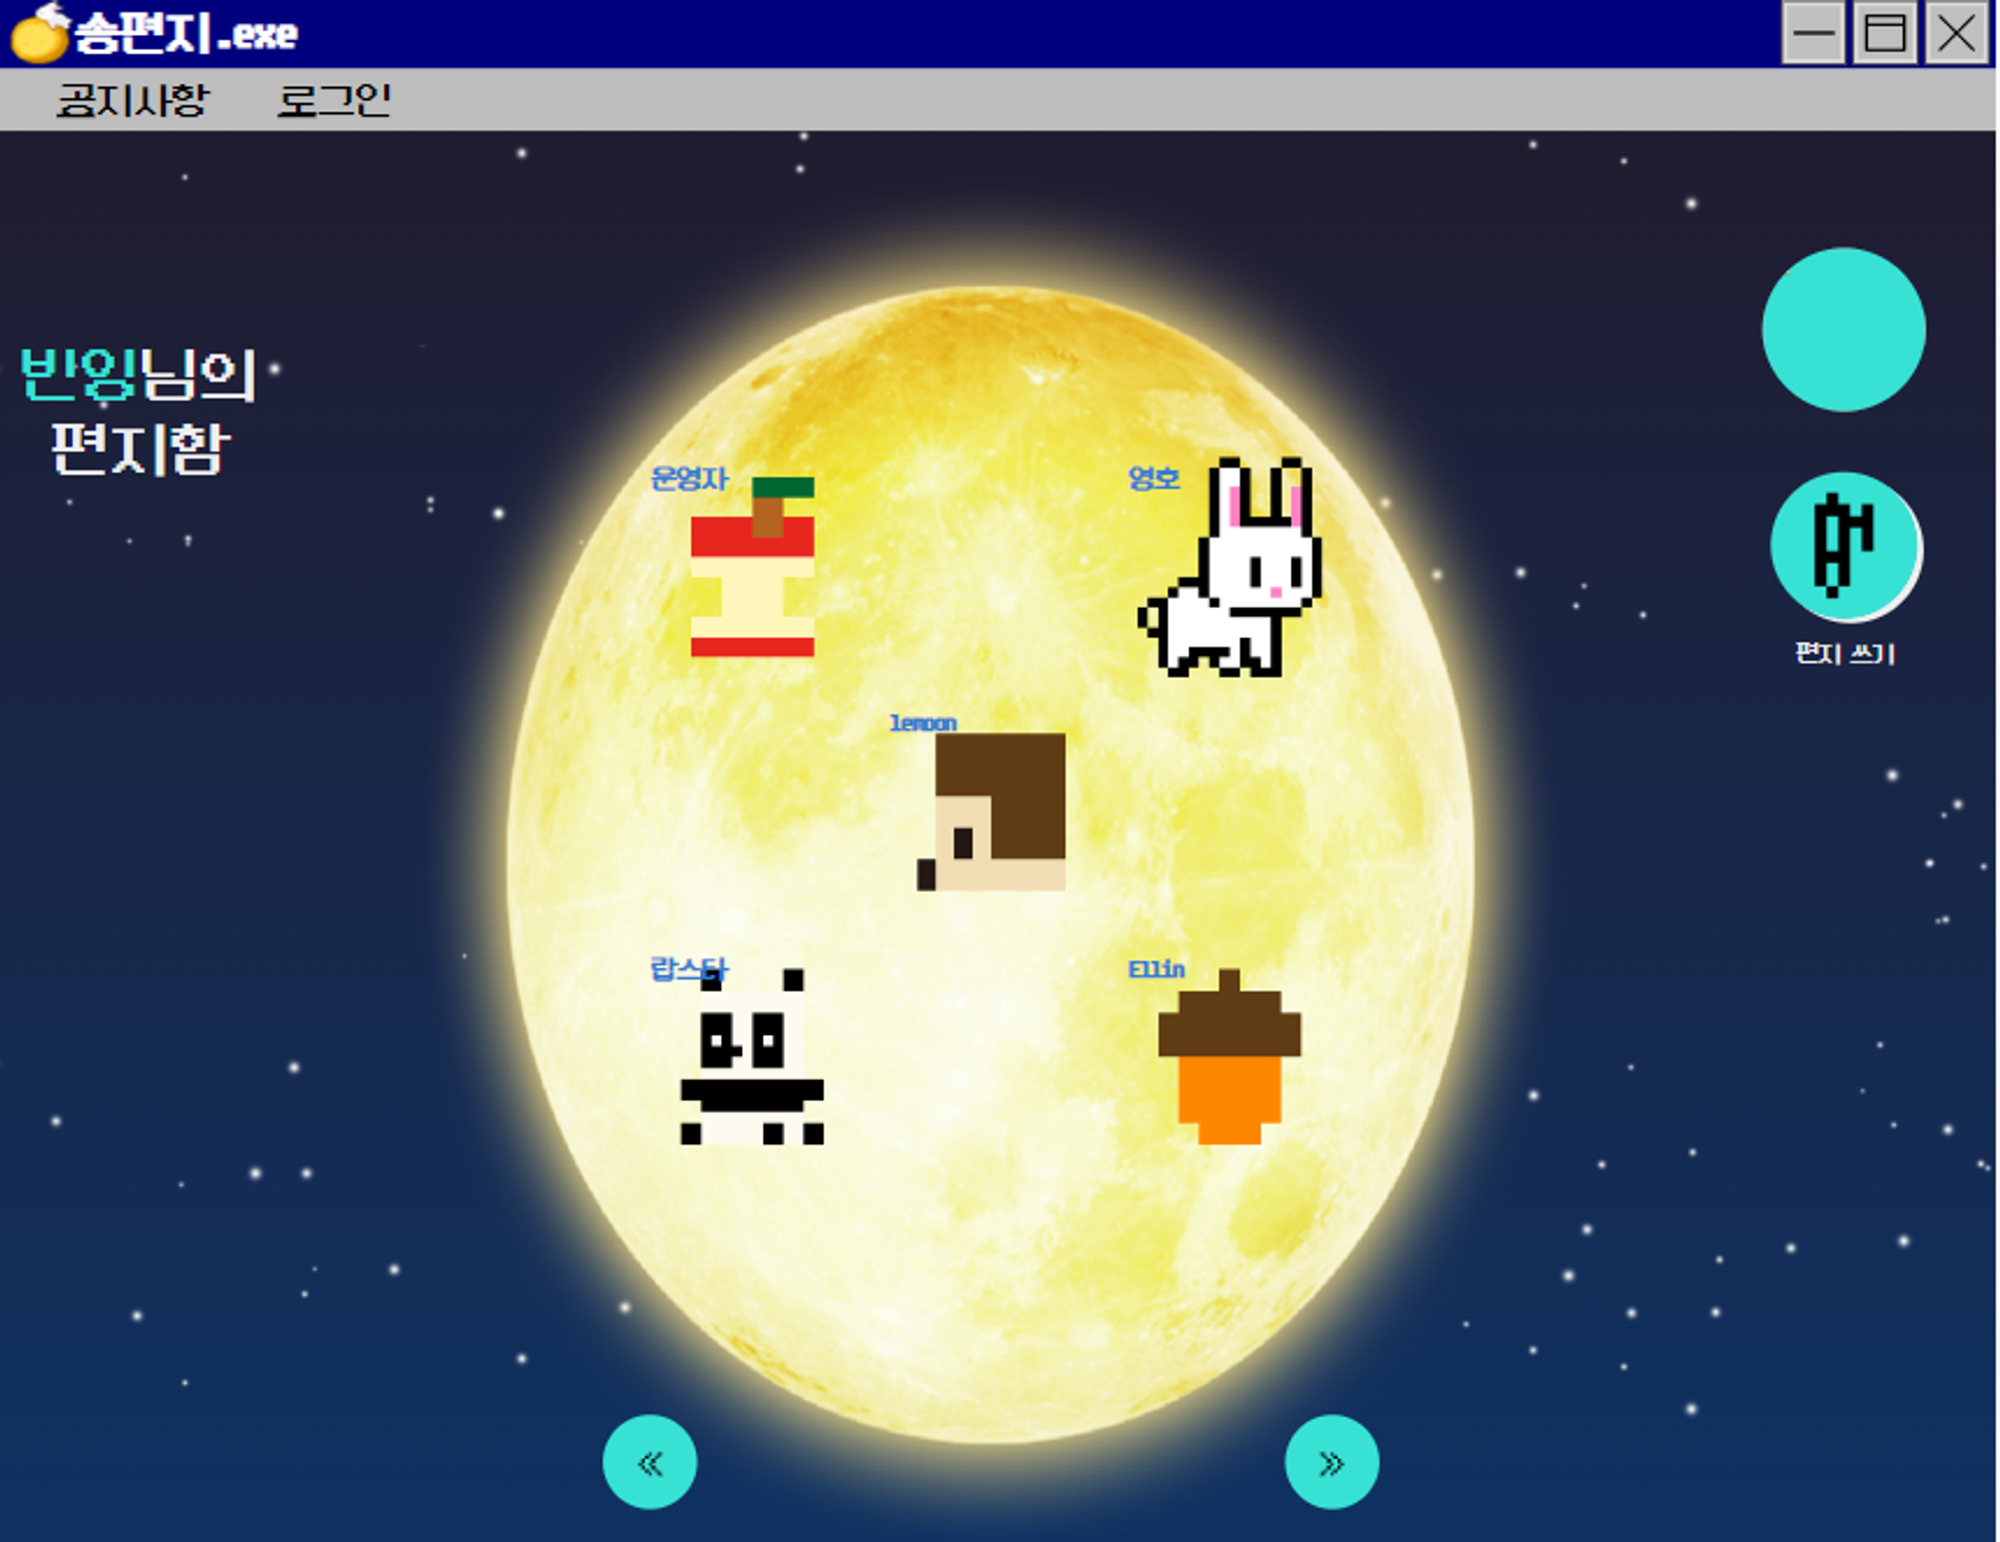
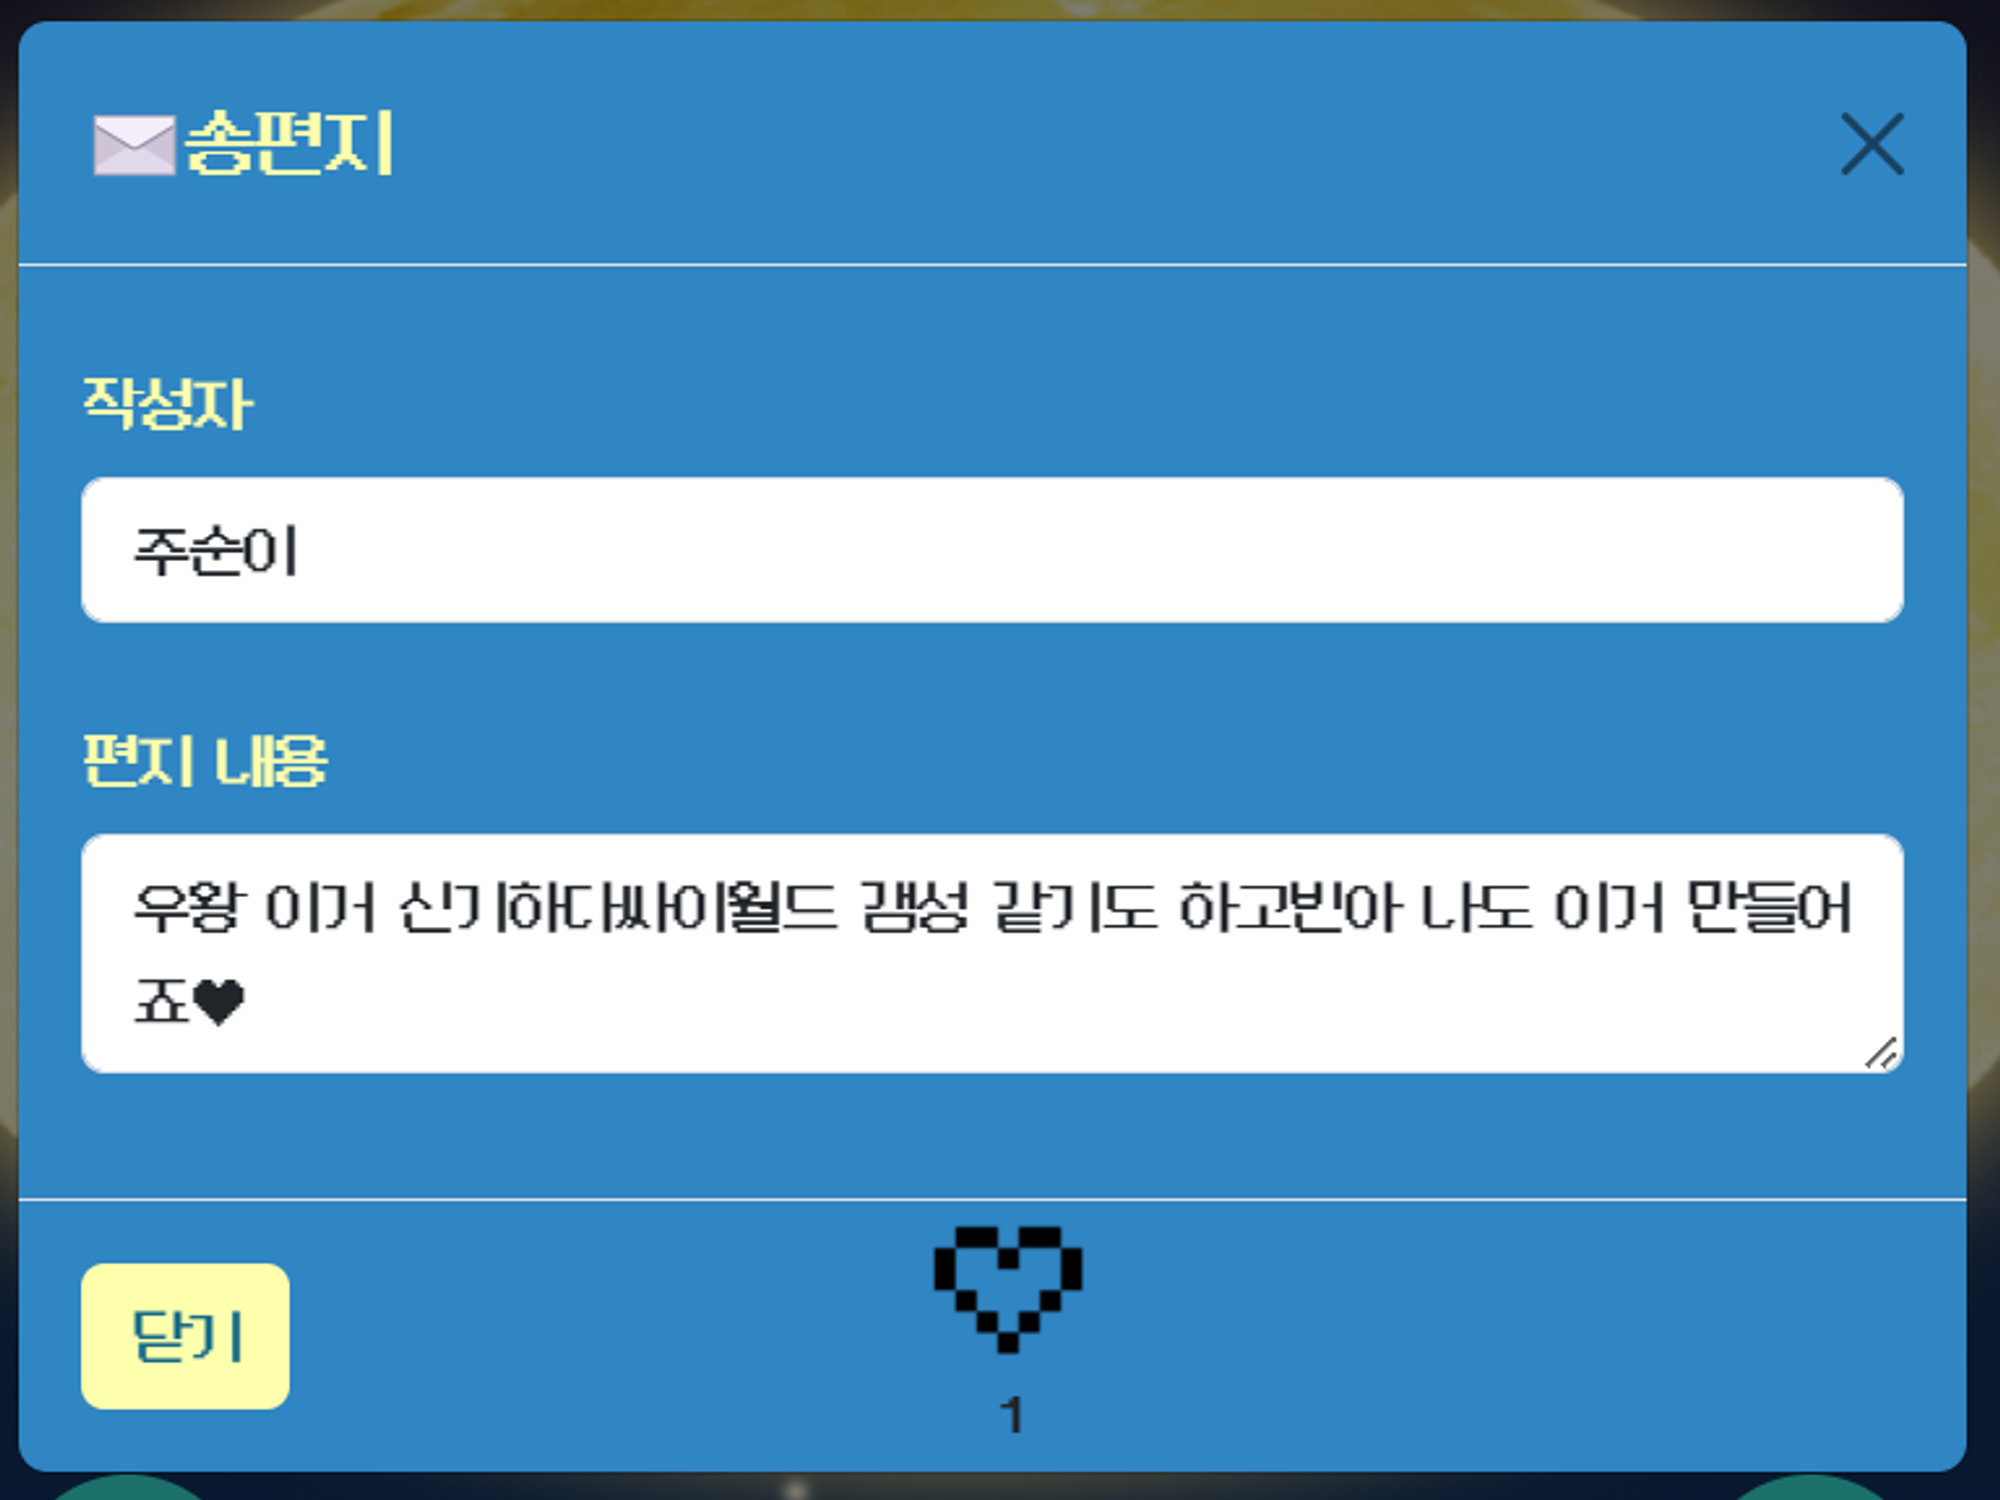
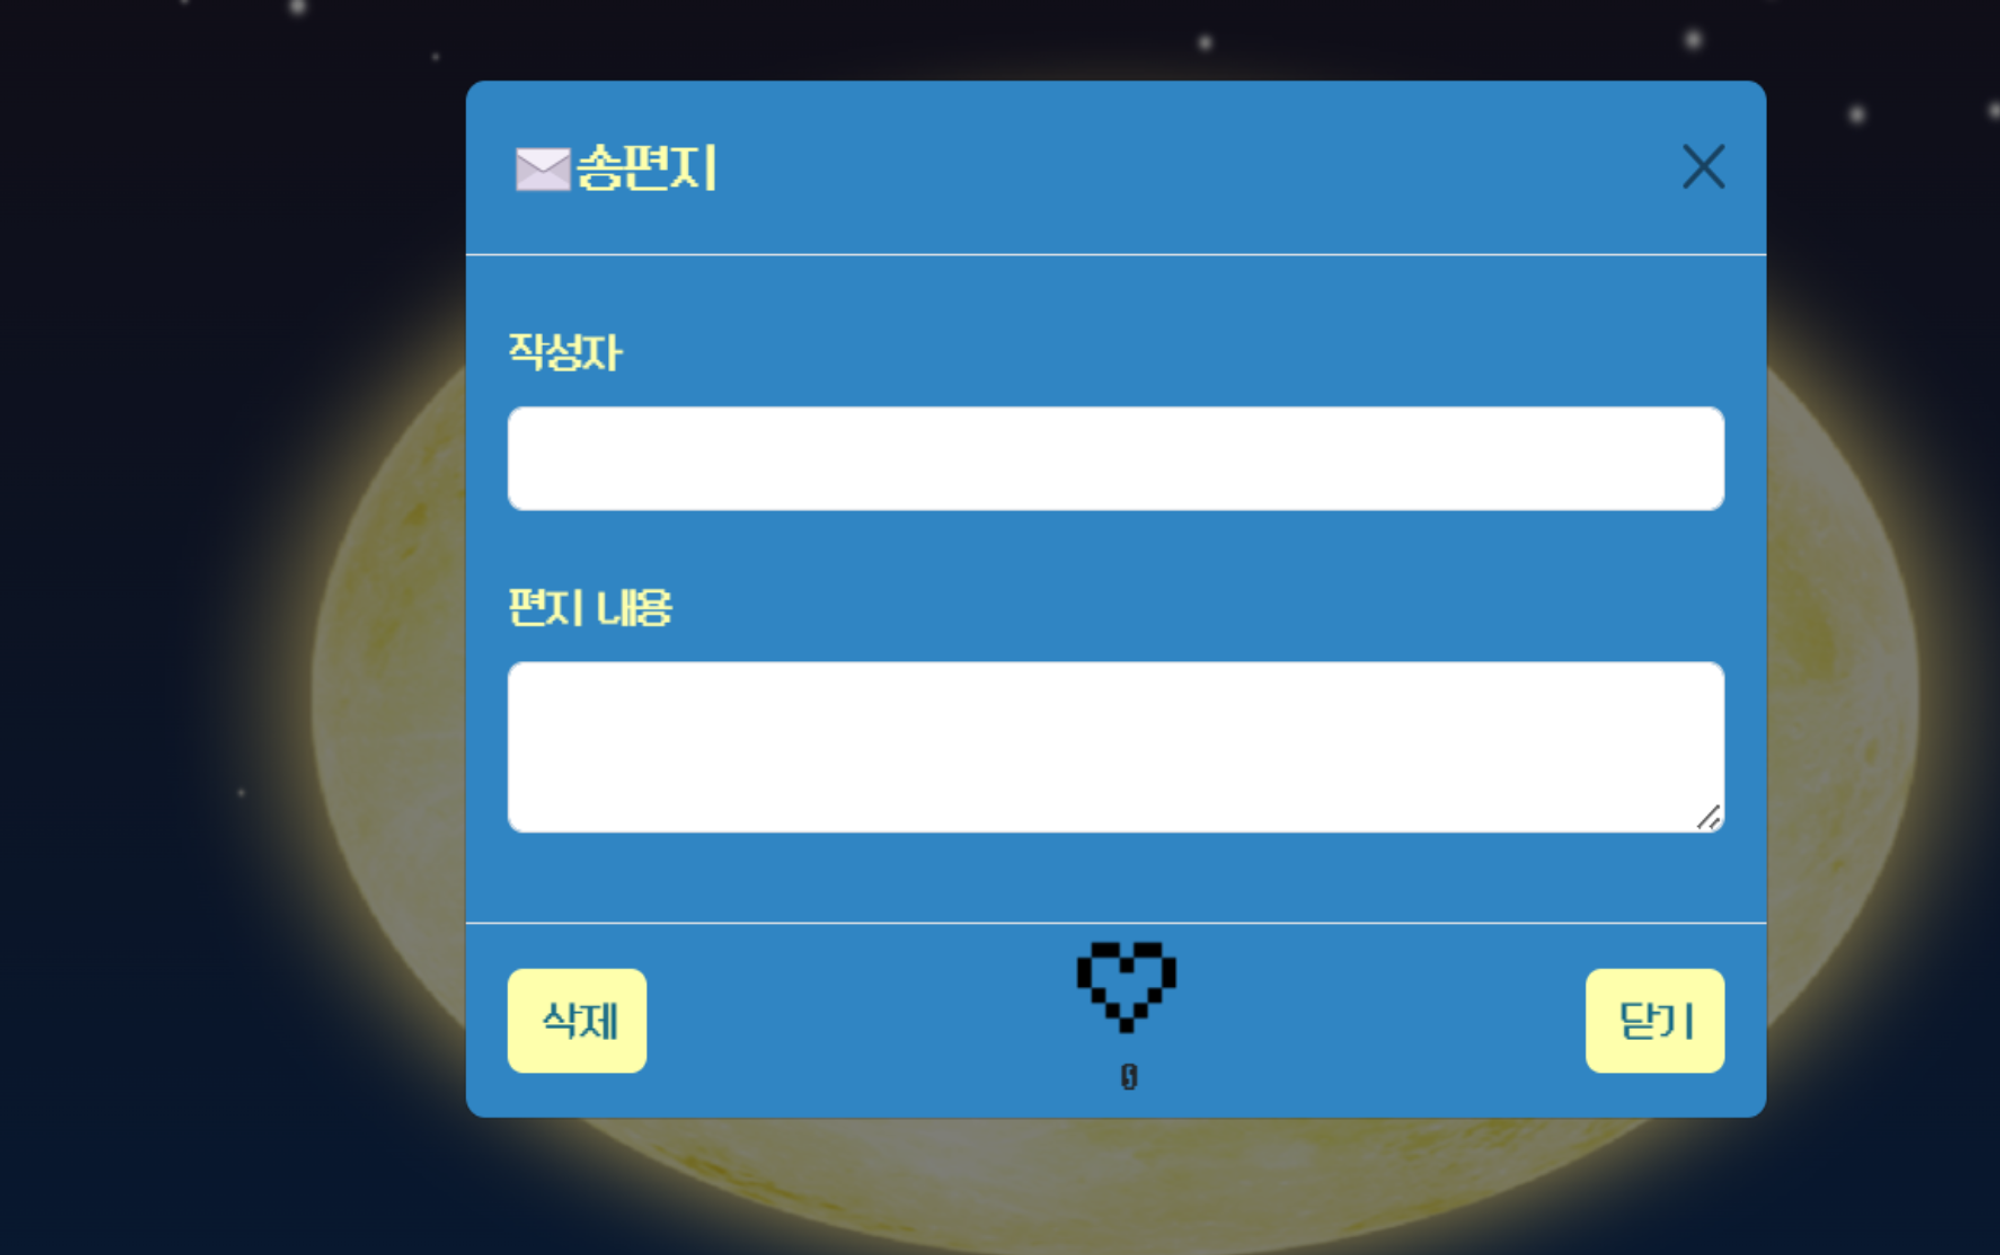
- 부트스트랩을 통한 편지 모달창 생성
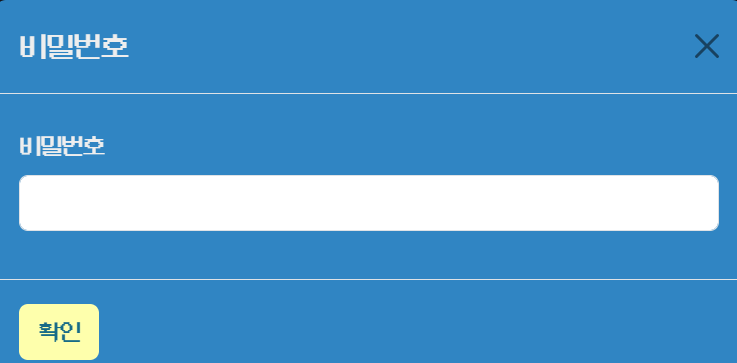
- 부트스트랩을 통한 편지 삭제창 생성
- 반응형 웹 구현
- 5개의 표준 breakpoint를 사용해 모바일, 아이패드, 랩탑 등 각 breakpoint별로 css 작성
-
페이징 : 화살표 버튼을 통한 편지 목록 페이징 구현
-
페이징에 따른 편지별 작성자 닉네임/편지 아이콘 변경
let curPage = 1;
function prevPage() {
if (curPage > 1) {
const letterImg = document.querySelectorAll('.letterImg');
const letterP = document.querySelectorAll('.letterP');
const letters = document.querySelectorAll('.letters');
let id = document.querySelector('#personId').value;
try {
axios({
method: 'GET',
url: `/letter/myLetter/${id}/prevPage?curPage=${curPage}`,
}).then((res) => {
curPage--;
const data = res.data.postData;
const designMap = {
1: '/img/letterIcons/px_acorn.png',
2: '/img/letterIcons/px_apple.png',
3: '/img/letterIcons/px_apple2.png',
4: '/img/letterIcons/px_coin.png',
5: '/img/letterIcons/px_food.png',
6: '/img/letterIcons/px_hedgehog.png',
7: '/img/letterIcons/px_lApple.png',
8: '/img/letterIcons/px_nuts.png',
9: '/img/letterIcons/px_panda.png',
10: '/img/letterIcons/px_pear.png',
11: '/img/letterIcons/px_persimmon.png',
12: '/img/letterIcons/px_pumpkin.png',
13: '/img/letterIcons/px_rabbit.png',
14: '/img/letterIcons/px_squirrel.png',
15: '/img/letterIcons/px_tree.png',
};
const startIndex = (curPage - 1) * letterCnt;
document.querySelector('#postNo5').value = startIndex;
// step 1) 각자 다른 이미지 path 가져오기
for (let i = 0; i < letterImg.length; i++) {
const dataIndex = i;
if (data[dataIndex]) {
const designNumber = data[dataIndex].postDesign;
const imagePath = designMap[designNumber];
if (imagePath) {
letterImg[dataIndex].src = imagePath;
letterImg[dataIndex].style.display = 'block';
} else {
letterImg[dataIndex].src = '';
}
} else {
letterImg[dataIndex].src = '';
letterImg[dataIndex].style.display = 'none';
}
}
// step 2) 각자 다른 이름 가져오기
for (let i = 0; i < letterP.length; i++) {
let dataIndex = i;
if (data[dataIndex]) {
letterP[i].innerText = data[dataIndex].postNickname;
} else {
letterP[i].innerText = '';
}
}
// step 3) 데이터 있을 때에만 편지 내용 보여주기
for (let i = 0; i < letters.length; i++) {
let dataIndex = i;
if (data[dataIndex]) {
letters[i].setAttribute('data-bs-target', '#letterModal');
letters[i].setAttribute('data-bs-toggle', 'modal');
letters[i].setAttribute('onclick', `showPost(${id}, ${i})`);
letters[i].style.cursor = 'pointer';
} else {
letters[i].removeAttribute('data-bs-target');
letters[i].removeAttribute('data-bs-toggle');
letters[i].removeAttribute('onclick');
letters[i].style.cursor = 'default';
}
}
});
} catch (err) {
console.error('Error', err);
}
}
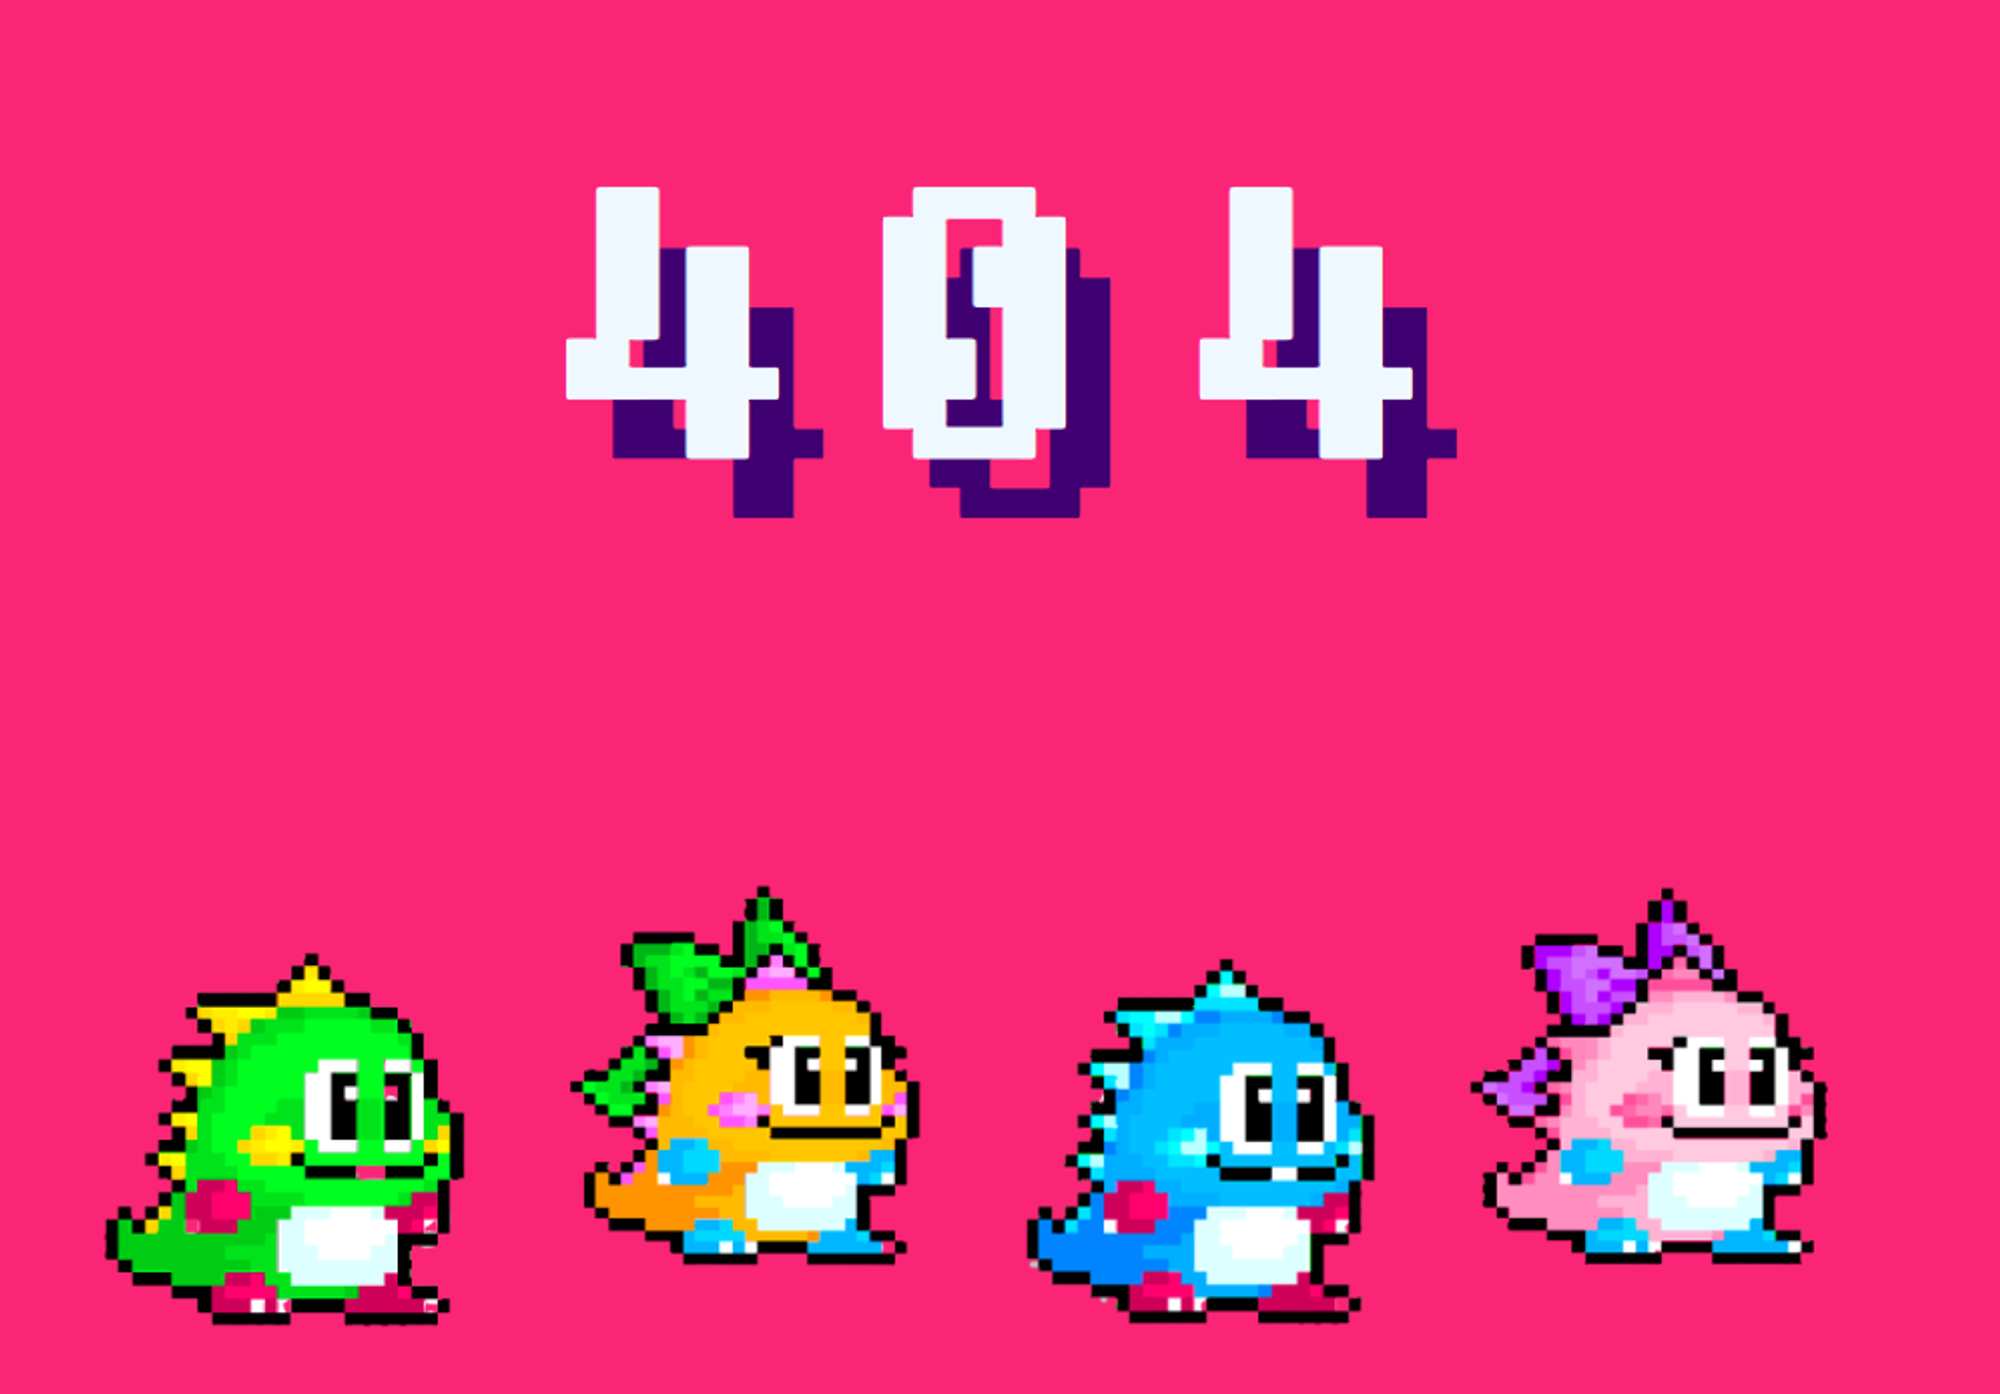
}4. 404 페이지
    /* 버블보블 애니메이션 */
    @keyframes bounce {
      100% {
        top: -20px;
        text-shadow: 0 1px 0 #ccc, 0 2px 0 #ccc, 0 3px 0 #ccc, 0 4px 0 #ccc,
          0 5px 0 #ccc, 0 6px 0 transparent, 0 7px 0 transparent,
          0 8px 0 transparent, 0 9px 0 transparent, 0 50px 25px rgba(0, 0, 0, 0.4);
      }
    }
이 외의 기능들
1. 페이징 라우터
메인페이지
메인페이지에서 개별 회원 닉네임과 링크를 페이징 시마다 변경해야 했고, 프론트단 코드와 더불어 백엔드쪽 코드도 수정해야했다.
백엔드 분께 여쭤봐서 도움을 받아 각각 nextPage, prevPage 컨트롤러를 작성하고, 라우터에도 연결해주었다.
 nextPage: async (req, res) => {
    const result = await User.findAll();
    res.send({ data: result });
  },

  prevPage: async (req, res) => {
    const result = await User.findAll();
    res.send({ data: result });
  },
router.get('/prevPage', controller.output.prevPage);
router.get('/nextPage', controller.output.nextPage);=> 모든 사용자를 데이터베이스에서 가져와 프론트엔드로 보내주는 코드이다.
편지함 페이지
편지함 페이지 역시 페이징 시마다 아이콘, 작성자 닉네임이 변경되어야 했고, 컨트롤러와 라우터를 다음과 같이 작성했다.
 nextPage: async (req, res) => {
    let curPage = req.query.curPage;

    const postData = await Post.findAll({
      where: { letterNo: req.params.id },
      attributes: ['postNickname', 'postDesign'],
      offset: 5 * req.query.curPage,
      limit: 5,
      order: [['letterNo', 'ASC']],
    });

    res.send({ postData: postData });
  },

  prevPage: async (req, res) => {
    let curPage = 1 | req.query.curPage;
    const postData2 = await Post.findAll({
      where: { letterNo: req.params.id },
      attributes: ['postNickname', 'postDesign'],
      offset: 5 * (req.query.curPage - 2),
      limit: 5,
      order: [['letterNo', 'ASC']],
    });


    res.send({ postData: postData2 });
  },
=> id를 기준으로 데이터베이스에서 편지 목록을 찾고, 프론트엔드에서 처리해준 curPage를 기준으로 offset을 설정해, limit인 5개에 맞춰 보내주는 코드이다.
router.get('/letter/MyLetter/:id/nextPage', controllerPost.output.nextPage);
router.get('/letter/MyLetter/:id/prevPage', controllerPost.output.prevPage);
2. 편지함 주소 복사(공유)
공모전까지 develop하던 단계에서, 자신의 편지함 링크를 복사해 친구에게 공유하면 좋을 것 같다는 의견이 있었고, 구글링을 통해 해당 기능 및 버튼을 추가했다.
const btnShare = document.querySelector('#btnShare');
async function copyUrl() {
  try {
    //개발자도구 오류 -> 문서에 포커스 주기
    document.body.focus();

    await navigator.clipboard.writeText(window.location.href);

    alert('편지함 링크가 복사됐어요!');
  } catch (error) {
    console.error('복사 중 오류 발생:', error);
  }
}
=> try 구문은 다른 분께서 넣어주신 부분인데, 검색에 따르면 겉보기에는 이상이 없지만, 없으면 호환성 및 UX적 문제가 일어날 수 있기에 문서에 포커스를 준다고 한다. MDN focus
3. 로그인 유저/비로그인 유저 편지함 화면 구분
사용자의 로그인 여부에 따라 보여지는 기능 버튼 내용이 달라야했고, 로그인 여부, 편지함 주인을 기준으로 3개의 경우를 나눠 다음 코드를 ejs에 추가했다.
<div class="menuDiv col-md-2">
        <!-- 1. 로그인 했고 내 페이지일 때 -->
        <% if (isMine && isLogin) { %>
        <div class="myPageDiv">
          <a href="/user/myPage/<%= lord.id%>">
            <%if (profile.profileLocation !== 'null'){%>
              <button id="btnMypage">
                <img src="<%= profile.profileLocation%>" alt="" id="imgMypage" />
              </button>
              <p>마이페이지</p>
              <%}else{%>
                <button id="btnMypage">
                  <img src="/img/header/user.png" alt="" id="imgProfilePic" />
                </button>
              <%}%>
          </a>
        </div>

        <div class="friendConfirmDiv">
          <a href="/letter/friendConfirm">
            <button id="btnFriendConfirm" >
              <img src="/img/header/ring.png" alt="" id="imgFriendConfirm" />
            </button>
            <p>친구 신청</p>
          </a>
        </div>

        <div class="friendsDiv">
        <a href="/letter/friends/<%=lord.id%>">
            <button id="btnFriends">
              <img src="/img/header/friends.png" alt="" id="imgFriends" />
            </button>
              <p>친구 목록</p>
          </a>
        </div>

        <div class="shareDiv">
          <button id="btnShare" onclick="copyUrl()" >
            <img src="/img/header/share.png" alt="" id="imgShare"  />
          </button>
            <p>공유하기</p>
          </div>
        <% } %>

        <!-- 2. 로그인 했고 남의 페이지일 때 -->
        <% if(isLogin && !isMine ) { %>
        <div class="profilePicDiv">
          <button id="btnProfilePic" disabled>
            <%if (profile.profileLocation !== 'null'){%>
              <img src="<%= profile.profileLocation%>" alt="" id="imgMypage" />
              <%}else{%>
                <img src="/img/header/user.png" alt="" id="imgProfilePic" />
              <%}%>
          </button>
        </div>

        <div class="addFriendDiv">
          <button id="btnAddFriend" onclick="addFriend()">
            <%if( checkFriend ||  checkRequest){%>
            <img src="/img/header/check.png" alt="" id="imgAddFriend" />
            <%}else{%>
              <img src="/img/header/add.png" alt="" id="imgAddFriend" />
            <%}%>
          </button>
          <input type="text" id="lordid" value="<%= lord.id%>">
        <p>친구 신청</p>
      </div>

        <div class="friendsDiv">
          <a href="/letter/friends/<%=lord.id%>">
            <button id="btnFriends" >
              <img src="/img/header/friends.png" alt="" id="imgFriends"  />
            </button>
              <p>친구 목록</p>
        </div>

        <div class="writeLetterDiv">

          <a href="/letter/select/<%=lord.id%>">
            <button id="btnWriteLetter">
              <img src="/img/header/pen.png" alt="" id="imgWriteLetter" />
            </button>
            <p>편지 쓰기</p>
          </a>
        </div>
        <%}%>

        <!-- 3. 로그인 안 했고 남의 페이지일 때 -->
        <% if (!isLogin && !isMine) { %>
          <div class="profilePicDiv">
            <button id="btnProfilePic" disabled>
              <%if (profile.profileLocation !== 'null'){%>
                <img src="<%= profile.profileLocation%>" alt="" id="imgMypage" />
                <%}else{%>
                  <img src="/img/header/user.png" alt="" id="imgProfilePic" />
                <%}%>
            </button>
          </div>

          <div class="writeLetterDiv">
            <a href="/letter/select/<%=lord.id%>">
              <button id="btnWriteLetter">
                <img src="/img/header/pen.png" alt="" id="imgWriteLetter" />
              </button>
              <p>편지 쓰기</p>
            </a>
          </div>
        <% } %>
      </div>
4. 로딩 화면
원래는 페이지에 three.js를 넣고 싶어 magica voxel로 obj를 만들어, 쿠키를 사용해 최초 접속 시에만 로딩 화면을 띄우는 코드를 작성했었다.
// 로딩 화면
const loading = document.querySelector('.loading');

// setTimeout(() => {
//   loading.style.display = 'none';
// }, 3000);

// 쿠키 굽기
function setCookie(name, value, expireTime) {
  let today = new Date();
  // console.log('현재 시각: ', today.getHours()); //nn
  today.setHours(today.getHours() + expireTime);
  document.cookie =
    name + '=' + escape(value) + ';expires=' + today.toGMTString();
}

function getCookie(name) {
  let cookie = document.cookie;
  // console.log(cookie);
  if (document.cookie != '') {
    //있으면
    let cookieArr = cookie.split('; ');
    // console.log(cookieArr);

    for (let idx in cookieArr) {
      let cookieName = cookieArr[idx].split('=');
      if (cookieName[0] == 'bensCookie') {
        return cookieName[1];
      }
    }
  }
  return;
}

let checkCookie = getCookie('bensCookie');
setCookie('bensCookie', 'end', 1);

if (checkCookie == 'end') {
  loading.style.display = 'none';
} else {
  setTimeout(() => {
    loading.style.display = 'none';
  }, 3000);
}

///////////////////////////////////////////////
// three.js 처리
import * as THREE from 'three';
import { OrbitControls } from 'three/addons/controls/OrbitControls.js';
import { OBJLoader } from 'three/addons/loaders/OBJLoader.js';
import { MTLLoader } from 'three/addons/loaders/MTLLoader.js';

/* Basic Setting*/
var myRenderer;
var myCamera;
var myScene;
var myLight1;
var myLight2;

//*renderer setting
myRenderer = new THREE.WebGL1Renderer();
let rd_w = window.innerWidth;
let rd_h = window.innerHeight;
myRenderer.setSize(rd_w, rd_h);
myRenderer.setViewport(0, 0, rd_w, rd_h);

loading.appendChild(myRenderer.domElement);

//*camera setting
myCamera = new THREE.PerspectiveCamera(45, rd_w / rd_h, 1, 500);
myCamera.position.set(0, 0, 12);
myCamera.up.set(0, 1, -10);
myCamera.lookAt(0, 0, 0);
//*scene setting
myScene = new THREE.Scene();
myLight1 = new THREE.DirectionalLight(0xffffff, 1.3);
myLight1.position.set(0, 20, 30);
myScene.add(myLight1);

myLight2 = new THREE.AmbientLight(0xffffff, 1.3);
myLight2.position.set(0, 20, -10);
myScene.add(myLight2);
myScene.add(myCamera);

myScene.background = new THREE.Color('#DDF7E3');

/*Obj load */
const ctrl = new OrbitControls(myCamera, myRenderer.domElement);
ctrl.update();

/*Mtl Load */
const mtlLoader = new MTLLoader();
mtlLoader.load('/obj/skewers2.mtl', function (materials) {
  materials.preload();
  objLoader(materials, 'skewers2');
});
mtlLoader.load('/obj/rabbit.mtl', function (materials) {
  materials.preload();
  objLoader(materials, 'rabbit');
});

let skewers = new THREE.Mesh();
let rabbit = new THREE.Mesh();

function objLoader(materials, modelName) {
  const objLoader = new OBJLoader();
  objLoader.setMaterials(materials);

  objLoader.load(`/obj/${modelName}.obj`, function (loadedModel) {
    switch (modelName) {
      case 'skewers2':
        skewers = loadedModel;
        myScene.add(skewers);
        break;
      case 'rabbit':
        rabbit = loadedModel;
        myScene.add(rabbit);
        break;
    }
  });
}

let step = 0;

// 함수 동작 관련
function animate() {
  let rotateDirection = 1;
  skewers.scale.x = rotateDirection * 2;
  skewers.scale.y = rotateDirection * 2;
  skewers.scale.z = rotateDirection * 2;

  skewers.rotation.z = 0.5;
  skewers.rotation.y += 0.07;

  skewers.position.x = 0;
  skewers.position.y = -0.7;
  skewers.position.z = 4;

  // rabbit
  rabbit.position.set(-0.5, 0, -2);
  step += 0.06;
  rabbit.scale.x = rotateDirection * 2.2;
  rabbit.scale.y = rotateDirection * 2.2;
  rabbit.scale.z = rotateDirection * 2.2;
  rabbit.position.y = 2.3 * Math.abs(Math.sin(step));
  rabbit.position.z += step;

  if (rabbit.position.z >= 4) {
    rabbit.scale.x = rotateDirection * 3;
    rabbit.scale.y = rotateDirection * 3;
    rabbit.scale.z = rotateDirection * 3;
    rabbit.position.y = -1;
    rabbit.position.z = 4;
    rabbit.rotation.y += 0.07;

    skewers.scale.x = 0;
    skewers.scale.y = 0;
    skewers.rotation.y = 0;
  }
  requestAnimationFrame(animate);
  ctrl.update();
  myRenderer.render(myScene, myCamera);
  // labelRenderer.render(myScene, myCamera);
}

//resize event
function onResize() {
  myCamera.aspect = window.innerWidth / window.innerHeight;
  myCamera.updateProjectionMatrix();
  myRenderer.setSize(window.innerWidth, window.innerHeight);
}
window.addEventListener('resize', onResize);
animate();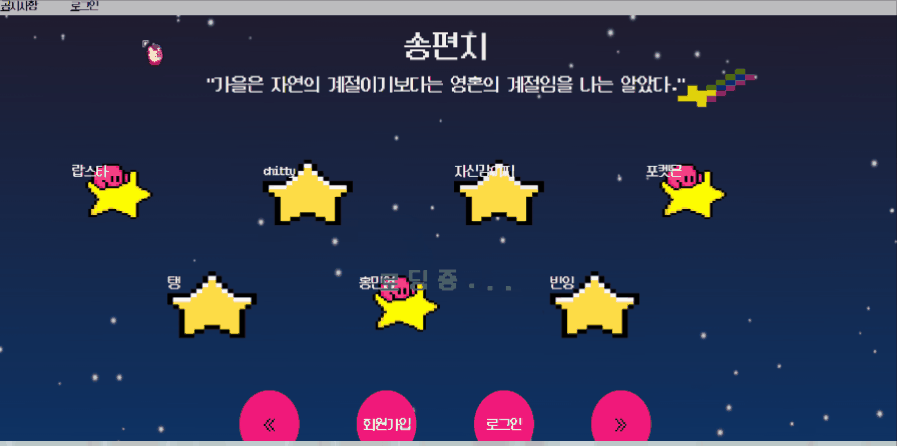
- 산적을 먹는 토끼다.
그러나, 최종 단계에서 몇 기기와의 호환성 이슈로 인해 로딩 화면이 삭제되었고, 이 부분이 조금 아쉬웠다. ㅠㅠ
시간이 촉박해서 원인을 찾진 못했는데, 꼭 개선하고 싶다.
하지만 내가 좋아해서 아르바이트까지 했었던 브랜드인, BensCookie의 이름으로 심었던 쿠키는 기능만 바뀌어서 가이드 화면에 잘 심겨있다.ㅎㅎ
트러블 슈팅
팀 단위 트러블 슈팅
1. 개발 도중 DB 해킹 이슈

현상
- DB로 개발을 하던 도중 DB를 전문 해커들에게 해킹 당함
- 0.013 Bitcoin을 내야만 데이터베이스를 돌려주겠다고 DB에 메시지를 남김
원인
- DB에 제대로 된 보안설정과 허술한 비밀번호 설정
- Github에 Config에 config.json를 Gitignore 미설정으로 인한 노출
해결 방법
- 개발 도중이라 다른 멤버의 DB로 새로 DB생성하여 최종 DB선택
- 새로운 DB 생성 시 제대로 된 보안이 강한 비밀번호 설정
- Github에 적힌 Config 삭제 후 슬랙으로 각자 생성
깨달은 점
- 실제 DB에 대한 보안에 대한 중요성을 확실하게 깨달을 수 있던 계기가 되었음
- 팀 프로젝트나 프로젝트를 시작할 때 정확한 컨벤션과 규칙을 정해야 하는 이유를 깨달음
2. 실제 서버에 올릴 시 오류가 나는 기능들
현상
- 로컬에서는 정상적으로 작동하는 기능들 중 몇 개가 실제 서버에서 작동하지 않음
→
- 보여야 하는 편지의 내용이 보이지 않음
- 특정 버튼이 동시에 여러 개 클릭이 되는 현상 발생
원인
- Visual Studio Code에서 Prettier 사용 시 마지막 >가 떨어져 있는 경우가 있는데, 서버에서 떨어질 경우 인식을 못함
- 로컬에서는 JS파일을 불러올 때 대문자 파일을 소문자로 적어도 불러오는 것이 가능하나, 실제 서버에서는 리눅스로 작동을 하기 때문에 소문자로 작동하는 것이 불가능함
- 실제 서버에서 View가 약간 줄어드는 경우도 있어 특정 버튼에 다른 버튼까지 겹치는 경우로 파악
해결 방법
- Prettier 삭제 후 다시 줄 간격 조정
- 모든 EJS에 있는 소문자로 쓰인 파일명 import를 대문자로 수정
- 실제 뷰에 맞춰서 View 조정
깨달은 점
- 로컬과 다르게 실제 기능 구현 시에도 주의해야 할 사항들이 있음을 확인
개인 별 트러블 슈팅
[문제]
메인 페이지에서, 화살표를 누르면 이전/다음 회원 목록으로 바뀌며,
작성자 이름과 회원 편지함 이동 링크가 각각 바뀌어야 하는데
작성자 이름은 바뀌었지만, 이동 링크가 바뀌지 않고 계속해 첫 페이지의 회원 편지함 링크와 동일한 에러 발생.
회원 편지함 이동 링크는 /letter/MyLetter/3 과 같이 MyLetter/ 뒤 회원별로 고유한 id 값이 붙는 형태였음
그러나 첫 페이지에서의 1~7의 id 값이 도저히 바뀌지 않아 다른 페이지의 회원 편지함을 클릭해도 첫 번째 페이지 내, 동일 위치의 회원 편지함으로 이동 되곤 했음.
[해결]
⇒ 페이징 샘플 코드를 참조했다.
(1) 변수를 통해 offset, limit을 조정했다.
- curPage(현재 페이지)에 1 할당
- startIndex(offset 역할)에 curPage * starCnt(별의 개수) 할당
=> 다음 페이지 인덱스 계산 가능
(2) 회원 편지함 링크로 이어주는 a 태그의 수만큼 반복문을 실행했다.
- 반복문 내에서 dataIndex에 startIndex + i + starCnt를 할당해
7개(한 페이지에 들어가는 별의 개수)의 index를 모두 가져왔다.
=> limit 조정 및 index 설정
(3) 데이터 유무에 따른 링크 속성 설정
- dataIndex를 인덱스로 갖는 데이터가 존재한다면
a[i].setAttribute('href',/letter/MyLetter/${data[dataIndex].id});
를 통해 href 속성을 지정하고, 데이터가 존재하지 않는다면
a[i].removeAttribute('href'); 를 통해 href 속성 자체를 지워준다. - 처음에는 a[i].href = '#'; 를 사용했으나,
편지함 페이지에서도 데이터 유무에 따른 페이징 동작을 고치는 과정이 있었고,
그 과정에서 attribute 사용으로 통일했다.
회고
프론트엔드와 백엔드가 같이 팀이 돼 프로젝트를 한 경험은 처음이었다.
더불어 DB와 연동된 동적인 서비스는 처음이었기에 긴장도 많이 하고 어렵게 느껴졌었다.
프론트엔드와 백엔드 역할을 나눈 만큼 내 역할에 대한 책임감과 부담감 역시 컸었다.
좋은 팀원분들을 만나서 많이 배워갈 수 있었던 과정이었고, 웹 사이트의 전체 동작 사이클을 경험해볼 수 있어 유익했다.
가장 어려웠던 것은 페이징! 샘플 코드와 팀원분의 도움을 받아 어찌어찌 구현하긴 했지만 처음 해보기도 하고 알고리즘 이해 과정이 어려워서 더욱 더 기억에 남는 과정이었다.
또한 three.js를 통해 로딩화면을 구현했었는데, 아이폰이나 맥의 호환 이슈로 인해 빼게 되어 상당히 아쉽다.
프론트엔드를 맡으며 와이어프레임도 디자인하고, 사용자 가이드 화면을 통해 UX도 개선해가며 UX/UI의 중요성을 더 깨달았다.. 수업을 듣기 잘했던 것 같다..
반응형 역시 5개의 breakpoint를 사용했는데, 반응형 자체를 프로젝트에 구현한 것도 처음이었지만, 필수적인 요소임을 깨달아 더 열심히 했다.
와카타임에 10시간이 찍히기도 하고, 새싹이 문 닫을 때까지 프로젝트를 하거나 휴일에도 모두모두 모여서 프로젝트를 했던 만큼 열심이었던 시간이라고 말할 수 있다. 그렇게 수여한 최우수상도 값졌다.
1차 프로젝트가 2주만에 끝났다는 것이 안 믿기고, 다음 프로젝트를 위해 정말 더 많이 공부해야겠다.