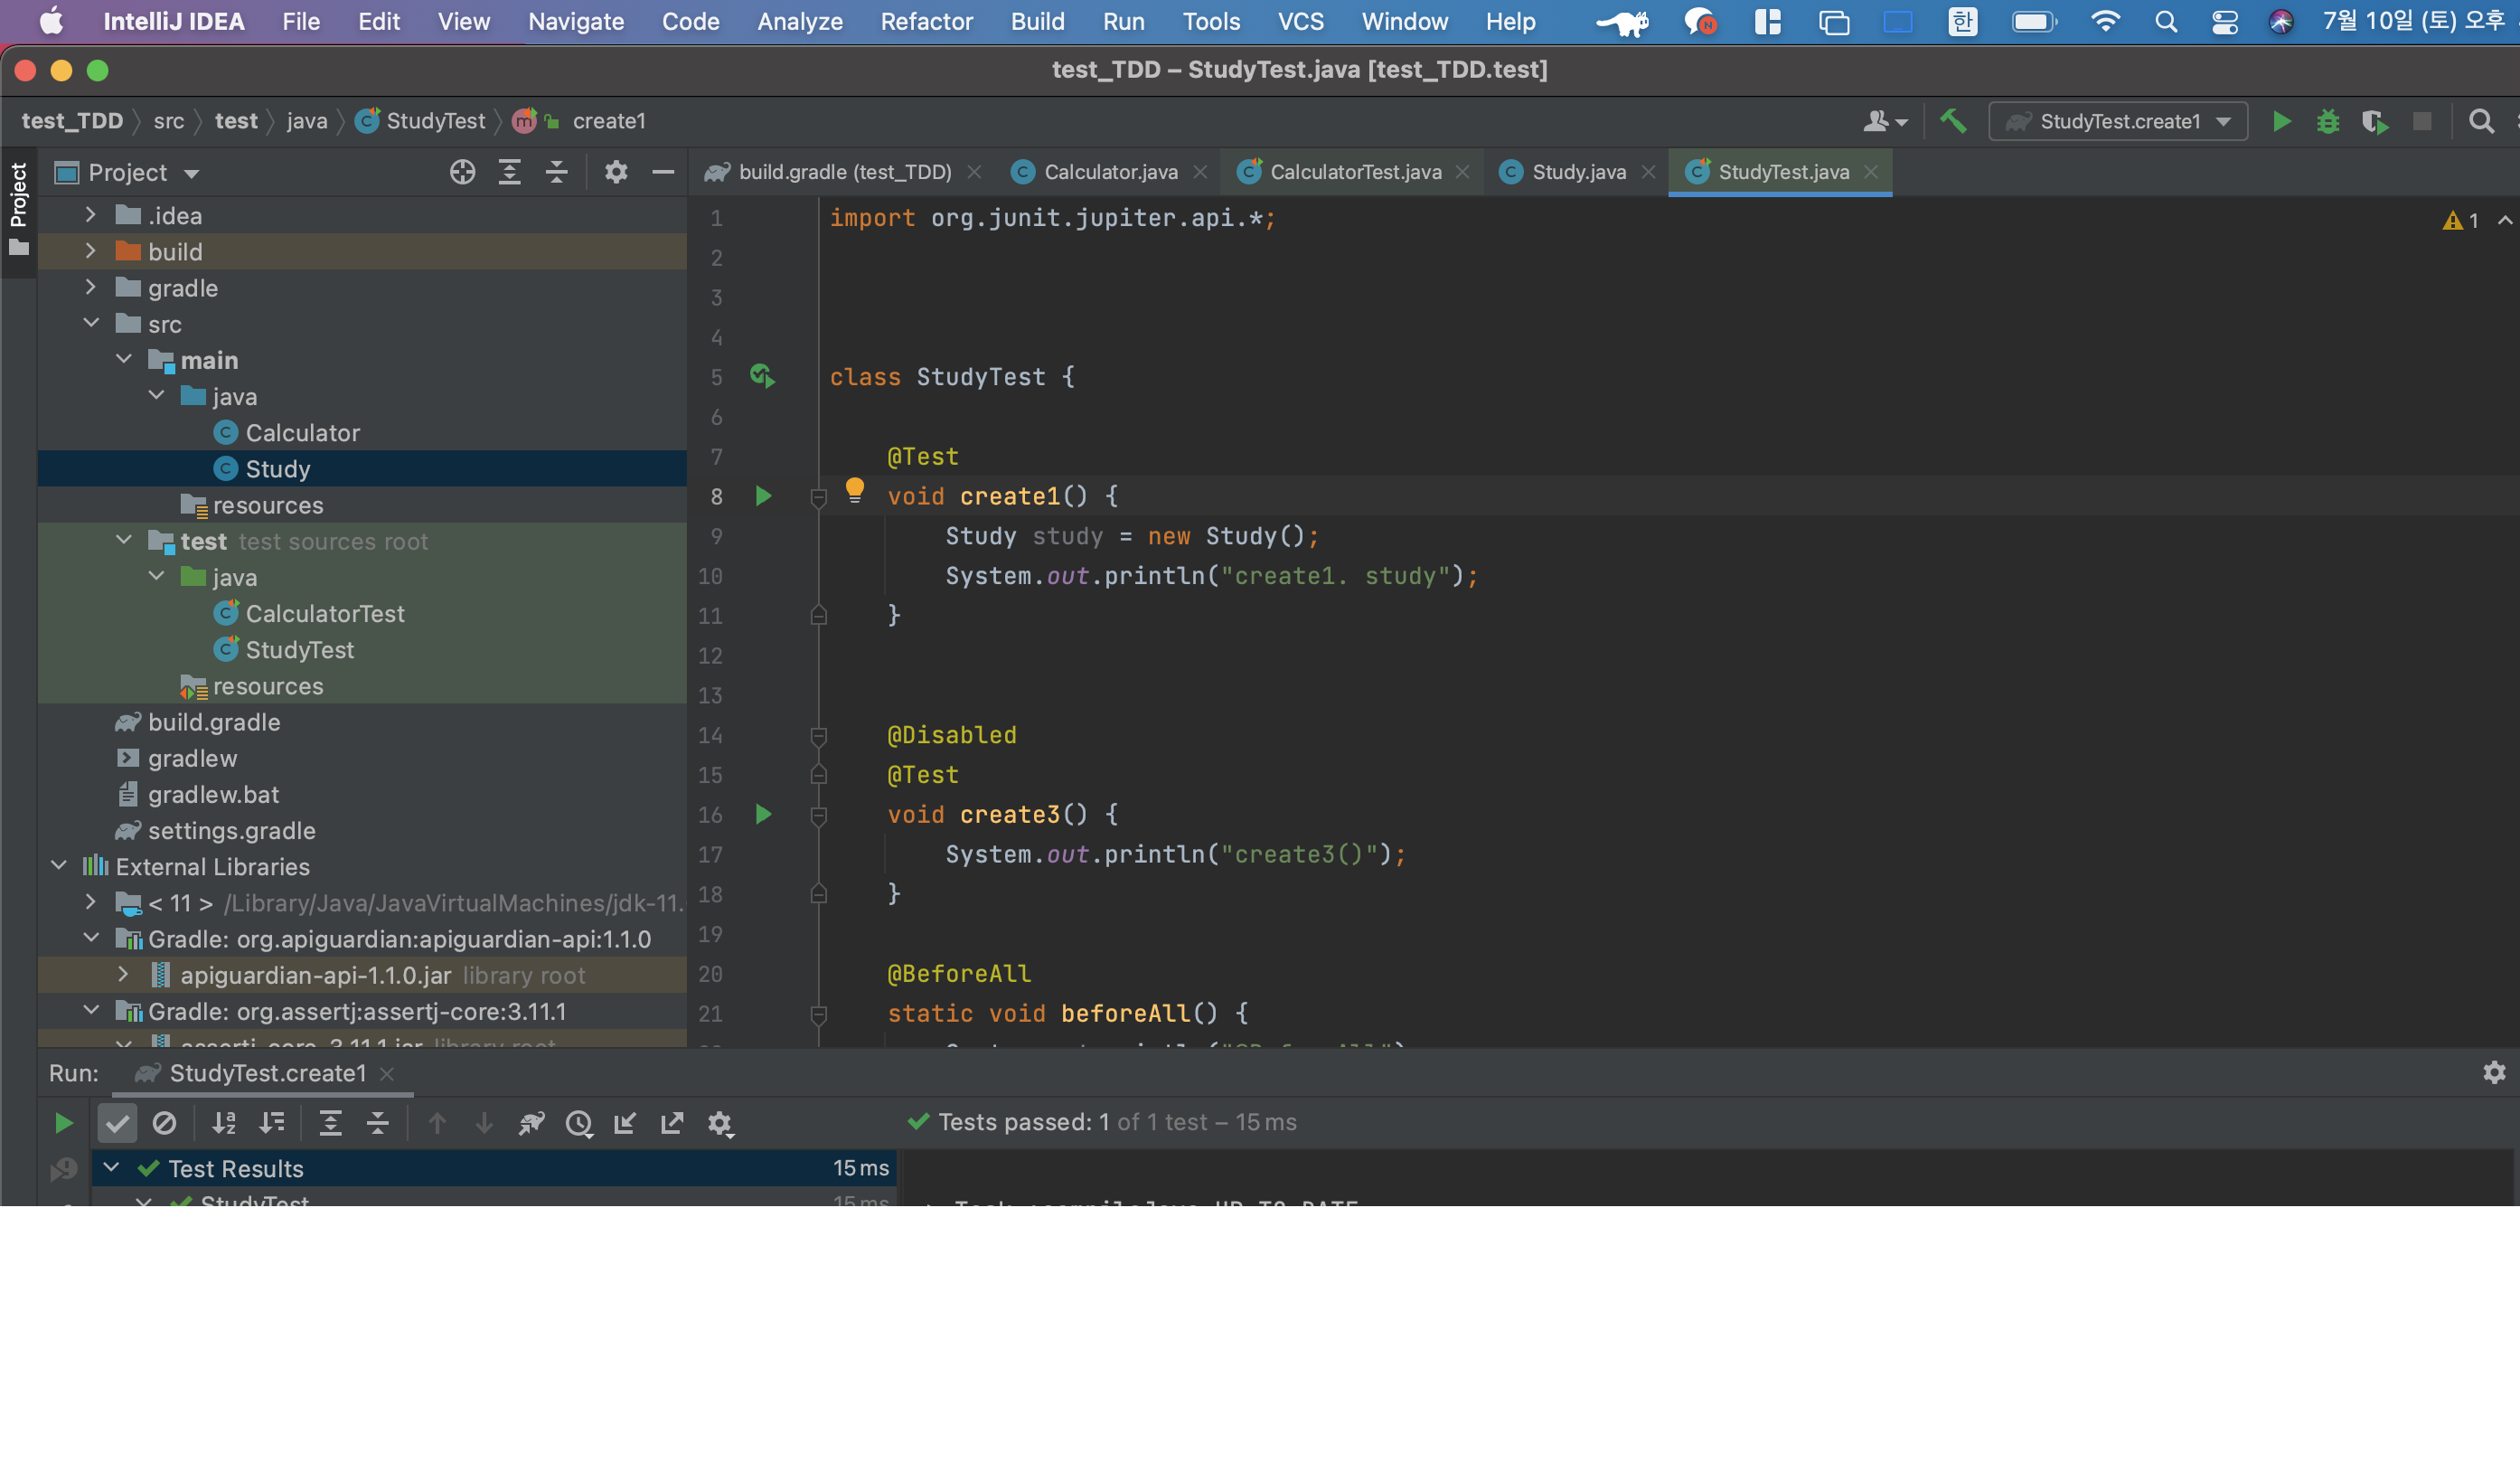
JUnit5의 기본 어노테이션에 대해 알아보자
어노테이션이란?
어노테이션은 사전적으로는 주석이라는 뜻이다. 하지만 자바에서 사용되는 어노테이션의 개념은 코드 사이에 주석처럼 쓰이면서 특별한 의미, 기능을 수행하도록 하는 기술이다.
→ 프로그램에게 추가적인 정보를 제공해주는 메타데이터(데이터를 위한 데이터) 라고 볼 수 있다.
→ 요약하자면 '특별한 의미가 있는 주석' 이다.
@Test
설명 : @Test 를 붙히면 Test 메서드로 인식을 하고 테스트 한다.
예제
@Test
void create1() {
    Study study = new Study();
    System.out.println("create1. study");
}
실행 화면

@BeforeAll
@Before 어노테이션을 붙힌 메소드는 해당 클래스의 모든 테스트 클래스 를 초기 화 할 때 딱 한번 수행이 되는 메소드이다.
→ 테스트 클래스 수행시 한번만 출력
이 메소드는 static로 선언해야한다.
코드
@Test
    void create1() {
        Study study = new Study();
        System.out.println("create1. study");
    }

@BeforeAll
    static void beforeAll() {
        System.out.println("BeforeAll");
    }
실행화면 : BeforeAll 이 먼저 출력되고 create1. study가 출력 된 것을 볼 수가 있다.

@Disabled
@Disabled를 붙히면 해당 @Test는 무시되어 진다.
@Test
    void create1() {
        Study study = new Study();
        System.out.println("create1. study");
    }

    @BeforeAll
    static void beforeAll() {
        System.out.println("BeforeAll");
    }

    @Test
    void Disabled() {
        System.out.println("Disabled");
    }
의 상태라면
BeforeAll
Disabled
create1. study
의 순서대로 출력이 된다. 하지만.
@Test
    void create1() {
        Study study = new Study();
        System.out.println("create1. study");
    }

    @BeforeAll
    static void beforeAll() {
        System.out.println("BeforeAll");
    }

		**@Disabled**
    @Test
    void Disabled() {
        System.out.println("Disabled");
    }
@Disabled를 추가해주면

위처럼 Disabled는 출력이 되지 않는다. → 테스트 코드를 실행하지 않았기 때문
@BeforeEach
@BeforeEach 모든 테스트 메서드가 수행되기 이전에 실행하는 메서드
코드
	  @Test
    void create1() {
        Study study = new Study();
        System.out.println("create1. study");
    }

    @Test
    void create2() {
        Study study = new Study();
        System.out.println("create2. study");
    }

    @BeforeAll
    static void beforeAll() {
        System.out.println("BeforeAll");
    }

    **@BeforeEach
    void beforeEach() {
        System.out.println("BeforeEach");
    }**
실행 화면

beforeEach가 각각 테스트가 실행 되기 직전에 실행 된 것을 볼 수가 있다.
BeforeAll과 다른 점은 BeforeAll은 전체 테스트가 실행 될 때, 딱 한번만 실행하지만, BeforeEach는 각 테스트 클래스가 실행 될 때 마다 실행이 된다.
@AfterAll
@AfterAll을 붙힌 메서드는 테스트 클래스 내에서 메서드를 모두 실행 시킨 후 딱 한번 수행이된다.
→ 테스트 후 마지막에 한번 출력
	  @Test
    void create1() {
        Study study = new Study();
        System.out.println("create1. study");
    }

    @Test
    void create2() {
        Study study = new Study();
        System.out.println("create2. study");
    }

		**@AfterAll
		    static void afterAll() {
		        System.out.println("AfterAll");
		    }**
실행 화면

@AfterEach
테스트 메서드 실행 이후에 수행.
한번만 수행 되는 @AfterAll 과 달리 실행 이후 마다 출력
import org.junit.jupiter.api.*;

class StudyTest {

    @Test
    void create1() {
        Study study = new Study();
        System.out.println("create1. study");
    }

    @Test
    void create2() {
        Study study = new Study();
        System.out.println("create2. study");
    }

        @AfterAll
    static void afterAll() {
        System.out.println("AfterAll");
    }

    @AfterEach
    void afterEach() {
        System.out.println("AfterEach");
    }
}
실행 화면

전체 코드
import org.junit.jupiter.api.*;

class StudyTest {

    @Test
    void create1() {
        Study study = new Study();

        System.out.println("create1. study");
    }

    @Test
    void create2() {
        System.out.println("create2(), study");
    }

    @Disabled
    @Test
    void Disable() {
        System.out.println("Disabled");
    }

    @BeforeAll
    static void beforeAll() {
        System.out.println("BeforeAll");
    }

    @AfterAll
    static void afterAll() {
        System.out.println("AfterAll");
    }

    @BeforeEach
    void beforeEach() {
        System.out.println("BeforeEach");
    }

    @AfterEach
    void afterEach() {
        System.out.println("AfterEach");
    }
}