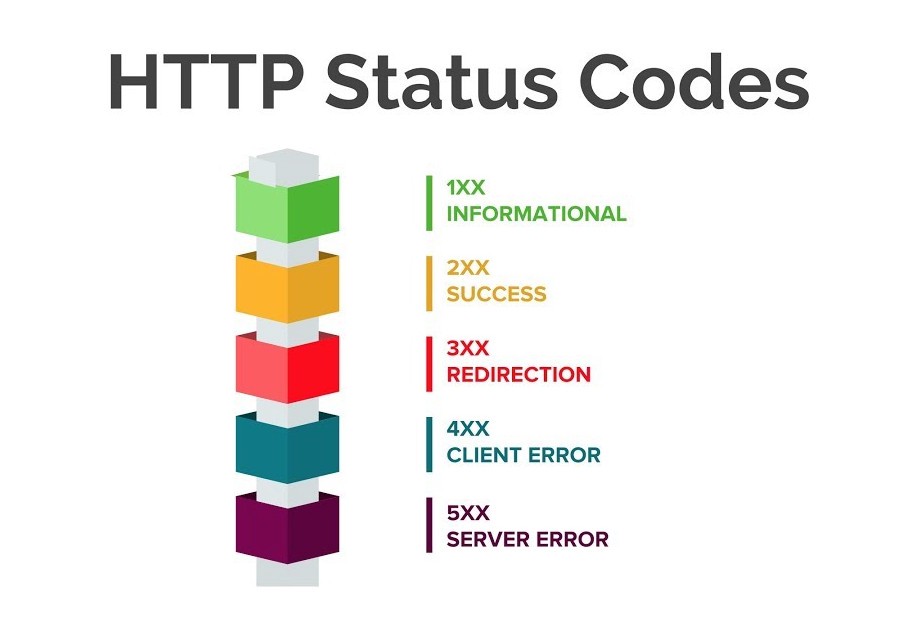
Fetch API
Fetch API 덕분에, Request나 Response와 같은 HTTP의 파이프라인을 구성하는 요소를 조작하는것이 가능하다. 특징으로는 아래와 같다.
- fetch()로 부터 반환되는 Promise 객체는 HTTP error 상태를 reject하지 않는다.
만약에, HTTP Statue Code가 404나 500을 반환하게된다면, ok 상태가 false인 resolve가 반환되게 된다. 그러나 네트워크 장애나 요청이 완료되지 못한 상태에는 reject가 반환된다. - 보통 fetch는 쿠키를 보내거나 받지 않는다.
- fetch() 함수는, 브라우저의 window 객체에 소속되어 있기 때문에 window.fetch()로 사용되기도 한다.

Source: https://www.youtube.com/watch?v=LtNSd_4txVc
Fetch 사용법
우선 코드로 알아보자
fetch(url, options)
  .then(function(response){
  	console.log("response:", response)
  })
  .catch(function(error){
  	console.log("error:", error)
  })
위 코드와 같이, fetch() 함수는 첫번째 인자로 URL, 두번째 인자로 옵션 객체를 받게된다. 그래서, Promise 타입의 객체를 반환하게 되는데, 이 반환되어진 객체는, API 호출이 성공했을 경우에는 응답(response) 객체를 resolve하고, 실패했을 경우에는 예외(error) 객체를 reject하게된다.
옵션객체는 HTTP 방식(method) / HTTP 요청헤더(headers) / HTTP 전문(body) 등을 설정이 가능하다. 그리고, 응답객체로 부터는 HTTP 응답상태(status), HTTP 응답헤더(headers), HTTP 응답전문(body) 등을 읽어올 수 있다.
GET 호출
fetch("url").then((response) =>
  console.log(response)
)

Response {status: 200, ok: true, redirected: false, type: "cors", url: "url", …}
정상적인 url 입력시 응답상태 객체가 200인것을 알수있다. 응답객체는 json() 메소드를 제공하는데,
fetch("url")
  .then((response) => response.json())
  .then((data) => console.log(data))
이렇게하면 응답객체로부터 JSON포맷의 응답을 자바스크립트 객체로 바꾸어 얻을수있다.
{
  "userId": 1,
  "id": 1,
  "body": "lorem ipsum"
  ...
}
POST 호출, PUT, DELETE 호출 는 어렵다 다음에 알아보도록 하자
