1. Hello World
당연히 헬로월드부터 찍어보자.
CRA를 이용하는 것과 비슷하다.
npx create-next-app hello-world생성이 다되었으면 다음 커맨드로 실행해보자.
yarn dev
npm run dev
pages > index.js를 수정해보자.
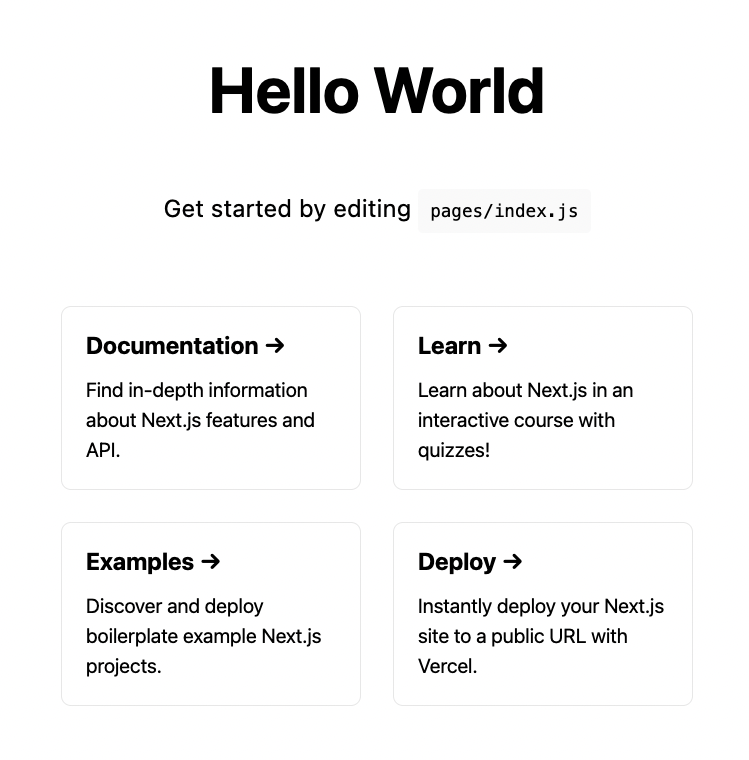
간단하게 헬로 월드를 찍어보았다. 이로써 시작 세팅은 끝이났다.
2. 라우팅
Next를 이용해서 라우팅을 해보자. 헬로월드 다음으로 다른 프로젝트를 새로 생성해보자.
npx create-next-app next-routing이번 실습에서 필요없는 파일들을 정리해보자. pages의 index.js와 api폴더를 삭제한다.
Next.js 는 파일 기반 라우팅을 가능하게 해준다.
pages폴더에 생성하는 대로 라우팅이 정해지게 된다는 것이다.
엔트리포인트는 index.js이다. 이를 생성해보자!
import React from 'react';

function Home() {
  return <h1>Home Page</h1>;
}

export default Home;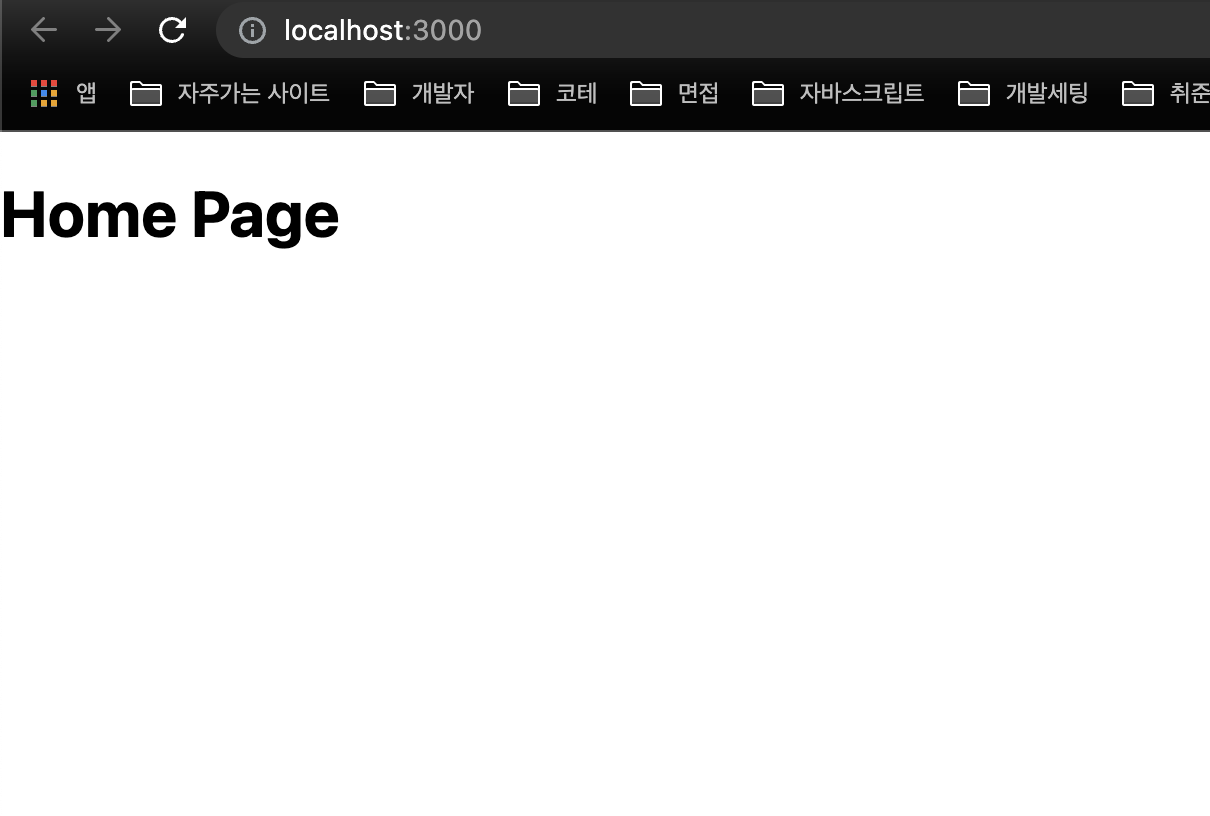
index.js는 앱의 루트로 매핑된다.
이번에는 /about 과 /profile을 구현해보자.
import React from 'react';

function About() {
  return <h1>About</h1>;
}

export default About;
import React from 'react';
function Profile() {
return <h1>Profile</h1>;
}
export default Profile;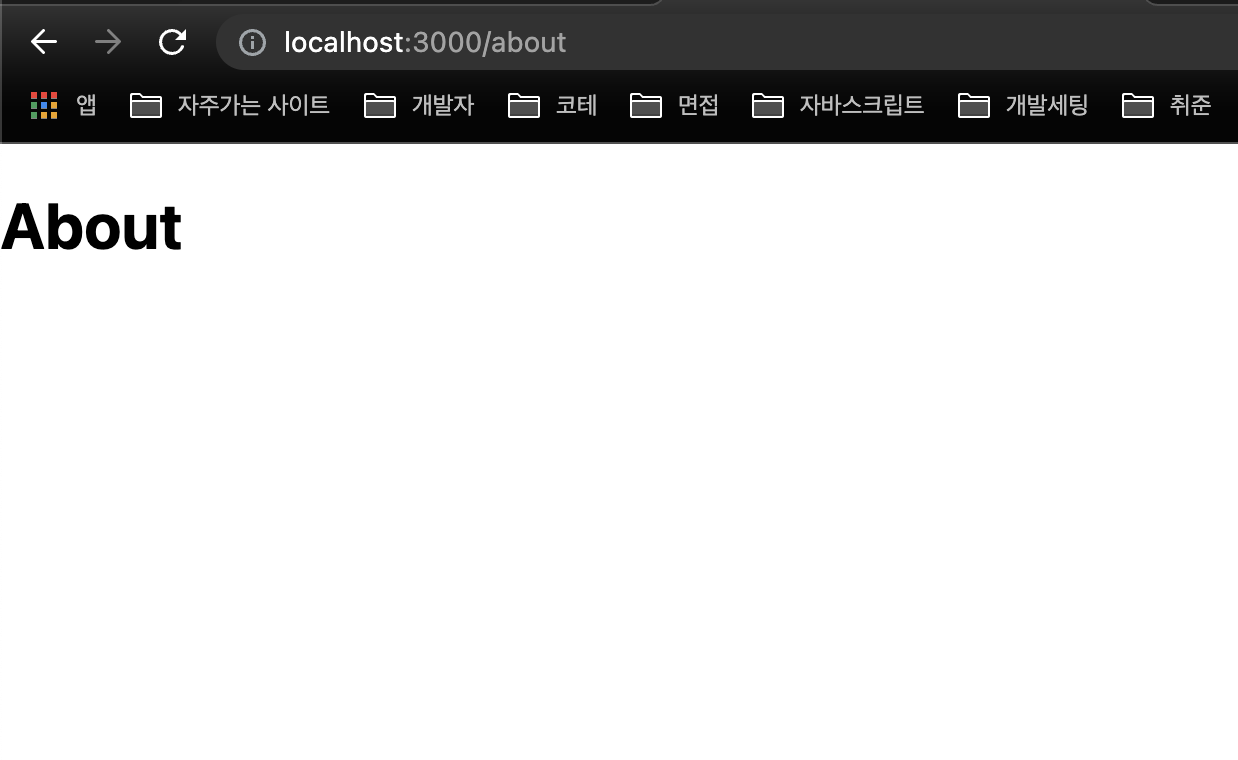
완성!
3. 중첩 라우팅
이번에는 /blog로 접속했을 때를 위한 컴포넌트를 생성하고 /blog/first /blog/second로 접속했을 때를 구현해보자.
blog.js
import React from 'react';
function Blog() {
return <h1>Blog</h1>;
}
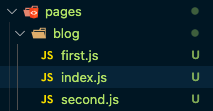
export default Blog;이제는 중첩 라우팅을 구현해보자. 폴더 구조로 계층화를 시킬 수 있다.
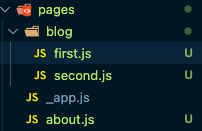
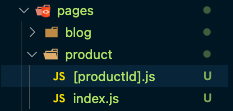
pages아래에 blog폴더를 만들고 그 아래에 first,second컴포넌트를 생성해준다.
blog.js는 pages 폴더의 루트에서 관리되고 있다. 이를 해결하기 위해서는 blog.js를 blog폴더로 이동시키고 index.js로 이름을 변경시켜준다.
최종적인 디렉터리 구조는 다음과 같다.
4. 동적 라우팅
이번에는 /product페이지에서 product리스트를 보여주고 /product/id로 접근해서 상세페이지를 보여주는 시나리오를 구현해보자.
product.js
import React from 'react';

function Product() {
  return (
    <>
      <h2>Product1</h2>
      <h2>Product2</h2>
      <h2>Product3</h2>
    </>
  );
}

export default Product;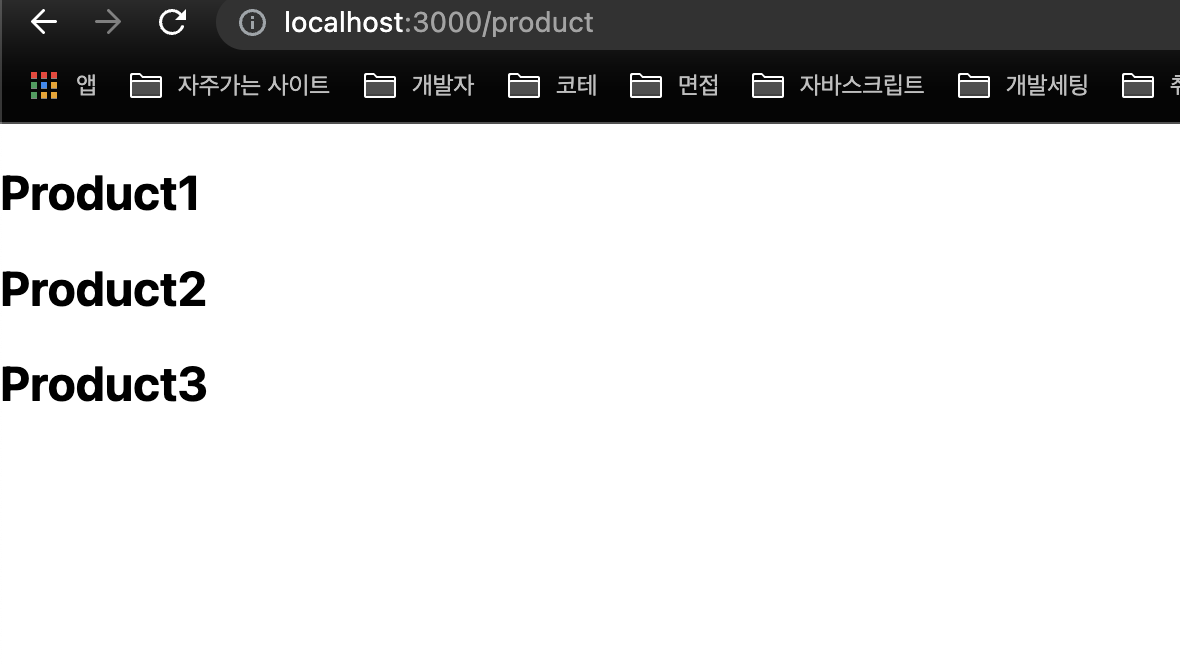
상세 페이지들을 구현할 때 개별컴포넌트로 개발해도되지만 100개가 넘어가면... 불가능하다고 볼 수 있다.
이럴 때 동적라우팅을 사용하는데 Next에서는 조금 특이한 방식을 사용한다.
[]로 감싸주고 그 안에는 params 명을 넣는다.
[productId].js
import React from 'react';

function Detail() {
  return <h1>Detail</h1>;
}

export default Detail;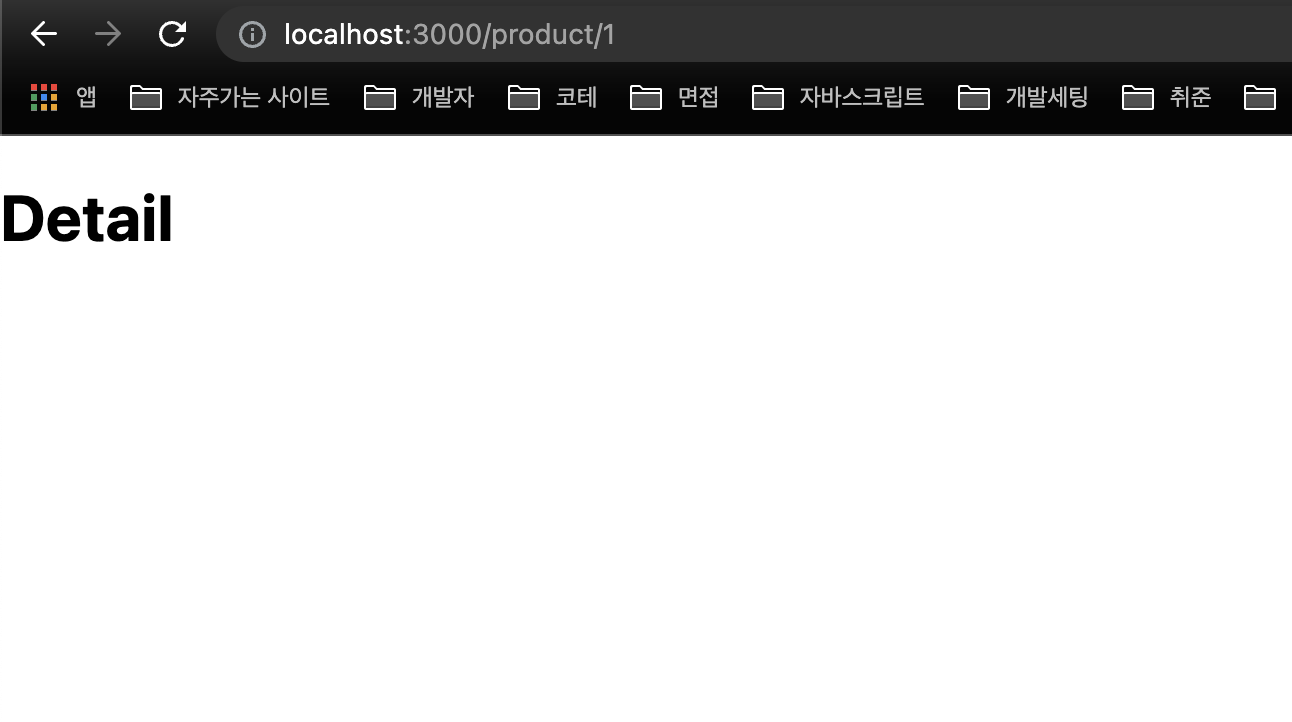
이제 params로 설정해준 productId 값을 가져와 렌더링해주자. Next에서는 useRouter라는 간단한 훅을 제공한다.
import { useRouter } from 'next/router';
import React from 'react';

function Detail() {
  const router = useRouter();
  const productId = router.query.productId;

  return <h1>Detail about product {productId}</h1>;
}

export default Detail;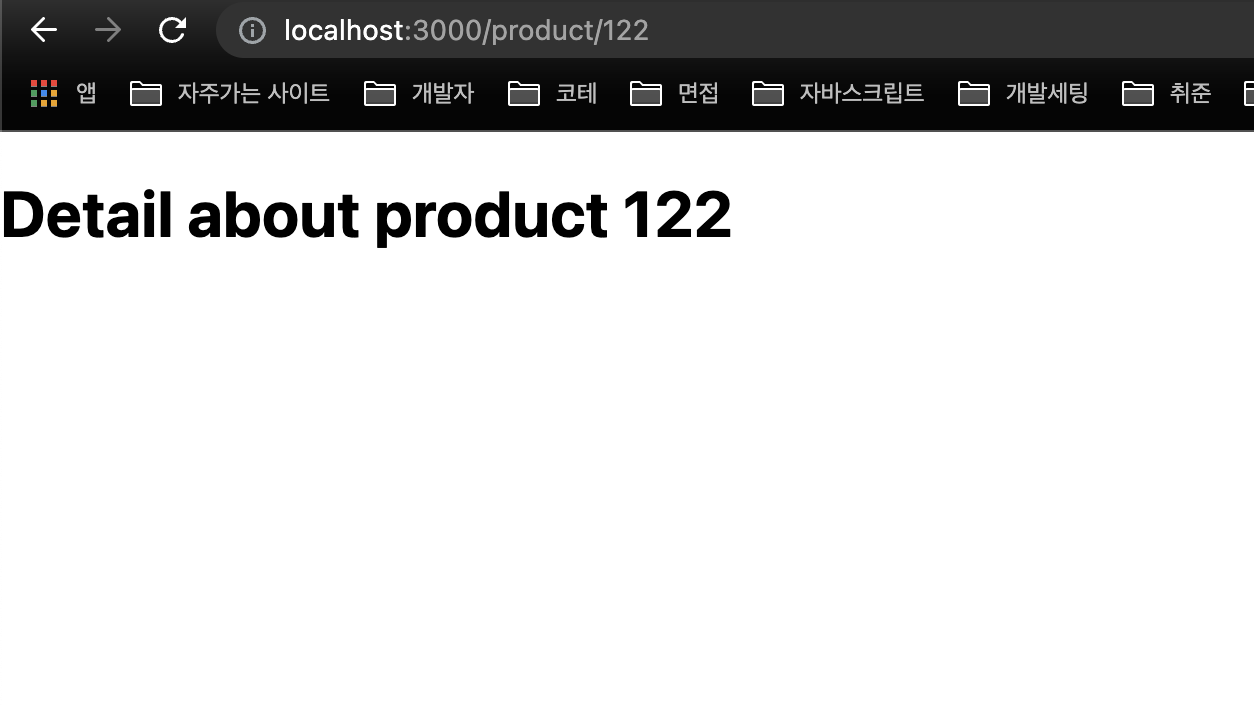
한 가지 작은 문제가 있는 것은 뒤에 params는 숫자뿐만 아니라 어떤 문자열이라도 올 수 있다. 또한 컴포넌트로 생성한 라우팅은 params보다 우선순위가 높다.
5. 중첩 동적 라우팅
우리는 단순히 /product/[productId]로 접근할 수도 있지만 /product/[productId]/review/[reviewId]로 접근해야할 경우도 있다. 이를 구현해보자.
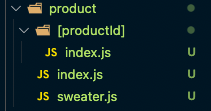
product 폴더 하위에 [productId]라는 폴더를 만들고 index.js를 생성한 후 [productId].js의 내용을 복붙한다.
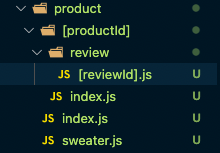
이번에는 하위에 review폴더를 만들고 [reviewId].js 파일을 만들어주었다.
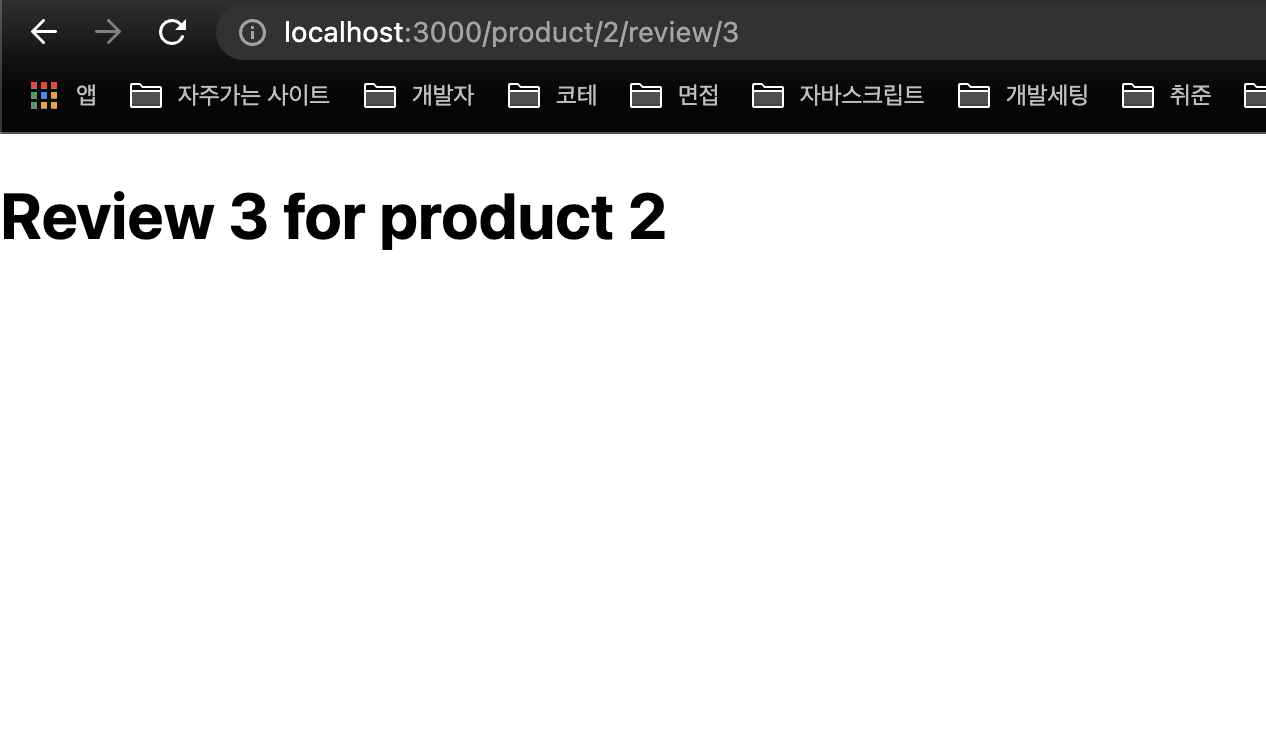
이렇게 구현이 완료되었다.
6. Link 컴포넌트
next에서는 컴포넌트 내부에서의 라우팅 이동을 하기 위해 Link라는 컴포넌트를 제공한다.
/에서 /blog로 이동하는 UI를 만들어보자.
import Link from 'next/link';
import React from 'react';

function Home() {
  return (
    <div>
      <h1>Home Page</h1>
      <Link href="/blog">
        <a>Blog</a>
      </Link>
    </div>
  );
}

export default Home;
이번에는 product 페이지로 이동하는 것을 만들어보자.
바로 아래에 추가해보자.
<Link href="/product">
	<a>Products</a>
</Link>
이번에는 product에서 Home으로 이동할 수 있게 구현해보자.
import Link from 'next/link';
import React from 'react';

function Product() {
  return (
    <>
      <Link href="/">
        <a>Home</a>
      </Link>
      <h2>Product1</h2>
      <h2>Product2</h2>
      <h2>Product3</h2>
    </>
  );
}

export default Product;
링크 컴포넌트를 동적라우팅해보자.
import Link from 'next/link';
import React from 'react';

function Product() {
  return (
    <>
      <Link href="/">
        <a>Home</a>
      </Link>

      <h2>
        <Link href="/product/1">
          <a>Product 1</a>
        </Link>
      </h2>
      <h2>
        <Link href="/product/2">
          <a>Product 2</a>
        </Link>
      </h2>
      <h2>
        <Link href="/product/3" replace>
          <a>Product 3</a>
        </Link>
      </h2>
    </>
  );
}

export default Product;Link의 프롭으로 replace를 설정할 수 있는데 만약 설정하게 된다면 뒤로가기를 눌렀을 때 바로 이전이 아니라 처음으로 이동하게 된다.
지금까지 clientside라우팅을 알아보았다.
7. 네비게이트
button클릭시에 이동하는 로직을 구현해보자. useRouter훅으로 구현이 가능하다.
import Link from 'next/link';
import { useRouter } from 'next/router';
import React from 'react';

function Home() {
  const router = useRouter();

  const handleClick = () => {
    console.log('placing Your order');
    router.push('/product');
  };

  return (
    <div>
      <h1>Home Page</h1>
      <Link href="/blog">
        <a>Blog</a>
      </Link>
      <Link href="/product">
        <a>Products</a>
      </Link>
      <button onClick={handleClick}>Place Order</button>
    </div>
  );
}

export default Home;
8. 404 커스텀
웹 페이지나 애플리케이션을 구성할 때 404 페이지는 필수요소이다. 어떤 환경에서 에러가 발생할지 모르니 항상 예외처리를 습관화하자.
그 중에서도 404는 존재하지 않는 url로 접근했을 때 렌더링 되는 페이지인데 이를 커스텀해보자.
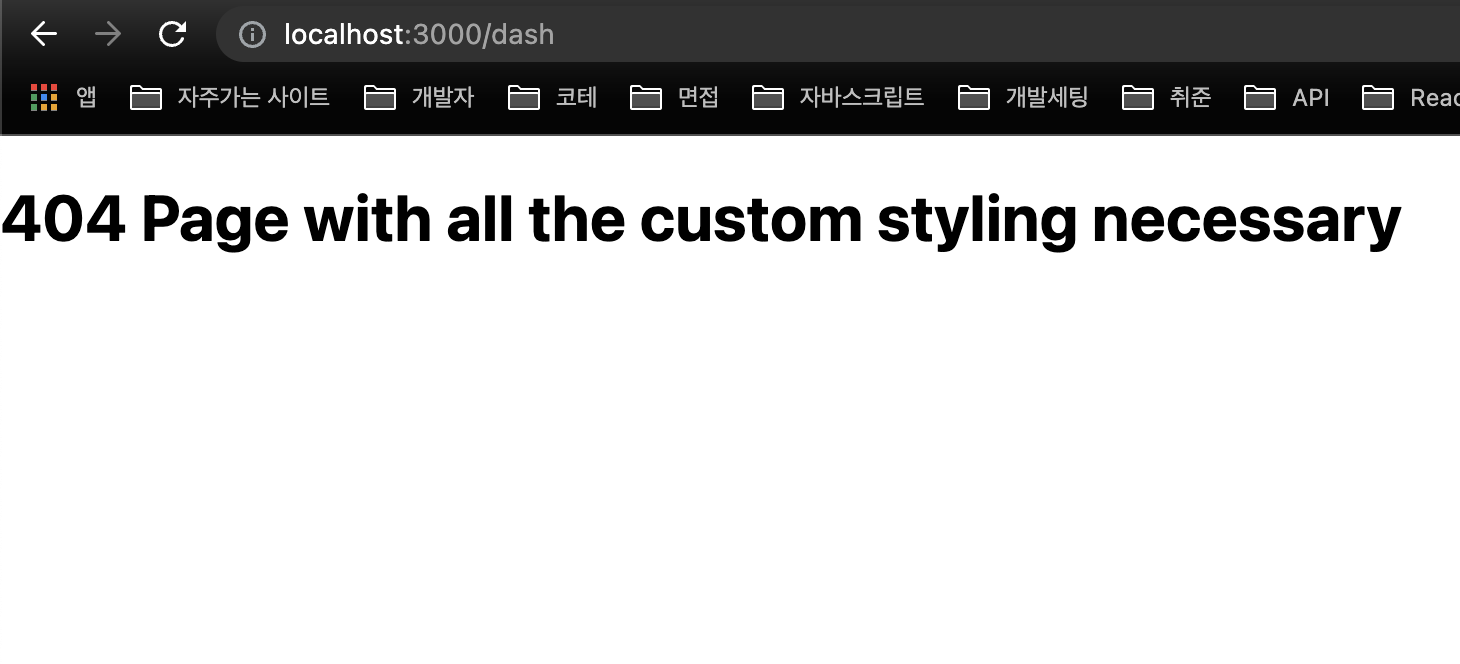
지금까지 해왔던 방식과 유사하다. pages폴더에 404.js를 추가하자.
import React from 'react';

function PageNotFound() {
  return <h1>404 Page with all the custom styling necessary</h1>;
}

export default PageNotFound;