단위 테스트: Jest
jest.fn() 함수 mocking
jest.fn(() => 반환값);원리를 보면 미들웨어를 호출할 때 req, res는 진짜 HTTP 요청과 응답을 사용하는 게 아니라,
jest.fn()으로 가짜 함수를 만듦.
그 객체를 집어넣고, 내가 테스트 하려는 함수를 호출하는 것
// 간단한 함수 모킹
const mockFn = jest.fn();
mockFn();
expect(mockFn).toHaveBeenCalled();

// 반환 값 설정
const returnMock = jest.fn().mockReturnValue("hello");
expect(returnMock()).toBe("hello");

// 비동기 함수 모킹
const asyncMock = jest.fn().mockResolvedValue("async value");
await expect(asyncMock()).resolves.toBe("async value");

// 인자를 사용한 호출 검증
const mockFnWithArgs = jest.fn();
mockFnWithArgs(1, 2);
expect(mockFnWithArgs).toHaveBeenCalledWith(1, 2);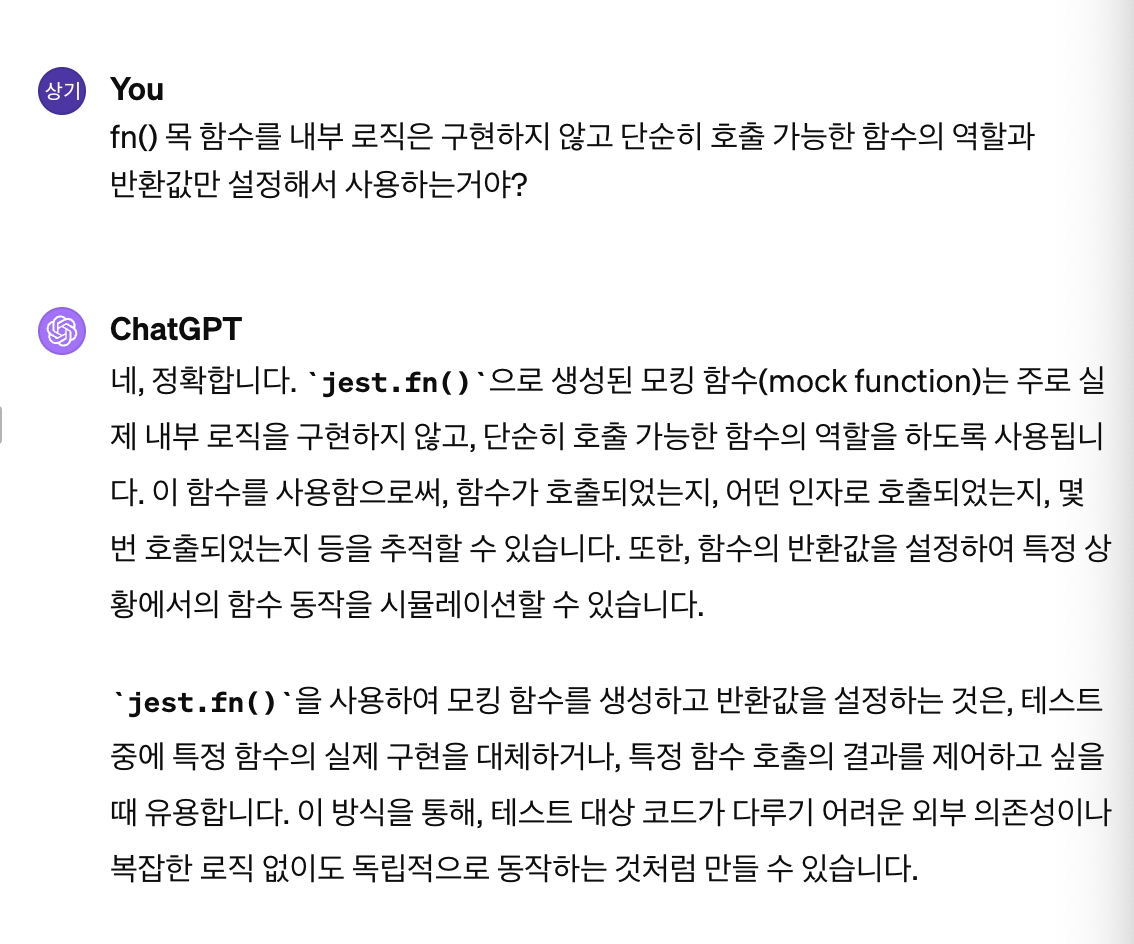
fn 목 함수는 단순히 반환 값 뿐만 아니라, resolved promise, rejected promise로도 반환 값을 설정할 수 있음.
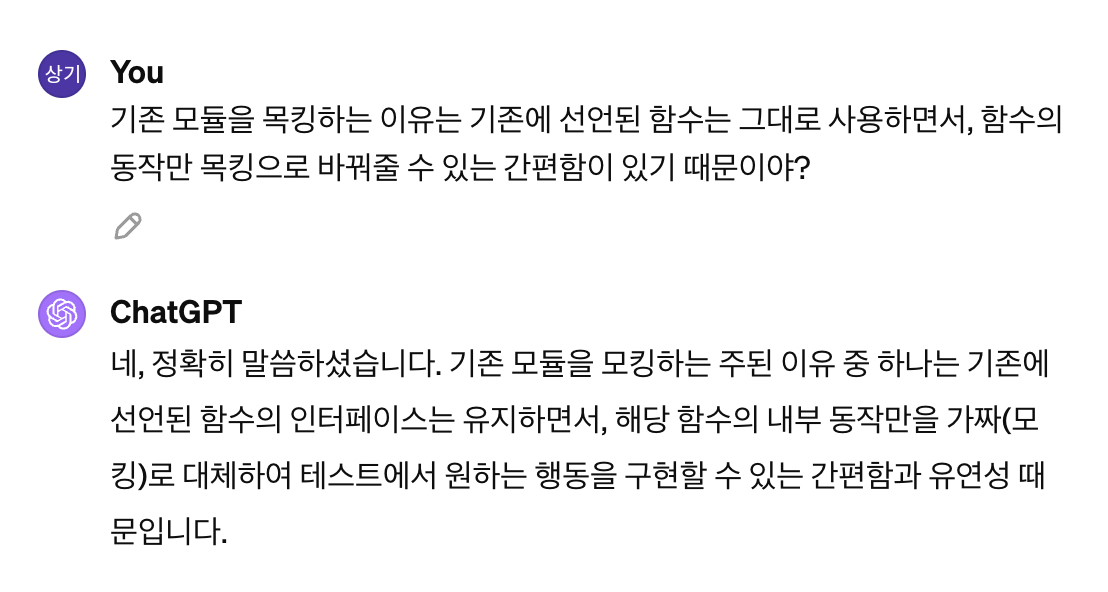
jest.mock() 모듈 mocking
jest.mock('./math'); // math.js 모듈을 모킹

const app = require('./app');
const math = require('./math');

// math.add 함수에 대한 모킹 구현
math.add.mockImplementation((a, b) => a + b);

test('doAdd adds two numbers', () => {
    expect(app.doAdd(1, 2)).toBe(3);
    // 모킹된 함수가 호출되었는지 확인
    expect(math.add).toHaveBeenCalledWith(1, 2);
});
jest.mock('./math'); // math.js 모듈을 모킹
이렇게 목킹하는 순간 해당 모듈의 export된 모든 함수는 가짜 함수로 대체되며, 아무 작동도 하지 않는다.
그래서 목킹된 모듈 내의 함수가 필요할 때는 따로 정의해 줘야 한다.
커버리지
//package.json
"scripts" : {
  ...
  "coverage": "jest --coverage"
},
통합 테스트: supertest
통합테스트 라이브러리
npm i supertestrequest를 suptertest로 대신 함.
const request = require('supertest');
const app = require('./app');

describe('GET /user', () => {
    it('responds with json containing a user', async () => {
        const response = await request(app)
            .get('/user')
            .expect('Content-Type', /json/)
            .expect(200);

        expect(response.body).toEqual({ name: 'John Doe' });
    });
});
통합 테스트는 모킹을 최소화 하는 게 좋음.
부하 테스트: artillery
npx artillery quick --count 100 -n 50 http://localhost:8001count: 가상의 사용자 수
n: 요청 횟수
loadtest.json에 시나리오를 명시하고, 해당 시나리오대로 부하 테스트 진행할 수 있음.
{
  "config": {
    "target": "http://yourapi.com",
    "phases": [
      {
        "duration": 60,
        "arrivalRate": 10,
        "rampTo": 50,
        "name": "Warm up phase"
      },
      {
        "duration": 120,
        "arrivalRate": 50,
        "name": "Sustained load"
      }
    ]
  },
  "scenarios": [
    {
      "flow": [
        {
          "get": {
            "url": "/path/to/resource"
          }
        },
        {
          "think": 5
        },
        {
          "post": {
            "url": "/path/to/resource",
            "json": {
              "key": "value"
            }
          }
        }
      ]
    }
  ]
}
phases는 부하의 크기와 지속 시간을 정의하고,
scenarios는 그 부하 하에서 시뮬레이션될 구체적인 사용자 행동을 정의합니다.
부하 테스트를 위한 시나리오에 맞춰 부하가 적용되는 것이라고 이해할 수 있습니다.