시계를 만들어보자
시계를 만들 div를 그안에 h1을 html에 새로이 작성한다.
<div class = js-clock>
	<h1>00:00</h1>
</div>
JS 작성
const clockContainer = document.querySelector(".js-clock");
const clockTitle = clockContainer.querySelector("h1");
//여기서 변수설정을 통해 selector를 이용하여 필요 부분들을 불러와줌.

function getTime(){
    const date = new Date();
    const minutes = date.getMinutes();
    const hours = date.getHours();
    const seconds = date.getSeconds();
    clockTitle.innerText = `${hours}:${minutes}:${seconds}`;
}
//date 객체 사용하여 각 변수를 지정한 함수로 만들어줌. innerText는 해당 내부값 변경해주는 것임.

function init() {
    getTime();
}
//실행을 위한 init()함수는 초기에 세팅
init();
이렇게하면 시계가 생긴다.
setInterval 및 textliner를 통한 구성변경
- setInterval(함수, 실행시간간격[miliseconds])
- textliner 및 mini if else(삼항연산자?)를 이용한 시간앞에 생기는 공백 9 - >09로의 변형
const clockContainer = document.querySelector(".js-clock");
const clockTitle = clockContainer.querySelector("h1");


function getTime(){
    const date = new Date();
    const minutes = date.getMinutes();
    const hours = date.getHours();
    const seconds = date.getSeconds();
    clockTitle.innerText = `${hours < 10 ?`0${hours}` : hours}:${minutes < 10 ? `0${minutes}` : minutes}:${seconds < 10 ? `0${seconds}` : seconds}`;
//삼항연산자라고 함 if -> ? else - > : 가 됨 mini if이다.
}

function init() {
    getTime();
    setInterval(getTime, 1000);
}

init();- 삼항연산자(?)=mini if else문을 통해 조건을 설정해줌
- ex)
hours < 10 ? `0${hours}` : hours- init()함수안에 getTime()을 먼저 실행시키고
setInterval을 통해 실행시간을 매초마다 한번으로 선언해줌.
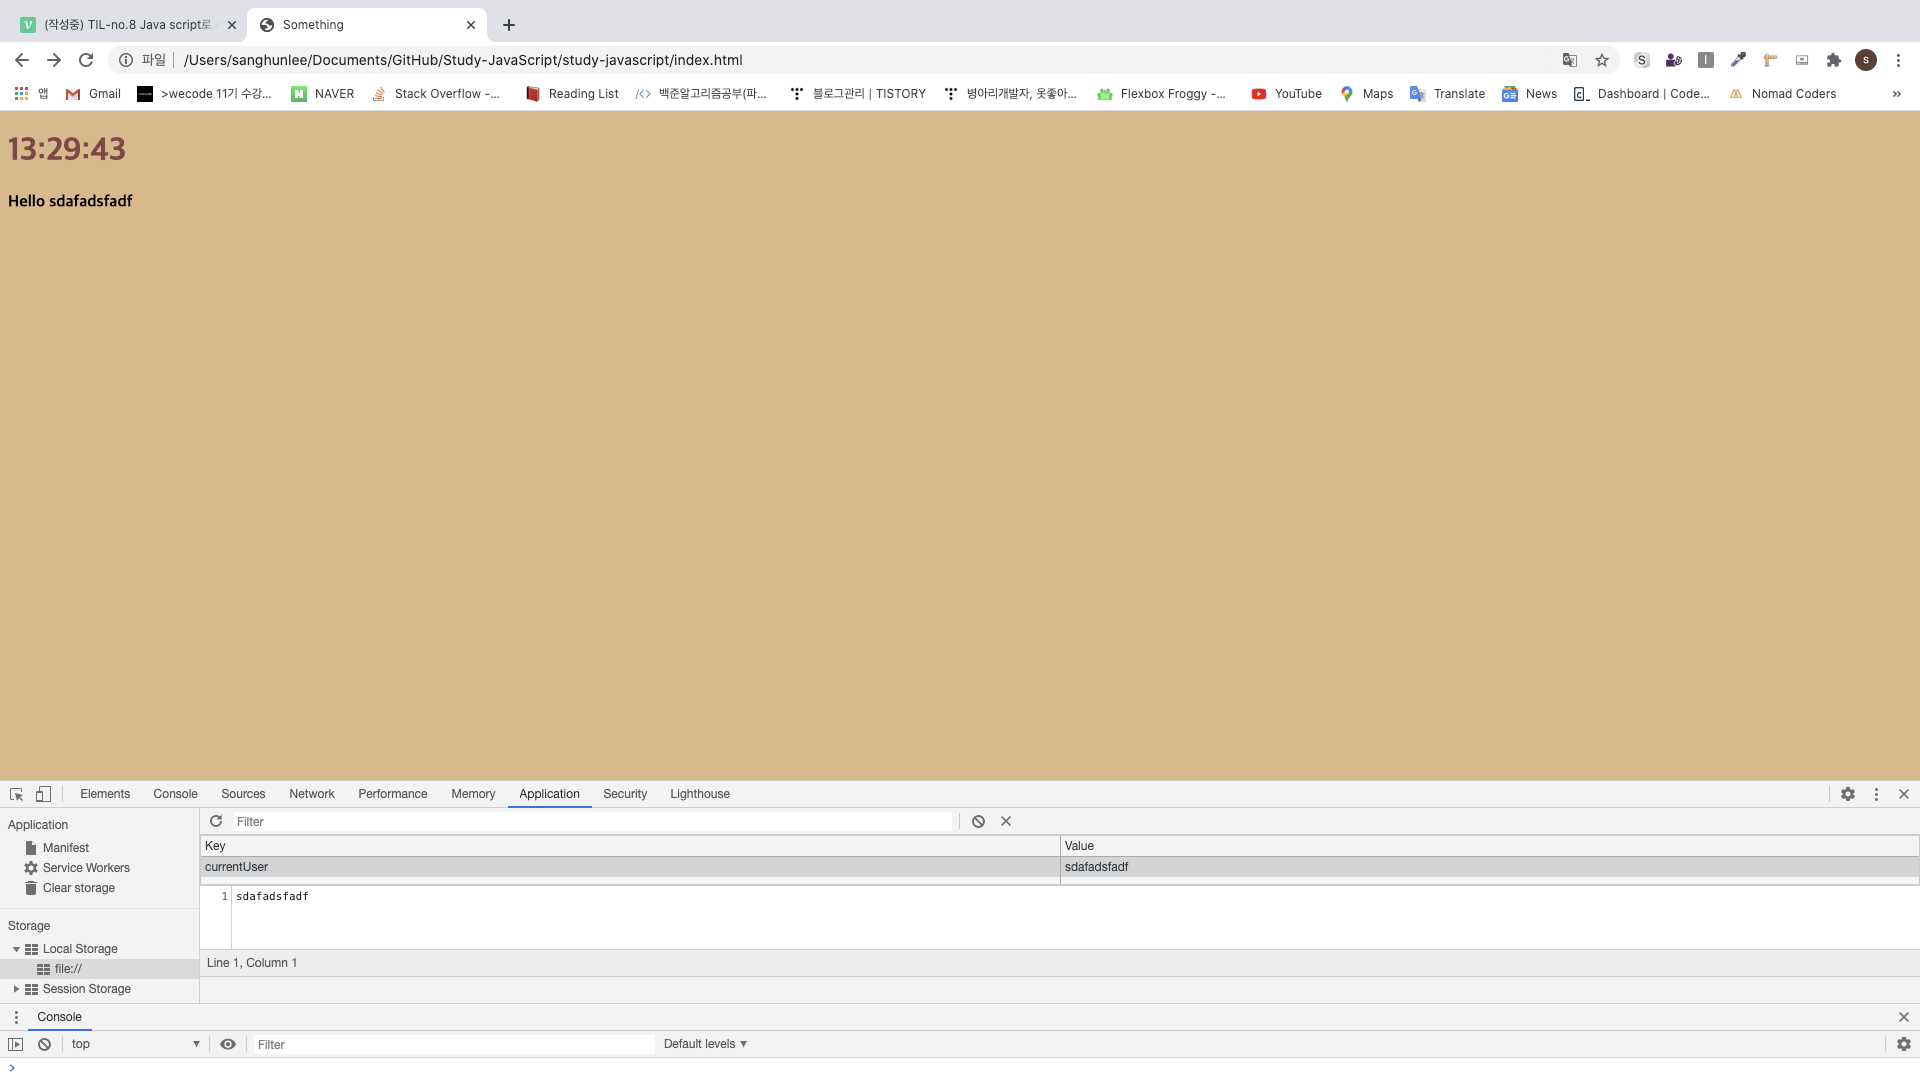
이렇게 하면 개발자도구에서 매초 h1 태그 내의 시간이 변경되는 것을 볼 수 있음(화면이 당연히 나옴)
끝

알고리즘 풀이를 담은 블로그입니다.