실시간 위치추적 기능을 웹소켓으로 구현하였고, 서버를 배포하였다. 우선 나는 Docker를 사용하지 않았고, daphne + nginx + redis(AWS elasticache)를 사용하는 방법으로 배포하였다.
EC2 인스턴스를 생성하고, 도메인을 연결하고, EC2 우분투 서버에 접속하는 과정은 생략하겠다.
elasticache로 redis 배포하기
배포 서버에서 Channels를 사용하기 위해 AWS elasticache로 Redis를 배포하자.
보안그룹 생성
elasticache가 사용할 보안그룹을 생성한다.

- 서버와 연결된 EC2 인스턴스가 속해있는 VPC를 선택하고 인바운드 규칙에 EC2의 서브넷 그룹을 선택한다. 포트는 6379를 사용한다.
redis 생성
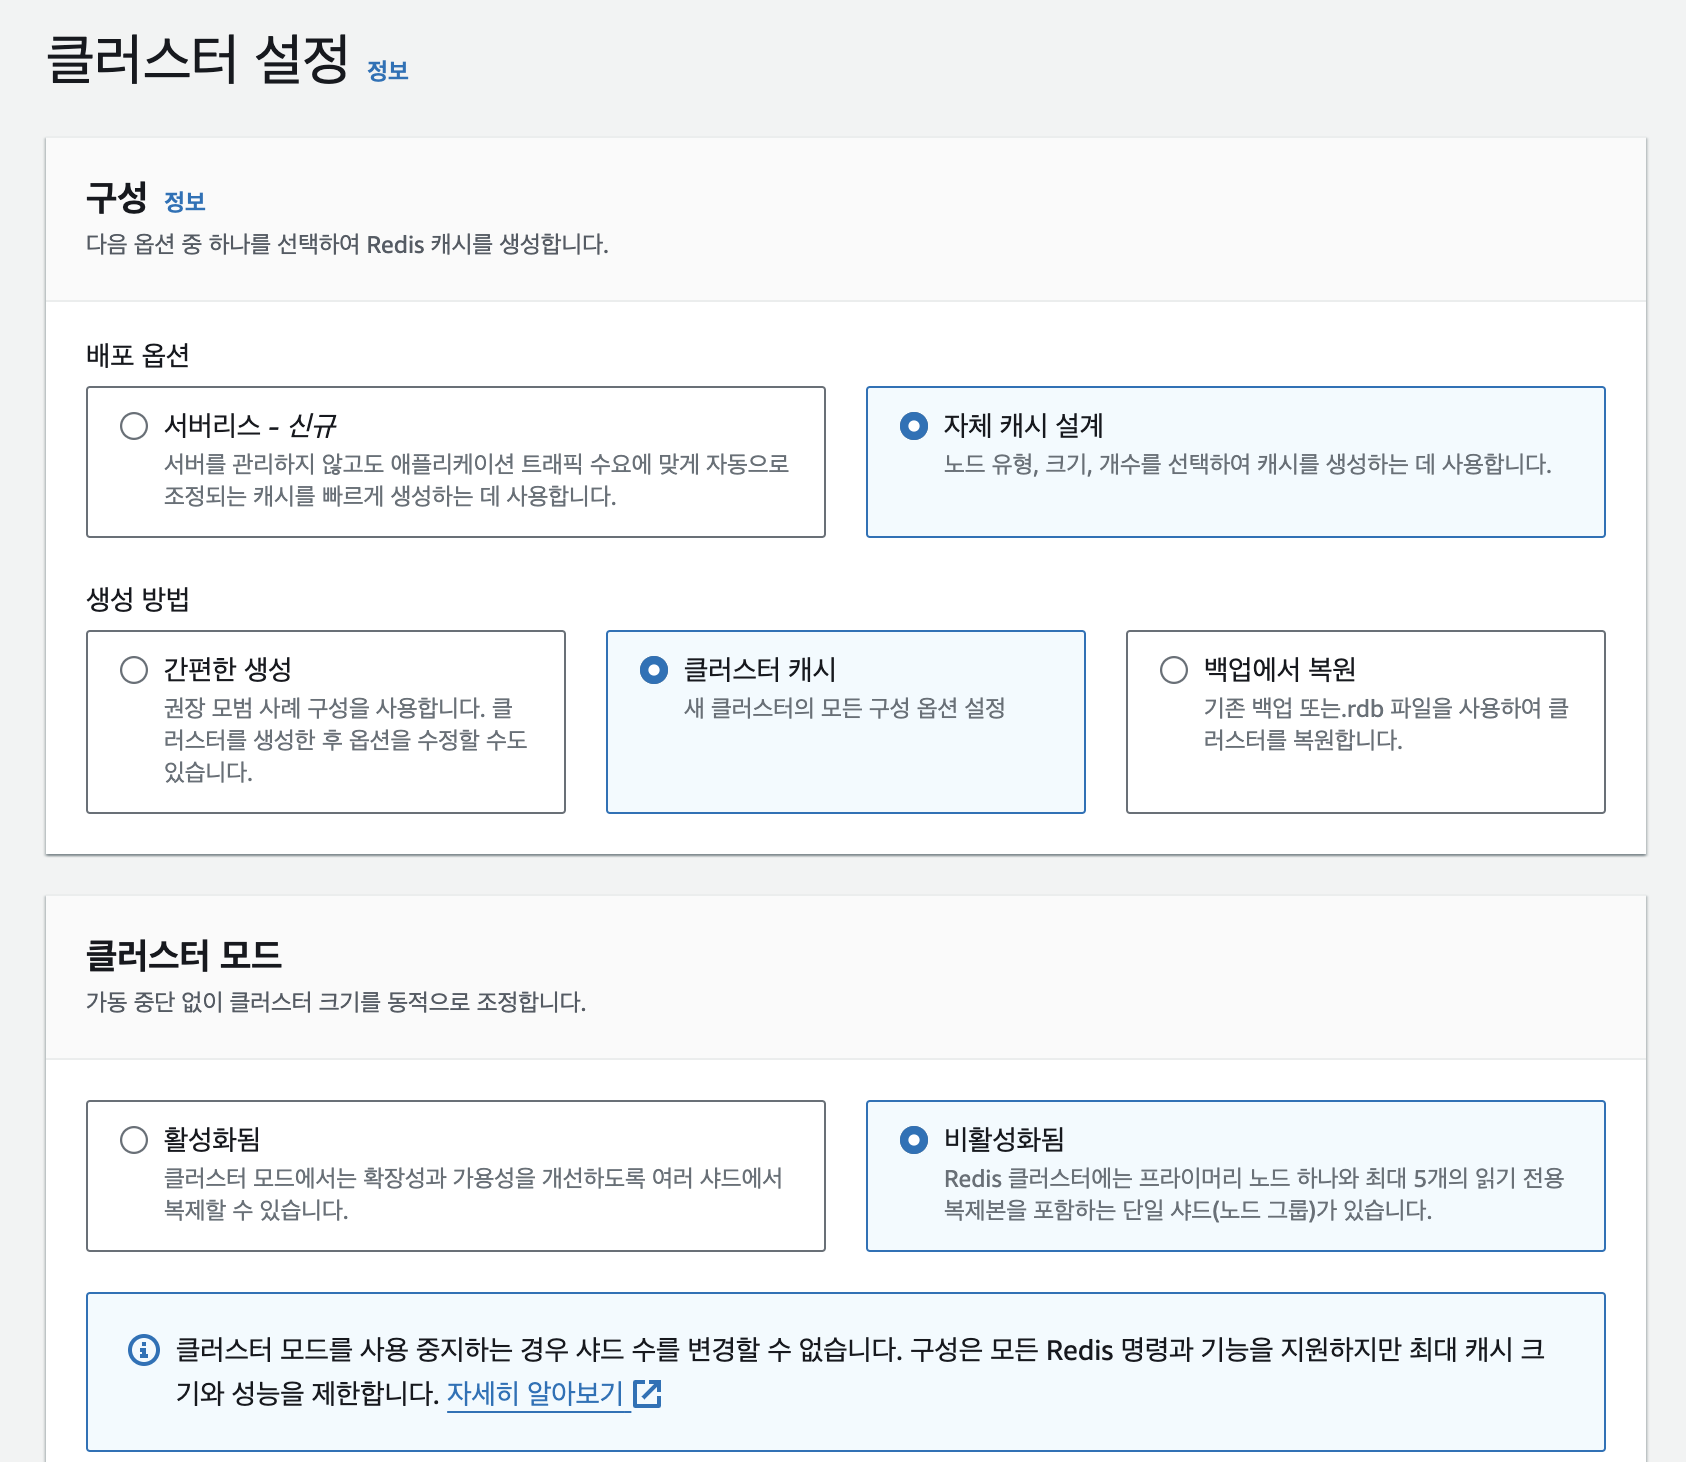
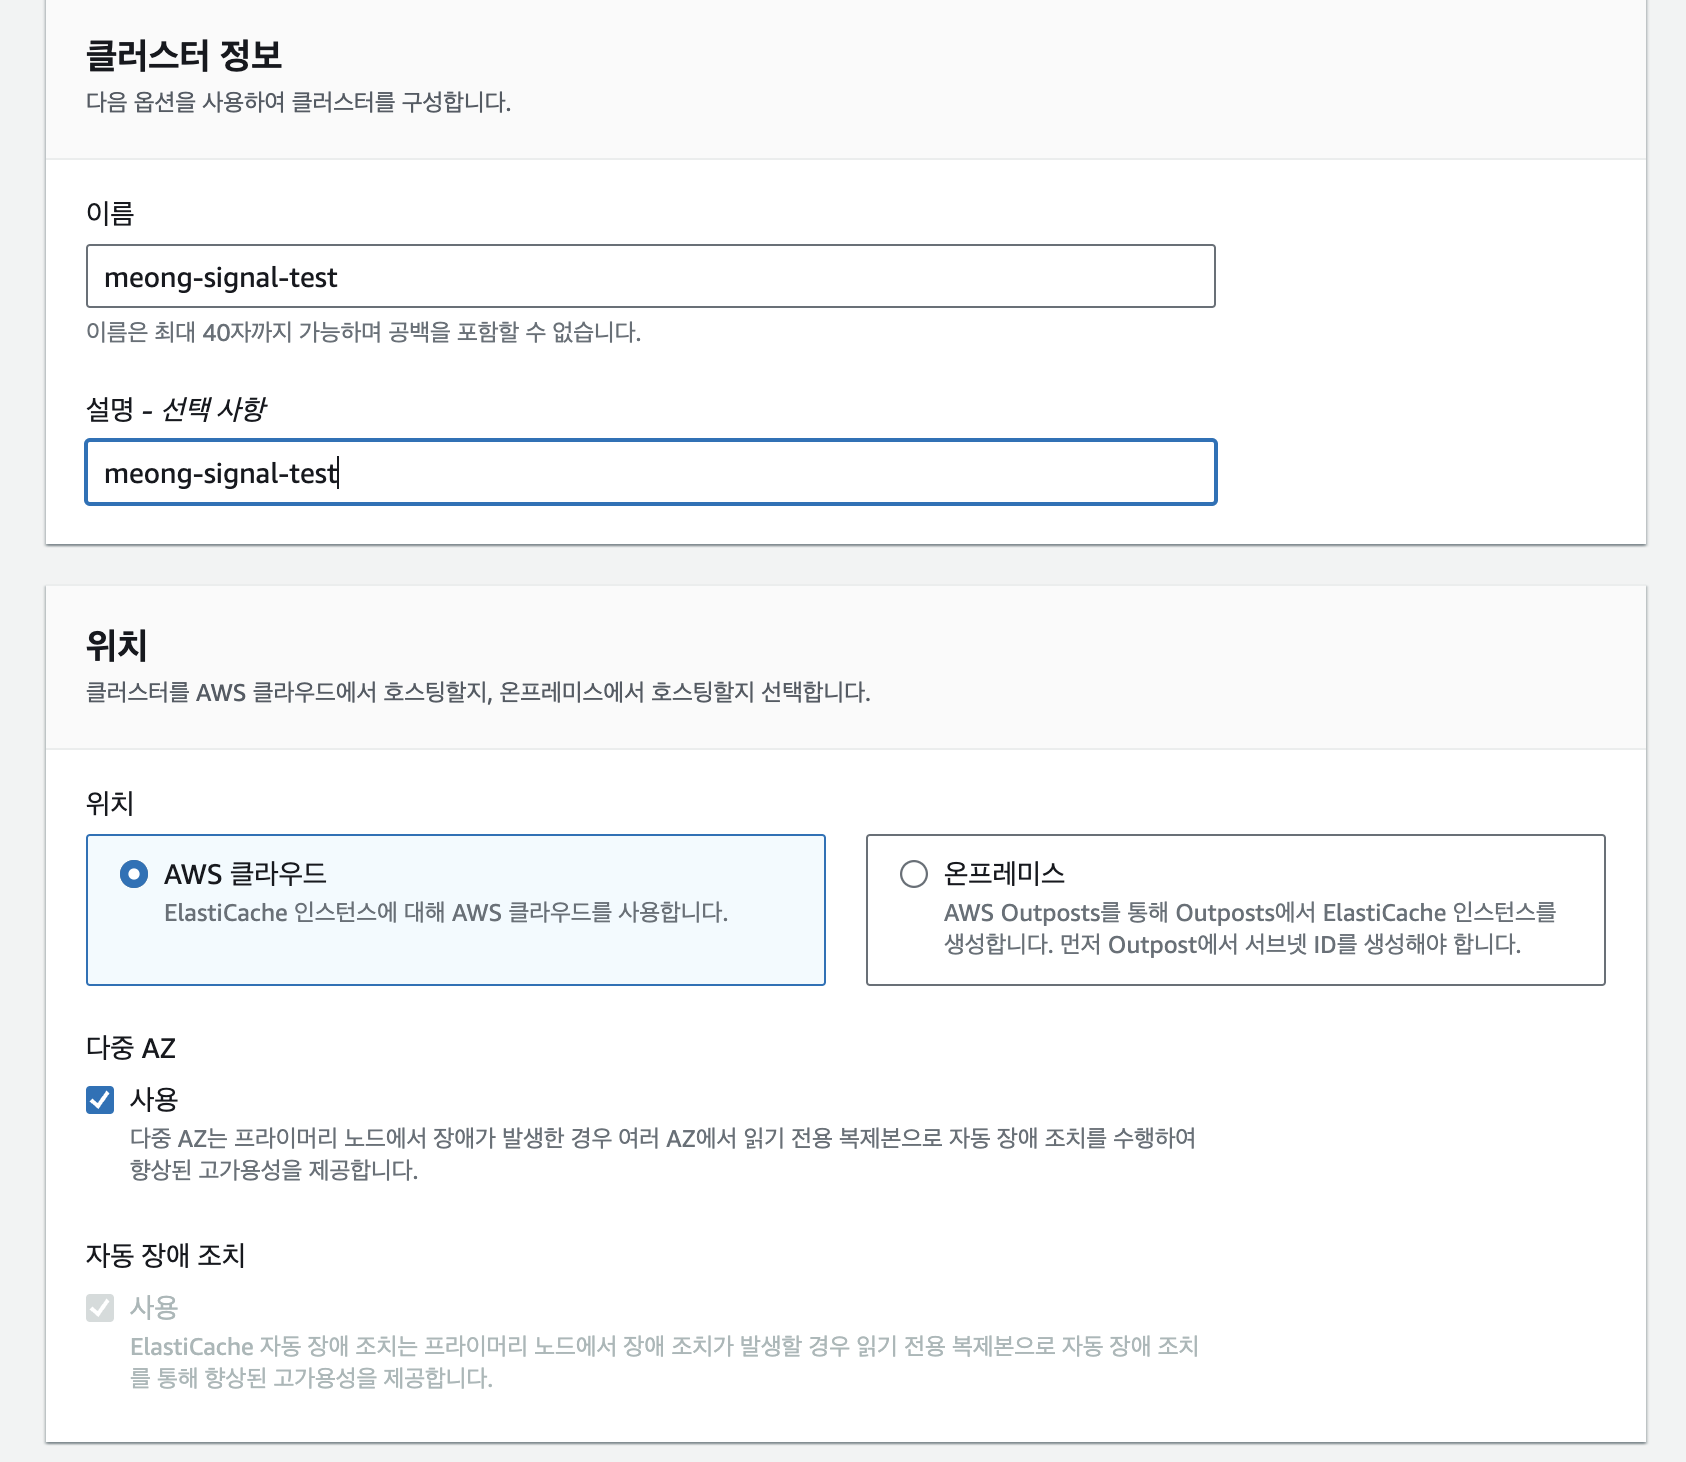
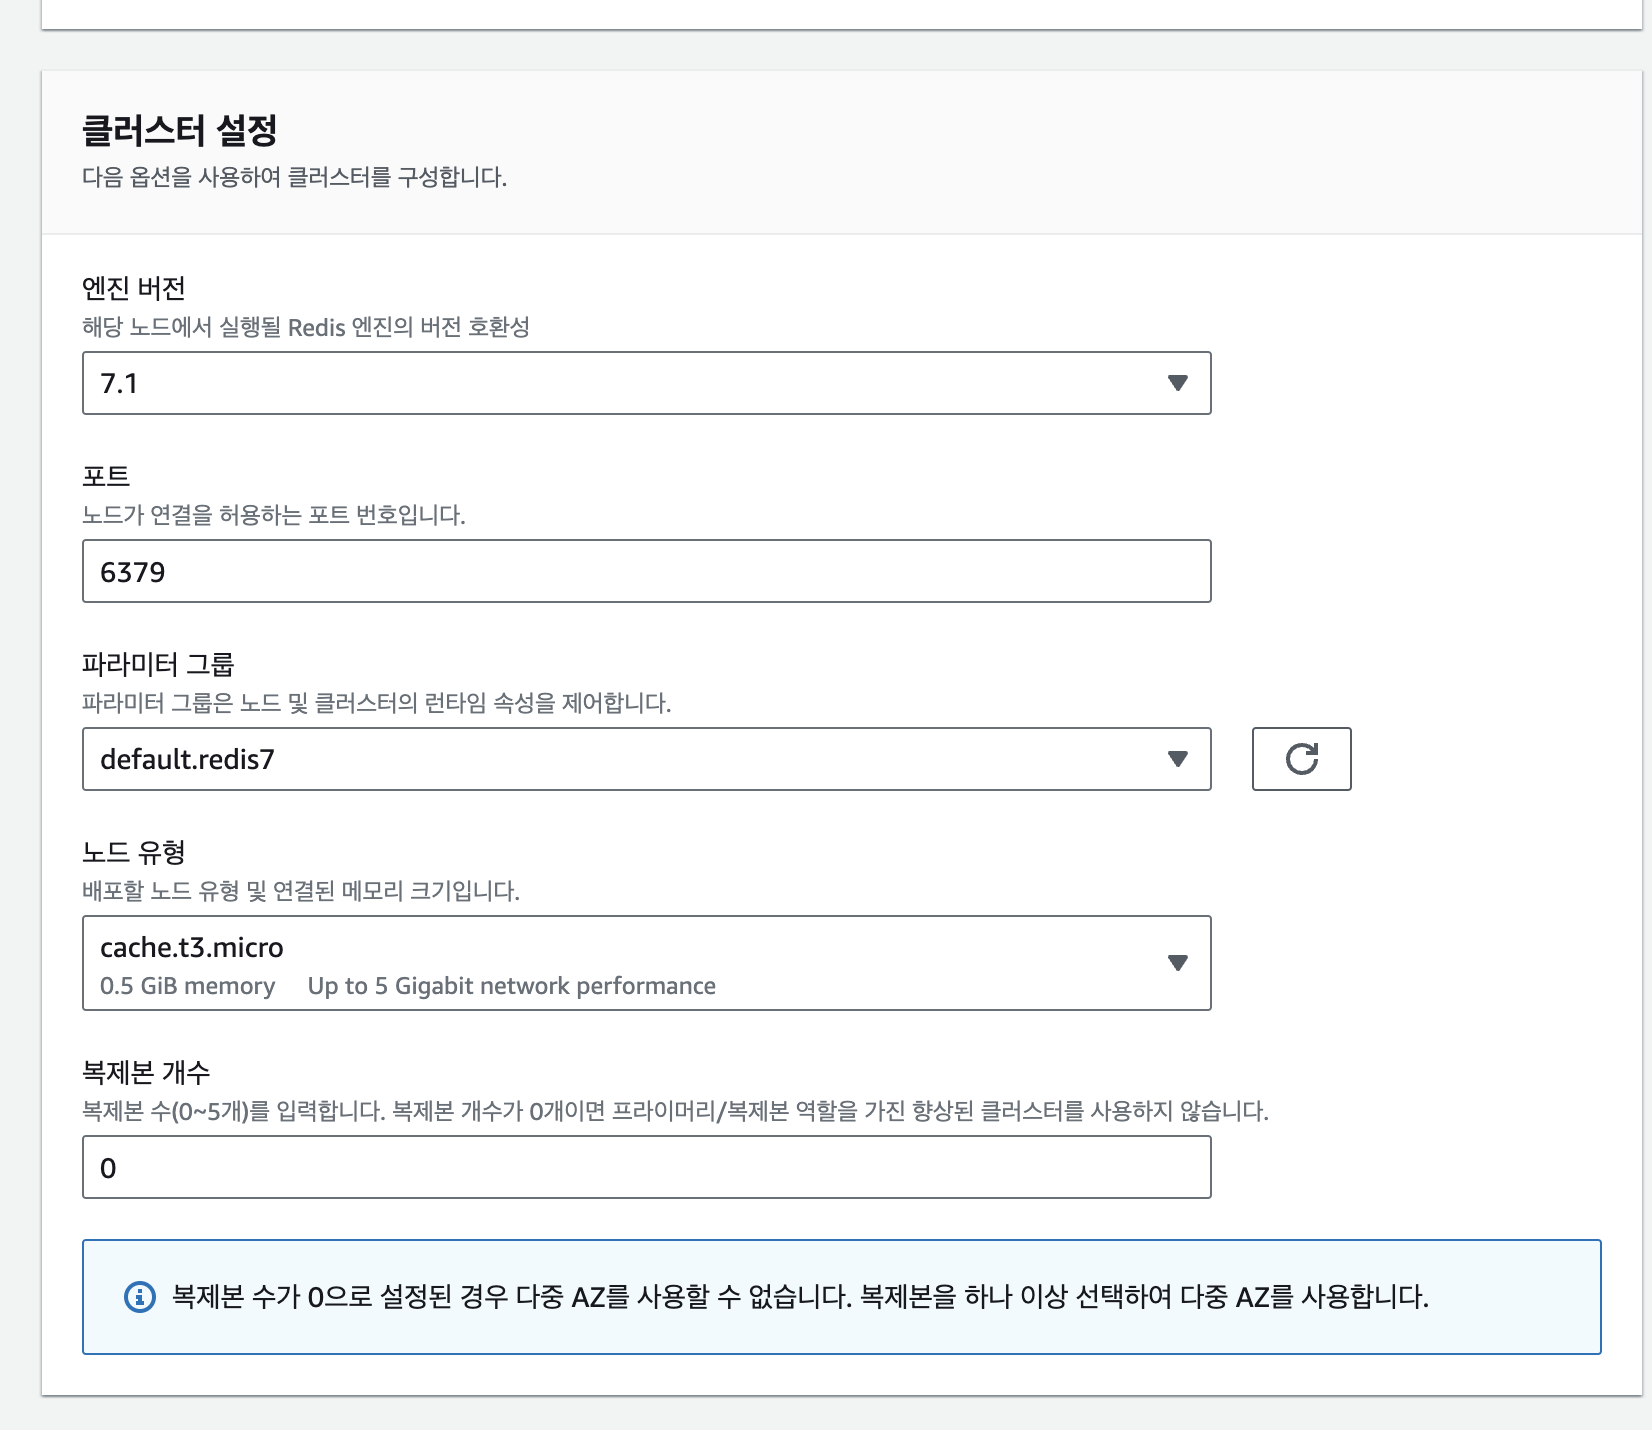
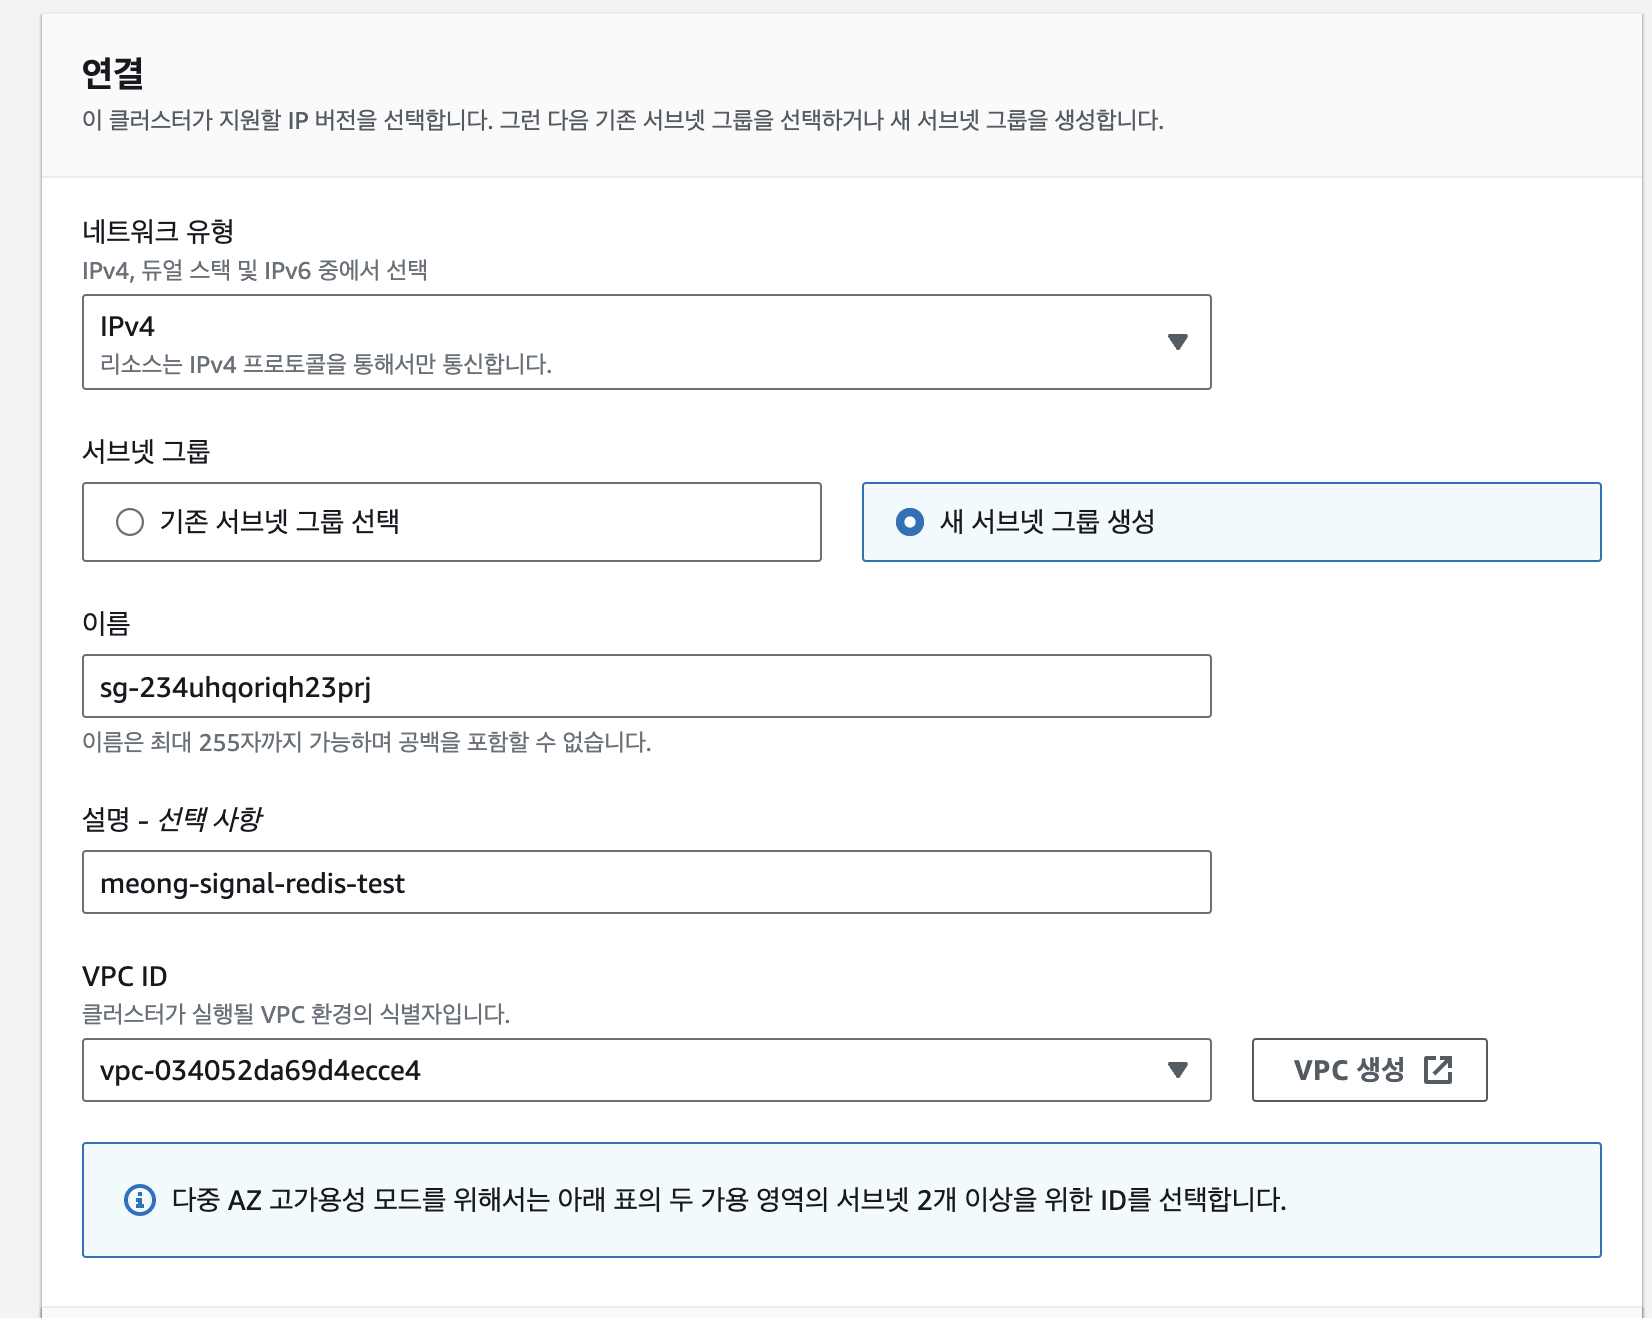
- 여기서는 위에서 생성한 보안그룹을 선택한다.

- 모든 설정을 마치고 생성한다. 나는 10분정도 걸렸다.
settings.py 수정
CHANNEL_LAYERS = {
    'default': {
        'BACKEND': 'channels_redis.core.RedisChannelLayer',
        'CONFIG': {
            "hosts": [(get_secret('REDIS_HOST'), 6379)],
        },
    },
}- 생성이 완료되면 기본 엔드포인트를 복사해서 뒤에 포트를 빼고, secrets.json에 숨겨준다.
- settings.py의 CHANNEL_LAYERS에서 host에 해당 엔드포인트를 추가해준다.
daphne 설정
settings.py의 installed_apps에 daphne를 추가한다.
이 외의 channel에 대한 설정은 이전 포스트에서 모두 마쳤으니, 실행시켜보자.
$ daphne -b 0.0.0.0 -p 8000 프로젝트명.asgi:application도메인:8000 으로 접속이 되는것을 확인할 수 있다.
❗️ ImportError: cannot import name 'DEFAULT_CHANNEL_LAYER' from 'channels'
$ pip uninstall channels
$ pip uninstall daphne
$ python -m pip install -U channels["daphne"]
순서로 실행한 후, 다시 실행해보면 동작한다.
uwsgi 설정
$ pip install uwsgi- uwsgi를 설치한다.
$ sudo vim uwsgi.ini- manage.py 파일이 존재하는 경로에서 해당 명령어를 실행한다.
[uwsgi]
chdir=/home/ubuntu/프로젝트폴더명
module=프로젝트명.wsgi:application
master=True
pidfile=/tmp/project-master.pid
vacuum=True
max-requests=5000
daemonize=/home/ubuntu/프로젝트폴더명/프로젝트명/django.log
home=/home/ubuntu/가상환경경로
virtualenv=/home/ubuntu/가상환경경로
socket=/home/ubuntu/프로젝트폴더명/프로젝트명/uwsgi.sock
chmod-socket=666 - 위의 내용을 작성해서 저장한다.
- 여기서 프로젝트폴더명은 git clone으로 받아왔을 때 폴더명이다.
- 여기서 프로젝트명은 manage.py가 속해있는 폴더명이다.
$ uwsgi --ini uwsgi.ini- uwsgi를 실행한다.
nginx 설정
$ sudo apt-get install nginx- nginx를 설치한다.
$ sudo vim /etc/nginx/nginx.conf- conf파일을 수정한다.
- 가장 윗줄에 있는 user를 ubuntu로 바꿔준다.
$ sudo vim /etc/nginx/sites-available/프로젝트명.confupstream daphne {
server localhost:8000;
}
server {
server_name 도메인명;
# HTTP requests
location / {
try_files $uri @proxy_to_app;
}
location @proxy_to_app {
include /etc/nginx/uwsgi_params;
uwsgi_pass unix:/home/ubuntu/폴더명/프로젝트명/uwsgi.sock;
}
# WebSocket requests
location /ws/ {
proxy_pass http://daphne;
proxy_http_version 1.1;
proxy_set_header Upgrade $http_upgrade;
proxy_set_header Connection "upgrade";
proxy_set_header Host $host;
proxy_set_header X-Real-IP $remote_addr;
proxy_set_header X-Forwarded-For $proxy_add_x_forwarded_for;
proxy_set_header X-Forwarded-Proto $scheme;
proxy_redirect off;
}
}- 여기에 위 코드를 작성하고 저장한다.
- 이제 웹소켓 요청이 들어오면 8000포트에서 실행중인 daphne(django channel)로 던져주게 된다.
sudo ln -s /etc/nginx/sites-available/프로젝트명 /etc/nginx/sites-enabled/
- sites-enabled에 심볼릭 마크를 생성한다.
$ sudo service nginx restart- nginx를 재시작한다.
- 잘못 작성한 부분이 있으면
nginx -t명령어로 확인해보자.
https 설정
$ sudo apt install snapd
$ sudo apt-get remove certbot
$ sudo snap install --classic certbot
$ sudo ln -s /snap/bin/certbot usr/bin/certbot
$ sudo certbot --nginx이 명령어를 입력하면 뭘 물어보는데, 도메인 이름을 입력하면 된다. (Y/N는 Y를 입력하자)
$ vim etc/nginx/sites-enabled/프로젝트명listen 443 ssl; # managed by Certbot 이런식으로 뭐가 생긴것을 확인할 수 있다.
$ sudo service nginx restart- nginx를 재시작하고 도메인주소로 접속하면, https로 접속되는 것을 확인할 수 있다.
daphne supervisor 설정
이제 프론트에서 http요청은 받아지지만, ws요청은 받아지지 않는다.
daphne를 supervisor로 관리해보자.
$ sudo apt install supervisor우선 supervisor를 설치하자.
$ vim /etc/supervisor/conf.d/channels.conf- conf파일을 통해 설정을 해줄 것이다.
[fcgi-program:asgi]

socket=tcp://localhost:8000
command=/home/ubuntu/가상환경경로/bin/daphne -u /run/daphne/daphne%(process_num)d.sock --fd 0 --access-log - --proxy-headers meong_signal.asgi:application
directory=/home/ubuntu/프로젝트폴더명/프로젝트명
numprocs=2
process_name=asgi%(process_num)d
autostart=true
autorestart=true
stderr_logfile=/var/log/daphne/daphne.err.log
stdout_logfile=/var/log/daphne/daphne.out.log
user=ubuntu.log
redirect_stderr=true- 위 내용을 자신의 프로젝트에 맞게 작성하고 저장해준다.
$ sudo mkdir /run/daphne/
$ sudo chown ubuntu.ubuntu /run/daphne/
$ sudo supervisorctl reread
$ sudo supervisorctl update- 명령어를 순서대로 입력하여 supervisor로 daphne를 관리한다.
$ sudo chmod 777 /run/daphne- daphne관련 권한 오류가 뜨면 위의 명령어를 입력해보자.
daphne 관련 로그 확인
$ sudo tail -f /var/log/daphne/daphne.out.log
$ sudo tail -f /var/log/daphne/daphne.err.log
$ sudo systemctl restart supervisor- 로그를 통해 오류를 확인 및 수정하고 재시작하자.
$ sudo tail -n 100 /var/log/supervisor/supervisord.log- supervisor 관련 로그도 확인할 수 있다.
이제 서버를 실행하면 http통신과 웹소켓 통신이 모두 가능하다!