0. 프로젝트 설명
- url에 네이버영화 링크를 넣고, 내 코멘트를 입력한다.
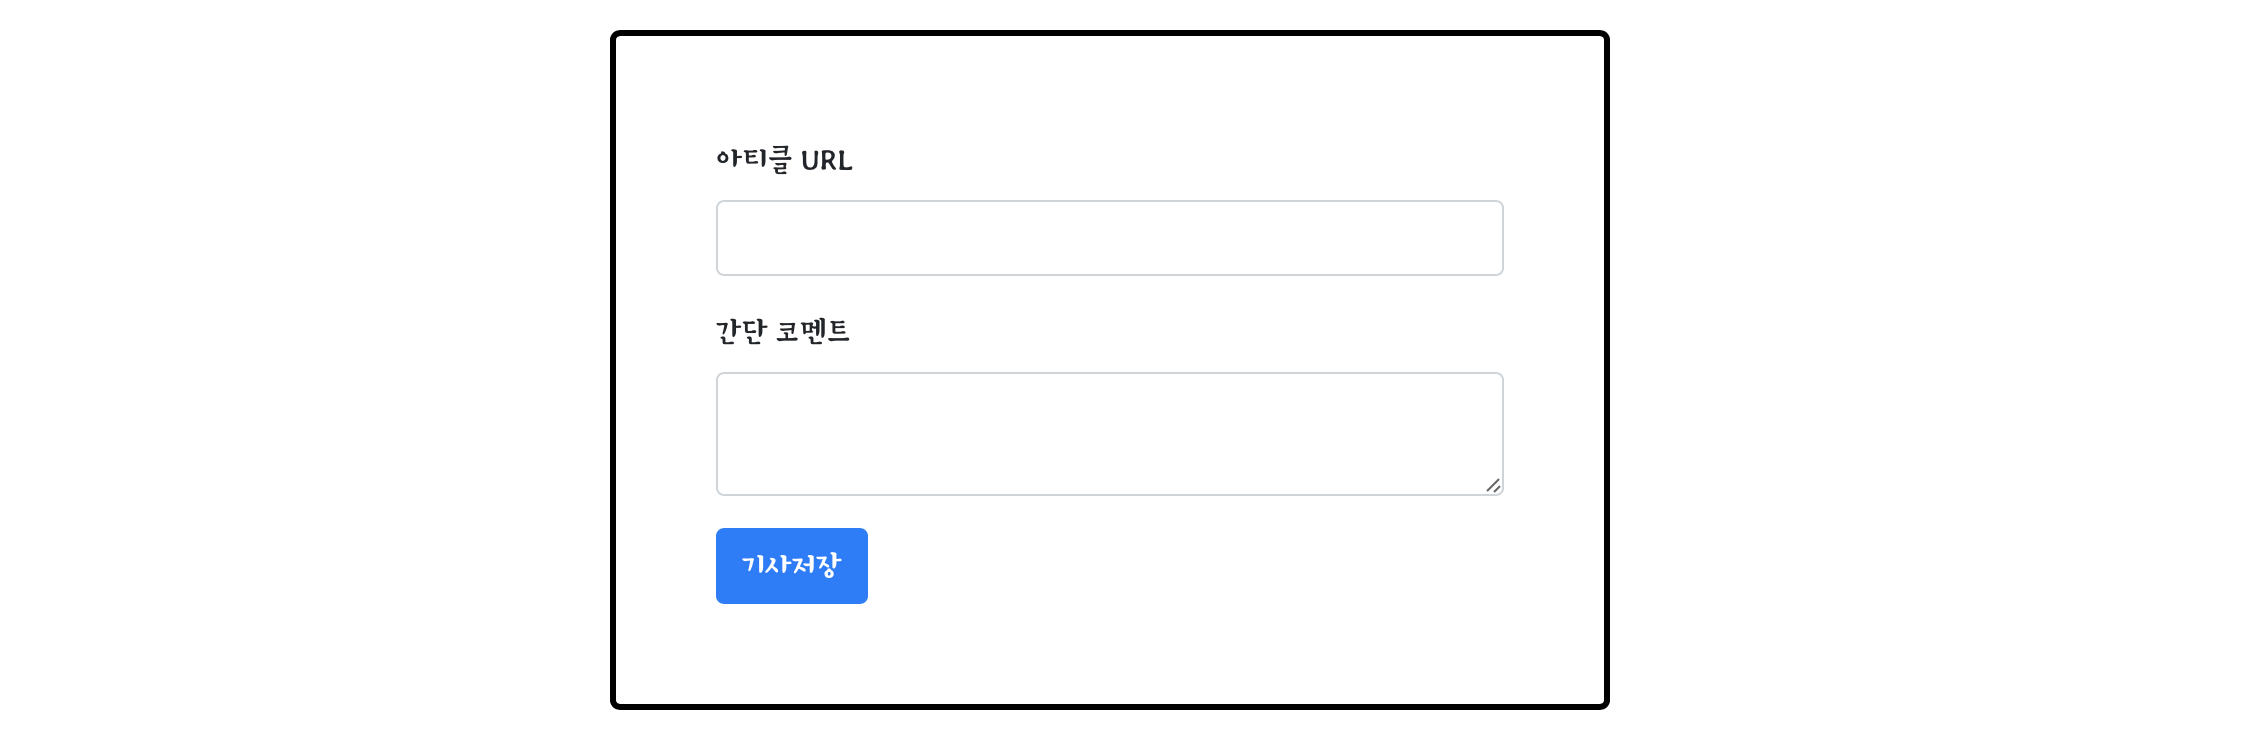
- 아래와 같은 카드가 만들어진다.
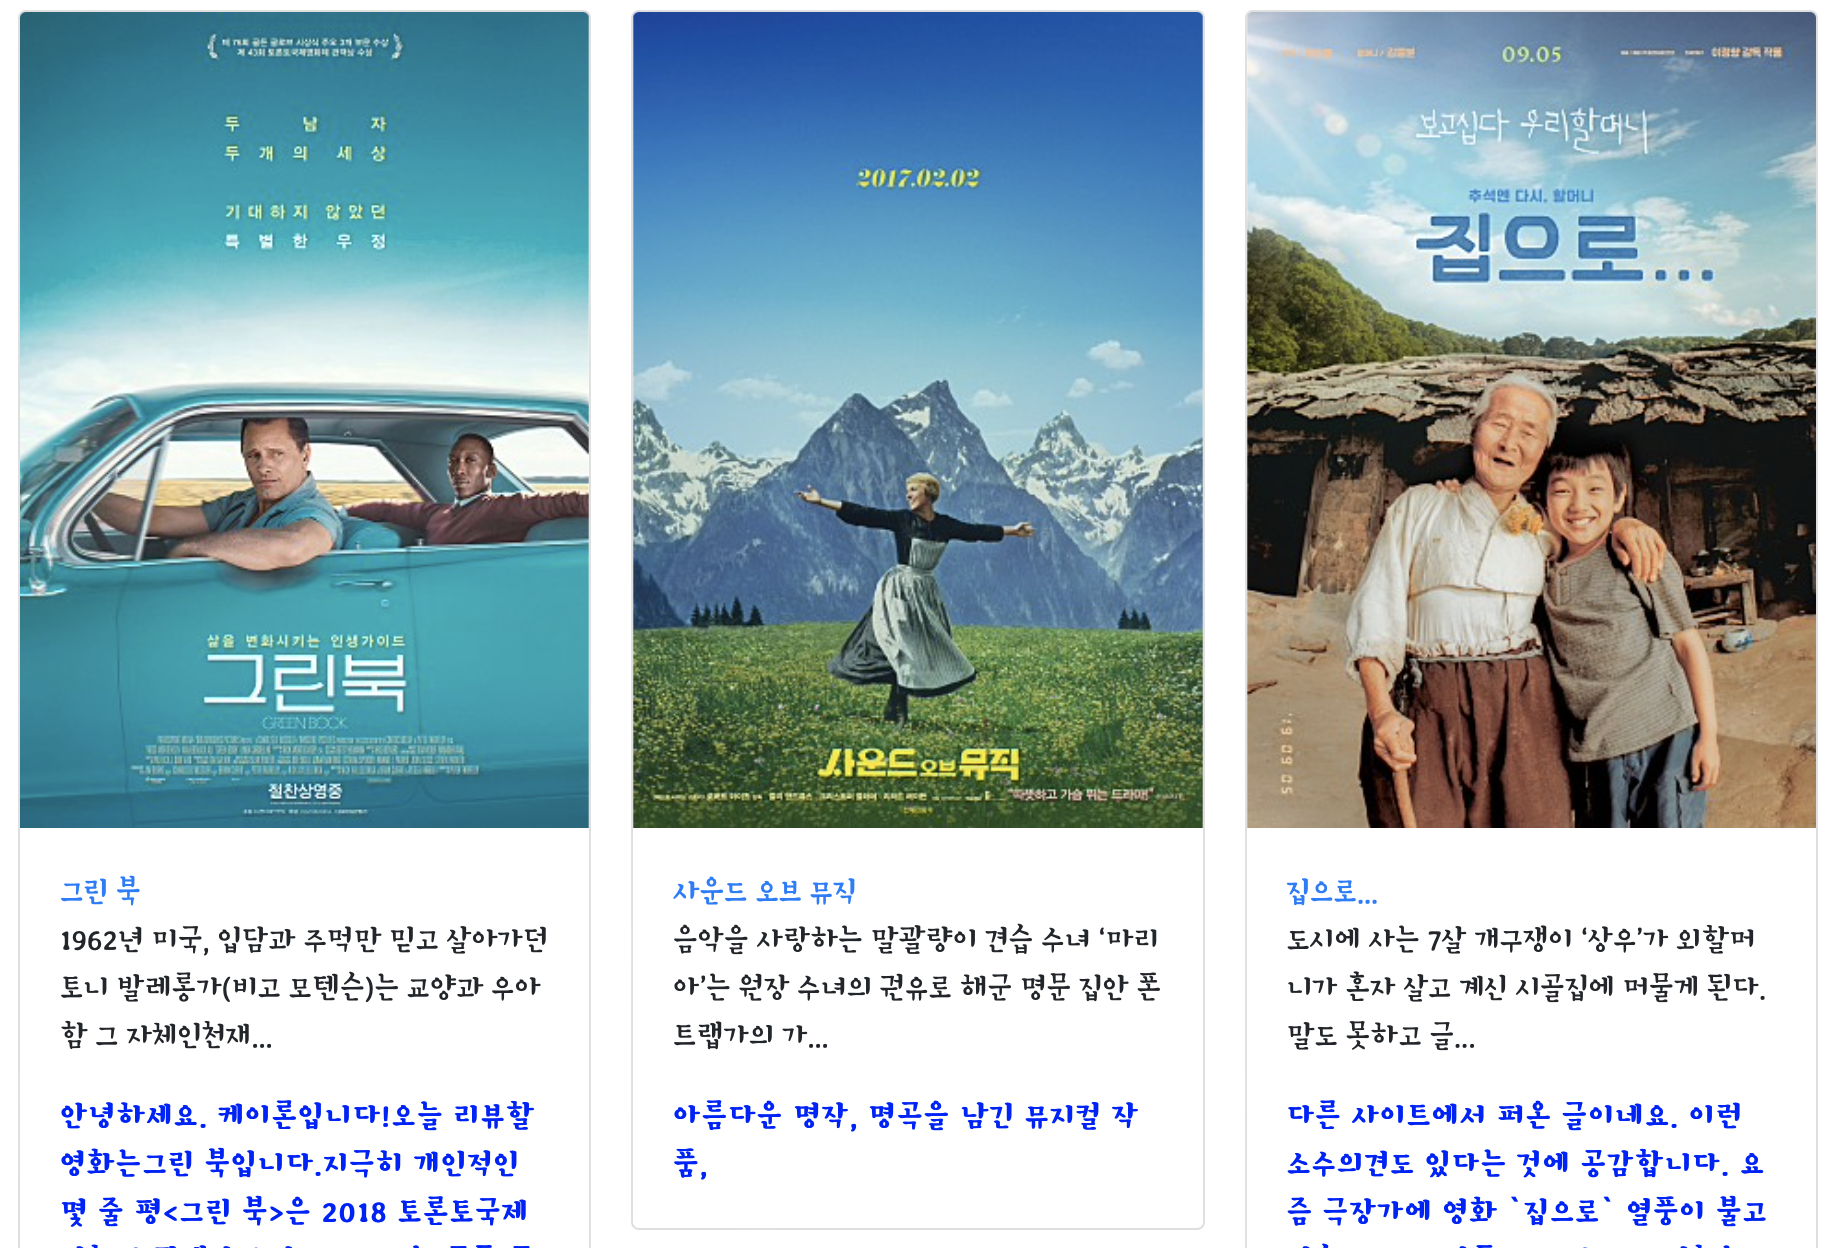
영화포스터,제목,간단한 설명,코멘트가 들어가며, 제목을 클릭하면 해당url로 연결된다.
[진행 순서]
- 프로젝트 세팅
- API 설계하기
- 조각기능 구현해보기
- 포스팅 API (POST) 만들기
- 리스팅 API (GET) 만들기
1. 프로젝트 세팅
1) 새 프로젝트 만들기
PyCharm - File - New project - 폴더 선택
2) flask 세팅하기
- 폴더 구조 만들기
static, templates 폴더 + app.py 만들기! - flask 설치하기
PyCharm - preferences - python interpreter
flask검색 후 install
3) app.py 뼈대
from flask import Flask, render_template, jsonify, request
app = Flask(__name__)

import requests
from bs4 import BeautifulSoup

from pymongo import MongoClient
client = MongoClient('localhost', 27017)
db = client.dbsparta

## HTML을 주는 부분
@app.route('/')
def home():
   return render_template('index.html')

@app.route('/memo', methods=['GET'])
def listing():
    sample_receive = request.args.get('sample_give')
    print(sample_receive)
    return jsonify({'msg':'GET 연결되었습니다!'})

## API 역할을 하는 부분
@app.route('/memo', methods=['POST'])
def saving():
    sample_receive = request.form['sample_give']
    print(sample_receive)
    return jsonify({'msg':'POST 연결되었습니다!'})

if __name__ == '__main__':
   app.run('0.0.0.0',port=5000,debug=True)
2. ⭐️ API 설계하기
Posting API
카드를 생성 (Creat)
1) 요청 정보
- 요청 URL =
/memo, 요청 방식 =POST - 요청 데이터 : URL(url_give), 코멘트(comment_give)
2) 서버가 제공할 기능
- URL의 meta태그 정보를 바탕으로 제목, 설명, 이미지URL 스크래핑
- (제목, 설명, URL, 이미지 URL, 코멘트) 정보를 모두 DB에 저장
3) 응답 데이터
- API가 정상적으로 작동하는 지 클라이언트에게 알려주기 위해서 성공 메세지 보내기
- (JSON형식) 'result' = 'success'
Listing API
저장된 카드를 보여주기 (Read)
1) 요청 정보
- 요청 URL =
/memo, 요청 방식 =GET - 요청 데이터 : 없음
2) 서버가 제공할 기능
- DB에 저장되어 있는 모든 (제목, 설명, URL, 이미지URL, 코멘트) 정보를 가져오기
3) 응답 데이터
- 아티클(기사)들의 정보 (제목, 설명, URL, 이미지URL, 코멘트) → 카드 만들어서 붙이기
- (JSON 형식) 'articles' : 아티클 정보
3. 조각기능 구현해보기
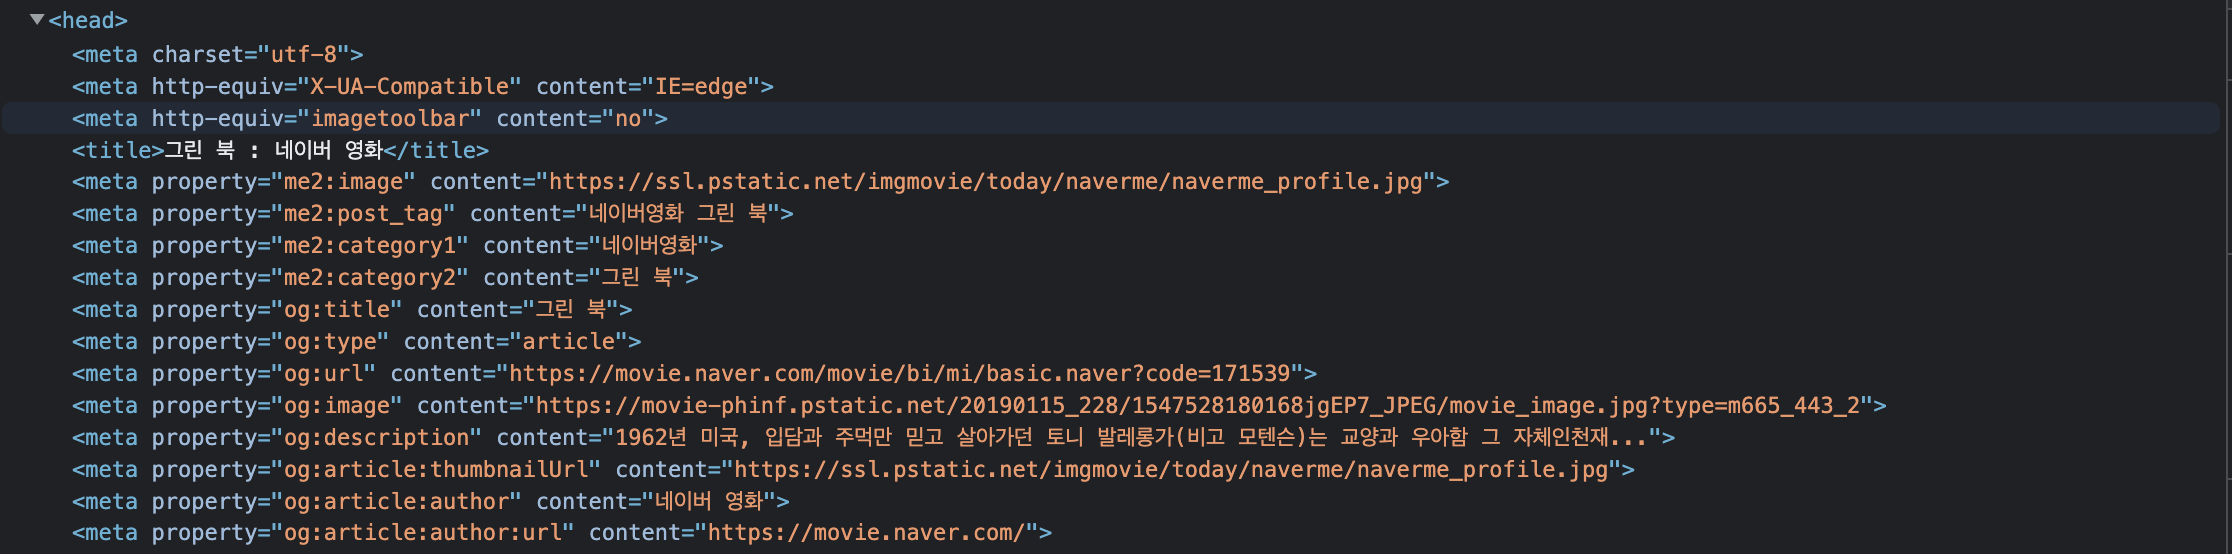
👉Meta tag
url에서 제목, 설명, URL, 이미지URL을 가져와보자.
→ url이 보여주는 페이지에서 meta태그에 있는 정보를 스크래핑하면 된다.
meta tag
HEAD 태그 사이 또는 뒤에 있어도 되지만, 반드시 BODY 태그 앞쪽에 위치해야 한다. 브라우저와 검색 엔진을 사용할 수 있도록 문서의 정보를 포함하고 있다.
👉scraping
- [크롤링 기본코드]
import requests
from bs4 import BeautifulSoup

url = 'https://movie.naver.com/movie/bi/mi/basic.nhn?code=171539'

headers = {'User-Agent' : 'Mozilla/5.0 (Windows NT 10.0; Win64; x64)AppleWebKit/537.36 (KHTML, like Gecko) Chrome/73.0.3683.86 Safari/537.36'}
data = requests.get(url,headers=headers)

soup = BeautifulSoup(data.text, 'html.parser')

# 여기에 코딩을 해서 meta tag를 먼저 가져와보겠습니다.- select_one을 이용해 원하는 meta 태그 가져오기
og_image = soup.select_one('meta[property="og:image"]')
og_title = soup.select_one('meta[property="og:title"]')
og_description = soup.select_one('meta[property="og:description"]')

print(og_image)
print(og_title)
print(og_description)- meta 태그의 content 가져오기
url_image = og_image['content']
url_title = og_title['content']
url_description = og_description['content']

print(url_image)
print(url_title)
print(url_description)
4. 포스팅 API (POST) 만들기
[서버 기본 POST 코드]
@app.route('/memo', methods=['POST'])
def post_articles():
		sample_receive = request.form['sample_give']
		print(sample_receive)
    return jsonify({'msg': 'POST 연결되었습니다!'})
[클라이언트 기본 POST 코드]
function postArticle() {
  $.ajax({
    type: "POST",
    url: "/memo",
    data: {sample_give:'샘플데이터'},
    success: function (response) { // 성공하면
      alert(response['msg']);
    }
  })
}
...
<button type="button" class="btn btn-primary" onclick="postArticle()">기사저장</button>
1) 클라이언트와 서버 연결 확인하기
동작 테스트
'기사저장' 버튼을 클릭했을 때, 'POST 연결되었습니다!' alert창이 뜨면
클라이언트 코드와 서버 코드가 연결 되어있는 것입니다.
2) 서버부터 만들기
API 는 약속이라고 했습니다. 위에 미리 설계해 둔 API 정보를 보고 만들어보죠!
메모를 작성하기 위해 서버가 전달받아야하는 정보는 다음 두 가지 입니다.
- URL(url_give)
- 코멘트(comment_give)
그리고 URL를 meta tag를 스크래핑해서 아래 데이터를 저장(Create)합니다.
- URL(url)
- 제목(title)
- 설명(desc)
- 이미지URL(image)
- 코멘트(comment)
따라서 서버 로직은 다음 단계로 구성되어야 합니다.
1. 클라이언트로부터 데이터를 받기.
2. meta tag를 스크래핑하기
3. mongoDB에 데이터를 넣기
@app.route('/memo', methods=['POST'])
def saving():
    url_receive = request.form['url_give']
    comment_receive = request.form['comment_give']

    headers = {
        'User-Agent': 'Mozilla/5.0 (Windows NT 10.0; Win64; x64)AppleWebKit/537.36 (KHTML, like Gecko) Chrome/73.0.3683.86 Safari/537.36'}
    data = requests.get(url_receive, headers=headers)

    soup = BeautifulSoup(data.text, 'html.parser')

    title = soup.select_one('meta[property="og:title"]')['content']
    image = soup.select_one('meta[property="og:image"]')['content']
    desc = soup.select_one('meta[property="og:description"]')['content']

    doc = {
        'title':title,
        'image':image,
        'desc':desc,
        'url':url_receive,
        'comment':comment_receive
    }

    db.articles.insert_one(doc)

    return jsonify({'msg':'저장이 완료되었습니다!'})
3) 클라이언트 만들기
API 는 약속이라고 했습니다. API를 사용할 클라이언트를 만들어보죠!
메모를 작성하기 위해 서버에게 주어야하는 정보는 다음 두 가지 입니다.
- URL (url_give) : meta tag를 가져올 url
- comment (comment_give) : 유저가 입력한 코멘트
따라서 클라이언트 로직은 다음 단계로 구성되어야 합니다.
1. 유저가 입력한 데이터를 #post-url과 #post-comment에서 가져오기
2. /memo에 POST 방식으로 메모 생성 요청하기
3. 성공 시 페이지 새로고침하기
function postArticle() {
      let url = $('#post-url').val()
      let comment = $('#post-comment').val()

      $.ajax({
          type: "POST",
          url: "/memo",
          data: {url_give:url, comment_give:comment},
          success: function (response) { // 성공하면
              alert(response["msg"]);
              window.location.reload()
          }
      })
  }
4) 완성하기
-
URL (네이버 영화)을 입력하고 기사저장을 눌렀을 때, '포스팅 성공!' alert창이 뜨는지 확인합니다.
(우리는 스크래핑을 사용해 정보를 저장하고 있으니까, meta tag 가 있는 사이트만 저장이 제대로 되겠죠?) -
Robo3T에 해당 DB가 저장되어 있나 확인하기!
5. 리스팅 API (GET) 만들기
[서버 기본 GET 코드]
@app.route('/memo', methods=['GET'])
def read_articles():
    # 1. 모든 document 찾기 & _id 값은 출력에서 제외하기
    # 2. articles라는 키 값으로 영화정보 내려주기
    return jsonify({'result':'success', 'msg':'GET 연결되었습니다!'})
[클라이언트 기본 GET 코드]
function showArticles() {
  $.ajax({
    type: "GET",
    url: "/memo",
    data: {},
    success: function (response) {
      if (response["result"] == "success") {
        alert(response["msg"]);
      }
    }
  })
}
1) 클라이언트와 서버 연결 확인하기
동작 테스트
새로고침했을 때, 'GET 연결되었습니다!' alert창이 뜨면
클라이언트 코드와 서버 코드가 연결 되어있는 것입니다.
2) 서버부터 만들기
API 는 약속이라고 했습니다. 위에 미리 설계해 둔 API 정보를 보고 만들어보죠!
메모를 보여주기 위해 서버가 추가로 전달받아야하는 정보는 없습니다. 조건없이 모든 메모를 보여줄 꺼니까요!
따라서 서버 로직은 다음 단계로 구성되어야 합니다.
1. mongoDB에서 _id 값을 제외한 모든 데이터 조회해오기 (Read)
2. articles라는 키 값으로 articles 정보 보내주기
@app.route('/memo', methods=['GET'])
def listing():
    articles = list(db.articles.find({}, {'_id': False}))
    return jsonify({'all_articles':articles})
3) 클라이언트 만들기
API 는 약속이라고 했습니다. API를 사용할 클라이언트를 만들어보죠!
메모를 작성하기 위해 서버에게 주어야하는 정보는 없습니다. 조건없이 모든 메모를 가져오기 때문입니다.
따라서 클라이언트 로직은 다음 단계로 구성되어야 합니다.
1. /memo에 GET 방식으로 메모 정보 요청하고 articles로 메모 정보 받기
2. , makeCard 함수를 이용해서 카드 HTML 붙이기
(→ 2주차 Ajax 연습과 같습니다!)
function showArticles() {
    $.ajax({
        type: "GET",
        url: "/memo",
        data: {},
        success: function (response) {
            let articles = response['all_articles']
            for (let i = 0; i < articles.length; i++) {
                let title = articles[i]['title']
                let image = articles[i]['image']
                let url = articles[i]['url']
                let desc = articles[i]['desc']
                let comment = articles[i]['comment']

                let temp_html = `<div class="card">
                                    <img class="card-img-top"
                                         src="${image}"
                                         alt="Card image cap">
                                    <div class="card-body">
                                        <a target="_blank" href="${url}" class="card-title">${title}</a>
                                        <p class="card-text">${desc}</p>
                                        <p class="card-text comment">${comment}</p>
                                    </div>
                                </div>`
                $('#cards-box').append(temp_html)
            }
        }
    })
}
4) 완성하기
동작 테스트
새로고침했을 때, 앞 포스팅 API를 만들고 테스트했던 메모가 보이면 성공입니다.
✋ 어려웠던 점!
1. 새로고침을 안 했다 : 오류가 계속나고 아무리 고쳐도 작동을 안 하길래 고민했다. 그런데 페이지 새로고침을 안 한 것이 문제였다. 파이참 extension처럼 자동 새로고침이 되지 않으니 코드 수정 후에는 브라우저에서 새로고침을 하고 테스트를 해보자.
2. Robo3T 확인할 때 폴더를 잘 보자 : 이 프로젝트는 아니고 숙제할 때 시간을 잡아먹은 부분이다. post를 했는데 mongoDB에 저장이 안 되어서 한참 고민했는데 알고보니 다른 폴더에 저장이 되고 있었다. 뼈대를 내가 입력을 안해서 생긴 문제이다. 아래 그림처럼db = client.dbsparta에서dbsparta가 폴더 이름이었다.