Features to implement
- 펜 ✅
- 크기 조절 ✅
- 색 변경 ✅
- 지우개
- 획 지우개
- 픽셀 지우개 ✅
- 크기 조절 ✅
- 모두 지우기 ✅
- 실행 취소 ✅
- 실행 복귀 ✅
#2023.11.05
디자인
- Horizontal Stack View
- [Add New Constraints] -> 위:0, 왼쪽:0, 오른쪽:0, 아래:0
- ToolBar
- [Add New Constraints] -> [Height] = 50
- Vertical Stack View
- [Add View Constraints] -> [Height] = 75
- [Attributes inspector] -> [Distribution] = Fill Equally
- ToolBar
- [Add New Constraints] -> [Height] = 34
업데이트한 기능
- 펜으로 그리기
- 픽셀 지우개
- ColorWell 을 사용해 펜 색상 변경하기
- 펜 혹은 지우개의 선택 상태 나타내기
- 실행 취소
- 실행 복귀
- 이미지 뷰 공간을 벗어난 위치에서 터치 시작 -> 펜 동작 X
ColorWell
- 아웃렛 변수를 추가하여 사용한다.
- addTarget 메소드를 통해 색상이 변경되었을 때의 동작을 설정한다.
override func viewDidLoad() {
    super.viewDidLoad()
    // Do any additional setup after loading the view.
    ColorWell.addTarget(self, action: #selector(ViewController.colorWellDidChange(_:)), for: .valueChanged)
}

@objc func colorWellDidChange(_ sender: UIColorWell) {
    lineColor = ColorWell.selectedColor!.cgColor
}
실행 취소, 실행 복귀
- Image View를 원소로 하는 배열을 사용한다.
- 현재 뷰의 위치를 나타내는 변수를 사용한다.
- 버튼을 눌렀을 때의 상황에 따라 버튼의 활성화 상태를 변경한다.
- 그리기 동작이 끝났을 때 배열에 이미지 뷰를 추가한다.
@IBAction func btnUndo(_ sender: UIBarButtonItem) {
    now -= 1
    Redo.isEnabled = true
    if now >= 0 { imgView.image = history[now] }
    else {
        imgView.image = nil
        Undo.isEnabled = false
    }
}
@IBAction func btnRedo(_ sender: UIBarButtonItem) {
    now += 1
    Undo.isEnabled = true
    imgView.image = history[now]
    if now + 1 == history.count { Redo.isEnabled = false }
}
override func touchesEnded(_ touches: Set<UITouch>, with event: UIEvent?) {
...
if now + 1 == history.count {
history.append(imgView.image!)
}
else {
history[now + 1] = imgView.image!
history.removeSubrange((now + 2)...)
Redo.isEnabled = false
}
now += 1
Undo.isEnabled = true
}터치 무시하기
- Image View 외의 위치에서 터치가 시작되면, 그리기 동작이 실행되지 않는다.
- 터치가 시작되었을 때의 좌표를 기억해두고, touchesMoved 와 touchesEnded 에서 조건 확인을 한 후에 처리를 한다.
- firstPoint 를 얻을 때 기준이 Image View 이기 때문에, 0과 Image View 의 높이를 기준으로 범위를 확인해야 한다.
override func touchesBegan(_ touches: Set<UITouch>, with event: UIEvent?) {
    let touch = touches.first! as UITouch
    firstPoint = touch.location(in: imgView)
}
override func touchesMoved(_ touches: Set<UITouch>, with event: UIEvent?) {
    if firstPoint.y <= 0 || firstPoint.y >= imgView.frame.height { return }
	...
}
override func touchesEnded(_ touches: Set<UITouch>, with event: UIEvent?) {
    if firstPoint.y <= 0 || firstPoint.y >= imgView.frame.height { return }
    ...
}
#2023.11.06
업데이트한 기능
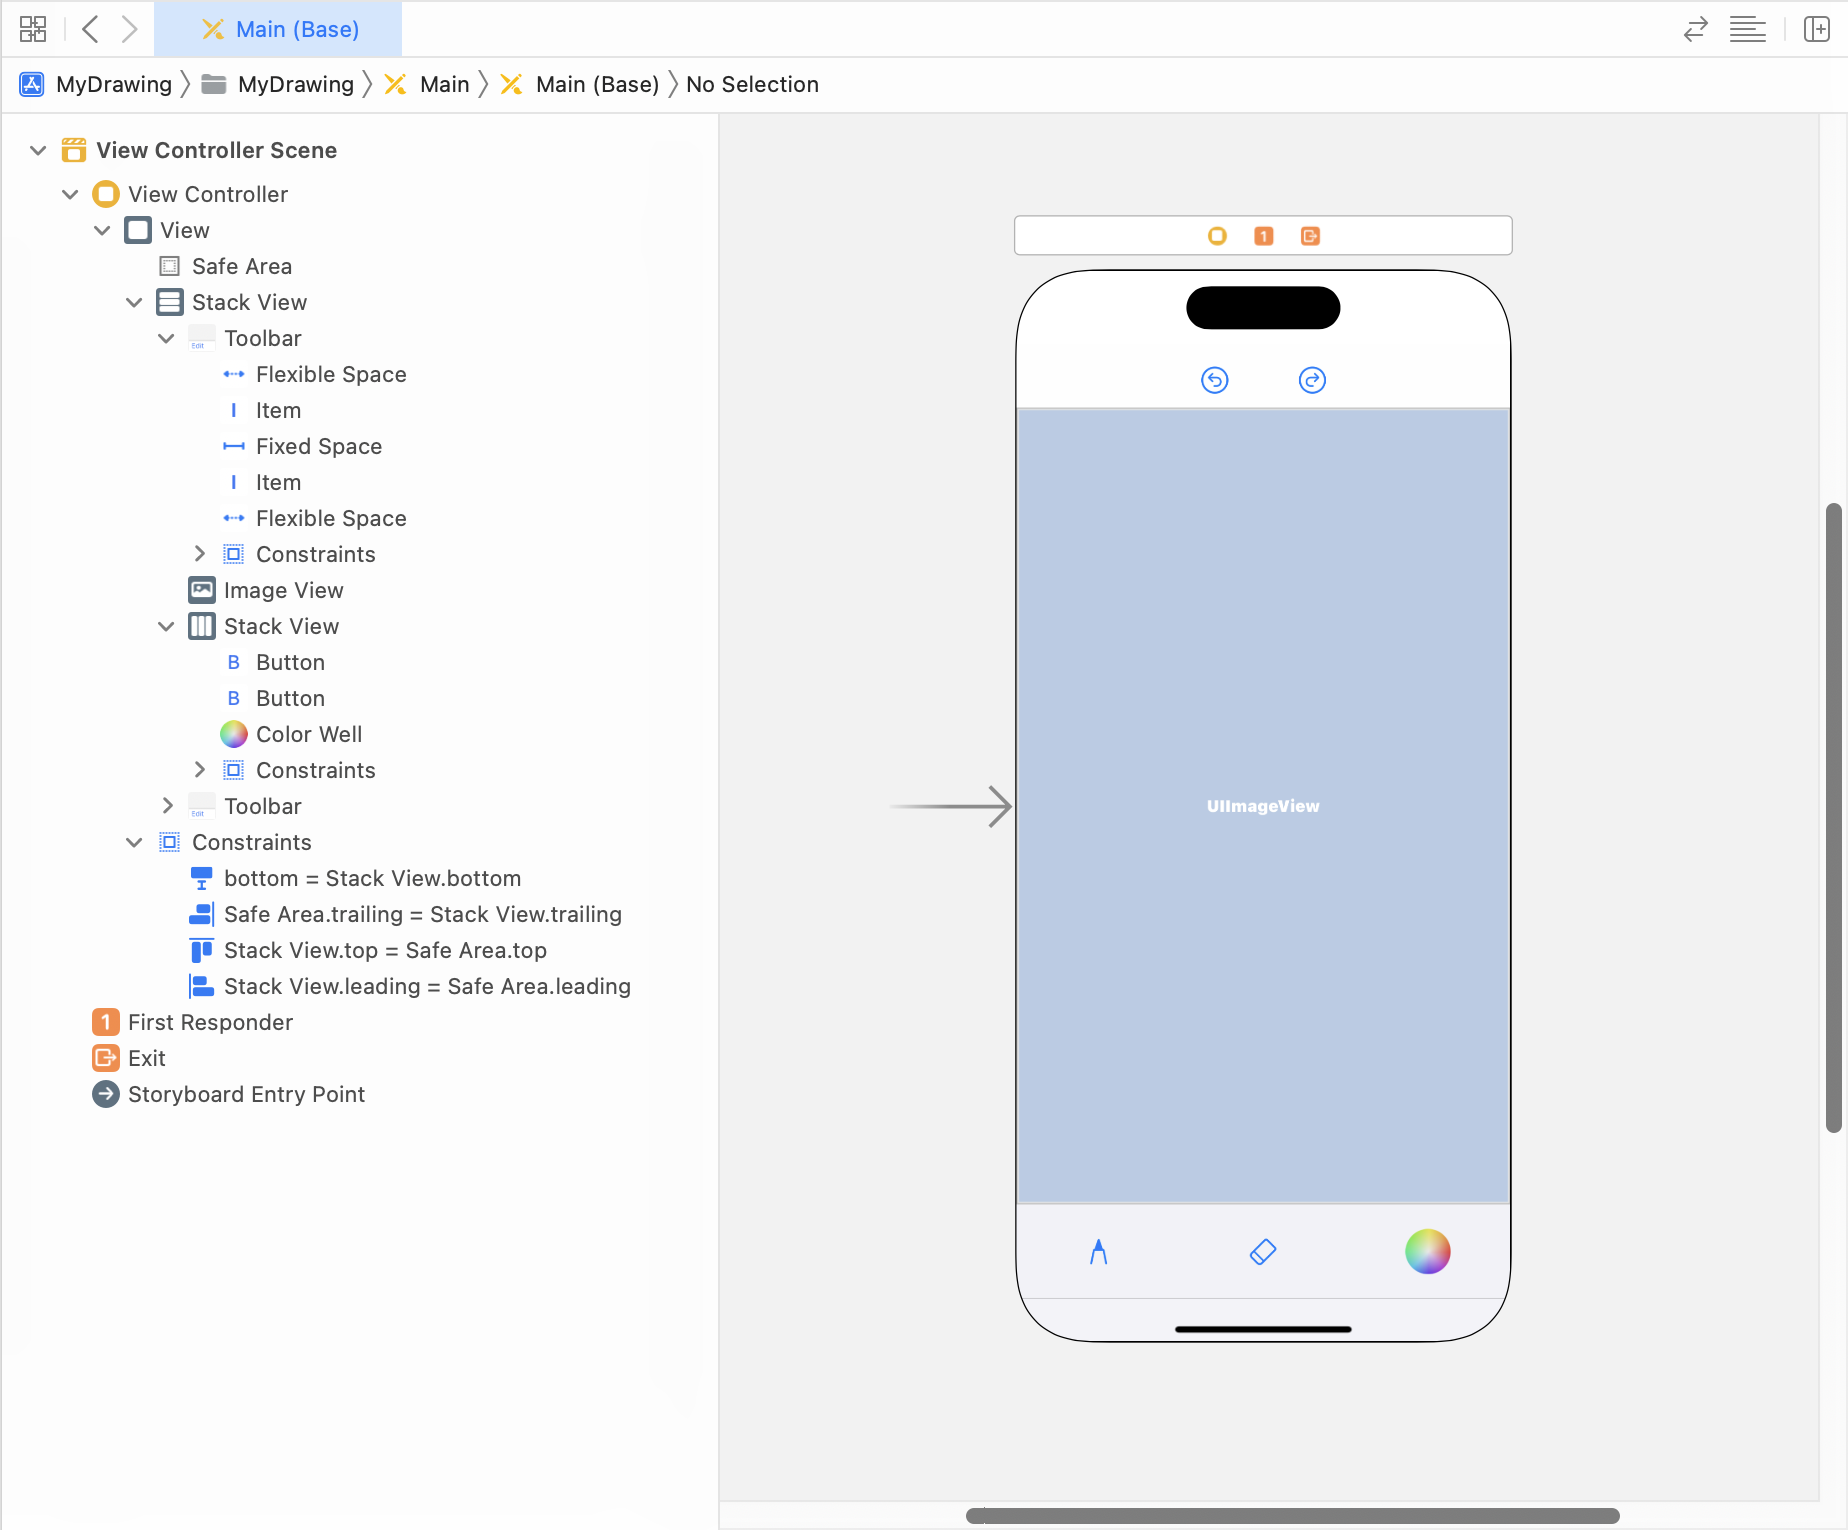
- 펜 크기 조절
- 펜 버튼이 선택된 상태에서 한 번 더 탭하면, 펜 크기를 선택할 수 있는 popover 가 나타난다.
- popover 에서 현재 펜 크기의 상태를 알 수 있다.
- 픽셀 지우개 크기 조절
- 지우개 버튼이 선택된 상태에서 한 번 더 탭하면, 픽셀 지우개 크기를 선택할 수 있는 popover 가 나타난다.
- popover 에서 현재 지우개 크기의 상태를 알 수 있다.
- 모두 지우기
Popover
- Popover 를 위한 클래스와 XIB 파일 생성하기
- XIB 파일 구성하기
- 기존의 뷰 컨트롤러에 Popover 를 화면에 나타내는 코드 작성하기
- 아래의 코드를 기존의 뷰 컨트롤러에 추가하기
- 해당 코드를 작성하지 않으면 아이폰에서 실행 시, Popover 가 아닌 다른 형태로 뷰가 나타나게 된다.
extension UIViewController: UIPopoverPresentationControllerDelegate {
    public func adaptivePresentationStyle(for controller: UIPresentationController, traitCollection: UITraitCollection) -> UIModalPresentationStyle {
        return .none
    }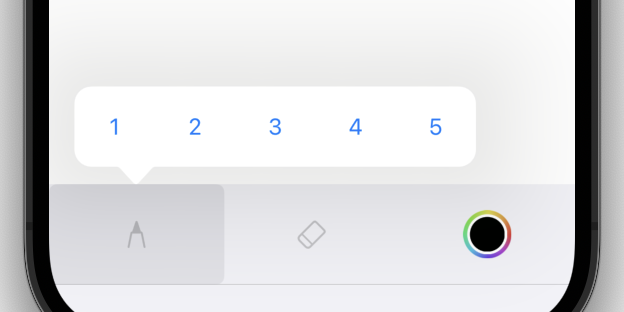
}Pen Popover Layout
- View
- [Attributes inspector] -> [Size] = Freeform
- Vertical Stack View
- [Attributes inspector] -> [Distribution] = Fill Equally
- [Add New Constraints] -> 위(Superview):0, 왼쪽:0, 오른쪽:0, 아래:0
- Button
- 1:1 Ratio
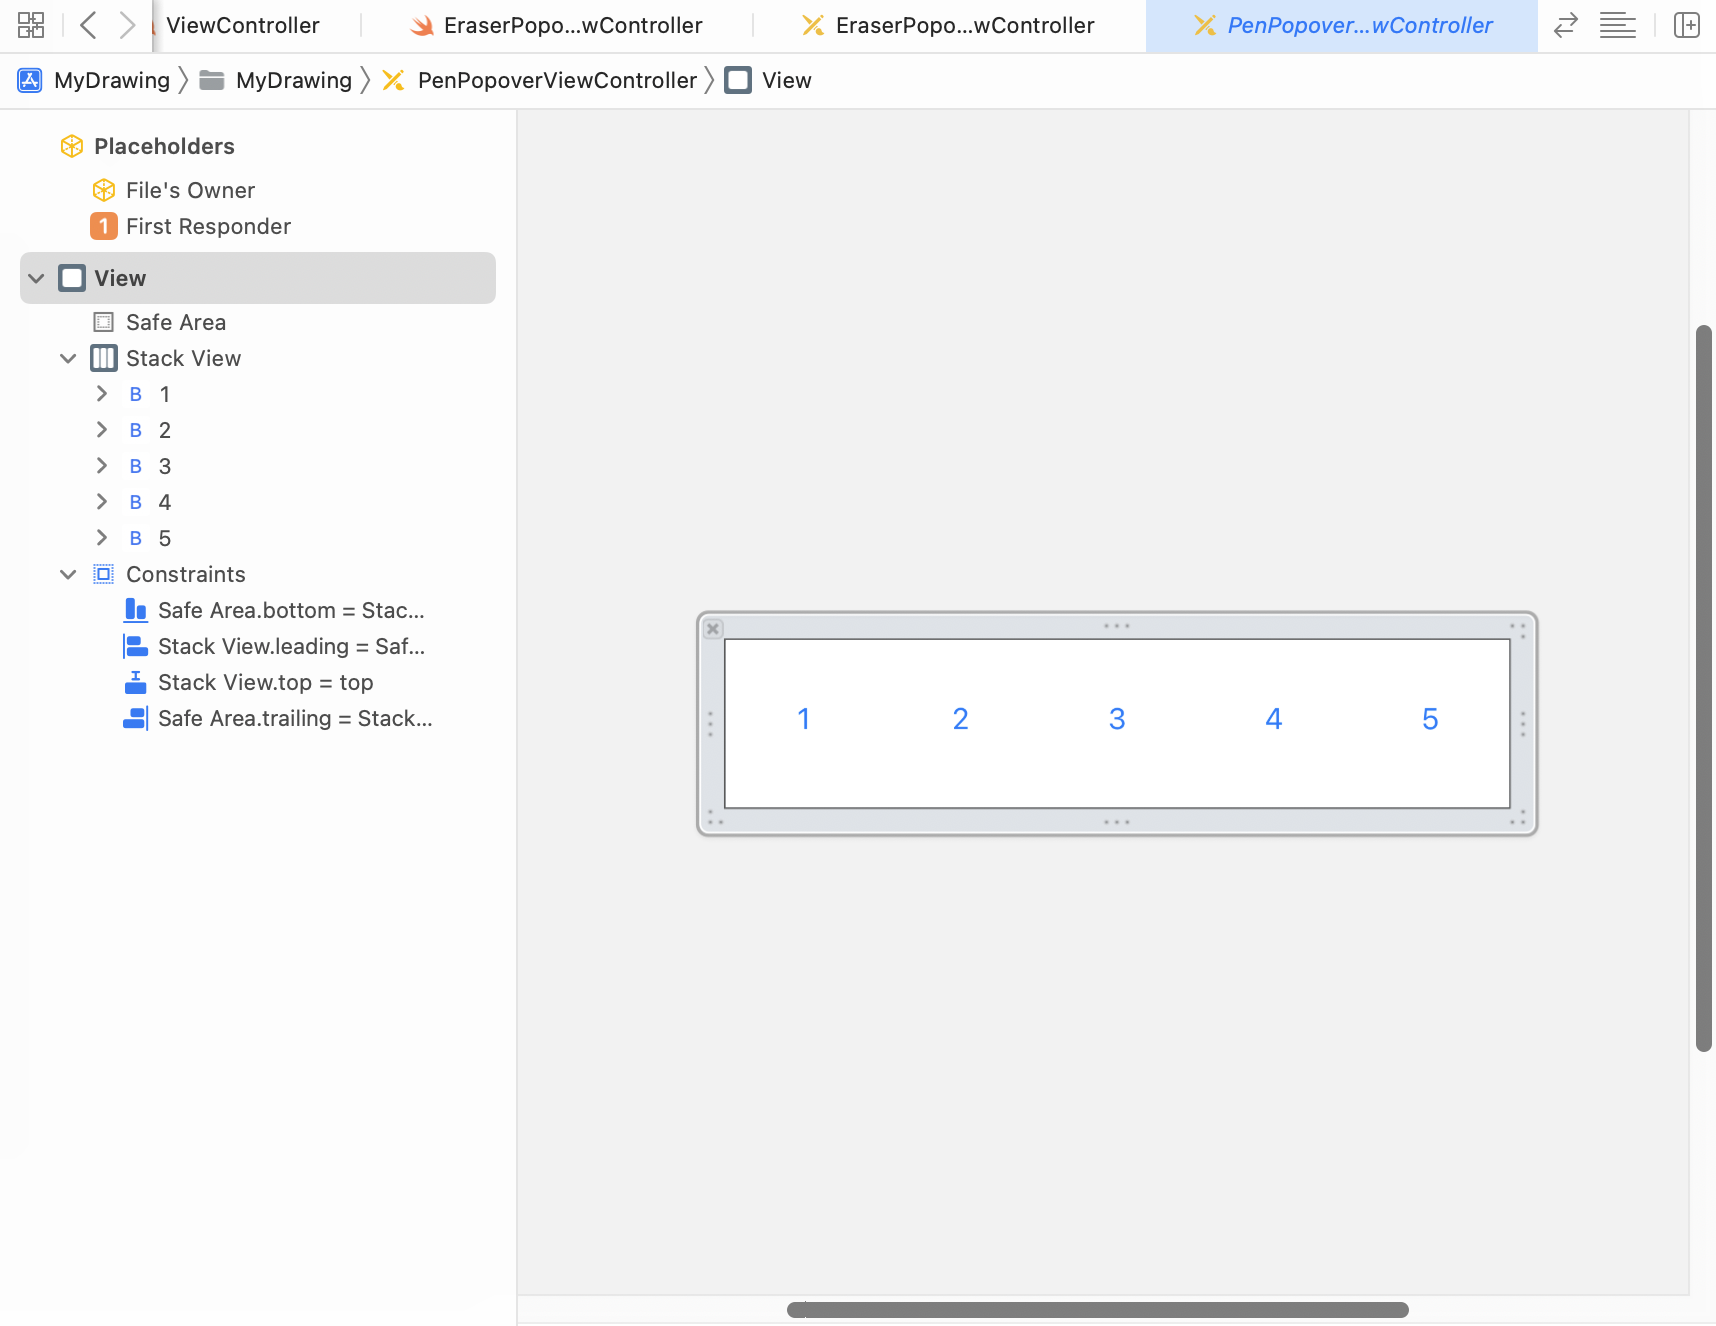
Eraser Popover Layout
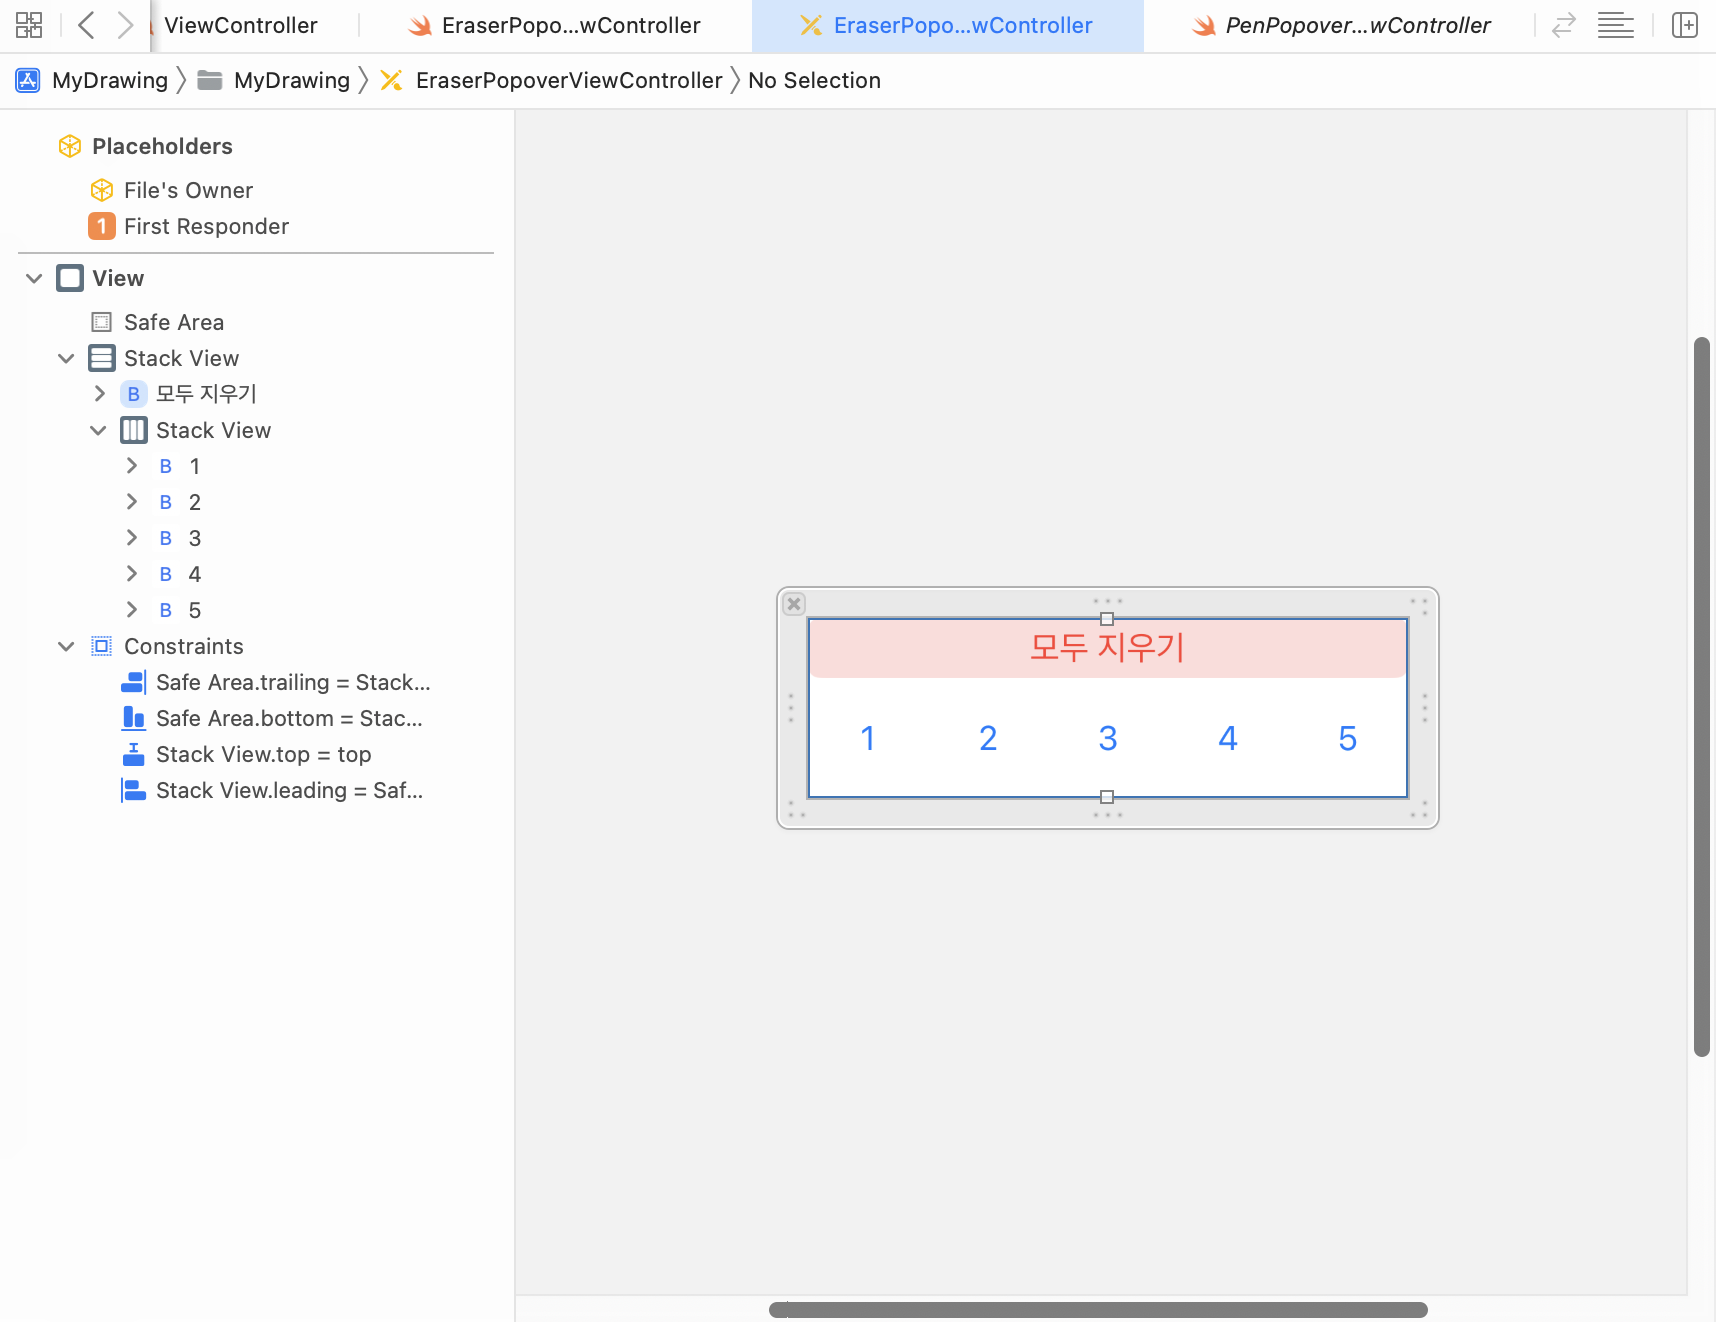
- View
- [Attributes inspector] -> [Size] = Freeform
- Horizontal Stack View
- [Add New Constraints] -> 위(Superview):0, 왼쪽:0, 오른쪽:0, 아래:0
- [모두 지우기] Button
- 10:1 Ratio
- Vertical Stack View
- [Attributes inspector] -> [Distribution] = Fill Equally
- Button
- 1:1 Ratio
Popover 의 버튼 구현
- Popover 는 PopoverViewController의 객체로 생성된다.
- Popover 내의 버튼으로 ViewController 의 변수값을 변경하려면 콜백을 사용해야한다.
- PopoverViewController 에서 콜백을 선언하고, 버튼을 터치하면 콜백을 호출한다.
- ViewController 에서는 콜백을 정의한다.
class PopoverViewController: UIViewController {
	var act: (() -> Void)?
    @IBAction func button(_ sender: UIButton) {
    	act?()
    }
}

class ViewController: UIViewController {
	let PVC = PopoverViewController()
    PVC.act = { [weak self] in ... }
}
#2023.11.08
개선 사항
- 펜으로 그릴 때, 선 매끄럽게 하기
- 기존에는 터치 경로를 addLine() 을 통해 추가하는 방식이었는데, 이렇게 하면 연속적으로 곡선을 그릴 때 직선 모양으로 뚝 뚝 끊기는 현상이 발생한다.
- 사용자의 터치 이동 속도를 touchesMoved() 메소드 호출 속도가 못 따라오는 걸까?
- 그래서 터치의 마지막 지점과 현재 지점의 중간 지점을 계산하여 addQuadCurve() 메소드를 사용했다.
- 훨씬 선이 부드러워졌다.
override func touchesMoved(_ touches: Set<UITouch>, with event: UIEvent?) {
	...
	let currPoint = touch.location(in: imgView)
	let midPoint = midPoint(lastPoint, currPoint)
	path?.addQuadCurve(to: midPoint, controlPoint: lastPoint)
    ...
}

func midPoint(_ p1:CGPoint, _ p2:CGPoint) -> CGPoint {
    let x = (p1.x + p2.x) / 2
    let y = (p1.y + p2.y) / 2
    return CGPoint(x: x, y: y)
}수정할 부분
- 아무 것도 지우지 않았을 때 history 에 이력 추가하지 않기
- 대상 지우개 추가
- 디바이스 크기에 맞춰 객체 크기 조절하기

언젠간 iOS 개발자가 되겠지
3개의 댓글

2025년 4월 18일
I recently worked with Branex for iOS app development, and I'm thoroughly impressed with their expertise in mobile application development. For anyone needing professional iOS development with a collaborative approach, Branex delivers exceptional results!
https://branex.com/mobile-application-development/
답글 달기
팝오버였구나 포포버인줄 알았는데