이번 글은 바보개발님의 글의 참고해 작성됐습니다. ✨
이번 글은 Spring Boot App에 Authority Based Authorization을 적용하는 방법을 알아보도록 한다.
(이전에 생성한 Spring Boot App은 여기에서 확인할 수 있다.)
1. Authority Based Authorization

authority based authorization을 사용하면, role based 보다 세분화하여 사용자들의 접근을 제한할 수 있다.
(실제로 app을 운영할때에는 대부분 authority base로 authorization을 수행한다고 한다.)
authorities와 role의 자세한 개념은 여기에서 확인할 수 있다.
1-1) 전체 개념
SecurityConfiguration을 아래와 같이 변경한다.
SecurityConfiguration
@Configuration
@EnableWebSecurity
public class SecurityConfiguration extends WebSecurityConfigurerAdapter {

    @Override
    protected void configure(AuthenticationManagerBuilder auth) throws Exception {
        auth
                .inMemoryAuthentication()
                .withUser("admin")
                .password(passwordEncoder().encode("admin123"))
                .roles("ADMIN").authorities("ACCESS_TEST1", "ACCESS_TEST2")
                .and()
                .withUser("user")
                .password(passwordEncoder().encode("user123"))
                .roles("USER")
                .and()
                .withUser("manager")
                .password(passwordEncoder().encode("manager123"))
                .roles("MANAGER").authorities("ACCESS_TEST1");

    }

    @Override
    protected void configure(HttpSecurity http) throws Exception {
        http
                .authorizeRequests()
                //.anyRequest().authenticated()
                .antMatchers("/index.html").permitAll()
                .antMatchers("/profile/**").authenticated()
                .antMatchers("/admin/**").hasRole("ADMIN")
                .antMatchers("/management/**").hasAnyRole("ADMIN","MANAGER")
                .antMatchers("/api/public/test1").hasAuthority("ACCESS_TEST1")
                .antMatchers("/api/public/test2").hasAuthority("ACCESS_TEST2")
                .and()
                .httpBasic();
    }

    @Bean
    PasswordEncoder passwordEncoder(){
        return new BCryptPasswordEncoder();
    }
}
이전글(Role based authorization)과 달라진 부분을 보자면
1-2) AuthenticationManagerBuilde
configure(AuthenticationManagerBuilder auth)
@Override
protected void configure(AuthenticationManagerBuilder auth) throws Exception {
        auth
                .inMemoryAuthentication()
                .withUser("admin")
                .password(passwordEncoder().encode("admin123"))
                .roles("ADMIN").authorities("ACCESS_TEST1", "ACCESS_TEST2")
                .and()
                .withUser("user")
                .password(passwordEncoder().encode("user123"))
                .roles("USER")
                .and()
                .withUser("manager")
                .password(passwordEncoder().encode("manager123"))
                .roles("MANAGER").authorities("ACCESS_TEST1");

}
• authorities( ) : 각 ROLE에 세부 authority를 지정합니다.
1-3) HttpSecurity
configure(HttpSecurity http)
@Override
protected void configure(HttpSecurity http) throws Exception {
        http
                .authorizeRequests()
                //.anyRequest().authenticated()
                .antMatchers("/index.html").permitAll()
                .antMatchers("/profile/**").authenticated()
                .antMatchers("/admin/**").hasRole("ADMIN")
                .antMatchers("/management/**").hasAnyRole("ADMIN","MANAGER")
                .antMatchers("/api/public/test1").hasAuthority("ACCESS_TEST1")
                .antMatchers("/api/public/test2").hasAuthority("ACCESS_TEST2")
                .and()
                .httpBasic();
}
• hasAuthority( ) : 해당 URL에는 명시된 authority를 소유한 사용자만 접근할 수 있다.
2. 실행화면

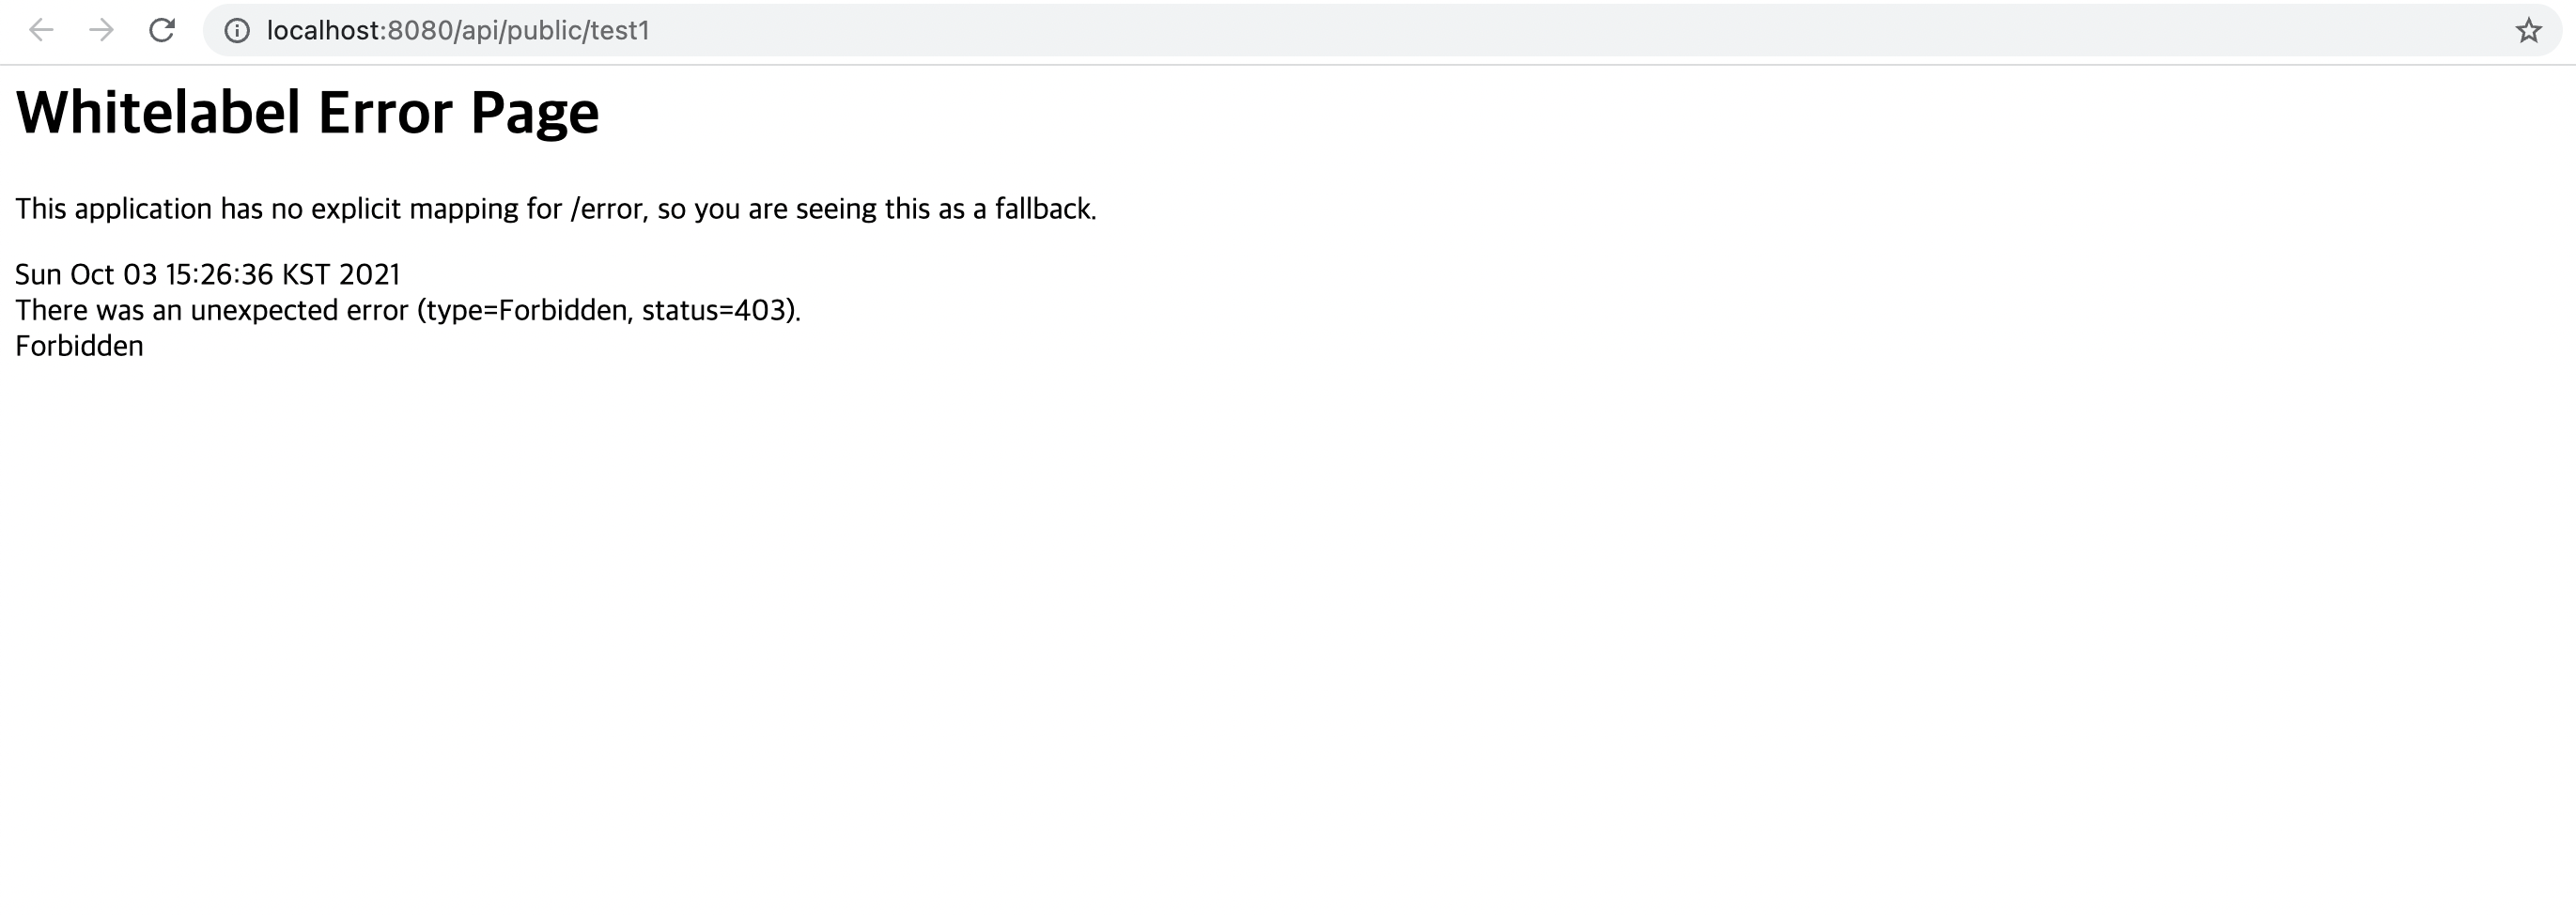
localhost:8080/api/public/test1에 사용권한이 없는 user로 로그인할 경우 위와 같은 에러페이지가 뜨면서 접근할 수 없다는 화면이 나온다.

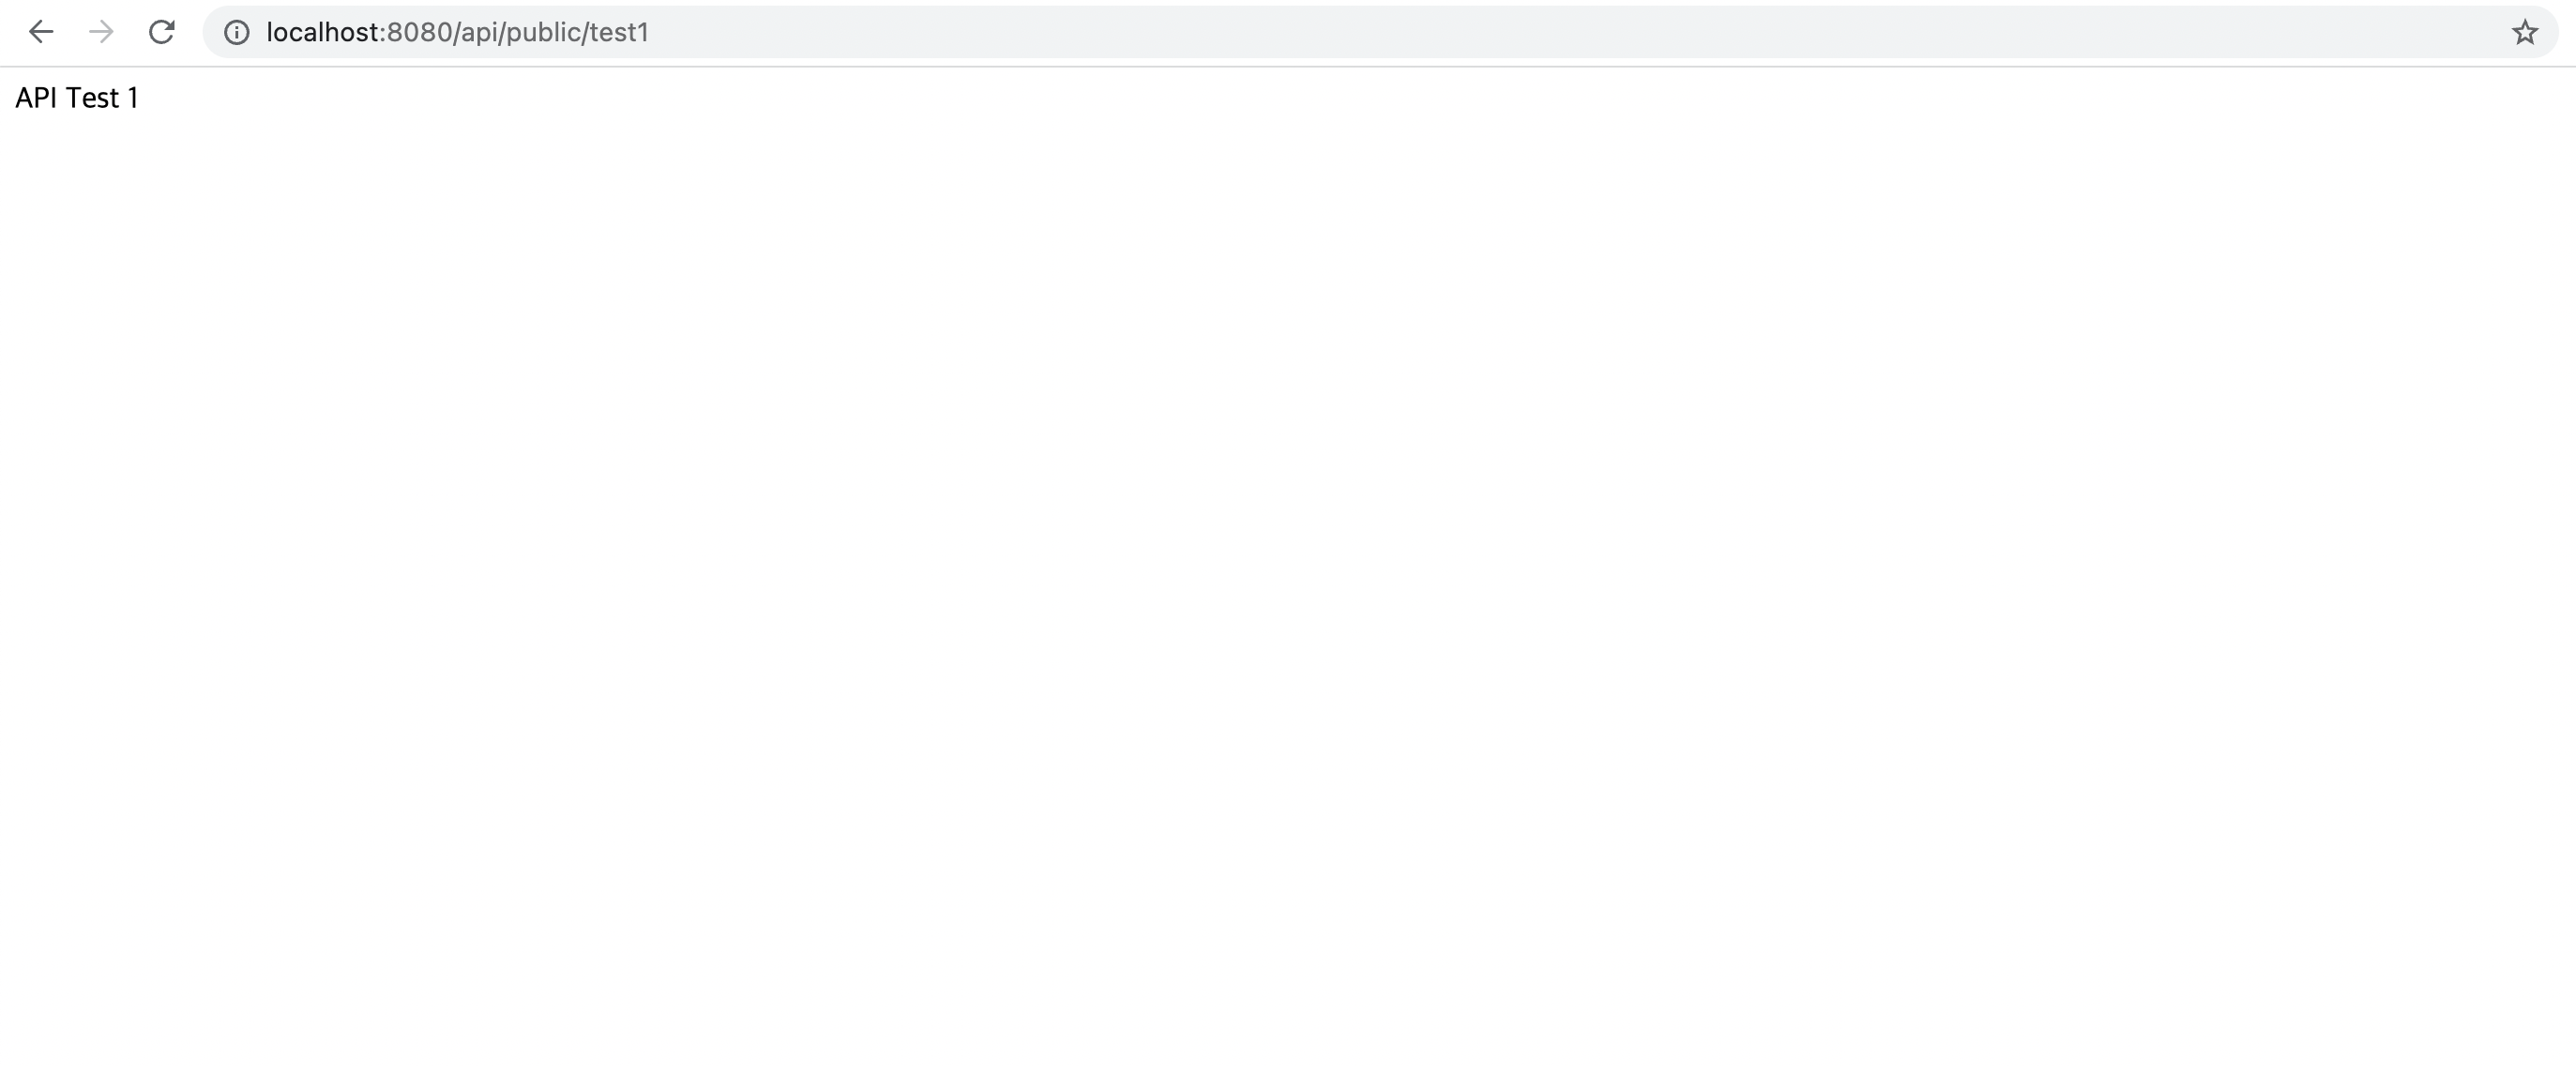
localhost:8080/api/public/test1에 사용권한이 있는 manager로 로그인할 경우 정상적인 화면이 출력된다.
Reference
이번 글은 바보개발님의 글의 참고해 작성됐습니다. ✨
