컴퓨터 보안 HTTP Get Flooding Attack 실습
Section 1. 가상머신 및 사용 프로그램
1. 가상머신 (Virtual Machine)
컴퓨팅 환경을 소프트웨어로 구현하는 것, 즉 실제 물리적으로 존재하지 않는 가상의 컴퓨터를 동작 시키는 것으로 컴퓨터 시스템을 에뮬레이션 한다고 말함
- 호스트 (Host) - VM이 설치되는 실제 하드웨어
- 게스트 (Guest) - 가상으로 만들어진 시스템
- 다른 OS 환경 구현, 하나의 호스트에서 다수의 게스트를 만들어 다수의 컴퓨터 구현
- 호스트의 하드웨어 성능을 나누어 쓰는 것이기 때문에 성능 저하 가능성 존재
2. 게스트 (Guest)의 네트워크 설정
① Bridged - 게스트와 호스트를 하나의 네트워크에 연결한 것
② NAT - 게스트에서 보내는 패킷의 출발지 IP를 호스트의 IP로 수정하여 인터넷 통신 가능
③ Host-only - 게스트들을 위한 내부 네트워크, 각 게스트들끼리 통신 가능
* 실습 시 Sever, Client, Attacker를 연결하기 위해 Host-only를 사용할 것이며 각 게스트에서 필요한 프로그램 설치를 위해서 NAT / Bridged 이용
3. 사용 프로그램
① Wget - 웹 서버로부터 콘텐츠를 가져오는 컴퓨터 프로그램 (명령어)
② APMsetup7 - Server에서 Apache, PHP, MySQL을 한 번에 구축해주는 프로그램
③ Wireshark - 패킷 수집 도구 프로그램
④ takeitdown - HTTP Get Flooding 공격을 위한 프로그램 (Python module)
Section 2. 가상머신 환경 구축
1. VMware Player Download
- 가상 머신을 구축하는 프로그램
- VMware Player 다운로드
2. Window XP Server 구축
- 윈도우 iso 다운로드
- APMsetup7 다운로드
- Wireshark-win32-1.10.8.exe 다운로드
- 4X7WM-GTH3D-DWVCV-H382J-HPMRD (시리얼키, 구글링 통하여 쉽게 구할 수 있음)
① VMware Workstation Player 실행 후 Create a New Virtual Machine 클릭
② Installer dis image file (iso) 체크 후 다운로드 받은 윈도우 iso 파일 지정
③ 시리얼 키 입력
④ Maximum disk size 20 GB 설정 및 Store virtual disk as a single file 체크
⑤ Customize Hardware... 클릭 후 RAM 2GB 설정
⑥ Window OS 설치 및 각종 installer, VMware Tools 설치될 때까지 기다리기
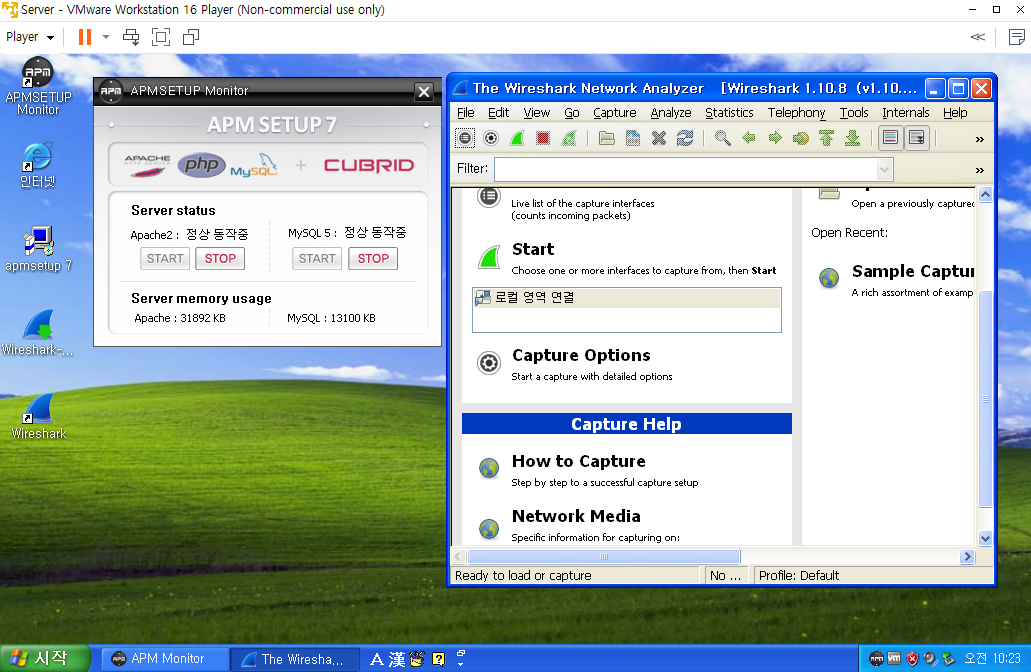
⑦ 호스트에서 다운로드 받은 APMsetup7.exe 파일을 드래그해서 Server로 넣고 설치
⑧ 각종 오류 알림과 업데이트 물어보는데 신경 쓰지말고 업데이트도 하지 않기
⑨ 호스트에서 다운로드 받은 Wireshark.exe 파일을 드래그해서 Server로 넣고 설치
⑩ Player ▼ -> Manage -> Virtual Machine Settings -> Network Adapter, Host-only 체크
⑪ Window XP Server 구축 완료 화면
3. Ubuntu Client 구축
- Linux 운영체제 종류 중 하나
- Ubuntu iso 다운로드
① VMware Workstation Player 실행 후 Create a New Virtual Machine 클릭
② Installer dis image file (iso) 체크 후 다운로드 받은 우분투 iso 파일 지정
③ Username / Password 입력
④ Maximum disk size 20 GB 설정 및 Store virtual disk as a single file 체크
⑤ Customize Hardware... 클릭 후 RAM 2GB / Processors 1 설정
⑤ Ubuntu OS 설치 및 VMware Tools 설치될 때까지 기다리기
⑥ Player ▼ -> Manage -> Virtual Machine Settings -> Network Adapter, Host-only 체크
⑦ Ubuntu Client 구축 완료 화면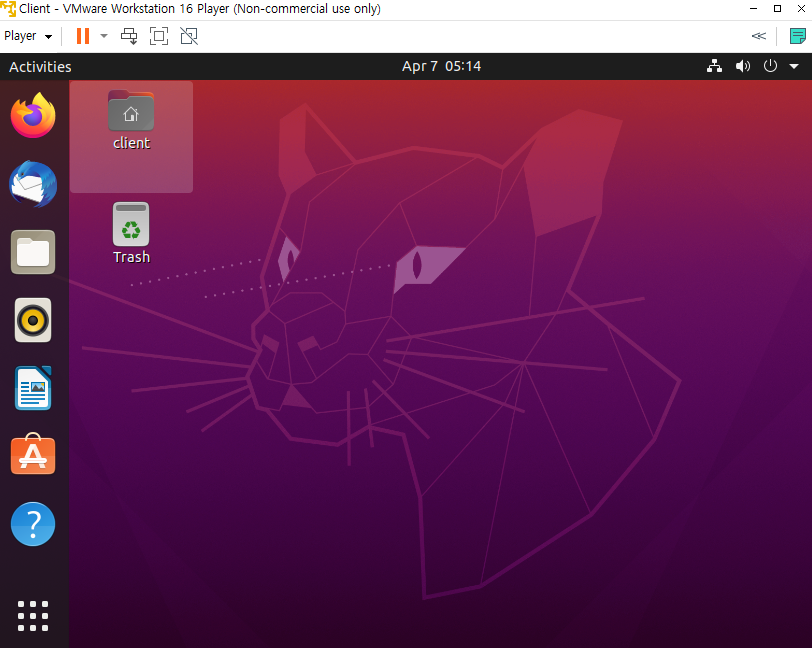
4. Ubuntu Attacker 구축
- Linux 운영체제 종류 중 하나
- Ubuntu iso 다운로드
- takeitdown Attack Tool GitHub 사이트
① VMware Workstation Player 실행 후 Create a New Virtual Machine 클릭
② Installer dis image file (iso) 체크 후 다운로드 받은 우분투 iso 파일 지정
③ Username / Password 입력
④ Maximum disk size 20 GB 설정 및 Store virtual disk as a single file 체크
⑤ Customize Hardware... 클릭 후 RAM 2GB / Processors 1 설정
⑥ Ubuntu OS 설치 및 VMware Tools 설치될 때까지 기다리기
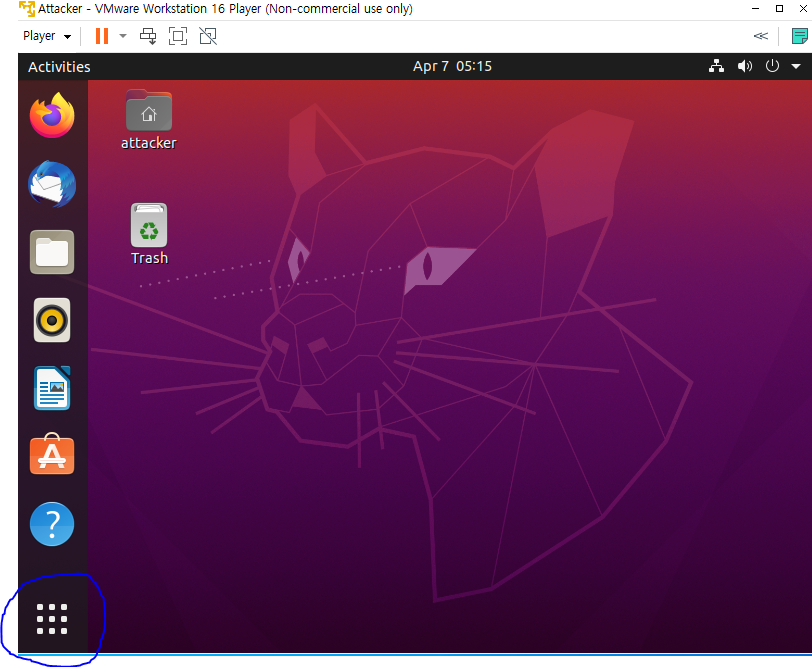
⑦ 파란 부분 클릭 후 Utilities-> Terminal 실행
⑧ sudo apt install git 입력
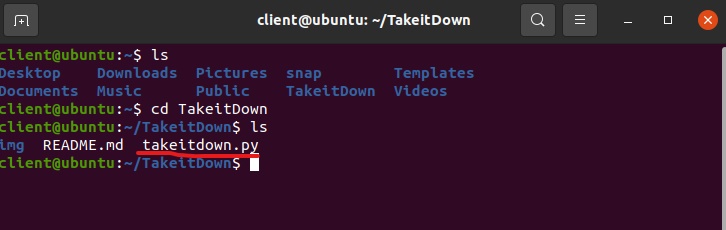
⑨ git clone https://github.com/alienwhatever/TakeitDown 입력
⑩ 다음과 같이 명령어 입력 후 같은 결과(파일들)가 나오면 완료
⑪ Player ▼ -> Manage -> Virtual Machine Settings -> Network Adapter, Host-only 체크
