A, B, C 위젯이 있고 A > B > C와 같은 구조일 때
A의 state를 C가 사용하려면 A → B → C와 같이 넘겨줘야함, 굉장한 번거로운!
그래서 Provider라는 별도의 공간을 만들어 state를 관리하면
굳이 넘겨넘겨주지 않고 비교적 자유롭게 state를 활용할 수 있게 된다.
Provider
0. 설치 & import
// main.dart
import 'package:provider/provider.dart';

// pubspec.yaml
dependencies:
  provider: ^6.1.5
1. store 생성
state를 보관할 보관함을 만들자. store라 부른다.
class Store1 extends ChangeNotifier {
  var name = 'cool gamja';
}
2. store 원하는 위젯에 등록
store 내의 state를 쓰고 싶은 위젯은 죄다 ChangeNotifierProvider()로 감싸야 하는데 대부분의 위젯이 써야한다면 MaterialApp() 자체를 감싸버리자.
void main() {
  runApp(
    ChangeNotifierProvider(
      create: (c) => Store1(),
      child: MaterialApp(
        home: MyApp(),
        theme: theme,
        debugShowCheckedModeBanner: false,
        initialRoute: '/',
      ),
    ),
  );
}MaterialApp을 widget으로 감싼(전구) 다음 ChangeNotifierProvider로 바꾸고, create 문을 넣는다. 아까 만들어 둔 Store1와 파라미터 c가 필요하다.
이제 MaterialApp의 자식 위젯들은 Store1에 있는 모든 state를 쓸 수 있다.
3-1. store 내 state 갖다 쓰기
그냥 냅다 name 이렇겐 못쓰고 context.watch<Store1>().- 요런 형식 지켜야;
class Store1 extends ChangeNotifier {
var name = 'cool gamja';
}
class Profile extends StatelessWidget {
const Profile({super.key});
Widget build(BuildContext context) {
return Scaffold(
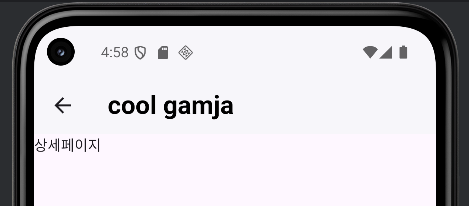
appBar: AppBar(title: Text(context.watch<Store1>().name)),
body: Text('상세페이지'),
);
}
}이제 모든 위젯에서 state를 직접 갖다 쓸 수 있게 됐다.
항상 쓸 필욘 없고 사이즈가 작은 경우 보내고/등록한뒤/쓰는 방식이 더 빠르다.
와!
3-2. store 내 state 변경
버튼을 누르면 개명이 되도록 만들어보자.
부모에서 자식한테 함수를 전달했듯 store 안에 setState하는 함수를 짜두면 된다.
이 때 만든 함수는 context.read<Store1>().-
이런 형식으로 쓸 수 있다. state는 watch, setState는 read.
밖에서 직접 바꾸지 않는 이유는 탕비실에 비유할 수 있다.
맘대로 갖다쓰면 횡령이고 쓰려면 매뉴얼을 따라야하듯
바깥에서 직접 변수를 건드리면 버그 발생률이 높다
이 때 setState를 쓰는게 아니라 notifyListeners를 쓸건데
state 수정 후 재렌더링하도록 만든다.
class Store1 extends ChangeNotifier {
var name = 'cool gamja';
changeName() {
name = 'cool gogooma';
notifyListeners();
}
}
class Profile extends StatelessWidget {
const Profile({super.key});
Widget build(BuildContext context) {
return Scaffold(
appBar: AppBar(title: Text(context.watch<Store1>().name)),
body: Column(
children: [
ElevatedButton(
onPressed: () {
context.read<Store1>().changeName();
},
child: Text('개명'),
),
],
),
);
}
}
정리
- store 생성
(ChangeNotifier) - store 등록
(ChangeNotifierProvider) - state 사용
(context.watch().state명)
(context.read().setState명 + notifyListeners)