
⚙️ Django 개발환경 세팅
파이썬 버전은 3.7 버전을 설치한다. (3.7.9 인스톨 버전 64비트) Windows 와 Mac OS에 맞게 설치!
- 파이썬 버전은 유효기간이 있다.
- 파이썬 버전은 여러가지로 설치하여 관리할 수 있다.
Pycharm 설치 (프로버전)
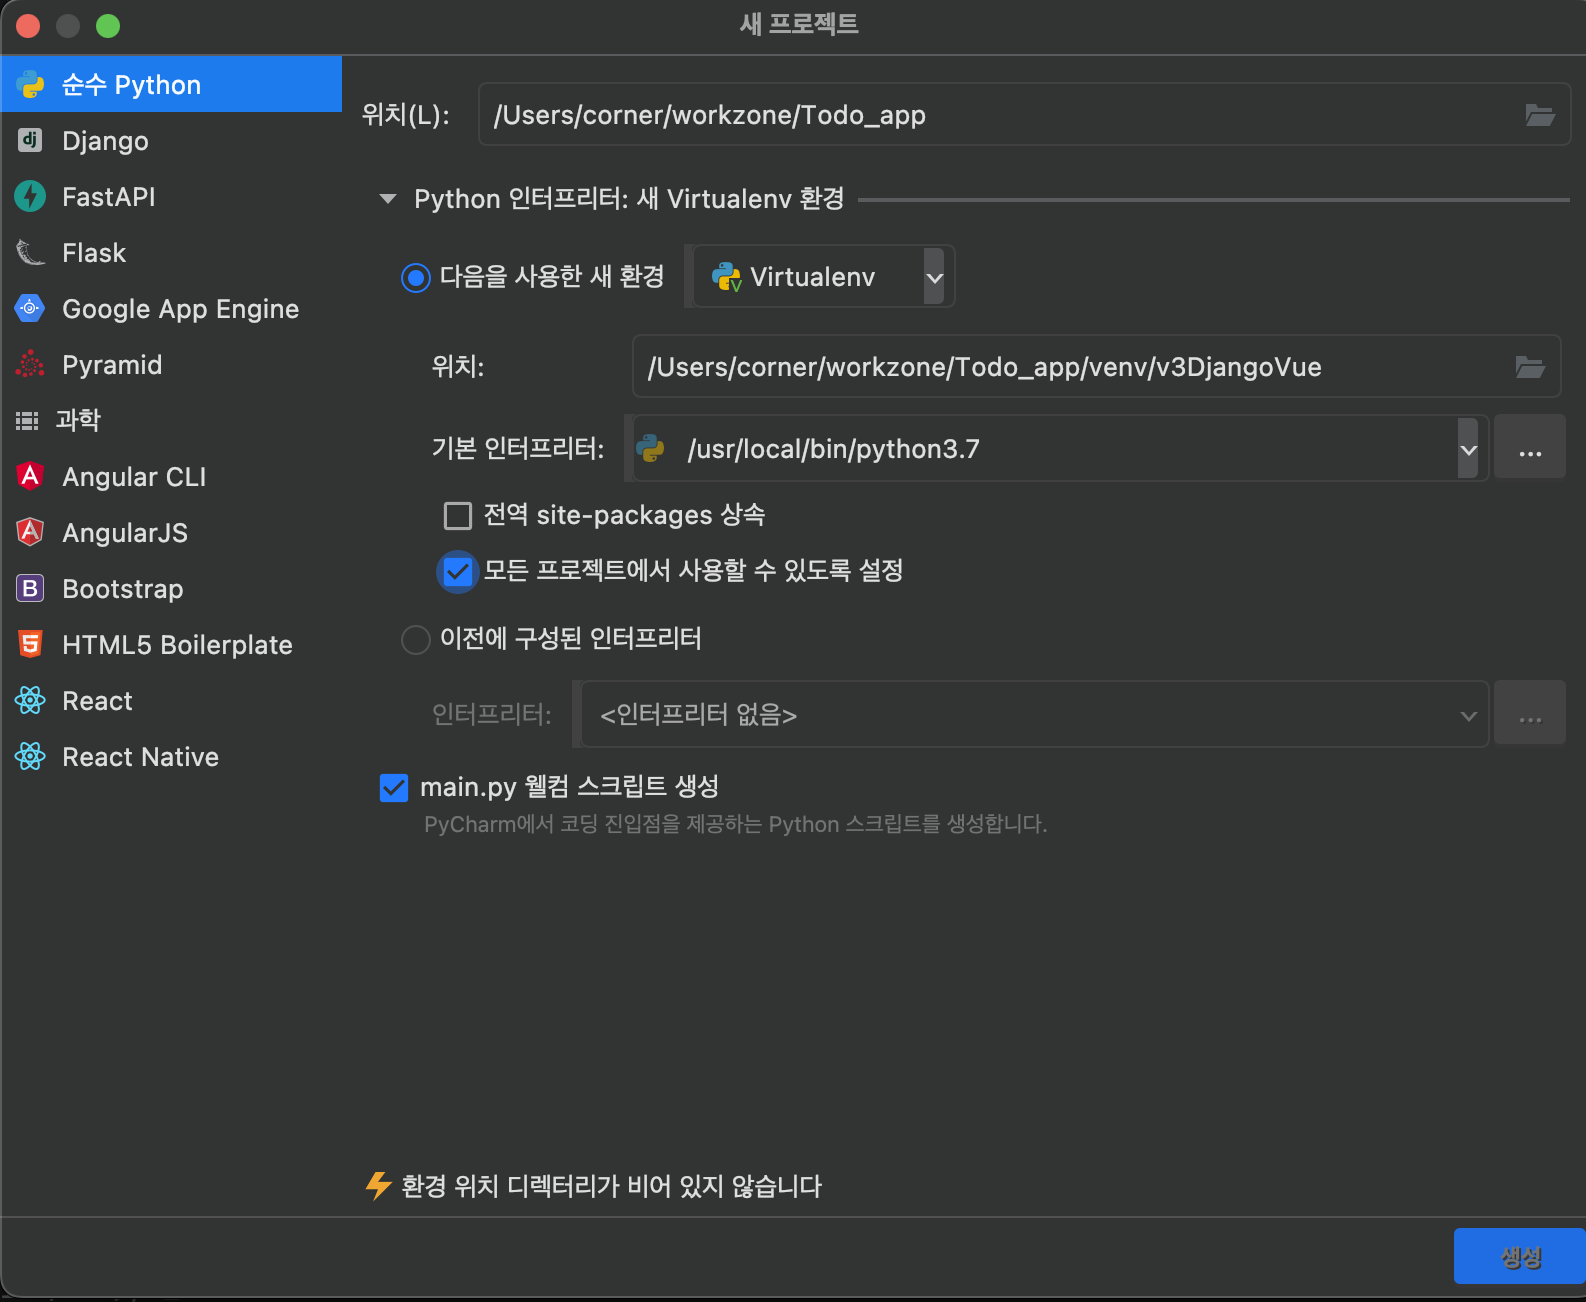
프로젝트 생성
-
new Project - Django 선택
-
Location 경로 설정
-
New Virtualenv environment (가상환경)
- 파이썬 버전 3.7을 선택하여 Create
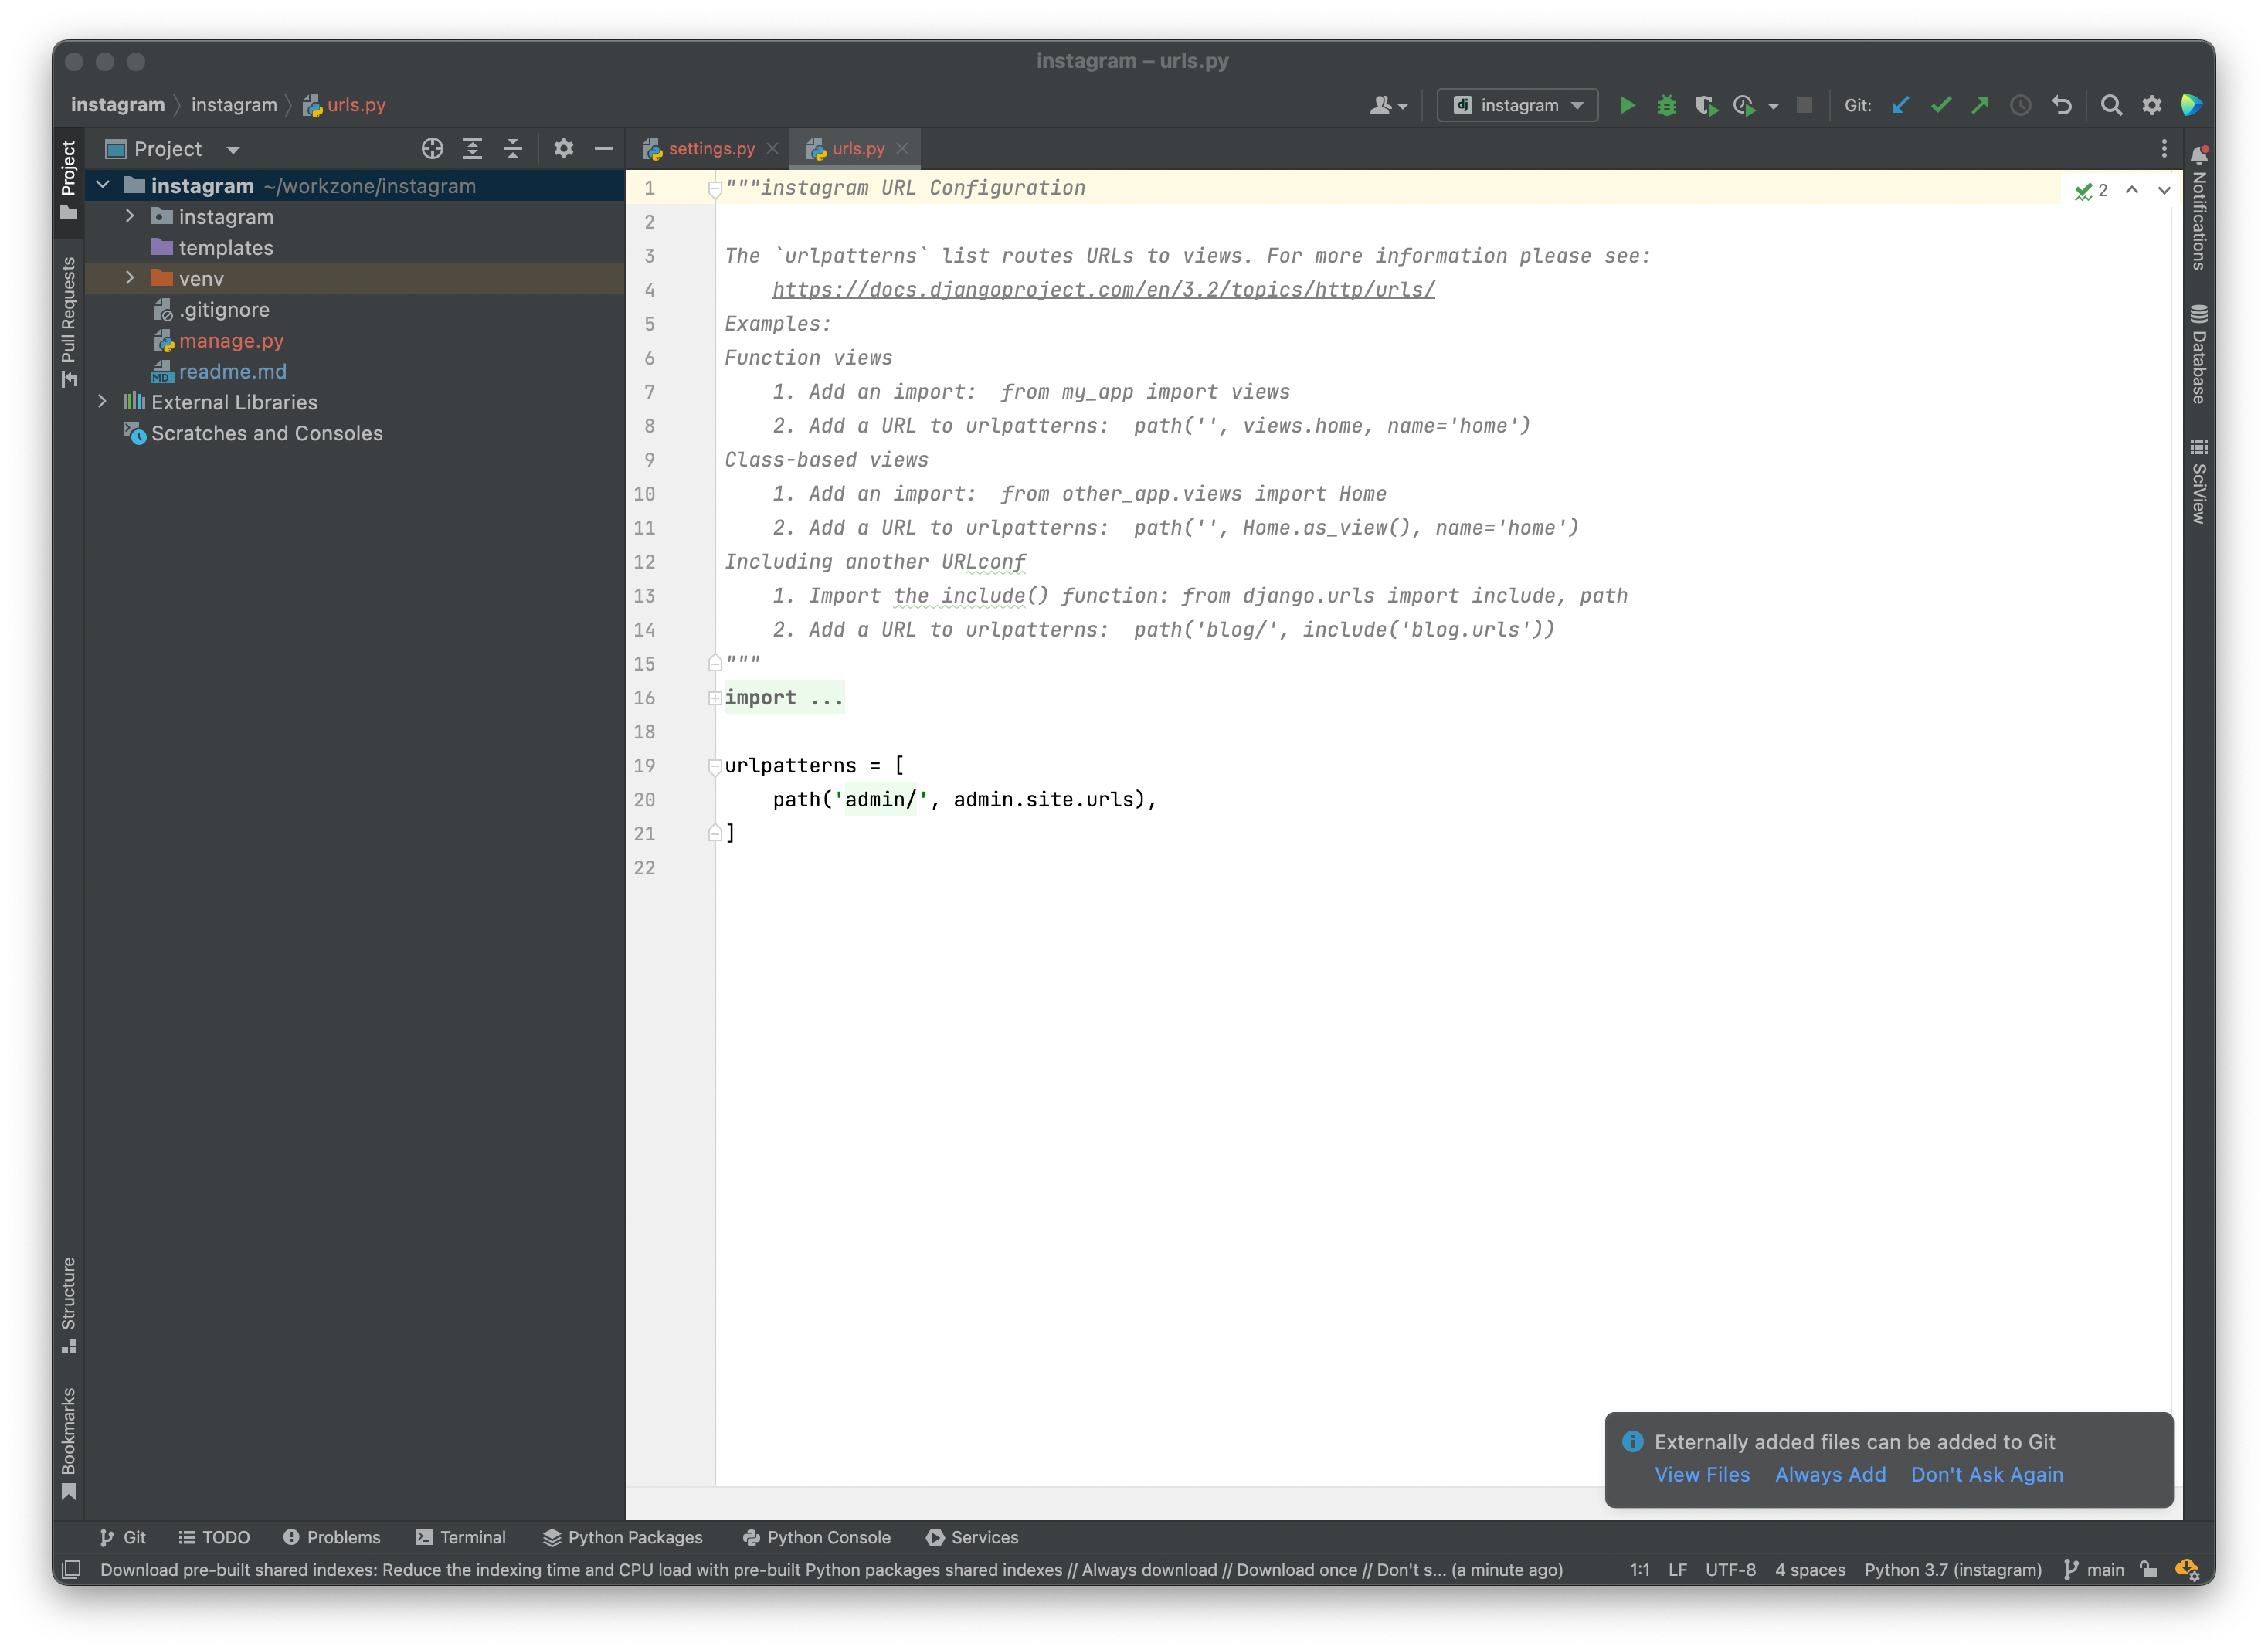
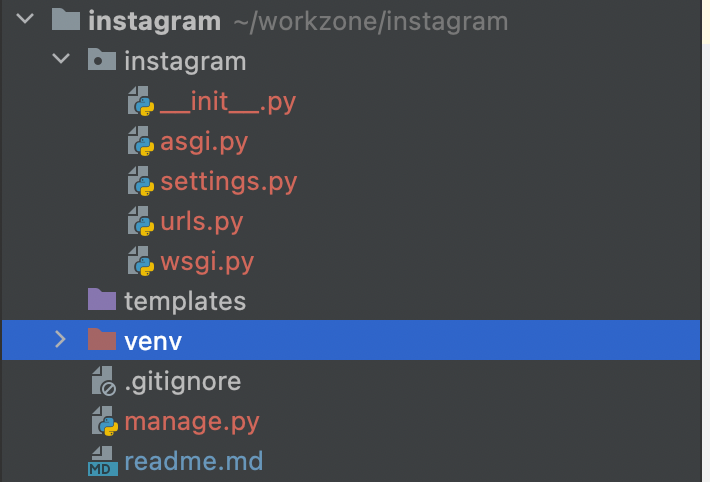
프로젝트 구조에 대하여
프로젝트가 생성되면 가장 큰 프로젝트 폴더 내에 똑같은 이름으로 경로가 있는데, 이것은 pyCharm 프로에서 만들면 이렇게 만들어지고, 다른 IDE 같은 경우 config 로 만들어지기도 한다. 회사마다 다르고, 프로젝트마다 다르기 때문에 정답은 없다. Root아래 프로젝트(instagram/instagram) 경로 안에 settings.py 가 있는데, android로 따지면 .gradle 파일처럼 모든 설정을 관리하는 곳이다.
DJango 같은 경우 MVT 모델을 사용중이다. MVT는 Model, View, Template 구조이다.
장고에서는 View가 Controller의 역할을 한다. 화면을 그린다기 보다는 데이터를 처리하는 부분이다.
Template은 HTML이나 CSS들이 이 템플릿에서 관리가 된다.
Model은 회원의 ID, PW 등 모델은 일반적으로 동일하다.
코딩순서는
settings.py -> models.py -> urls.py -> views.py -> templates 순
manage.py는 장고 프레임워크를 사용할 때 장고를 관리하는 곳이다. 여러가지 명령어를 이용해 장고를 띄우거나, DB를 만들거나 등 관리하게된다.
프로젝트 실행
IDE(pyCharm)에서 재생 버튼을 눌러 무작정 실행할 수 있다.

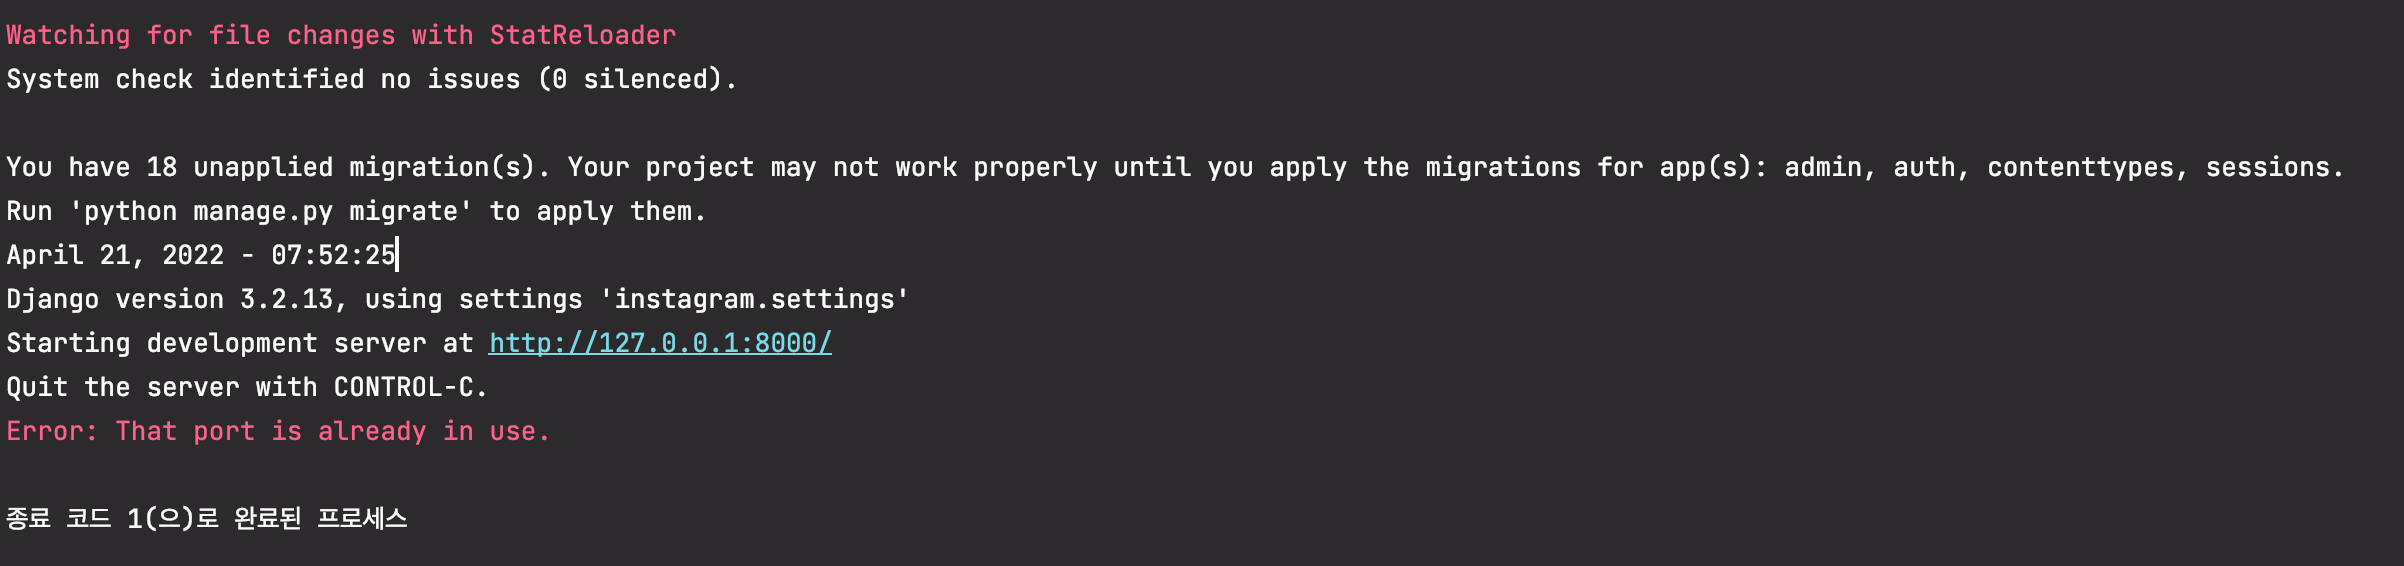
해당 IP가 127.0.0.1로 뜬다. 127.0.0.1 IP는 루프백이라서 자기자신을 의미한다.(localhost 도메인과 동일)
django rest framework 설치
장고 프레임워크를 설치하는 방법은 두 가지 방법이 있는데, 첫 번째 방법은 터미널을 이용하는 것과 두 번째는 IDE 환경설정에서 버튼만 누르면 설치하는 방법이 있다.
1. 첫 번째 방법
IDE의 터미널을 연다.

자세히보면 venv가 있는데, 이것이 떠있는지가 중요하다. 내가 가상환경 위에 있고, 패키지를 설치하면 가상환경에 설치하는 것이다. 즉, venv (가상환경)이 안떠있으면 가상환경에 설치가 되지않는다.
가상환경 비활성화 / 활성화 하기
👉🏻 가상환경 상태를 나가려면 터미널에 deactivate 라고 입력하기만 하면된다.
👉🏻 다시 가상환경으로 들어가려면 source venv/bin/activate 명령어를 실행하면 다시 활성화할 수 있다.
pip install --upgrade pip 명령어로 pip 버전을 업그레이드 해준 다음
pip install djangorestframework 입력한다.
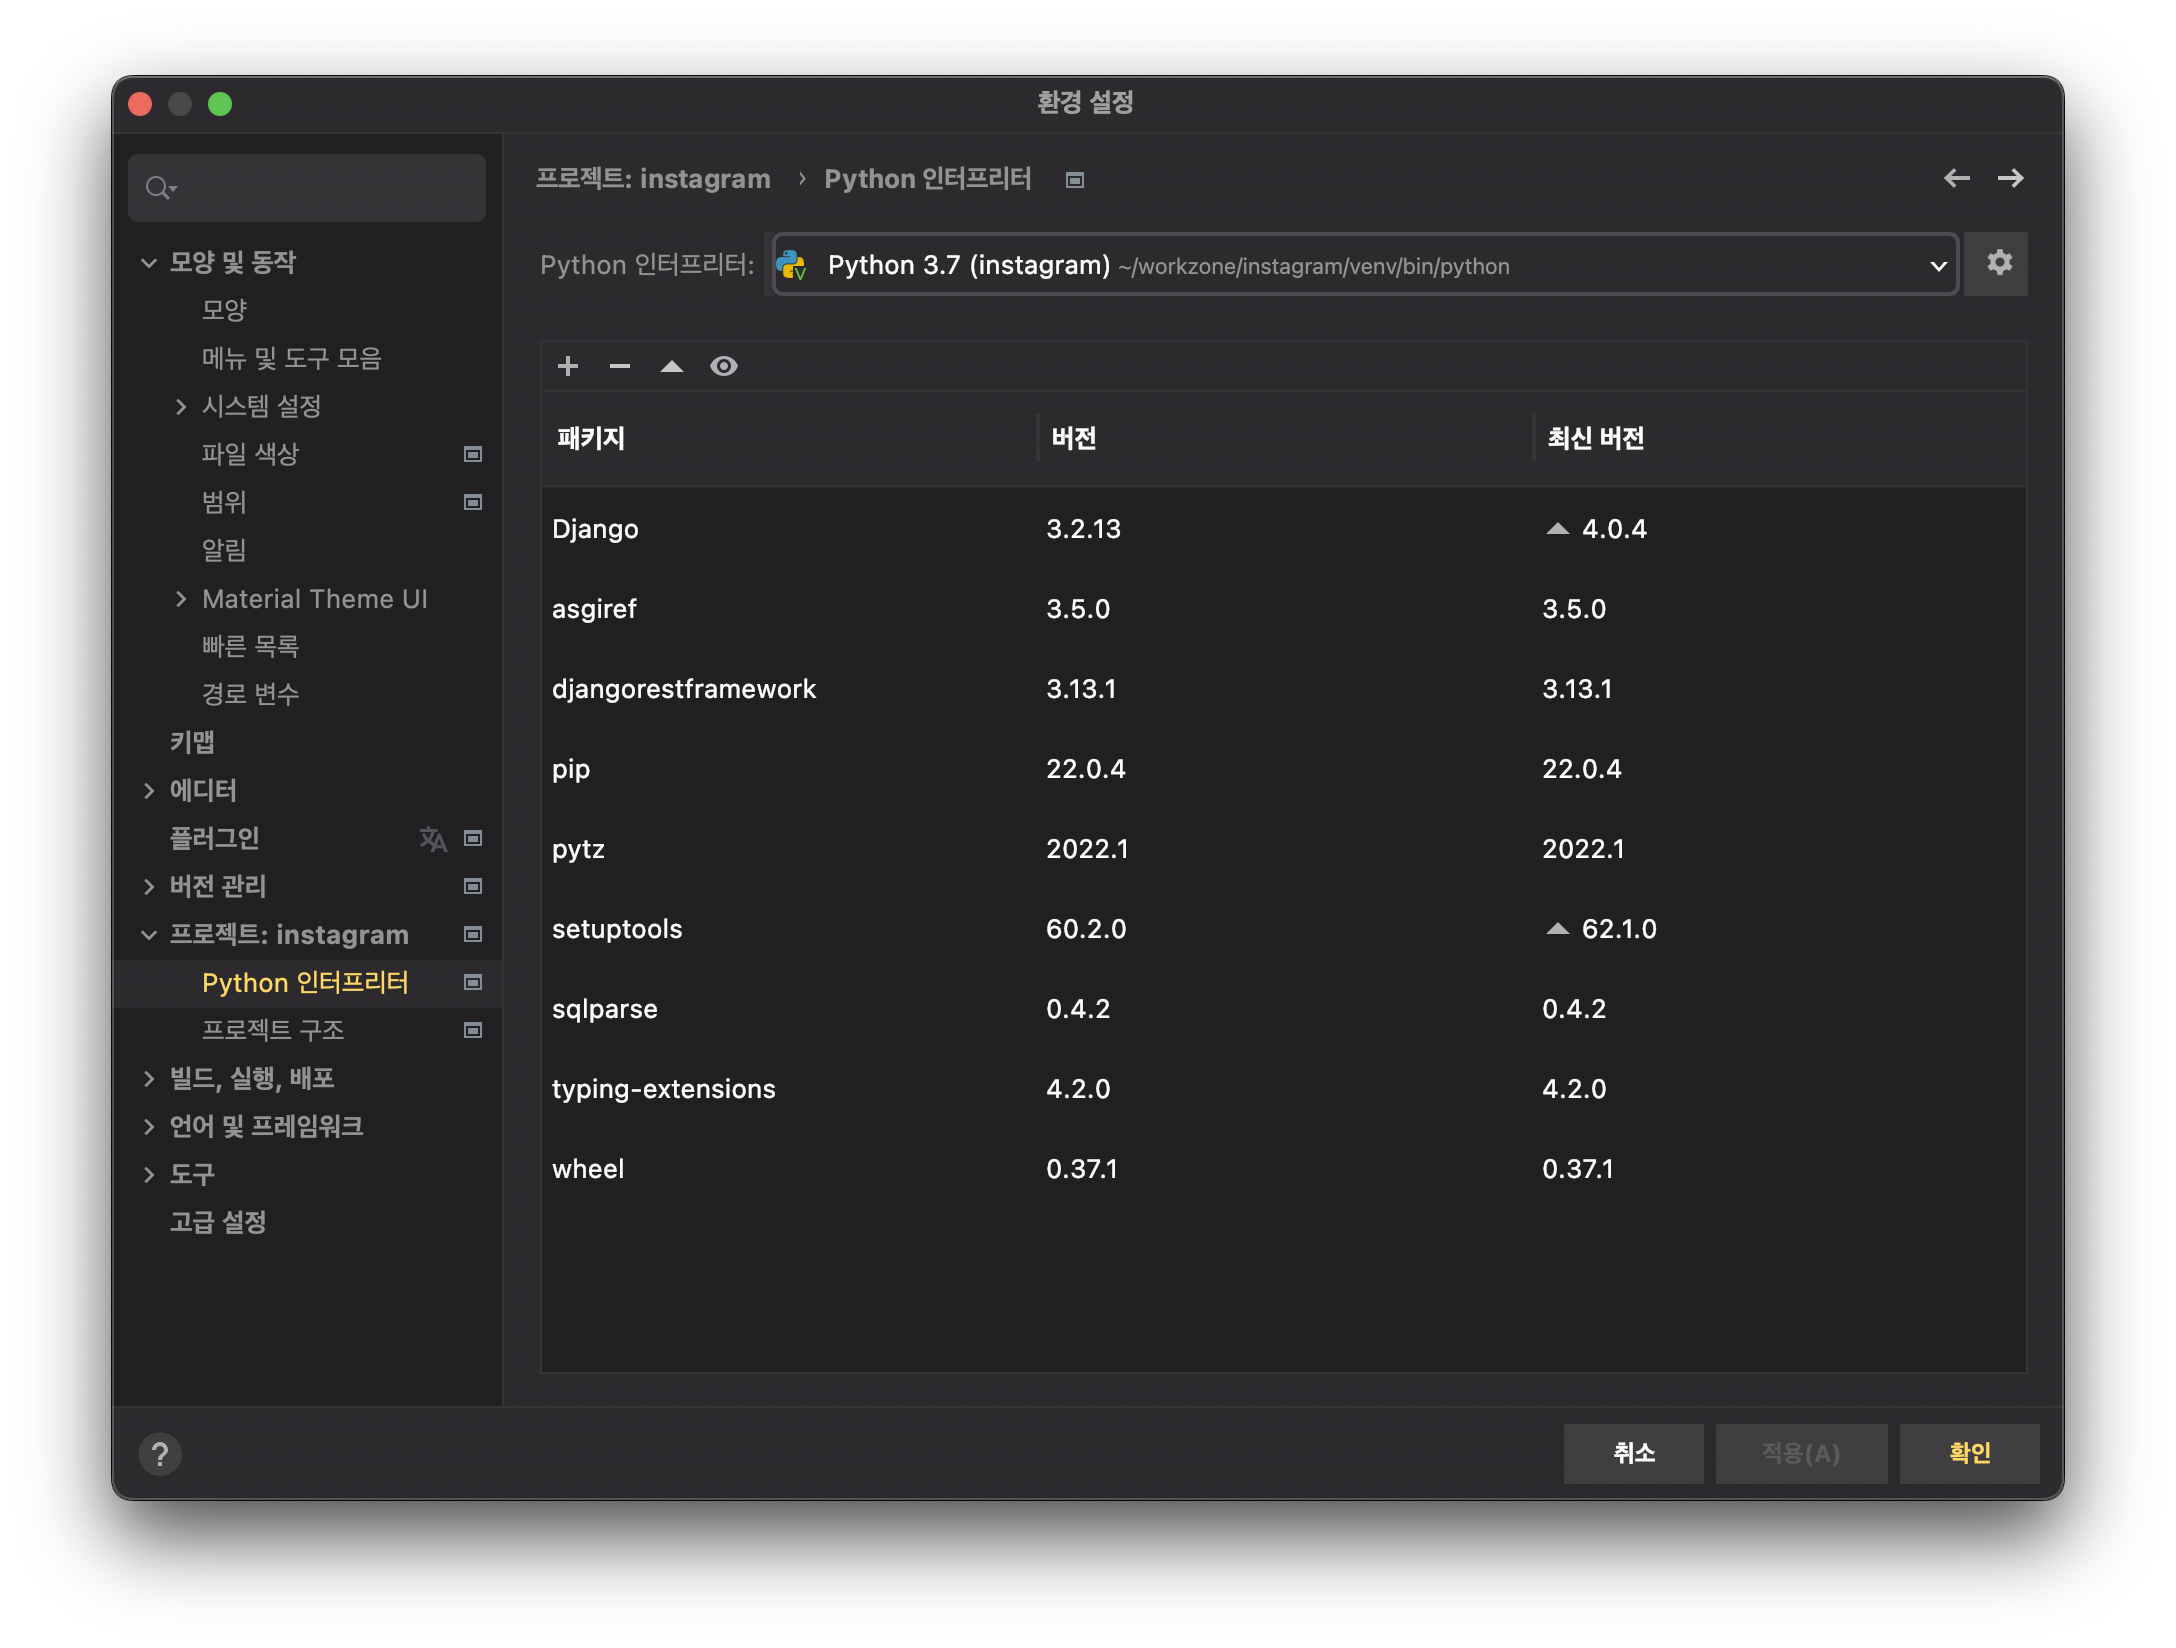
완료가 되었으면 파이참에서 커맨드 + , 로 환경설정 창을 열어
Project: 프로젝트명 -> Python Interpreter 화면에서 패키지를 확인할 수 있다.
2. 두 번째 방법
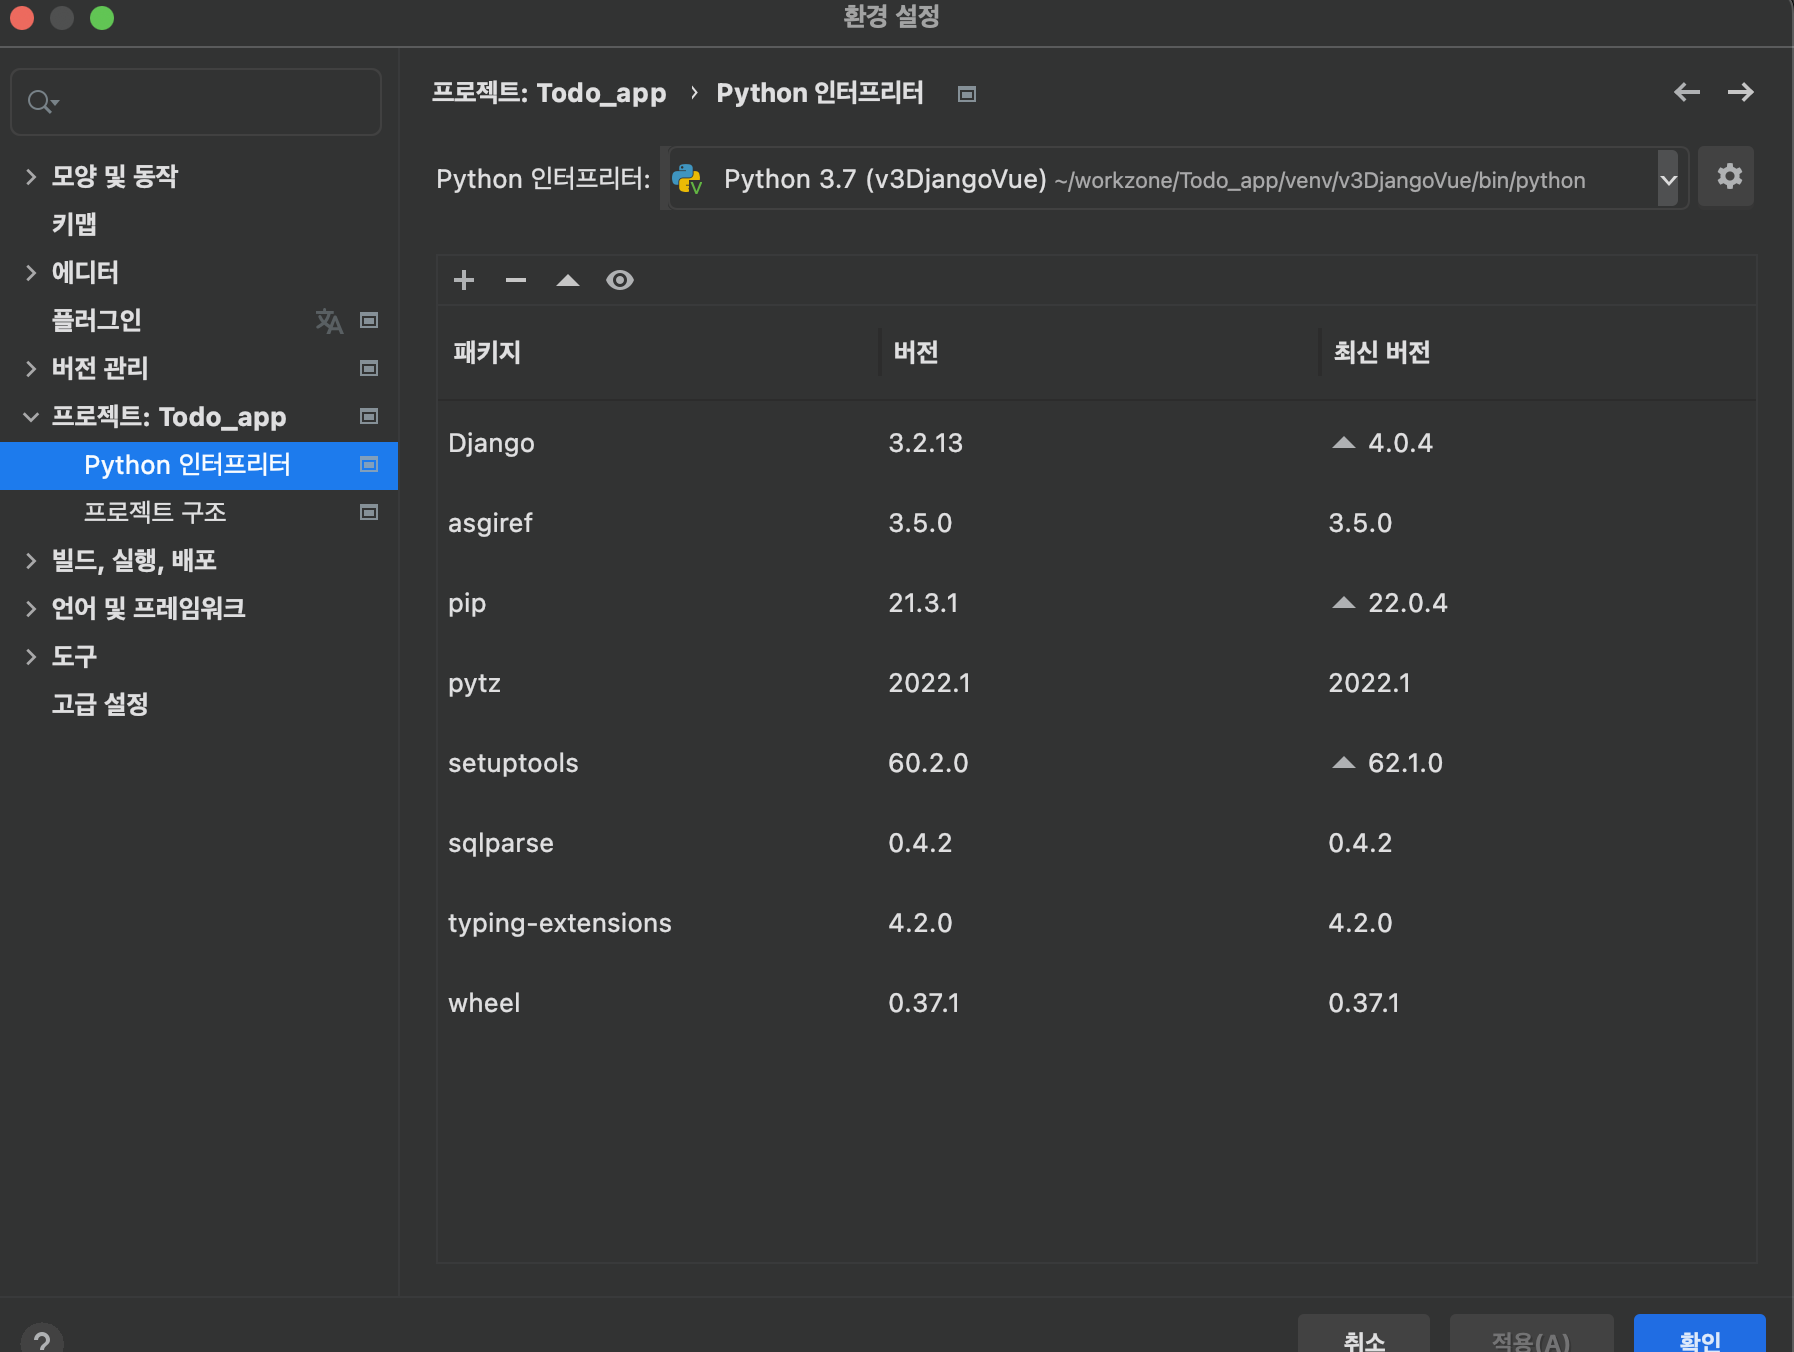
파이참 IDE에서 프로젝트: 프로젝트명 부분 에서 ->Python: Interpreter 파이썬 인터프리터 메뉴를 들어가면 아래 설정화면 과 같이 볼 수 있다.
+ 플러스 버튼으로 된 부분을 눌러서 Django 를 검색한다.
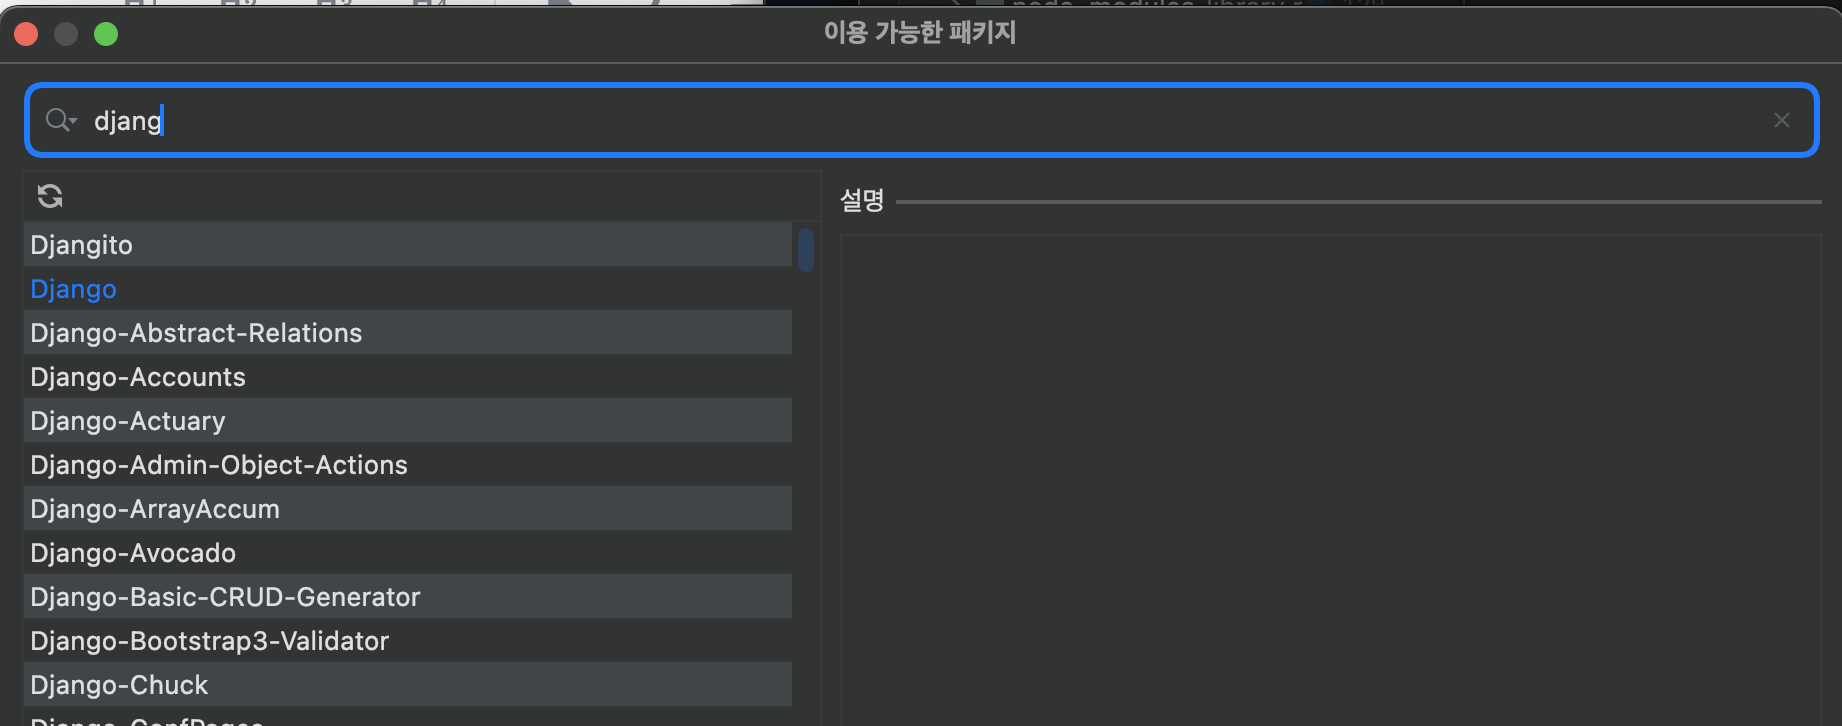
Django라고만 되어있는 것을 설치하기만 하면된다.
환경 설정
터미널에서 아래 명령어들을 순차적으로 따라하자.

django-admin --version장고가 설치되었기 때문에 장고 어드민 명령어가 먹히고 있다.
뼈대를 만드는 첫 번째 명령으로
django-admin startproject mysite .'mysite' 라는 프로젝트를 현재 폴더(경로)에 만들겠다 라는 명령입니다.
windows 라면 dir , mac이라면 ls -la 명령을 통해 현재 결오의 파일을 확인하면
manage.py , 📁mysite 파일과 경로가 만들어졌을 것이다.
django-admin startapp todotodo 라는 앱 폴더를 만든다.
다음은 DB를 만드는 명령어이다.
python manage.py migrate파일을 확인해보면 db.sqlite3 의 DB가 생성 되었다.
관리자 계정도 생성한다.
python manage.py createsuperuser
Username (leave blank to use'nature'): 유저명
Email address: 생략가능
Password: 비밀번호작성
Password (again): 비밀번호 확인 작성
여기까지 장고 프로젝트에 대한 뼈대 작업이 완료된다.
소스코드
root/todo/templates/todo/todo_vue_only.html
<!DOCTYPE html>
<html>
<head>
<meta charset="utf-8">
<meta name="viewport" content="width=device-width, initial-scale=1.0">
<title>Vue-Django ToDo App</title>
<style>
body {
text-align: center;
background-color: #ddd;
}
.inputBox {
margin: auto;
width: 70%;
background: white;
height: 50px;
border-radius: 50px;
line-height: 50px;
}
.inputBox .name {
border-style: none;
border-bottom: 1px solid #ddd;
width: 70px;
padding-left: 20px;
}
.inputBox .item {
border-style: none;
border-bottom: 1px solid #ddd;
width: 400px;
margin-left: 50px;
padding-left: 20px;
}
.todoList {
list-style: none;
padding: 10px 0;
text-align: left;
}
.todoList li {
display: flex;
height: 50px;
line-height: 50px;
margin: 0.5rem 0;
padding: 0 0.9rem;
background: white;
border-radius: 5px;
}
.addBtn {
cursor: pointer;
background-color: #cc8800;
color: #ffffFF;
border-radius: 15px;
border-color: #445566;
}
.removeBtn {
margin-left: auto;
font-size: 20px;
cursor: pointer;
}
</style>
</head>
<body>
<div id='app'>
<h1>My Todo App !</h1>
<strong>서로 할 일이나 의견을 공유해 봅시다.</strong>
<br>
<div class="inputBox">
<input class="name" type="text" placeholder="name ..." v-model.trim="name">
<input class="item" type="text" placeholder="type anything welcomed ..."
v-model.trim="newTodoItem" @keyup.enter="add_todo">
<button class="addBtn" @click="add_todo">ADD</button>
</div>
<ul class="todoList">
<li v-for="(todoItem, index) in todoItems">
<span>{todoItem.name}::: {todoItem.item}</span>
<span class="removeBtn" @click.stop="remove_todo(todoItem, index)">×</span>
</li>
</ul>
</div>
<script src="https://cdn.jsdelivr.net/npm/vue/dist/vue.js"></script>
<script>
let vm = new Vue({
delimiters: ['{', '}'], // 중괄호를 하나만 사용하겠다는 문법 수정
el: '#app',
data: {
name: '',
newTodoItem: '',
todoItems: [
{name: '김석훈', item: 'Django 와 Vue.js 연동 프로그램을 만들고 있습니다.'},
{name: '홍길동', item: '이름을 안쓰면 홍길동으로 나와요...'},
{name: '이순신', item: '신에게는 아직 열두 척의 배가 있사옵니다.'},
{name: '성춘향', item: '그네 타기'},
],
},
methods: {
add_todo: function () {
console.log("add_todo()...");
if (this.name === '') {
this.name = '홍길동';
}
if (this.newTodoItem === '') {
return;
}
this.todoItems.push({name: this.name, item: this.newTodoItem});
this.name = '';
this.newTodoItem = '';
},
remove_todo: function (todoItem, index) {
console.log(todoItem);
this.todoItems.splice(index, 1); /* from index, count */
// axios delete
},
clear_input: function () {
this.name = '';
this.newTodoItem = '';
},
},
})
</script>
</body>
</html>GitHub Source
👉🏻깃허브 소스