
오늘은 회원가입 마무리 단계로 localstorage 연결 하고 탈퇴 기능 구현, 이런 저런 detail 들을 구현했다.
1. localstorage 연결
localstorage를 본격적으로 쓰기 전에, console에 먼저 띄우게 하고싶어 이 작업부터 진행했다.js파일에서 input태그에 입력된 아이디와 비밀번호의 값을 가져오기다.
function join() {
	const getname = document.getElementsByClassName("name")[0];
	const getid = document.getElementsByClassName("id")[0];
	const getpw = document.getElementsByClassName("password")[0];
	const checkpw = document.getElementsByClassName("confirm_password")[0];
	const signupButton = document.getElementsByClassName("signup-btn")[0];

	signupButton.addEventListener("click", () => {
		event.preventDefault();
		console.log(getname.value);
		console.log(getemail.value);
		console.log(getpw.value);
		console.log(checkpw.value);
});
}
window.onload = join;
getElementsByClassName를 사용해서 class 요소들을 다 가져온다음, signup-btn을 눌러야 데이터가 등록되어야하니 const를 사용하여 이 js에서 쓸 변수를 선언해주었다. 그다음 console.log를 사용하여 버튼을 눌렀을때, 데이터가 console에 출력되게 해봤다.

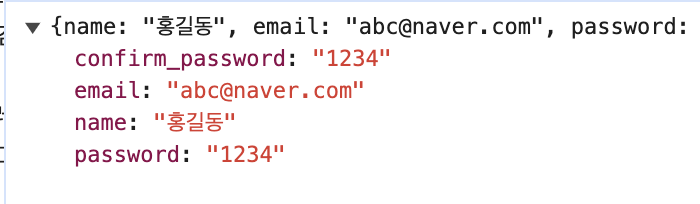
이름, 아이디, 비밀번호, 비밀번호 확인을 입력하고 버튼을 눌렀더니 출력이 잘 된걸 확인할 수 있었다.
확인후,
이 정보를 로컬스토리지에 저장하였다.
function join() {
	const getname = document.getElementsByClassName("name")[0];
	const getid = document.getElementsByClassName("id")[0];
	const getpw = document.getElementsByClassName("password")[0];
	const checkpw = document.getElementsByClassName("confirm_password")[0];
	const signupButton = document.getElementsByClassName("signup-btn")[0];

	signupButton.addEventListener("click", () => {
		localStorage.setItem("name", getname);
		localStorage.setItem("email", getemail);
		localStorage.setItem("password", getpw);
		localStorage.setItem("confirm_password", checkpw);

		let joinInfo = {
			name: getname.value,
			id: getid.value,
			password: getpw.value,
			confirm_password: checkpw.value
		};
		localStorage.setItem("joinInfo", JSON.stringify(joinInfo));
	});
}
window.onload = join;
그런데 name, password, confirm_password 이렇게 class안에 저장이 되는 식으로 데이터가 저장되었는데, 내가 원하는 것은 이게 아니므로, 코드를 수정해주었다.
내가 원하는 건
user1 {내용}
user2 {내용}
지금은,
name { 이름1}
pw {비밀번호1}
... 이런식으로 데이터가 저장되었다.
let joinInfo = {
name: getname.value,
id: getid.value,
password: getpw.value,
confirm_password: checkpw.value
};
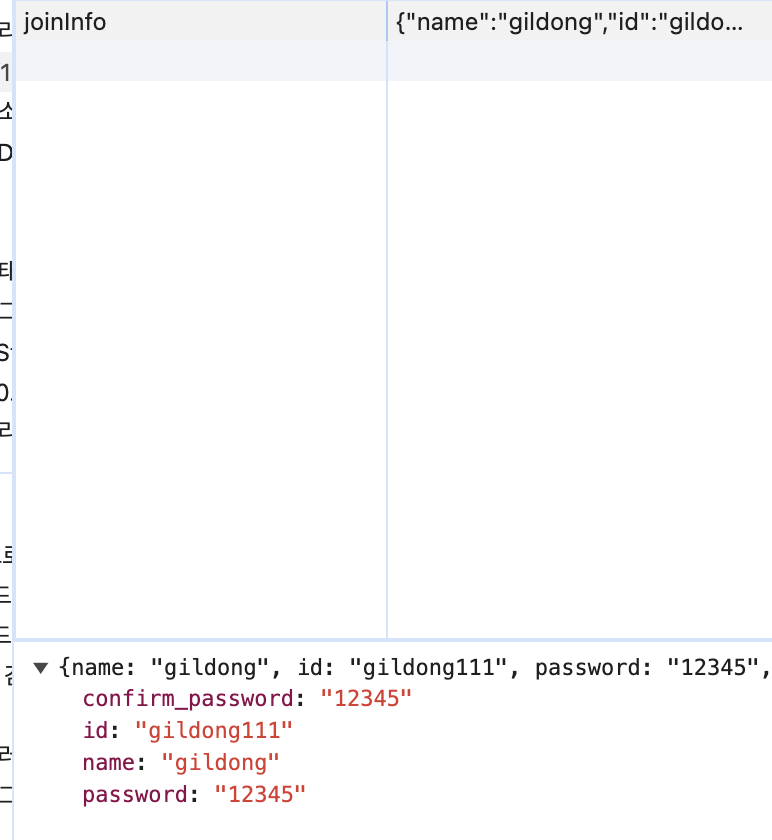
localStorage.setItem("joinInfo", JSON.stringify(joinInfo));그래서 아예 joinInfo를 하나 만들어서 그 안에 데이터가 저장되게 하였다!
해결
하지만, 이 코드의 문제점은.....새로운 회원이 들어오면 계속 joininfo에 덮어쓰기가 된다는것. 혹시 js의 set이 그런건가! 하고 확인차 튜터님께 갔는데 set을 쓰면 데이터가 덮어쓰기가 되는것이 맞았다!
데이터를 추가해야한다는 힌트를 주셔서
for문을 사용하여 localStorage의 모든 키를 반복해서 사용자 정보의 수를 세었다.
for (let i = 0; i < localStorage.length; i++) {
			const key = localStorage.key(i);
			if (key.startsWith("joinInfo")) {
				userCount++;
			}
		}
그 다음, 새로운 키들을 생성하여 user1 / user2 이런식으로 하나씩 늘어나게 하였다.
const newKey = `joinInfo${userCount + 1}`;관련된 데이터 정보가 들어가야하므로 newUser를 새로 추가하여 생성했다.
// 정보 생성
const newUser = {
	name,
	id,
  	password,
	confirm_password: confirmPassword
};
그리고 나서 setItem을 사용하여 정보를 저장해주었다.
문자열로 데이터를 저장하므로 JSON.stringify를 사용하여 바꿔주었다.
// 정보저장
localStorage.setItem(newKey, JSON.stringify(newUser));
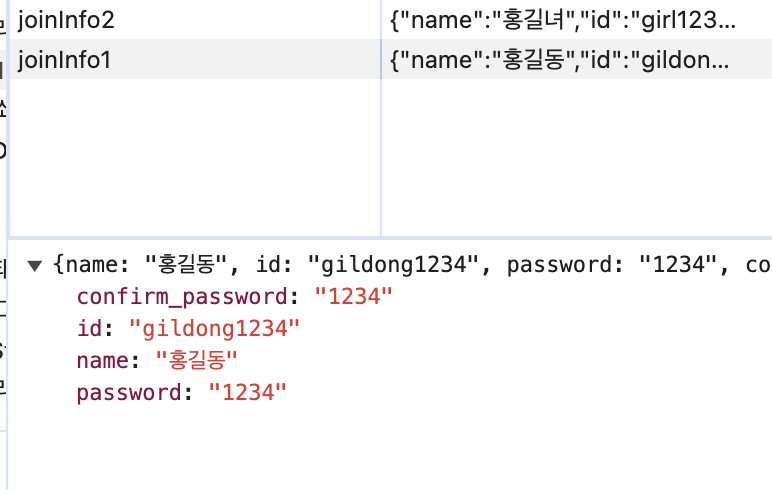
이렇게 원하는대로 user도 가져오고 성공했다!
2. remove 후 데이터 저장
탈퇴기능을 만들면서, remove가 잘 되는데 데이터가 1개만 남았을때 또 다시 덮어씌어지는것을 확인했다. 찾아보니 key값이 Joininfo1,2, 이런게 고유한 숫자가 아니라서 그런것이었다.
해결
해결을 위해 그냥 회원들의 ID값을 key값으로 넣었다.
//const newKey = `joinInfo${userCount + 1}`;
const newKey = `joinInfo_${id}`; // 덮어쓰기 방지로 키를 id로 바꿈
이렇게 덮어스기를 방지하고자 JoinInfo 뒤에 고유한 ID값을 넣어줬더니 remove후에 데이터를 추가해도 문제가 되지 않았다!