Hello Flutter 프로젝트
프로젝트 생성
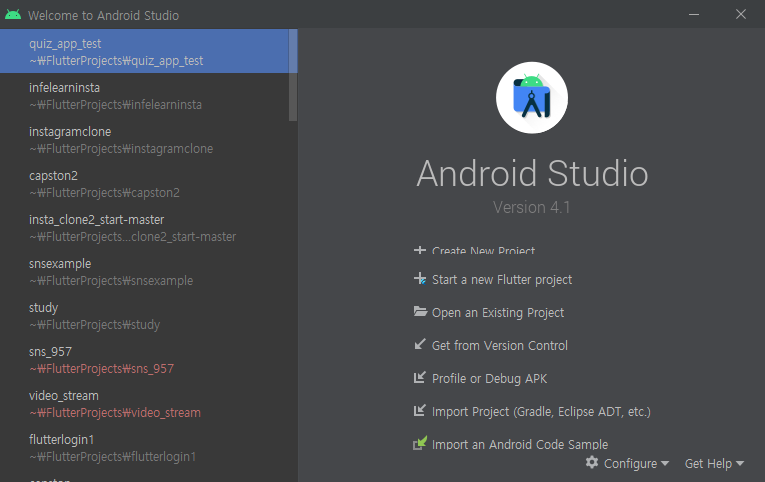
- Start a new Flutter Project 클릭
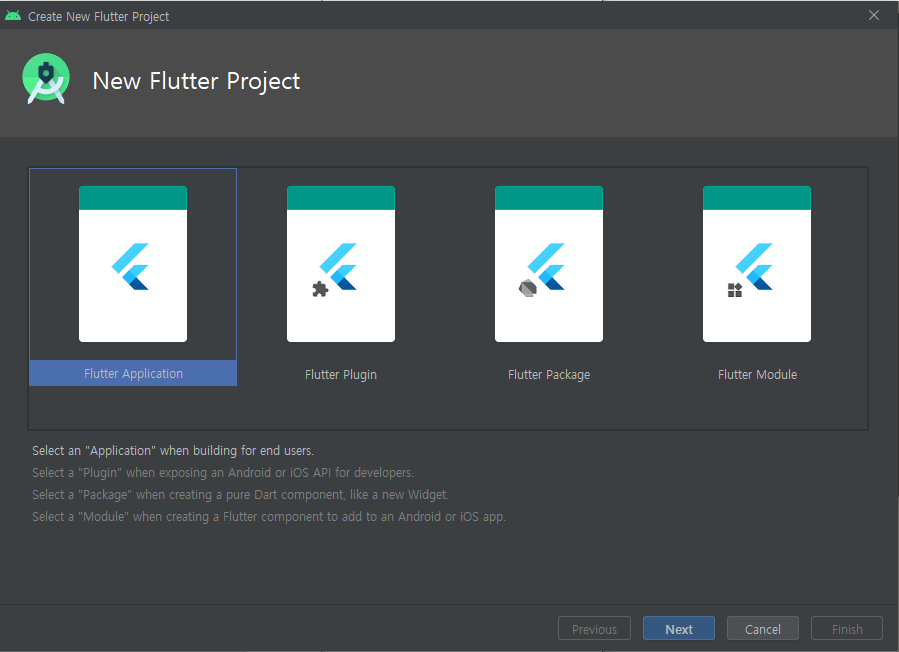
- Flutter Application 클릭 후 Next 클릭
- 프로젝트 이름 및 sdk 경로 등 설정
Flutter SDK path는 플러터 sdk를 설치했던 경로로 설정합니다.

- 완료
프로젝트 구성 요소
- lib : 플러터 소스코드(.dart 파일)위치
- android : 플러터를 컴파일하여 생성된 안드로이드 앱 소스코드
- ios : 플러터를 컴파일하여 생성된 ios앱 소스코드
- test : 테스트 코드 위치
- .gitignore : Git 파일, 로컬에만 필요한 파일이 원격 저장소인 깃에 올라가지 않도록 한다
- .metadata : 플러터 프로젝트를 위한 내부 파일
- .packages : pubspec.yaml 파일과 관련된 내부 파일로 자동 생성
- 프로젝트 이름.iml : .iml 파일은 안드로이드 스튜디오에서 생성한 프로젝트 내부 파일
- pubspec.yaml : 플러터 프로젝트에 필요한 라이브러리와 이미지 폰트 등을 지정한다
기본 app 실행시켜보기
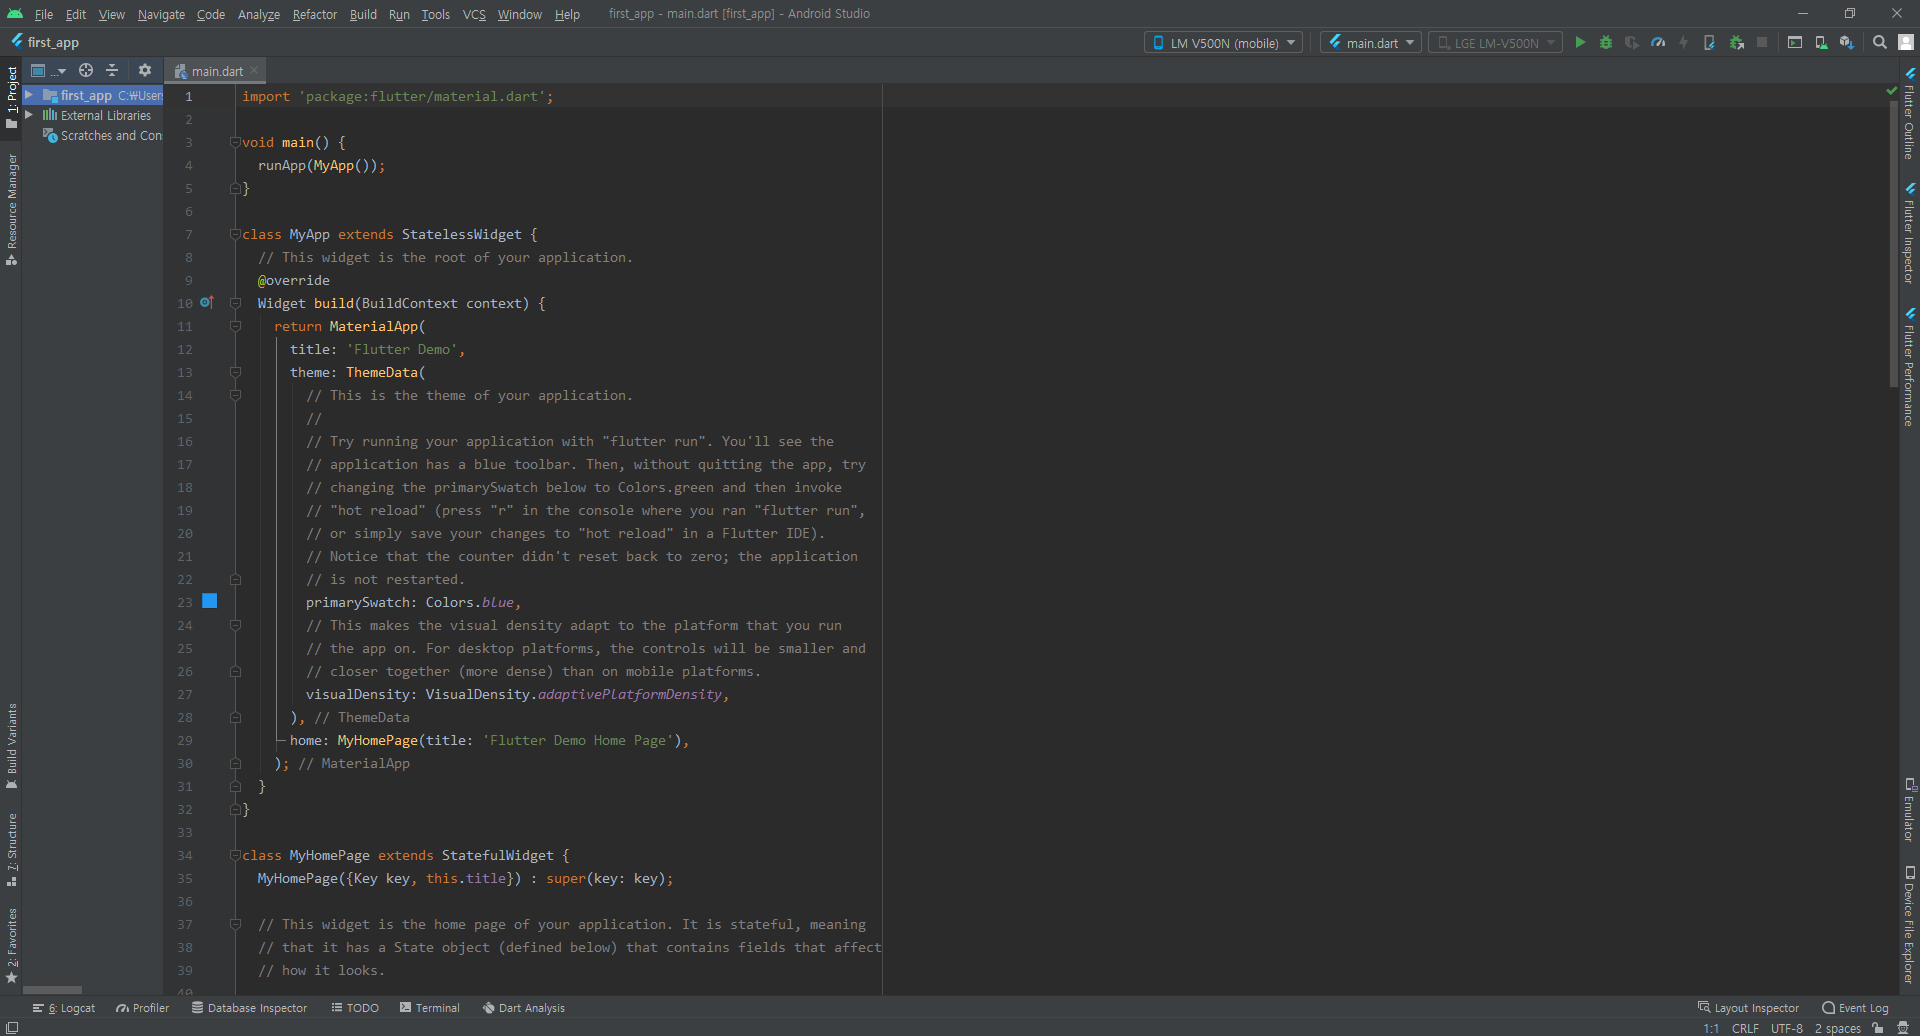
가상 에뮬레이터로 실행하거나 안드로이드 폰을 연결시켜 빌드해서 실행하는 법이 있습니다
저는 에뮬레이터가 너무 실행이 느려서 핸드폰을 연결하여 실행하는 방식을 사용합니다.

LM V500N은 저의 핸드폰이 연결되서 뜨는거고 빨간 동그라미(Run)를 눌러서 main.dart를 실행합니다.
기본 app 실행
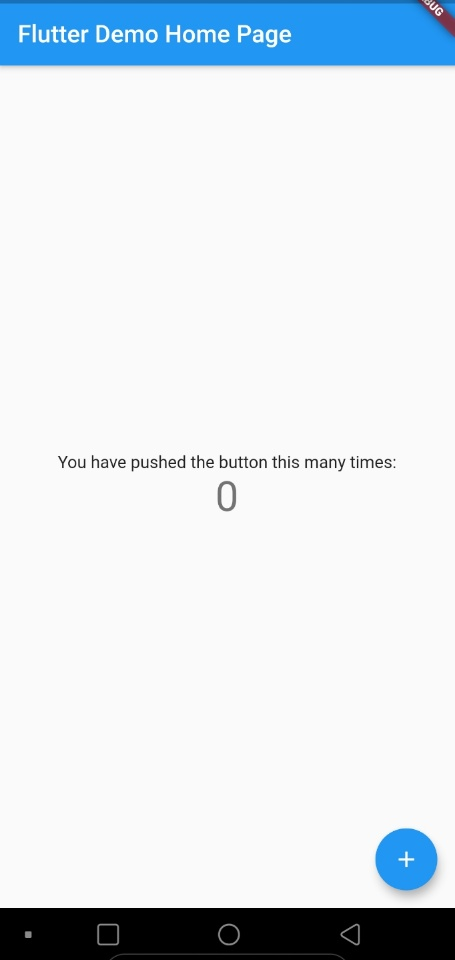
이 app은 오른쪽 하단에 floating 버튼을 누르면 가운대 숫자가 1씩 증가하는 app입니다.
기본 app 코드 분석
import 'package:flutter/material.dart';
void main() {
runApp(MyApp());
}
class MyApp extends StatelessWidget {
Widget build(BuildContext context) {
return MaterialApp(
title: 'Flutter Demo',
theme: ThemeData(
primarySwatch: Colors.blue,
visualDensity: VisualDensity.adaptivePlatformDensity,
),
home: MyHomePage(title: 'Flutter Demo Home Page'),
);
}
}-
import 'package:flutter/material.dart';
import문으로 flutter 패키지의 안드로이드 UI인 머티리얼 UI를 의미합니다.
iOS UI를 뭔하시면 material이 아닌 cupertino를 사용합니다. -
runApp(MyApp());
아래에 있는 MyApp 클래스를 실행시킨다는 구문 -
home: MyHomePage(title: 'Flutter Demo Home Page')
home 속성은 위젯의 몸체이고 몸체는 MyHomePage 클래스로 지정했습니다. 이 말은 위에서 MyApp을 실행하면 MyHomePage가 실행됩니다
class MyHomePage extends StatefulWidget {
MyHomePage({Key key, this.title}) : super(key: key);
final String title;
_MyHomePageState createState() => _MyHomePageState();
}MyHomePage 위젯은 Stateful위젯으로 createState() 메서드를 통해 상태를 담당하는 클래스를 지정할 수 있습니다.
실제 상태 값은 _MyHomePageState 클래스입니다
class _MyHomePageState extends State<MyHomePage> {
int _counter = 0;
void _incrementCounter() {
setState(() {
_counter++;
});
}
Widget build(BuildContext context) {
return Scaffold(
appBar: AppBar(
title: Text(widget.title),
),
body: Center(
child: Column(
mainAxisAlignment: MainAxisAlignment.center,
children: <Widget>[
Text(
'You have pushed the button this many times:',
),
Text(
'$_counter',
style: Theme.of(context).textTheme.headline4,
),
],
),
),
floatingActionButton: FloatingActionButton(
onPressed: _incrementCounter,
tooltip: 'Increment',
child: Icon(Icons.add),
),
);
}
}
- setState()
setState 함수를 호출하면 Stateful 위젯인 MyHomePage 위젯 상태가 변했으니 위젯을 갱신 - onPressed(){}
floatingActionButton을 클릭했을 때 _incrementCounter를 호출하여 _counter를 1만큼 증가시킨다

Flutter 공부합니다