test data 를 정리하는 김에 admin 화면도 좀 정리하자.
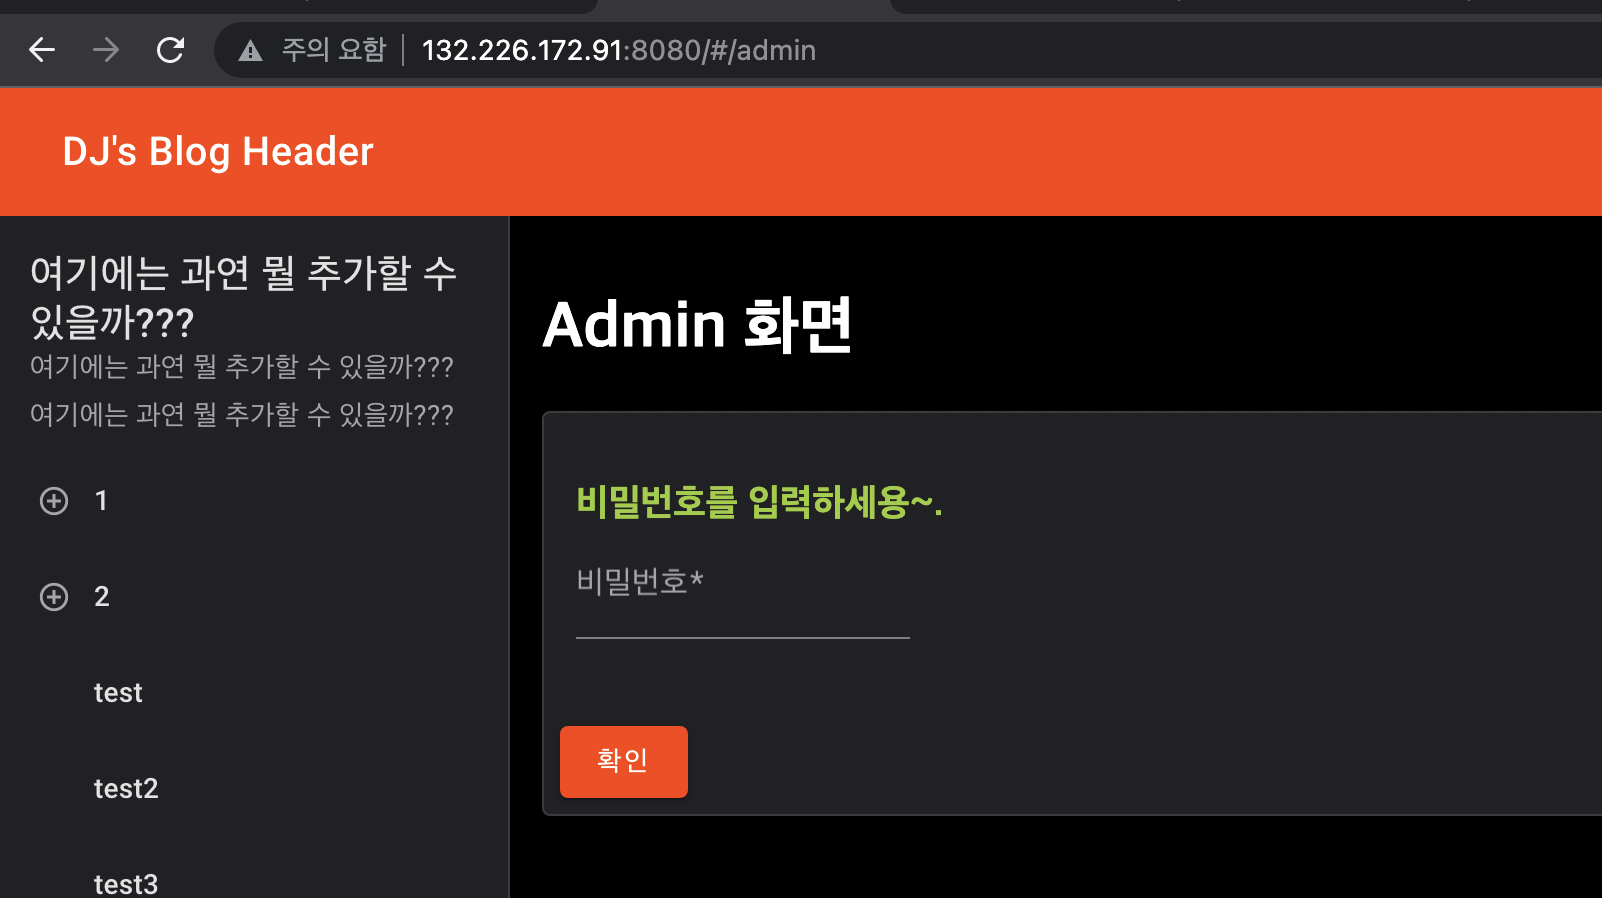
현재는 아무나 admin 화면에 접근 가능한데, password 입력하면 진짜 admin 화면으로 들어갈 수 있는 간단한 auth 화면을 만들어보자.
뭐 제대로 auth 를 구현하려면 id, password, email 2차 인증 등등 다양한 방법이 있겠지만 시간이 좀 걸리니... 그냥 간단하게 password 만 입력하는 걸로 하자.
API 서버에 유효한 비밀번호를 들고 있는 파일 생성하고, password 유효성 검사를 수행하는 API 를 하나 만들자.
POST /admin
Admin 화면에 접근하기 위한 password 유효성 검사하는 API.
-
router/admin.jsimport { Router } from 'express'; import fs from "fs"; const router = Router(); // POST /admin router.post("/", async (req, res) => { console.log('post admin......'); let success = false; try { // admin-password.dat 파일을 읽어서 equal 비교 const password = fs.readFileSync("admin-password.dat", "utf8").trim(); if (req.body.password && req.body.password === password) { success = true; } } catch (err) { console.log(err); success = false; } res.send({success}); }); export default router;
API 는 만들었고 잘 동작하는 것도 확인했다.
이제 프론트를 수정해보자.
먼저 기존 url 인 /admin/menu, /admin/article 을 제거하고 /admin 을 새로 정의해보자.
/admin 접근시 새로 생성한 Admin.svelte 를 노출할 것이고, 기존에 존재하던 AdminMenu.svelte ,AdminArticle.svelte 는 Admin.svelte 의 자식 component 로서 노출될 것이다.
-
routes/routes.js... // "/admin/menu", "/admin/article" 삭제하고 "/admin" 추가 routes.set('/admin', wrap({ asyncComponent: () => import('../view/main/Admin.svelte') })); ... -
view/main/Admin.svelte<h1>Admin 화면</h1> {#if mode === 'Auth'} <Card variant="outlined"> <Content> <h3>비밀번호를 입력하세용~.</h3> <Textfield bind:value={password} label="비밀번호" required type="password"> <HelperText slot="helper">비밀번호를 입력해주세용.</HelperText> </Textfield> </Content> <Actions> <Button on:click={ checkPassword } variant="raised"><Label>확인</Label></Button> </Actions> </Card> {:else} <Card variant="outlined"> <Content> <TabBar {tabs} let:tab bind:active={selectedTab} > <Tab {tab} > <Label>{tab}</Label> </Tab> </TabBar> </Content> <Content> {#each radioOptions as option} <FormField> <Radio bind:group={selectedRadioOption} value={option} /> <span slot="label">{option}</span> </FormField> {/each} </Content> <svelte:component this={components[`${selectedRadioOption} ${selectedTab}`]}></svelte:component> </Card> {/if} <script> import Card, { Content, Actions } from '@smui/card'; import Textfield from '@smui/textfield'; import HelperText from '@smui/textfield/helper-text'; import Button, { Label } from '@smui/button'; import Tab from '@smui/tab'; import TabBar from '@smui/tab-bar'; import Radio from '@smui/radio'; import FormField from '@smui/form-field'; import AdminAddMenu from '../child/AdminAddMenu.svelte'; import AdminEditMenu from '../child/AdminEditMenu.svelte'; import AdminDeleteMenu from '../child/AdminDeleteMenu.svelte'; import AdminAddArticle from '../child/AdminAddArticle.svelte'; import AdminEditArticle from '../child/AdminEditArticle.svelte'; import AdminDeleteArticle from '../child/AdminDeleteArticle.svelte'; import { postAdmin } from '../../api/admin.js'; let mode = 'Auth'; let password = ''; const checkPassword = async () => { // 비번 검증 후 오케이면 모드 변경 const response = await postAdmin({password}); if (response?.success) { mode = 'Admin'; } else { alert('비밀번호를 다시 입력해주세용~.'); password = ''; } }; const components = { 'Add Menu': AdminAddMenu, 'Edit Menu': AdminEditMenu, 'Delete Menu': AdminDeleteMenu, 'Add Article': AdminAddArticle, 'Edit Article': AdminEditArticle, 'Delete Article': AdminDeleteArticle }; const tabs = ['Menu', 'Article']; const radioOptions = ['Add', 'Edit', 'Delete']; let selectedTab = tabs[0]; let selectedRadioOption = radioOptions[0]; </script> <style> h3 { color: yellowgreen; margin-bottom: 0; } </style>
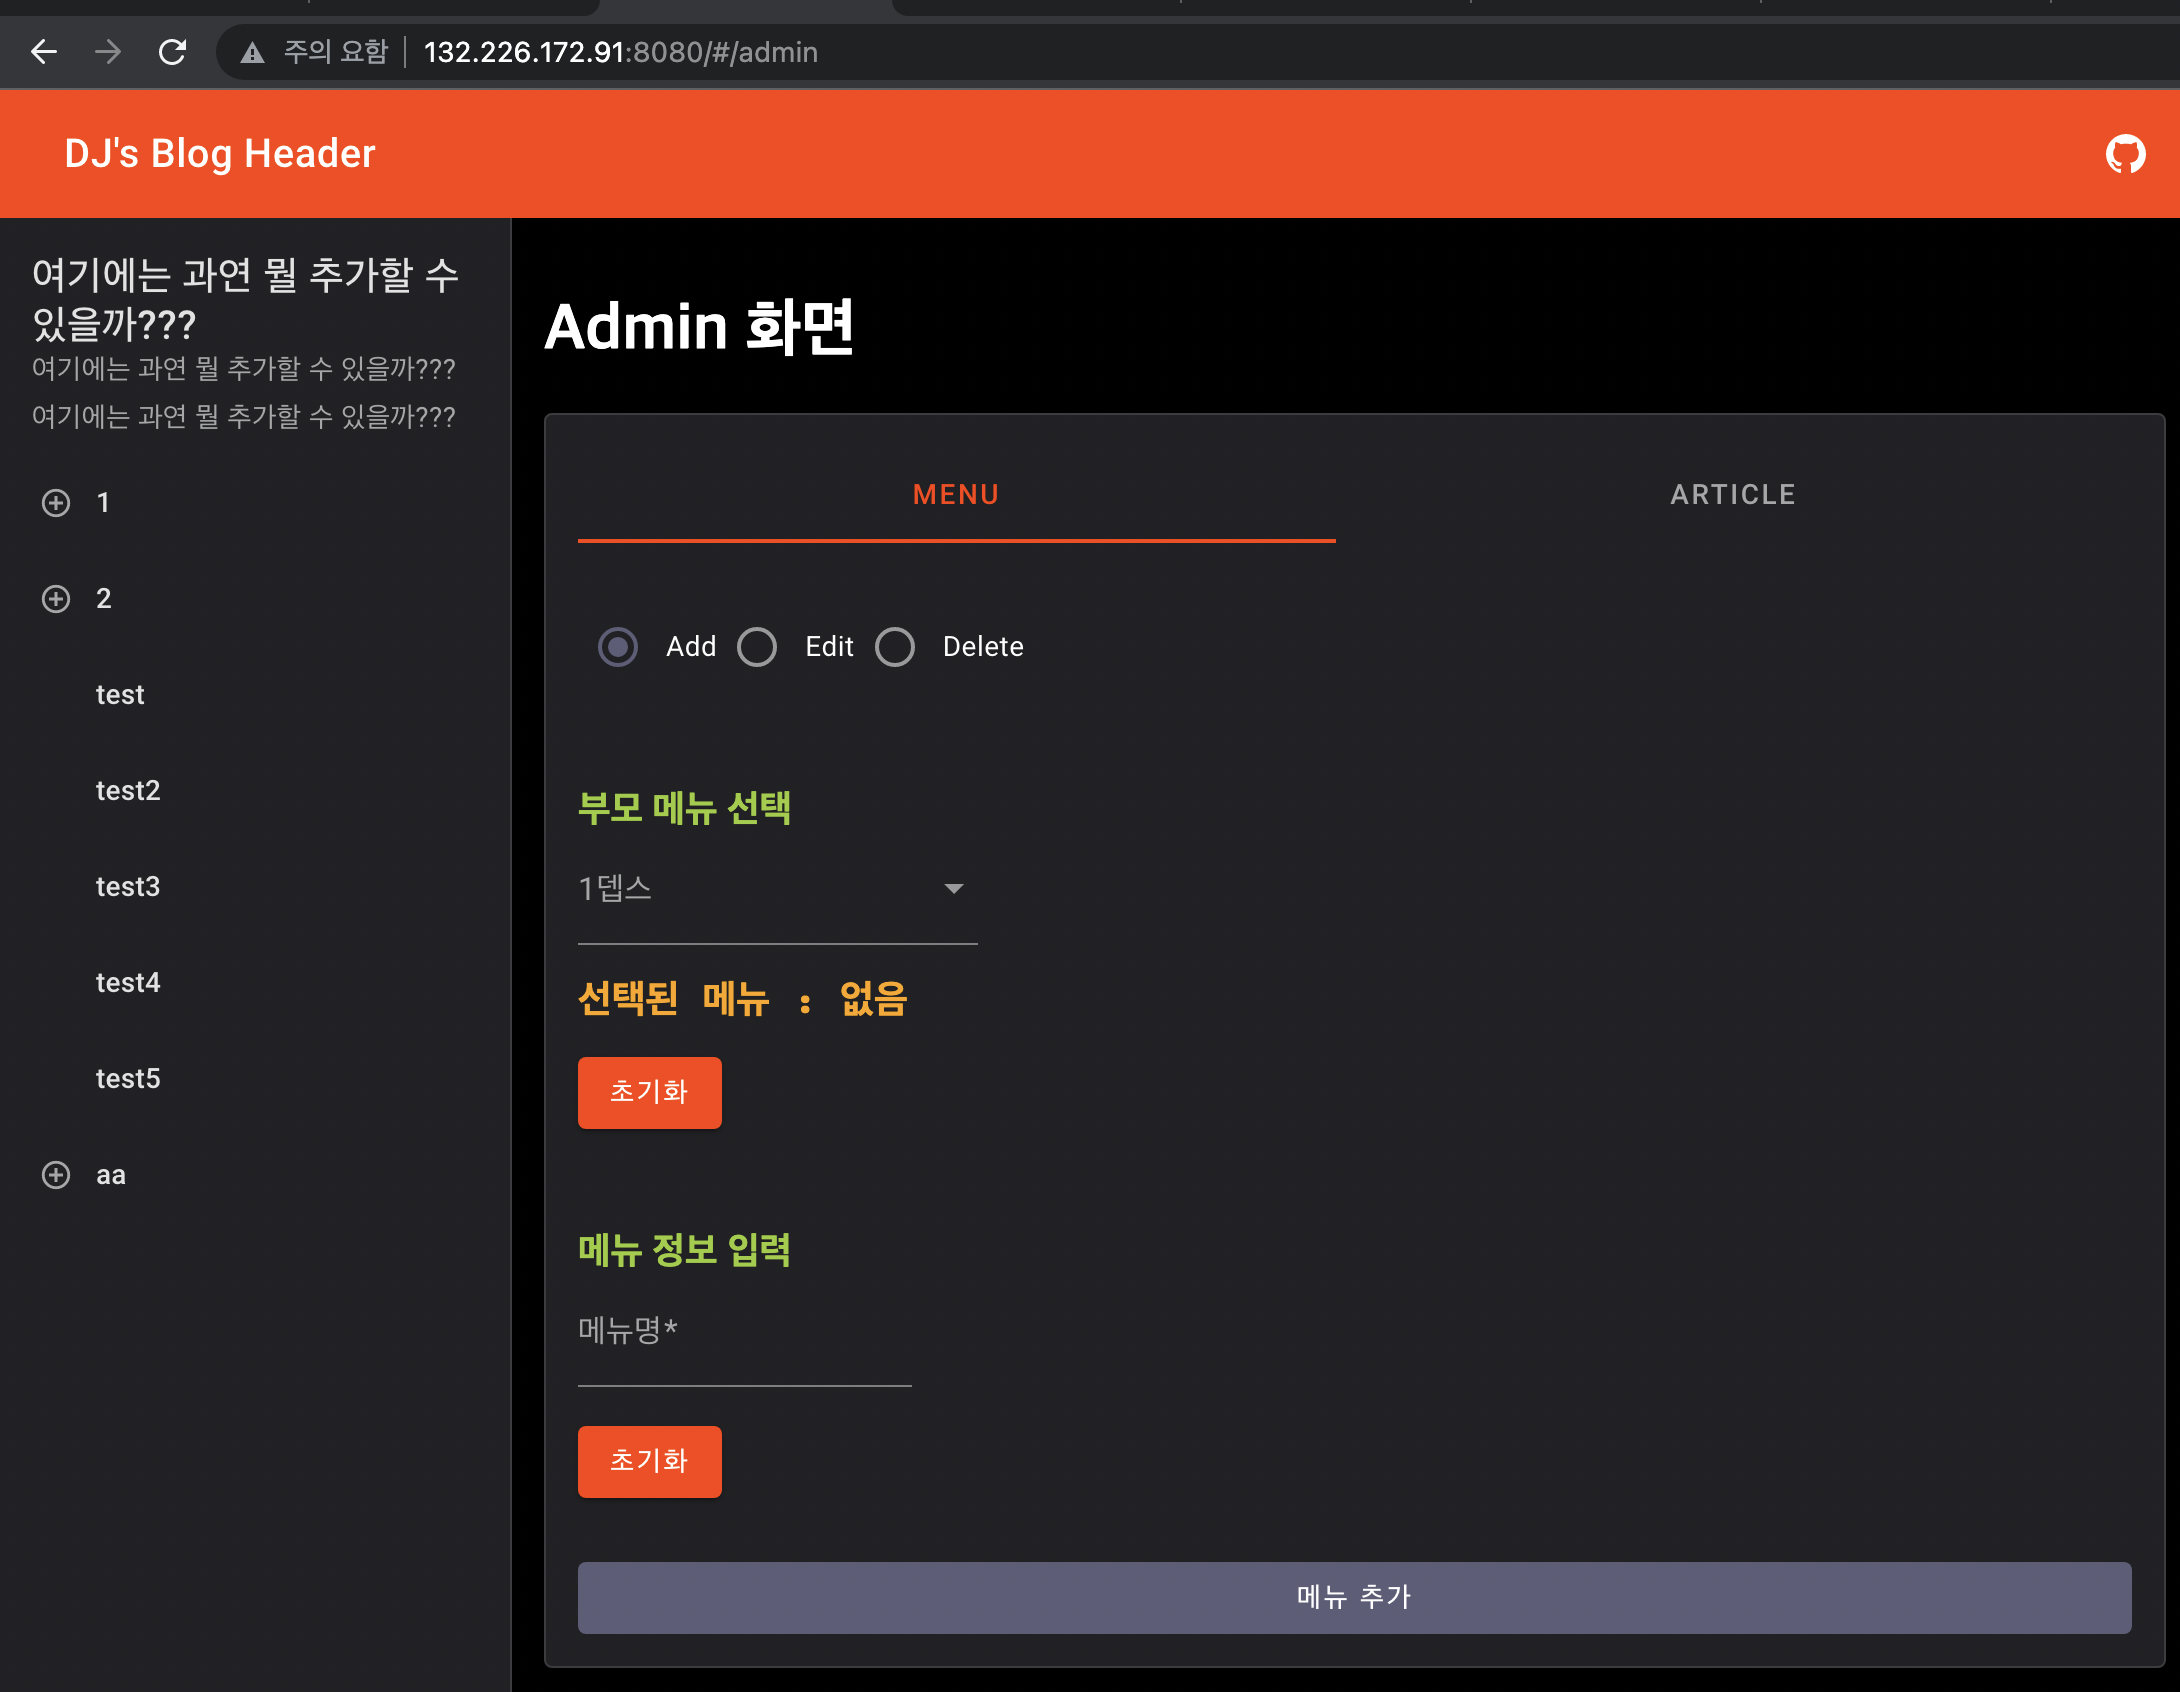
기존에 존재하던 생성 화면 뿐 아니라, 수정, 삭제 화면도 같이 만들었다. (아직 API 연동은 안함)
[메뉴, 글] 구분은 Tab 으로, [생성, 수정, 삭제] 구분은 Radio 로 구분했고, Tab or Radio 가 선택될때마다 화면에 노출되는 자식 component 가 바뀌는 형식이다.
<svelte:component this={components[`${selectedRadioOption} ${selectedTab}`]}></svelte:component>

...

const components = {
	'Add Menu': AdminAddMenu,
	'Edit Menu': AdminEditMenu,
	'Delete Menu': AdminDeleteMenu,
	'Add Article': AdminAddArticle,
	'Edit Article': AdminEditArticle,
	'Delete Article': AdminDeleteArticle
};

const tabs = ['Menu', 'Article'];
const radioOptions = ['Add', 'Edit', 'Delete'];

let selectedTab = tabs[0];
let selectedRadioOption = radioOptions[0];
뭐 그 외에 특이한 점은 없는 듯하다.
최종 적용된 화면은 아래와 같다.
이제 해야할 일은 아래와 같다. 생각보다 많네... 괜히 했나...
- 메뉴 수정
- API 연동 테스트
- 메뉴 삭제
- 메뉴 삭제시 모든 자식 메뉴들, 글 을 삭제하도록 API 수정
- API 연동 테스트
- 글 수정 & 추가
- 글 검색하는 component 추가
- 검색된 글 리스트 노출하는 checkbox component 추가
- API 연동 테스트
